Wood-look porcelain tile (grès effetto legno) is a highly popular building material, prized for its elegant wood aesthetic, durability, and versatility in both residential and commercial spaces. Perfect for indoor and outdoor installation, it represents Italian excellence—with brands like Marazzi leading through technological innovation. From large-format slabs to traditional small tiles and ventilated wall systems, this material offers endless possibilities.
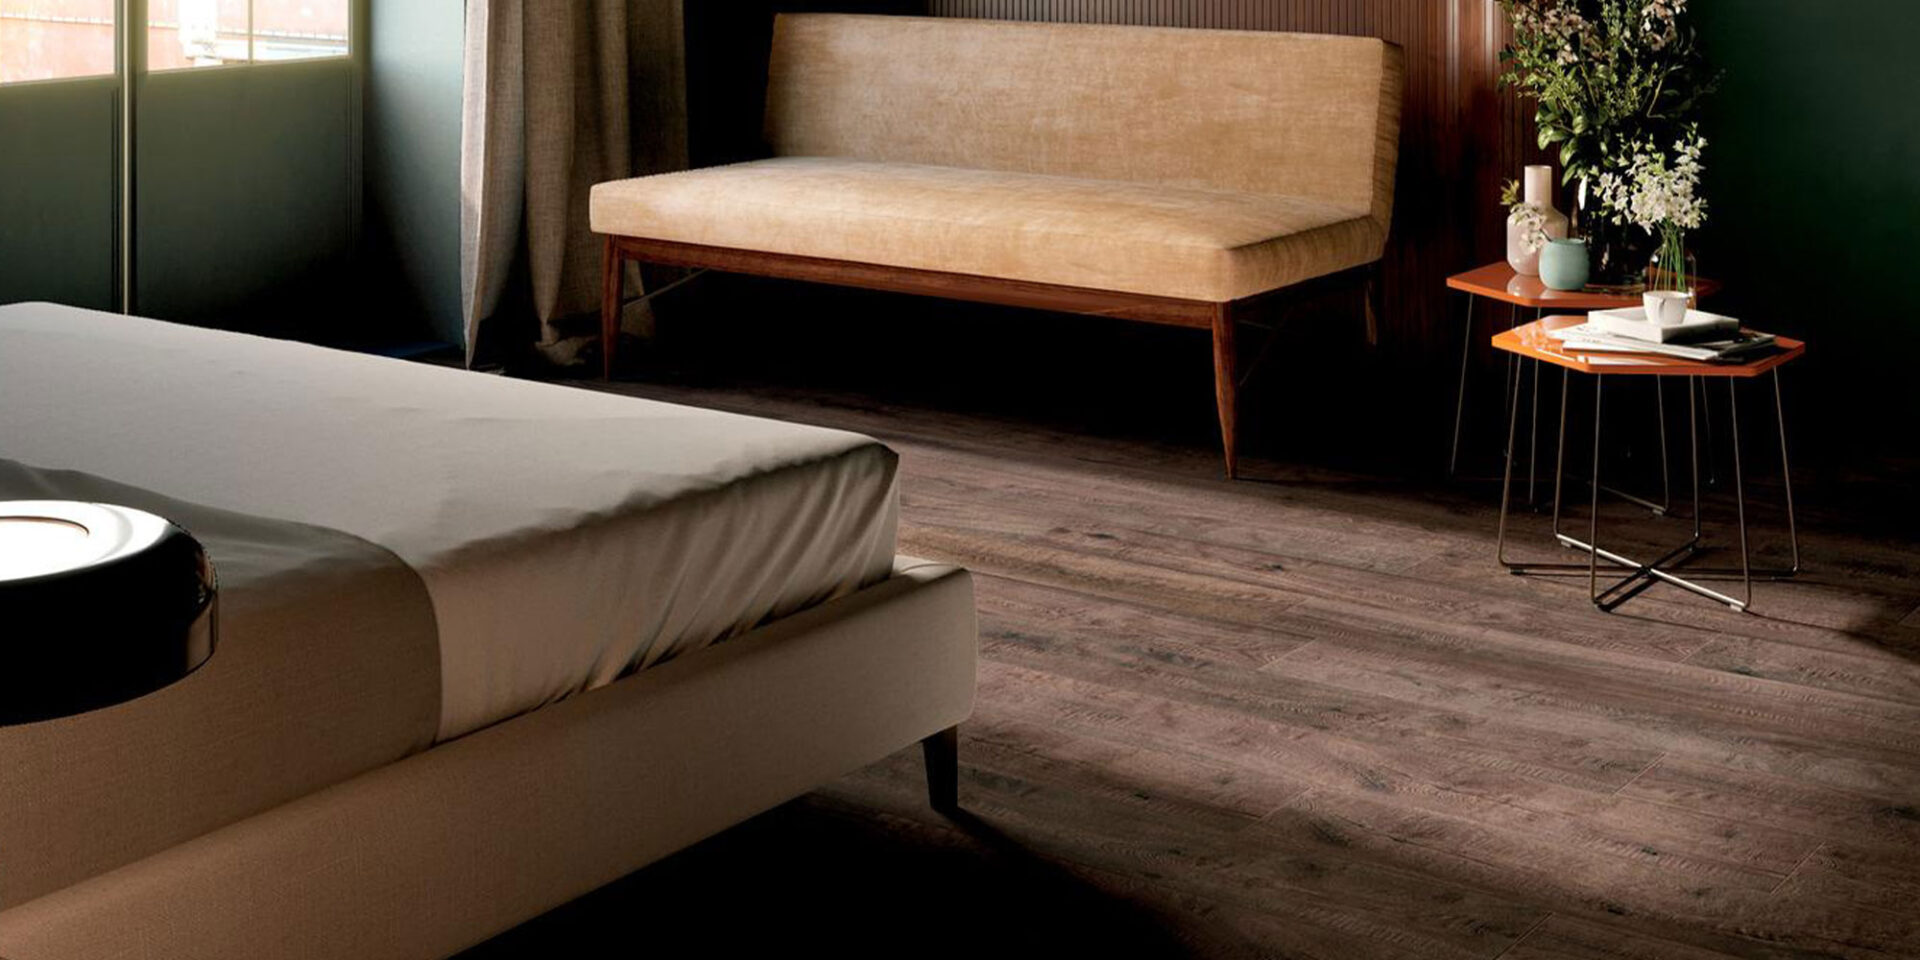
Below, find 5 essential tips for a flawless wood-look porcelain tile installation.
Find Original Home Decor sparking conversation at Grand Goldman Shop.

1. How to Handle and Lay Porcelain Tile
Porcelain stoneware is a hard, compact mix of raw materials including kaolin (white clay also used for porcelain). Wood-look porcelain slabs are ideal for horizontal and vertical surfaces indoors and out. To safely unpack and move them, you'll need:
- Suction cup bars
- A reinforced trolley
- An aluminum profile workbench
After verifying the material matches your project, unpack the slabs in a spacious ground-floor area. Use suction cup handles to attach edge protectors. Alternatively, use a lifting kit with multiple suction cups—press them onto the slab using the plungers. This creates a frame that lets you safely place the slab onto a reinforced trolley for transport to the installation area. Always clean the slab first for maximum suction adhesion. Then, position the slab on the aluminum workbench.
For the actual installation, you'll need quality home improvement tools like tile spacers and levels.
2. Choose the Right Laying Pattern
Deciding on the installation technique is crucial. Common patterns include:
- Straight lay – simple, modern, minimizes waste.
- Staggered (brick bond) – classic wood floor look; use a 1/3 offset for long planks to avoid lippage.
- Herringbone – elegant and dynamic, but requires more cutting.
- Diagonal – makes small rooms feel larger.
Match the pattern to your room's size and style. For large open spaces, consider mixing patterns or using large-format tiles to reduce grout lines. Browse dining tables and sofas to inspire your overall room layout.
3. Size the Grout Joints Correctly
Grout joints are not just aesthetic—they accommodate tile movement and prevent cracking. For wood-look planks:
- Rectified tiles (precisely cut): 2–3 mm joints.
- Non-rectified tiles: 3–5 mm joints.
- Outdoor installations: at least 5 mm to handle temperature changes.
Use plastic spacers for consistency. Wider joints (up to 5–6 mm) can mimic rustic wood flooring. For a seamless look, choose grout color close to the tile. Proper joint sizing also affects maintenance—smaller joints are easier to clean. Enhance your space with rugs and curtains that complement your new floor.

4. Choose the Correct Laying Direction
The direction of the planks dramatically impacts the room's perception:
- Lengthwise along the longest wall – makes the room appear longer.
- Perpendicular to the main light source – minimizes visible joints and shadows.
- Diagonal – adds visual interest but increases material waste.
- In narrow hallways, lay planks lengthwise to widen the corridor.
For open-plan spaces, maintain one direction throughout for a cohesive flow. If transitioning between rooms, use a threshold or transition strip. Brighten your newly tiled area with lighting that highlights the wood grain texture.
5. Perform Proper Grouting
Grouting is the final step and critical for durability and appearance:
- Use a flexible, epoxy-based grout for high-traffic or outdoor areas—it resists stains and moisture.
- For indoor spaces, a cementitious grout works well but requires sealing.
- Apply grout with a rubber float, pressing firmly into joints.
- Remove excess immediately with a damp sponge before it hardens.
- Allow 24–48 hours curing time before foot traffic.
Consider colored grout to match or contrast with your tile. For bathrooms, use mold-resistant grout. Complete the look with bathroom vanities and mirrors that coordinate with your new floor.
Frequently Asked Questions (FAQ)
Can wood-look porcelain tile be installed outdoors?
Yes, it's frost-resistant and UV-stable, making it perfect for patios, balconies, and walkways. Use wider grout joints (5 mm+) and outdoor-rated adhesive. Pair with outdoor patio furniture and outdoor lighting for a seamless indoor-outdoor transition.
Do I need underfloor heating with porcelain tile?
Not required, but porcelain tile conducts heat efficiently, making it an excellent choice for radiant heating systems. Always check the tile manufacturer's compatibility.
How do I clean and maintain wood-look porcelain tile?
Sweep or vacuum regularly, and mop with a pH-neutral cleaner. Avoid abrasive pads. Reseal grout lines annually if using cementitious grout. Protect high-traffic areas with rugs or runners.
What is the difference between rectified and non-rectified tiles?
Rectified tiles are mechanically cut to exact dimensions, allowing for minimal grout joints (2–3 mm). Non-rectified tiles have slight size variations, requiring wider joints (3–5 mm) to maintain alignment.
Can I install porcelain tile over existing flooring?
It depends on the existing surface. Concrete, cement board, or uncoupling membranes are suitable. Avoid installing over wood or vinyl unless properly prepared. Consult a professional for complex substrates. For your project, consider sheds or greenhouses if you're also planning outdoor structures.
Browse Grand Goldman Home Decor
Discover unique craftsmanship home decor and furniture at the Grand Goldman Shop.
Best Products We’ve Tested and Rated

Our testing team has hands-on reviews of detergent septic systems, broom concrete finish, water softener well iron, patio furniture arizona, and hammock chair stand. Every option below was compared across price, build quality, and real-world performance, with honest pros and cons. We update these guides regularly as new models arrive, so the recommendations stay current.
Our testing team has hands-on reviews of oil cedar, small greenhouse heater, sealant water leaks, outdoor glow dark paint, and epoxy foundation crack repair. Every option below was compared across price, build quality, and real-world performance, with honest pros and cons. We update these guides regularly as new models arrive, so the recommendations stay current.
Browse the Shop
 Acacia frida deluxe solid wood bed frame |
Bedroom bench |
Bed chest drawers |
Lingerie dresser |
Frame base |
Mirror with jewelry storage |
30 Bathroom Vanity |
Memory foam queen mattress |
Mattresses for back pain |
Nightstand set of 2 |
Grand Goldman Shop |
Civil Lawyer
Deutschland Trikot WM 2026