

To spackle a wall correctly, you need to clean the crack, removing any crumbly parts and dust. Then, apply a suitable spackle with a putty knife, pressing the product in well. After complete drying, proceed with careful sanding to achieve a perfectly smooth surface.
Technical Working Parameters
| Specification | Operational Details |
|---|---|
| Base Materials | Spackle (paste or powder), putty knives, sandpaper, scraper |
| Sandpaper Grit | Fine (120-180 grit) for finishing |
| Drying Time | 2-6 hours (varies by thickness and humidity) |
| Average Material Cost | €10 – €25 (basic kit) |
| Surface Preparation | Thorough cleaning and application of primer before painting |
Initial Assessment and Material Selection
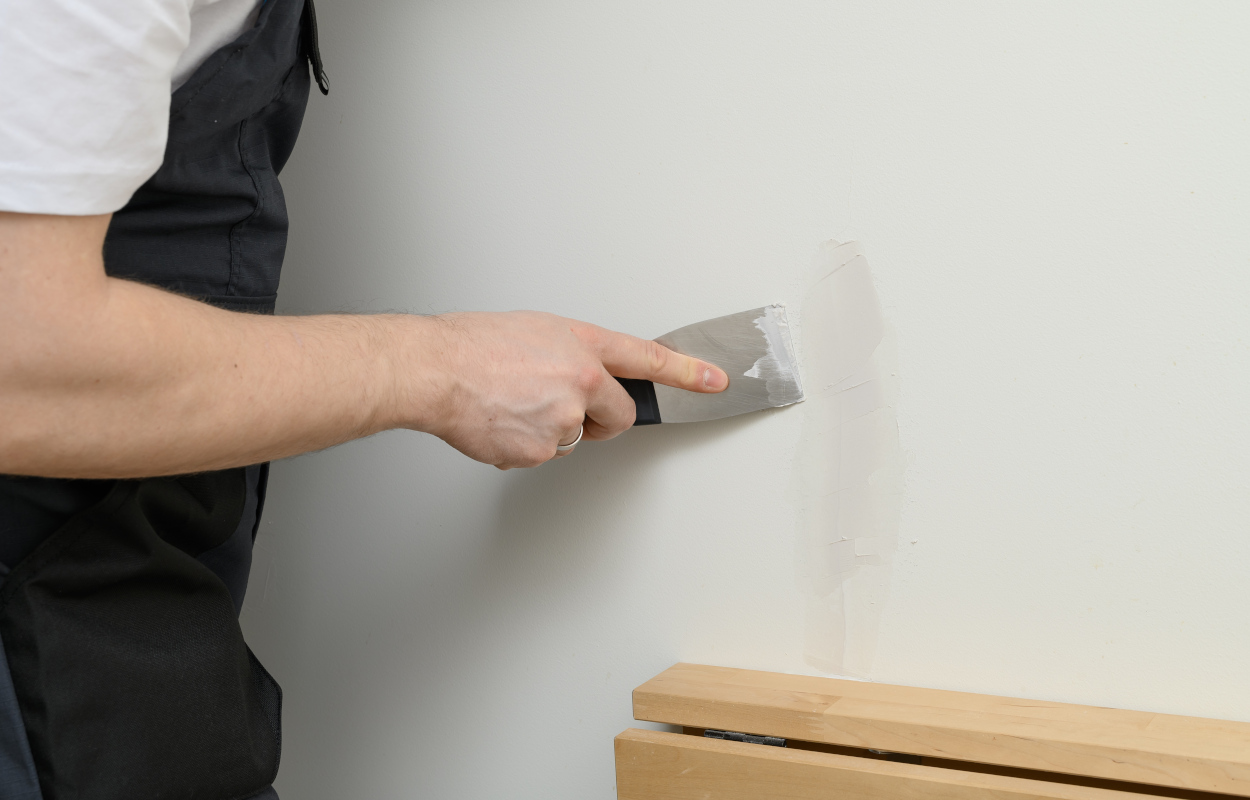
Repairing imperfections before painting requires a methodical approach. A simple surface crack needs a different treatment compared to a deep fissure caused by settling or mortar shrinkage. For small cracks, check the adhesion of the surrounding finish: remove any raised parts with a scraper until you reach a solid portion. For deeper damage, structural filling is needed—press the product deep into the crack. Using a spackle with good elasticity and moderate drying times prevents micro-cracks caused by material shrinkage. For larger wall repairs, consider upgrading your home improvement tools for a professional finish.
Find Bleeding Edge Supplements at Scandalous Prices on iHerb.

Grain Size and Surface Preparation
Repairing Anchor Holes
For small holes from wall plugs, use a fine-grain spackle. Clean the hole of dust, apply the spackle with a small putty knife, and let it dry completely before sanding with fine-grit sandpaper (120-180).
Fixing Deep Cracks
Deep cracks require a multi-step approach. Widen the crack slightly with a knife to create a V-shape for better adhesion, remove debris, and apply spackle in thin layers, allowing each to dry. A good lighting setup helps you spot every imperfection.
Expert Tips
- Always use a primer before painting to seal the spackle and ensure uniform paint absorption.
- For large areas, use a wide putty knife (6-8 inches) to spread spackle evenly.
- Mix powder spackle to a toothpaste-like consistency for best results.
- Sand between coats for a flawless finish.
- Consider using a storage bench to keep your tools organized while working.
How to Spackle a Wall: Step-by-Step Guide
- Clean the area: Remove loose paint, dust, and debris from the crack or hole.
- Apply spackle: Use a putty knife to press spackle into the crack, slightly overfilling it.
- Smooth the surface: Drag the knife across the area to remove excess spackle.
- Let it dry: Wait 2-6 hours depending on thickness and humidity.
- Sand: Use fine-grit sandpaper (120-180) to smooth the surface until it’s flush with the wall.
- Prime and paint: Apply primer, then paint the repaired area.
For a complete room refresh, pair your repair work with new curtains or a stylish rug.
Frequently Asked Questions on How to Spackle a Wall
What is the best spackle for deep cracks?
Use a lightweight, flexible spackle or a joint compound for deep cracks. These materials resist shrinking and cracking. For structural repairs, consider investing in quality home improvement supplies.
Can I paint directly over spackle?
No, you must apply a primer first. Spackle is porous and will absorb paint unevenly, leading to a blotchy finish. A primer seals the surface and ensures even paint adhesion.
How long does spackle take to dry?
Drying time varies from 2 to 6 hours, depending on the product, thickness of application, and room humidity. Always check the manufacturer’s instructions.
Do I need to sand spackle?
Yes, sanding is essential to achieve a smooth, seamless finish. Use fine-grit sandpaper (120-180) and sand gently to avoid damaging the surrounding wall.

What tools do I need for spackling?
You’ll need a putty knife, sandpaper, a scraper, and spackle. For larger projects, a work surface can help keep your materials organized.
How do I fix a large hole in drywall?
For holes larger than 2 inches, use a drywall patch kit or cut a new piece of drywall. Secure it with joint compound and tape, then spackle and sand as usual.
Can I use spackle on plaster walls?
Yes, but ensure the plaster is sound and clean. For older plaster, use a spackle designed for plaster repair to avoid cracking. A well-prepared wall is the perfect backdrop for wall decor.
Why does my spackle crack after drying?
Cracking is usually caused by applying too thick a layer or using a low-quality spackle. Apply thin coats and allow each to dry completely before adding another.
How do I prevent spackle from shrinking?
Use a spackle labeled as "non-shrink" or "low-shrink." Apply in thin layers and avoid overworking the material.
What grit sandpaper should I use for spackle?
Use 120-180 grit sandpaper for final sanding. For rough spots, start with 100 grit, then finish with 180 grit for a smooth surface.
After your walls are perfect, complete the look with new sofas or a cozy bed from GrandGoldman.com.
Browse Grand Goldman Home Decor
Discover unique craftsmanship home decor and furniture at the Grand Goldman Shop.
Best Products We’ve Tested and Rated

Our testing team has hands-on reviews of pickleball equipment beginners paddles gear, breakfast champions morning meals fuel day, wimbledon awards player epic matches drama, 35mm rangefinder, and mat garage. Every option below was compared across price, build quality, and real-world performance, with honest pros and cons. We update these guides regularly as new models arrive, so the recommendations stay current.
Our testing team has hands-on reviews of gloves arthritic hands, gifts men, gloves on amazon, wedges beginners high handicappers, and golf pants. Every option below was compared across price, build quality, and real-world performance, with honest pros and cons. We update these guides regularly as new models arrive, so the recommendations stay current.
Browse the Shop
 Acacia frida deluxe solid wood bed frame |
Bedroom bench |
Bed chest drawers |
Lingerie dresser |
Frame base |
Mirror with jewelry storage |
30 Bathroom Vanity |
Memory foam queen mattress |
Mattresses for back pain |
Nightstand set of 2 |
Grand Goldman Shop |
Civil Lawyer
Deutschland Trikot WM 2026
Acacia frida deluxe solid wood bed frame |
Bedroom bench |
Bed chest drawers |
Lingerie dresser |
Frame base |
Mirror with jewelry storage |
30 Bathroom Vanity |
Memory foam queen mattress |
Mattresses for back pain |
Nightstand set of 2 |
Grand Goldman Shop |
Civil Lawyer
Deutschland Trikot WM 2026







