

If you are looking for a solution to keep your soaps organized in the bathroom, then making a magnetic soap holder will be a great idea for you.
I remember these magnetic soaps from my childhood, and since I no longer use liquid soap (avoiding plastic whenever I can), I wanted to buy this great invention to get rid of that thick soap dish. grandmothers old bathroom…
Find Bleeding Edge Supplements at Scandalous Prices on iHerb.

But everything you could buy was ugly or quite expensive.
The good sides of this magnetic soap holder are:
- Dry and clean soap
- Your sink is easier to clean, without having to lift anything to clean it
- It looks much more elegant than that soap dish from grandma
- I decided to go with brass, which looks good and is easy to work with (plus I already had it)
But you could also make one out of wood, for example.
#1: Materials and tools


Materials:
- Brass sheet 2mm
- 1 strong magnet
- 1 Decorative beer cap
- 2 Screws
- 1 Bar of soap
- 1 metal file
Tools:
- Something to measure
- Metal saw
- 3mm metal drill bit
- Epoxy adhesive
- 1000 grit sandpaper
- Hammer and a small nail
- Countersink bit
- A bench bench - you can do it without it, but it will be much easier with 🙂
- A dremel with a brass router.
#2: Measurement and design


- Place the bar of soap on the bathroom sink, wherever you want to hang it later.
- Measure the distance from the wall to the middle of the bar of soap and add about 1 cm.
- Draw your rough design on the brass sheet.
- I decided to make an easy 90 degree angle with rounded corners.
- For the position of the magnets, make sure your beer cap (which sits on your bar of soap) is completely covered.
- My brass band is going to be 4cm wide, you can go wider if you want.
#3: Cut the strip


- Use a metal saw to cut along the drawn lines - the better you cut, the less you will have to file later
- For the rounded corners I used a jeweler's saw, but you'll be fine with the regular saw too.
#4: Forming with the steel file


- Trick with a belt sander if you want...
- File down to the drawn lines, that will be done quite quickly since brass is quite soft.
- Sand the edges in one direction for a good finish.
#5: Screw hole


- Use a center punch to mark the center of the square holes; This gives the tip of your drill bit a place to ride when you start drilling.
- Punch the holes carefully - wear safety glasses if you like your eyes
- Use the countersink bit so that the heads of the screws andstay flush.
#6: Magnet Adjustment


- Because I only had a fairly thick magnet, I decided to make a depression for it.
- I also said that the glue might have a better grip there, but that's just my theory ;)
- I used the dremel with a router bit for it, unfortunately I wasn't paying enough attention and the bit broke a little, but no one will see it...
- Be careful when working with the dremel: it is a small tool, but you can hurt yourself and your eyes, use glasses and common sense.
#7: Sanding


- I wanted to go for a satin finish
- I used a sheet of 1000 grit sandpaper and slid my brass strip carefully, making sure to keep the same direction and pressure.
#8: Dubbed


- Now it's time for the 90 degree angle.
- Mark the position of the angle once again – you sanded it in the last step ;)
- Protect the strip with a towel from scratches while clamping it in the vise (if you don't have a vise, use the strong edge of a table; tighten it if possible)
- Set it a little lower (about 1mm) than its position mark.
- Now use hand strength to bend it down until it reaches 90 degrees (you should bend it slightly more than 90), it will move backwards.
#9: The bottle cap
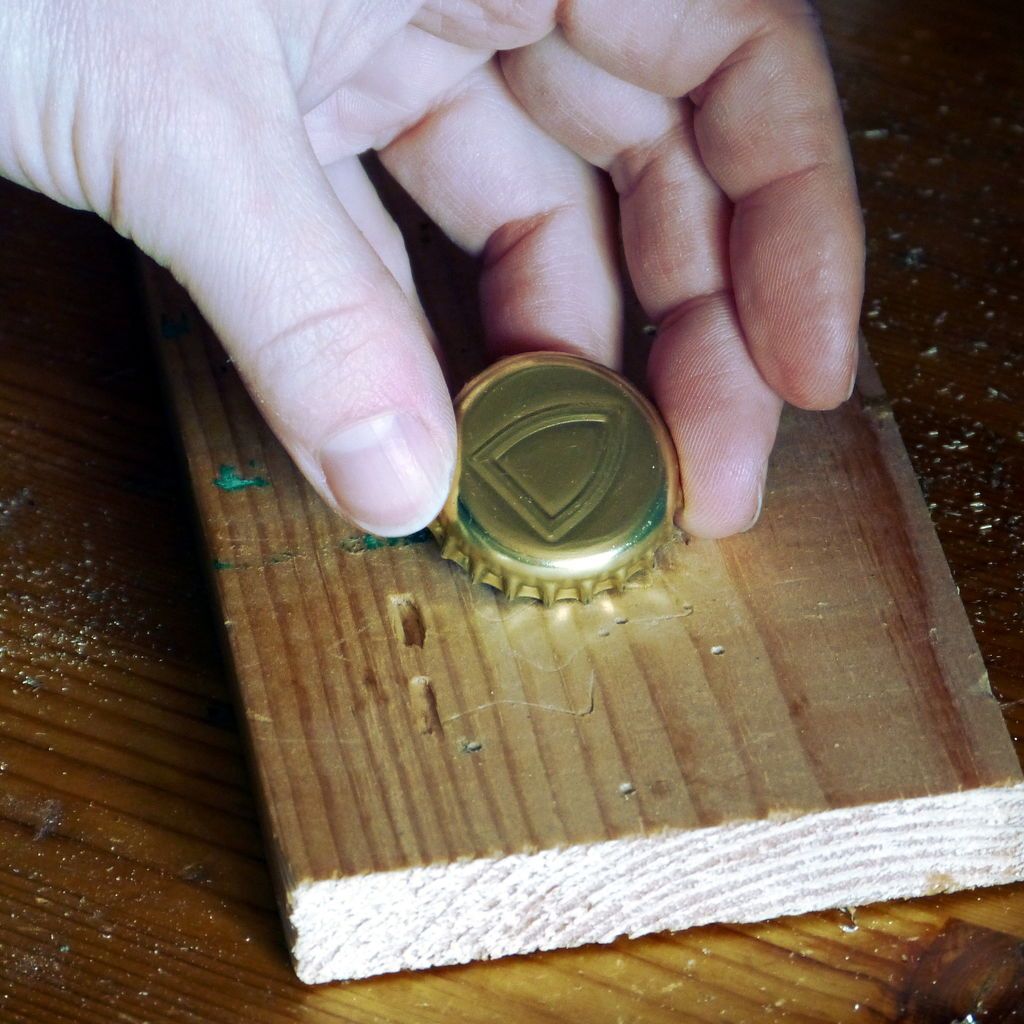
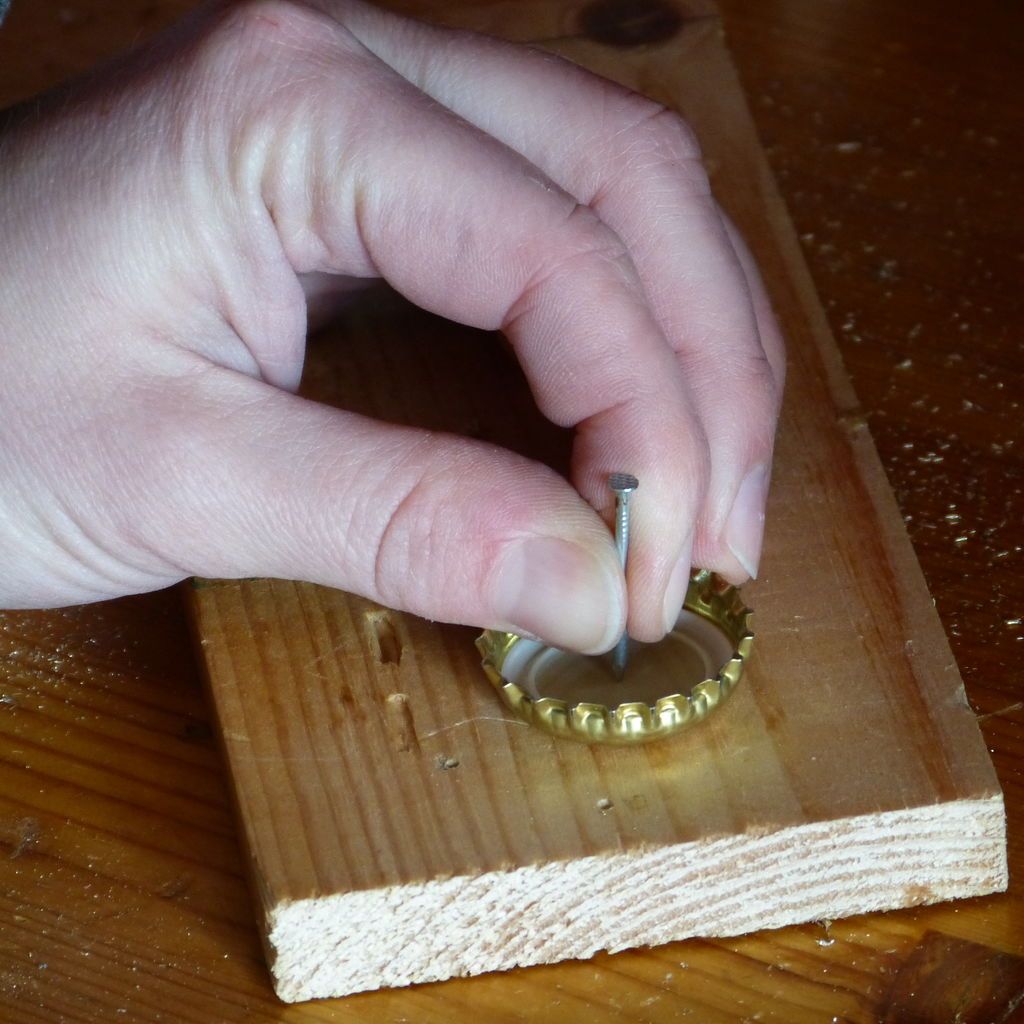
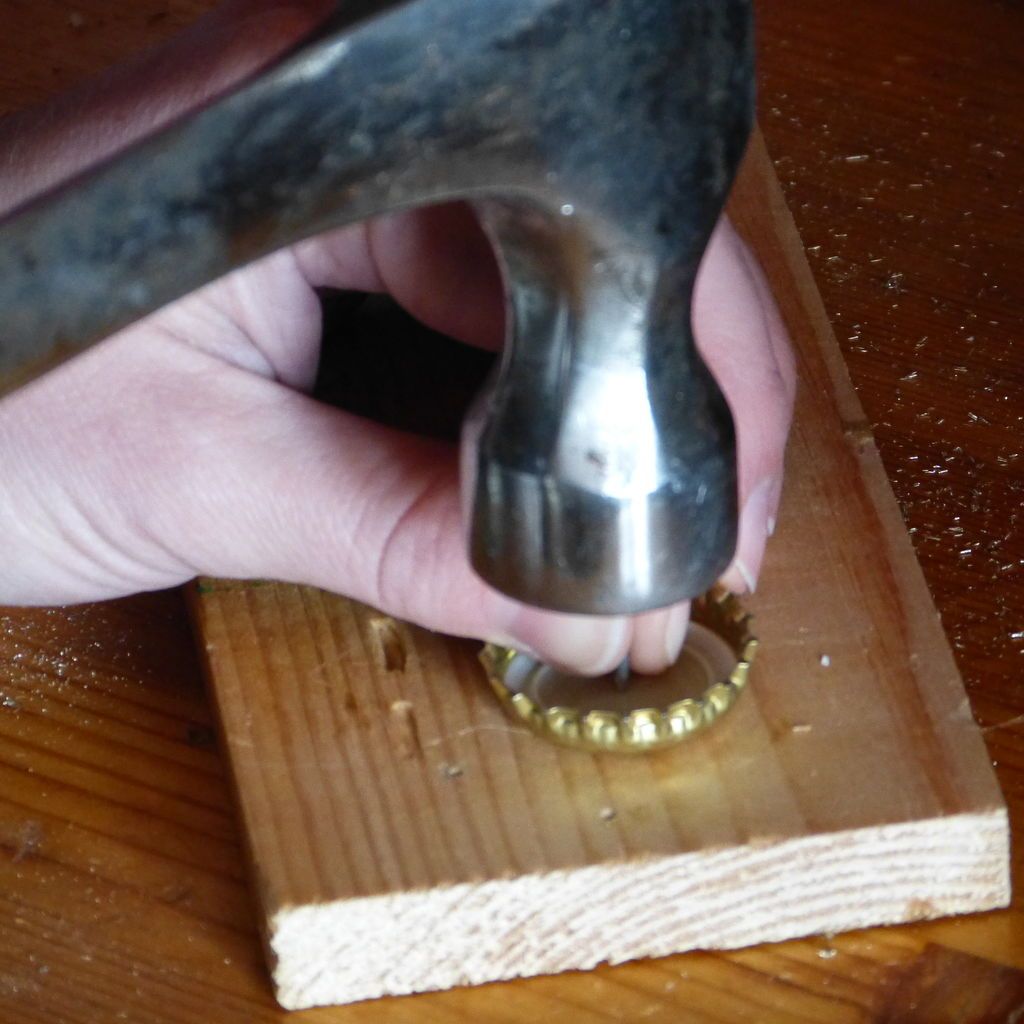
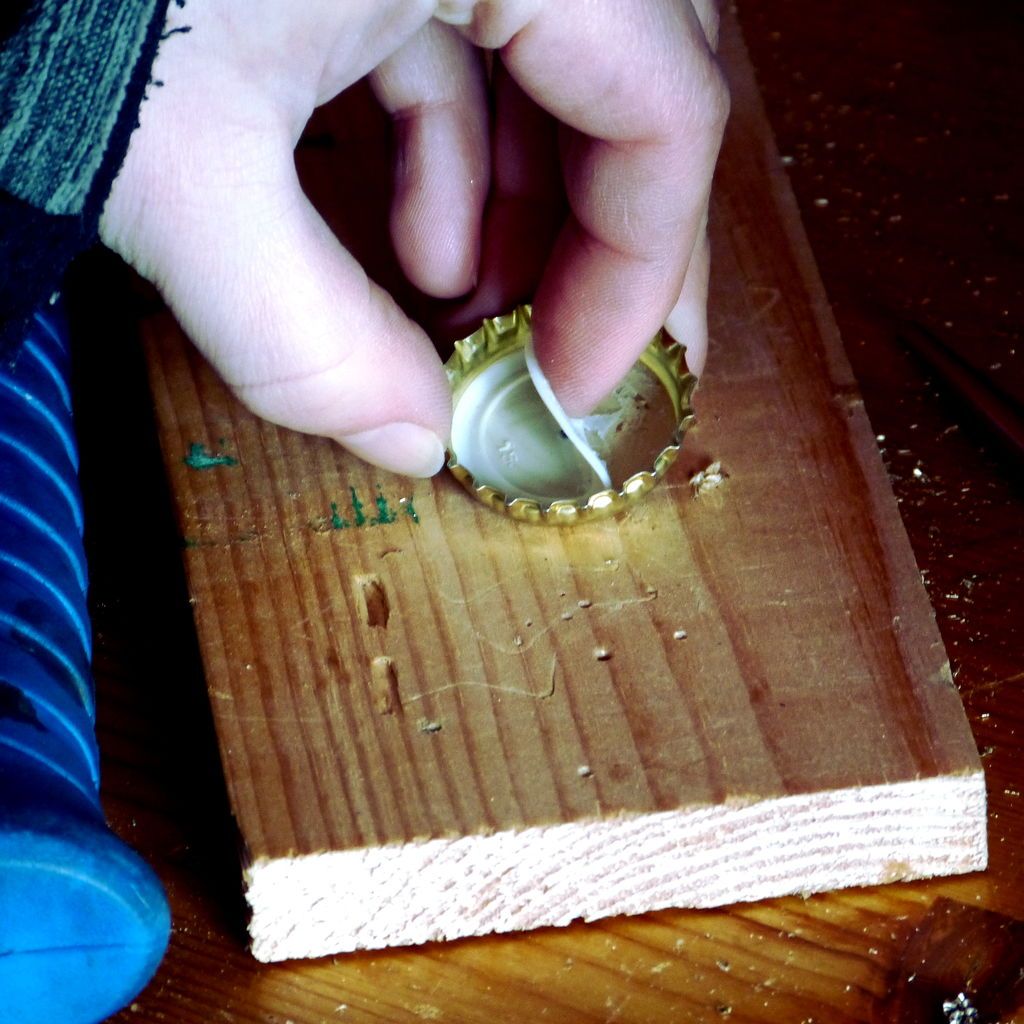
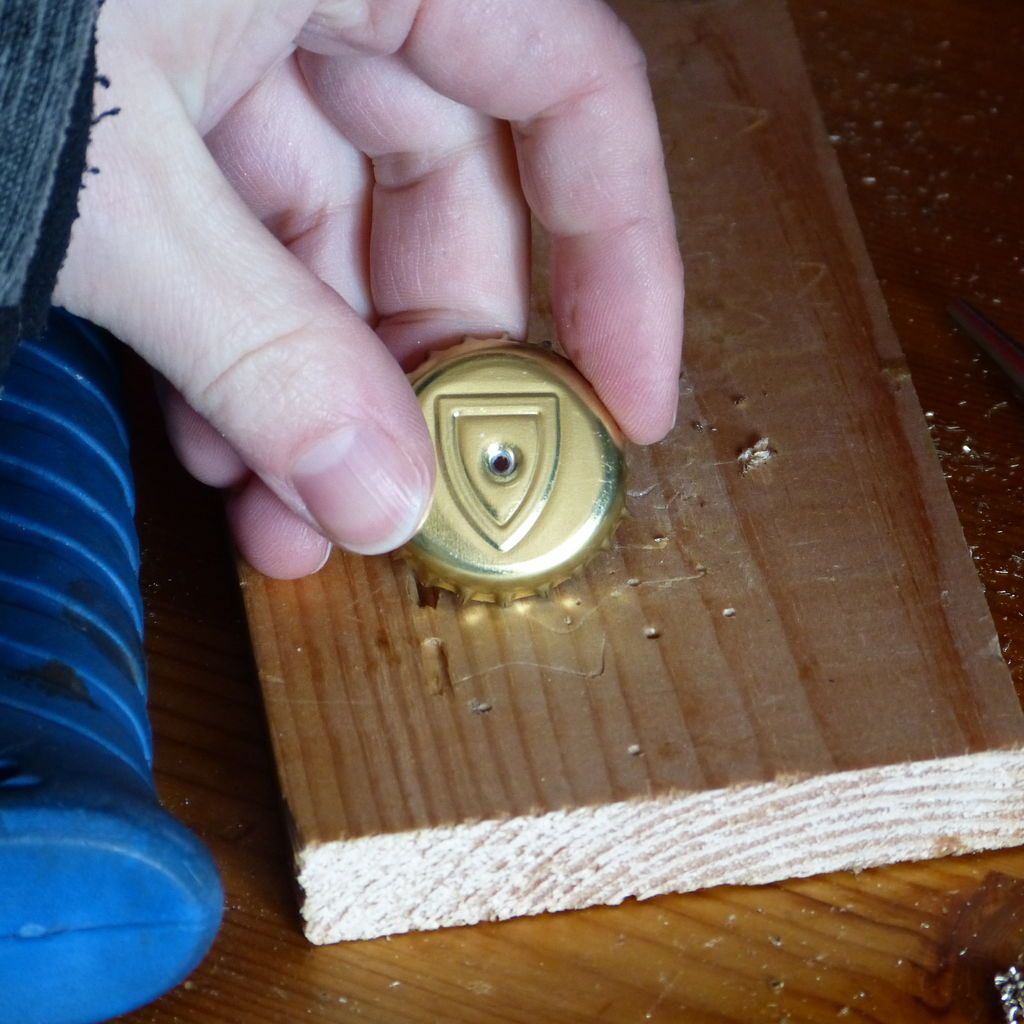
- The beer cap will be the magnetic part on your bar of soap.
- To avoid air pockets while pressing it into the soap, you need a small hole.
- Use a nail and hammer to make that hole in the center of the lid.
- Get rid of the plastic sheet on the lid.
- Make sure the lid is still flat on the surface; You may have to press the nail one more time from the other side, or using the countersink bit.
#10: Glue
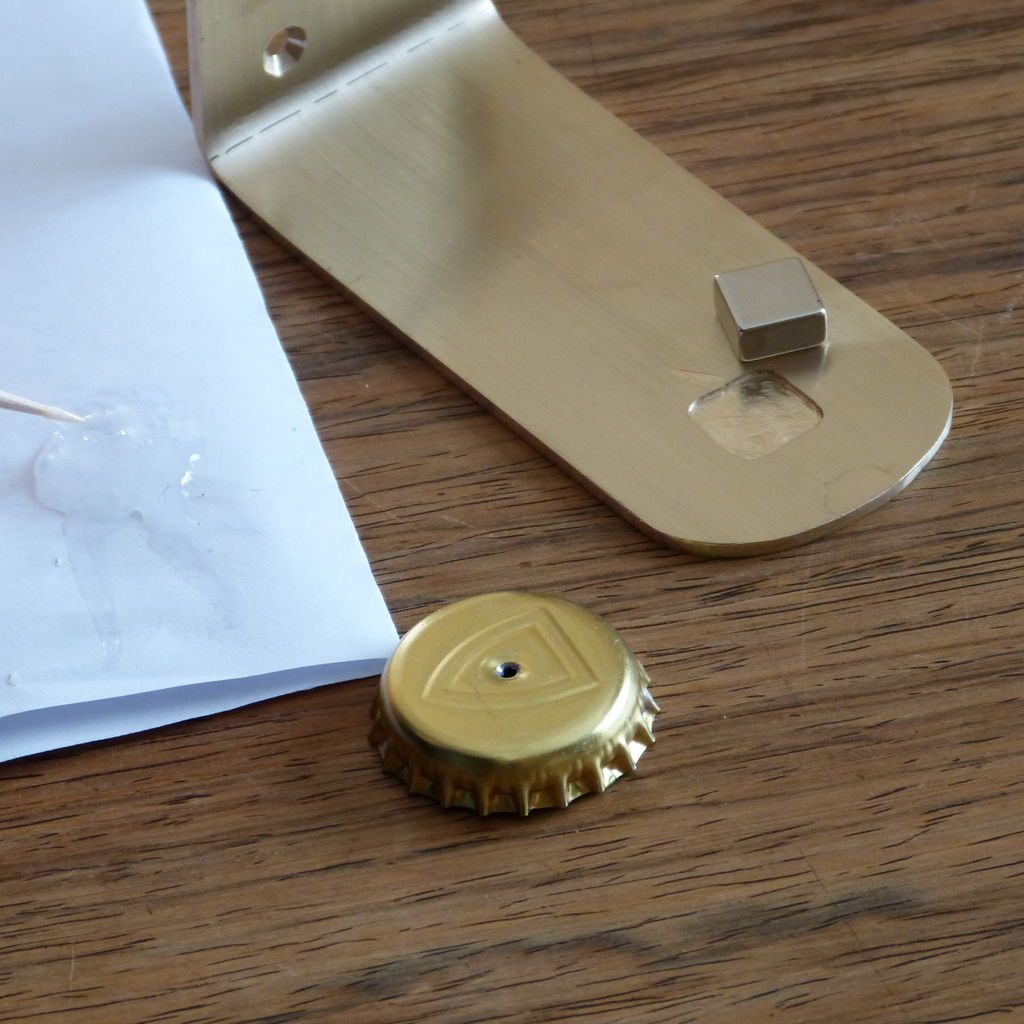
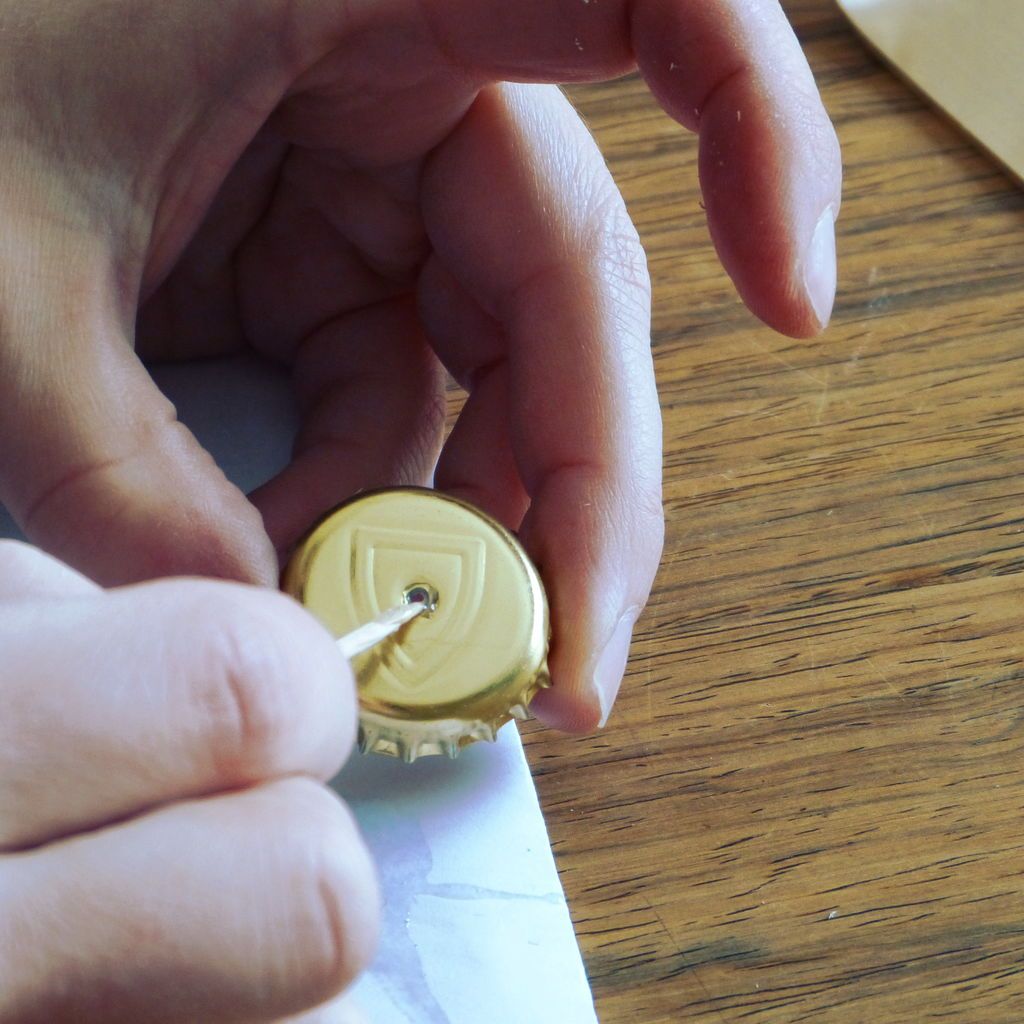
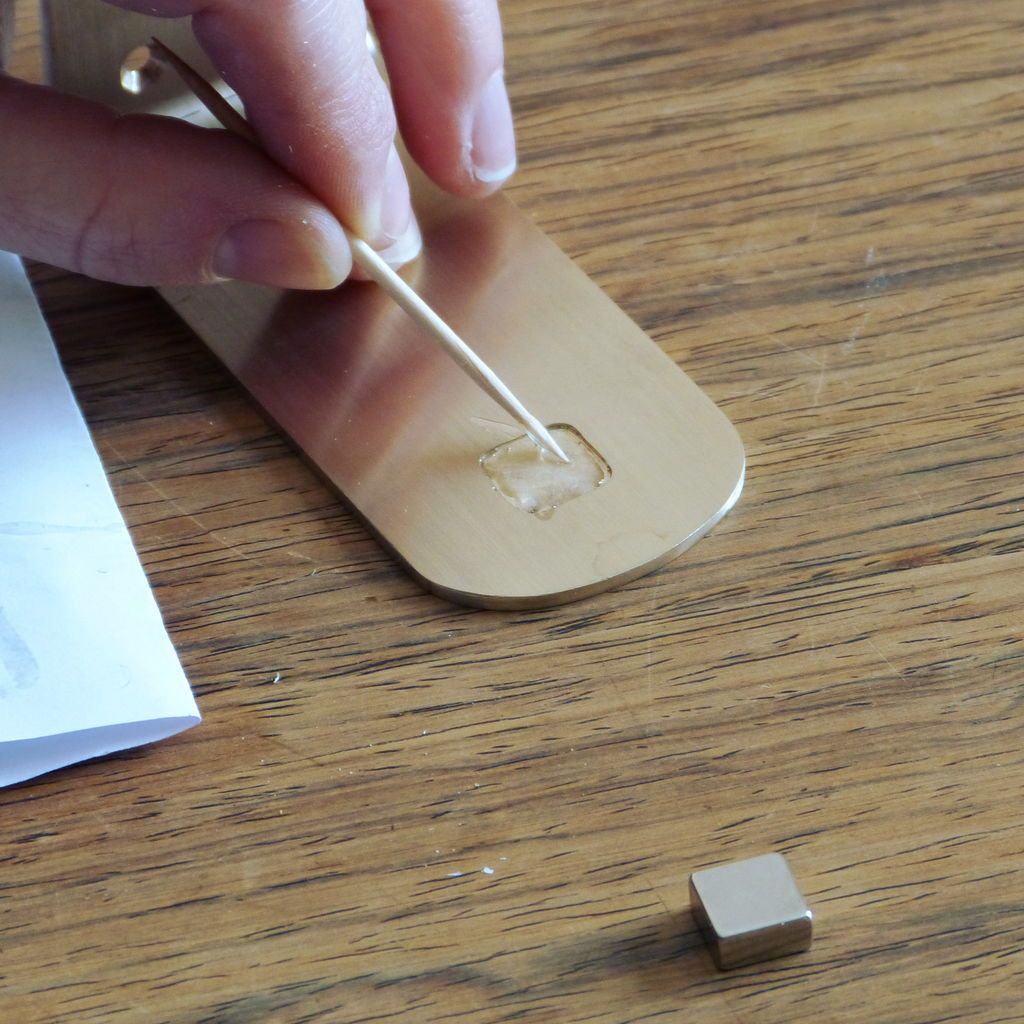
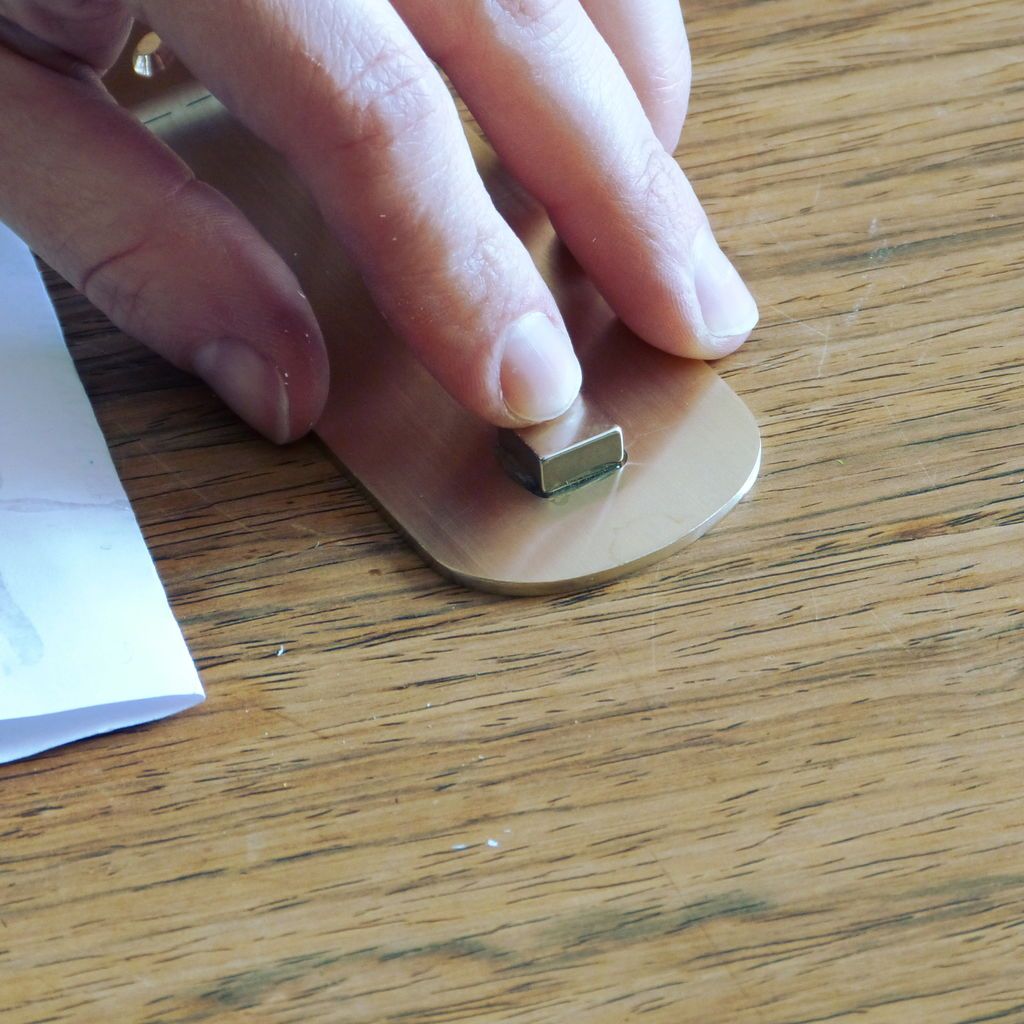
- Mix the 2-part epoxy adhesive with a toothpick.
- Add a small amount on both sides around the hole in the bottle cap, do not fill the hole. Why that glue you might ask? To prevent rust on the lid, it is already coated against rust, but you damaged that coating when making the hole.
- Use a more generous amount to stick the magnet; be sure to use the right side of the magnet; It would be a shame if it didn't work 🙂
#11: Prepare the bar of soap
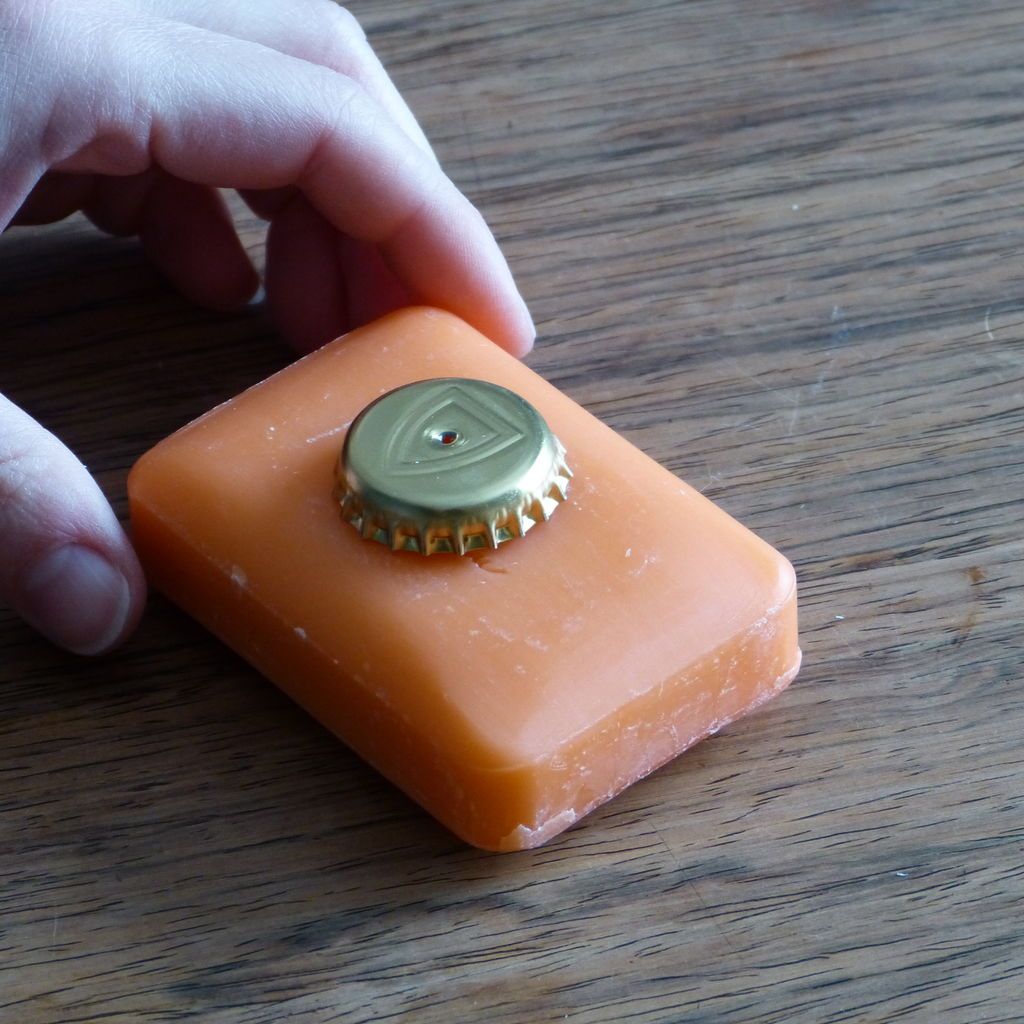

- Your glue is dry and now it's time to put that beer cap back in its place!
- Just press in the middle of the soap bar
- Then I thought it would be a good idea to straighten the edges of the caps – you can still do that ;)
#12: Screw
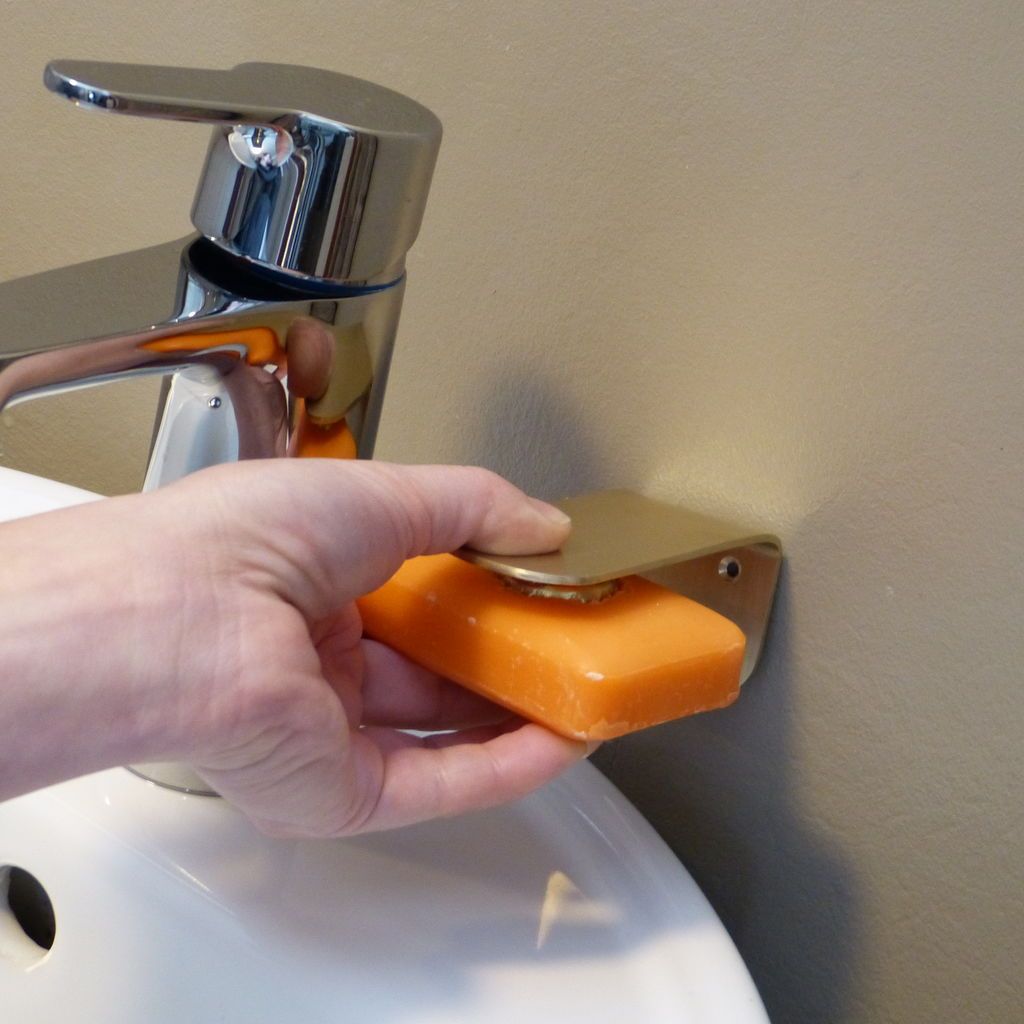
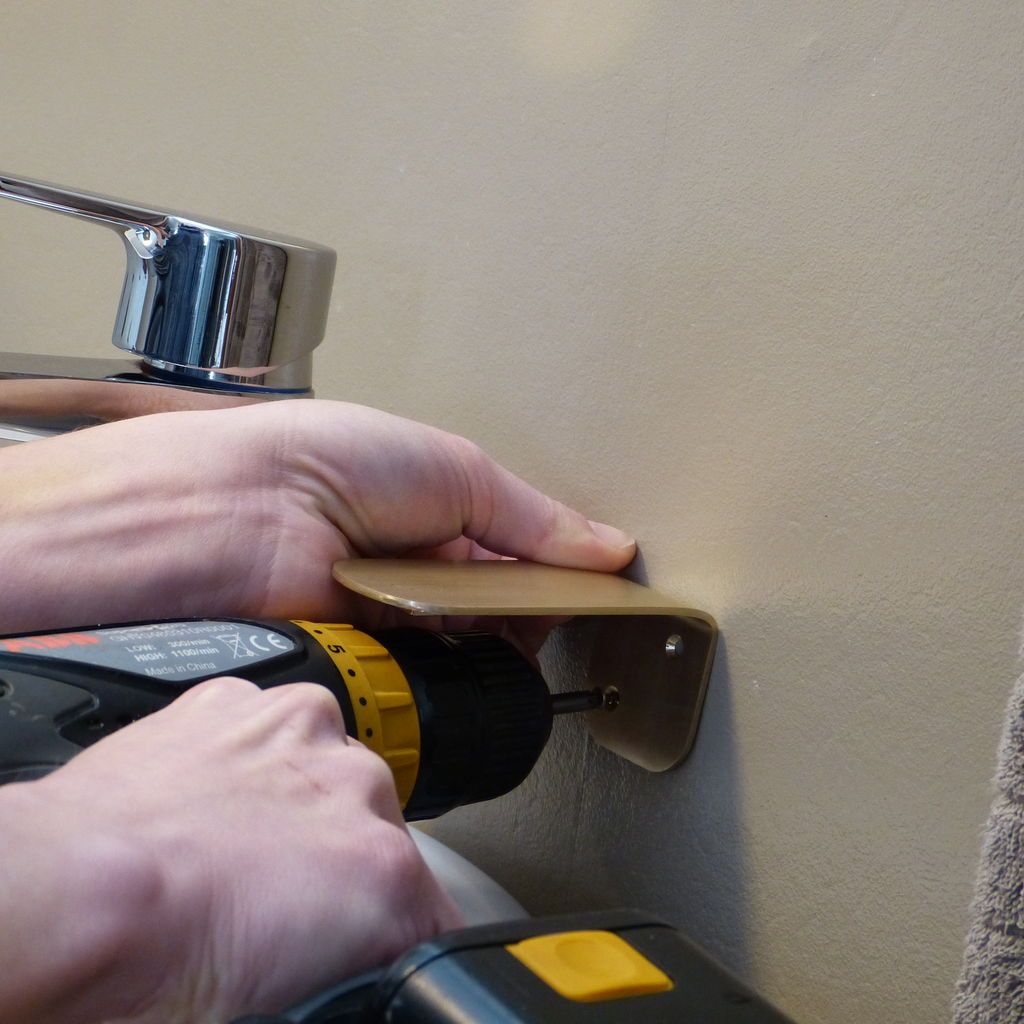
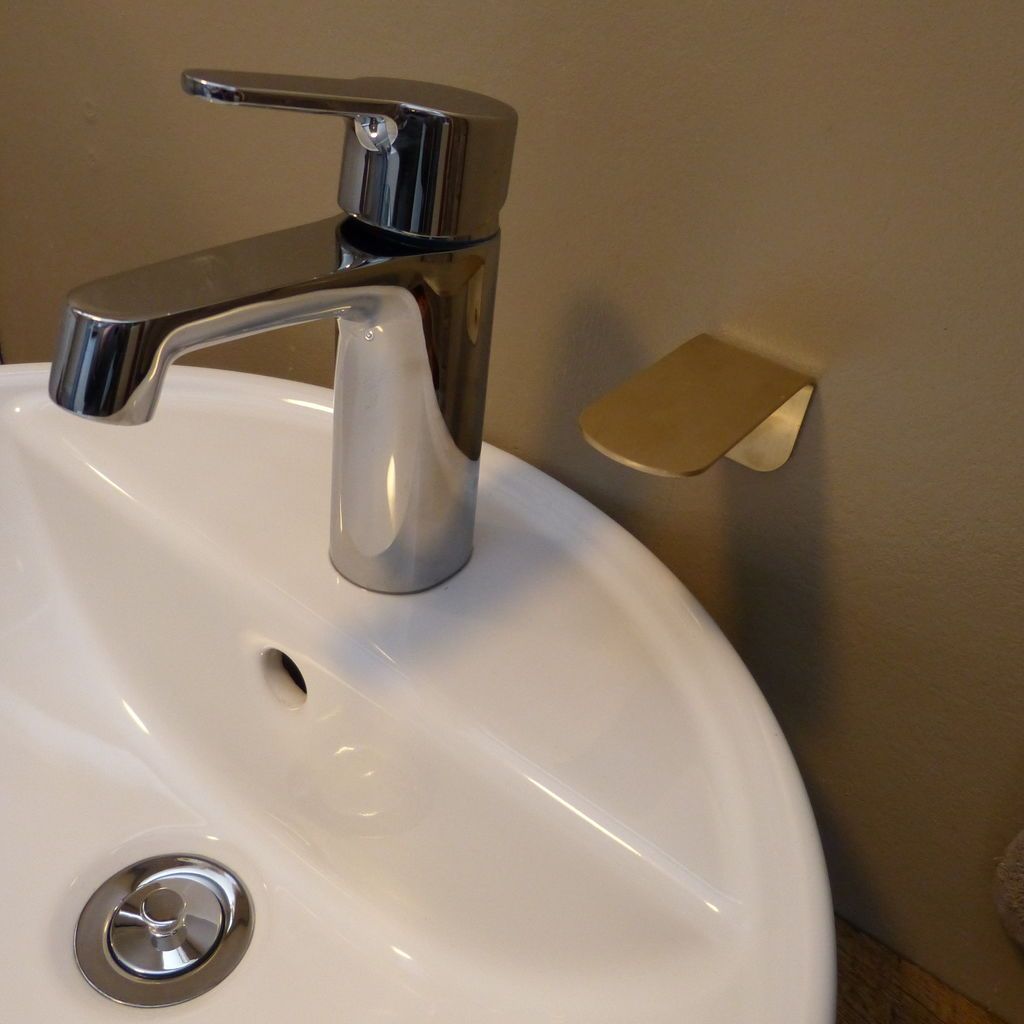
- Place the soap on the magnet and attach everything to the wall until you find the correct height and position for your soap holder.
- Mark the holes and take them out, you may also need wall plugs.
- It did not have wooden walls.
#13: Wash your hands
Making a magnetic soap holder can be an interesting idea to implement in our bathroom, as well as it could surprise your guests.
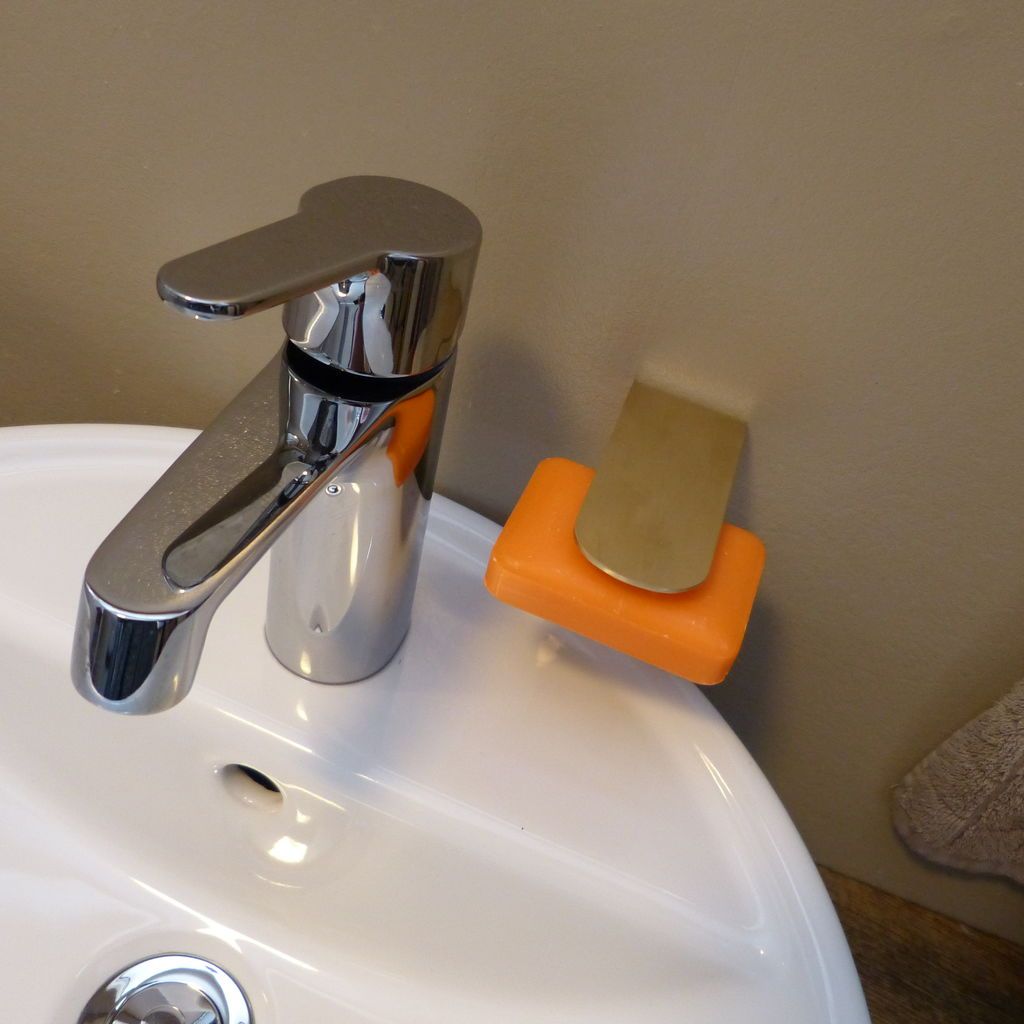
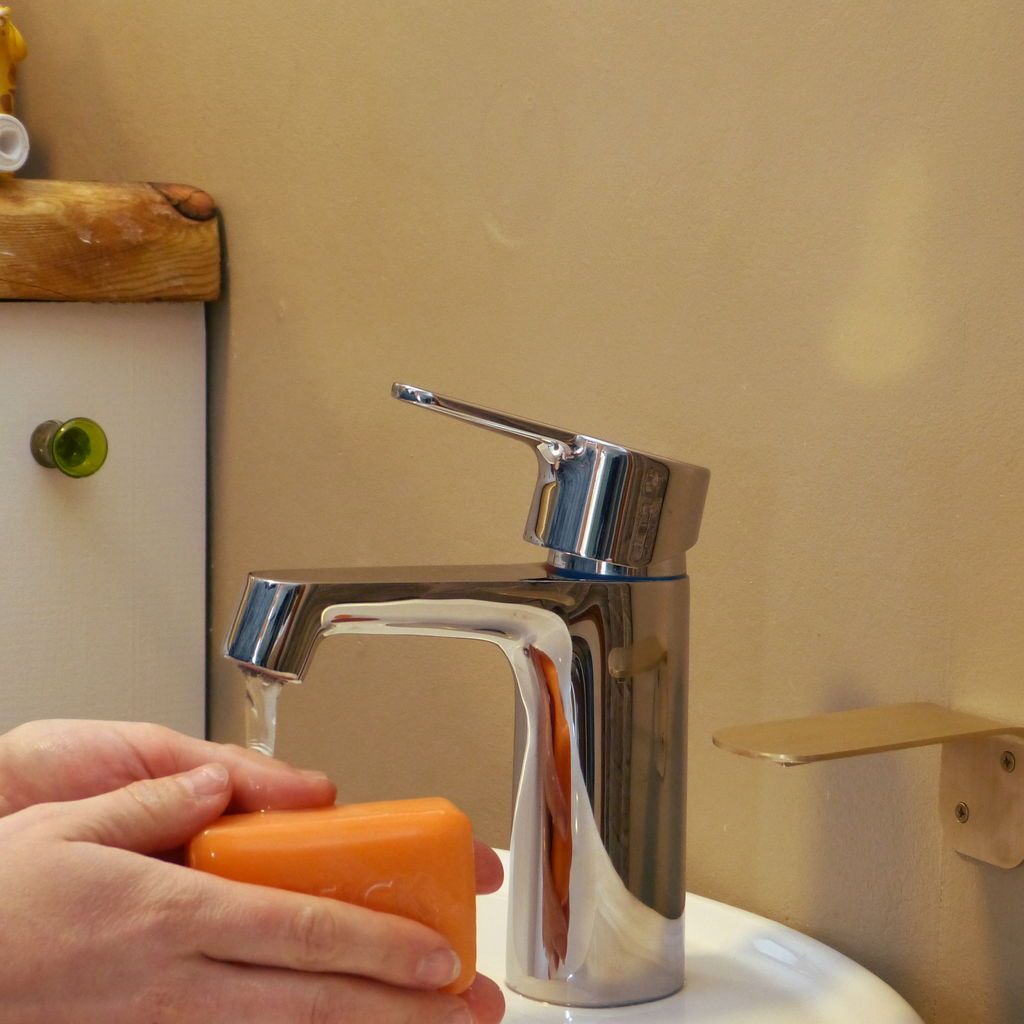
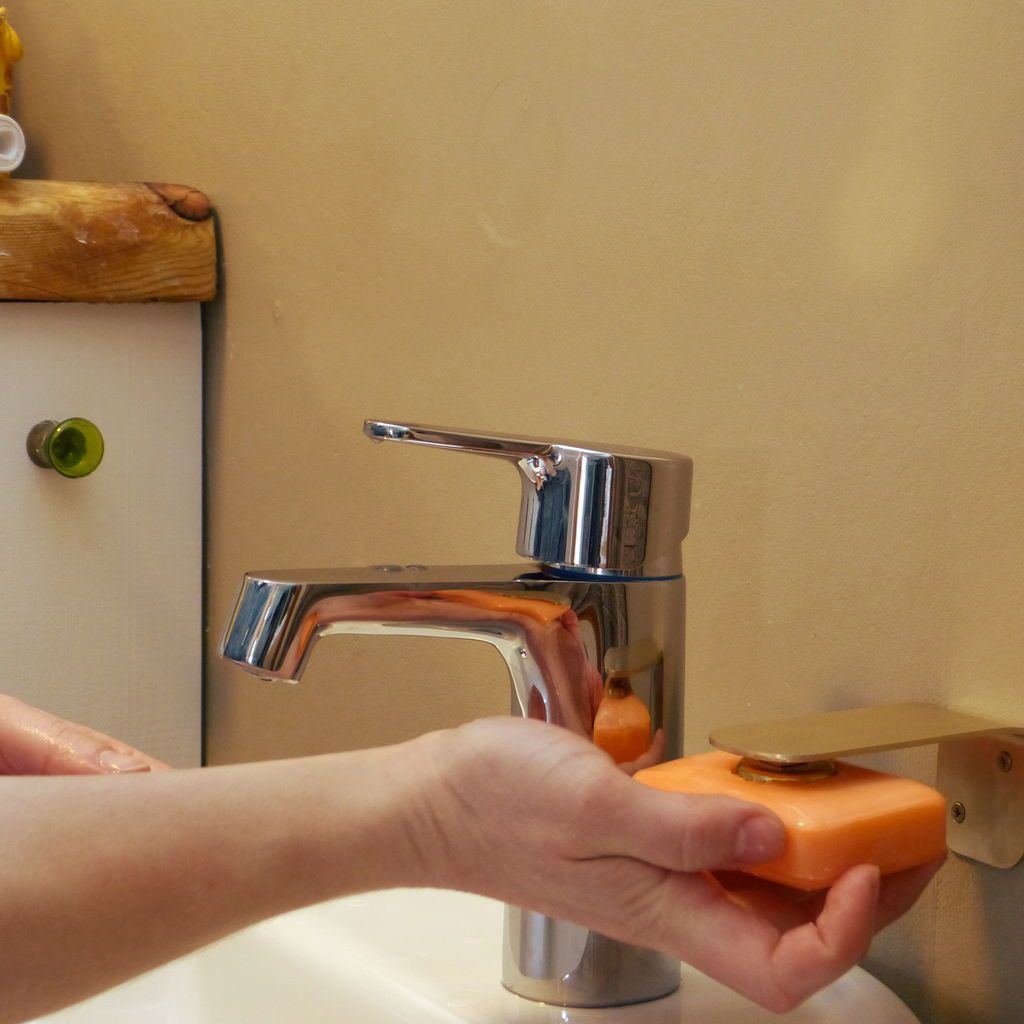
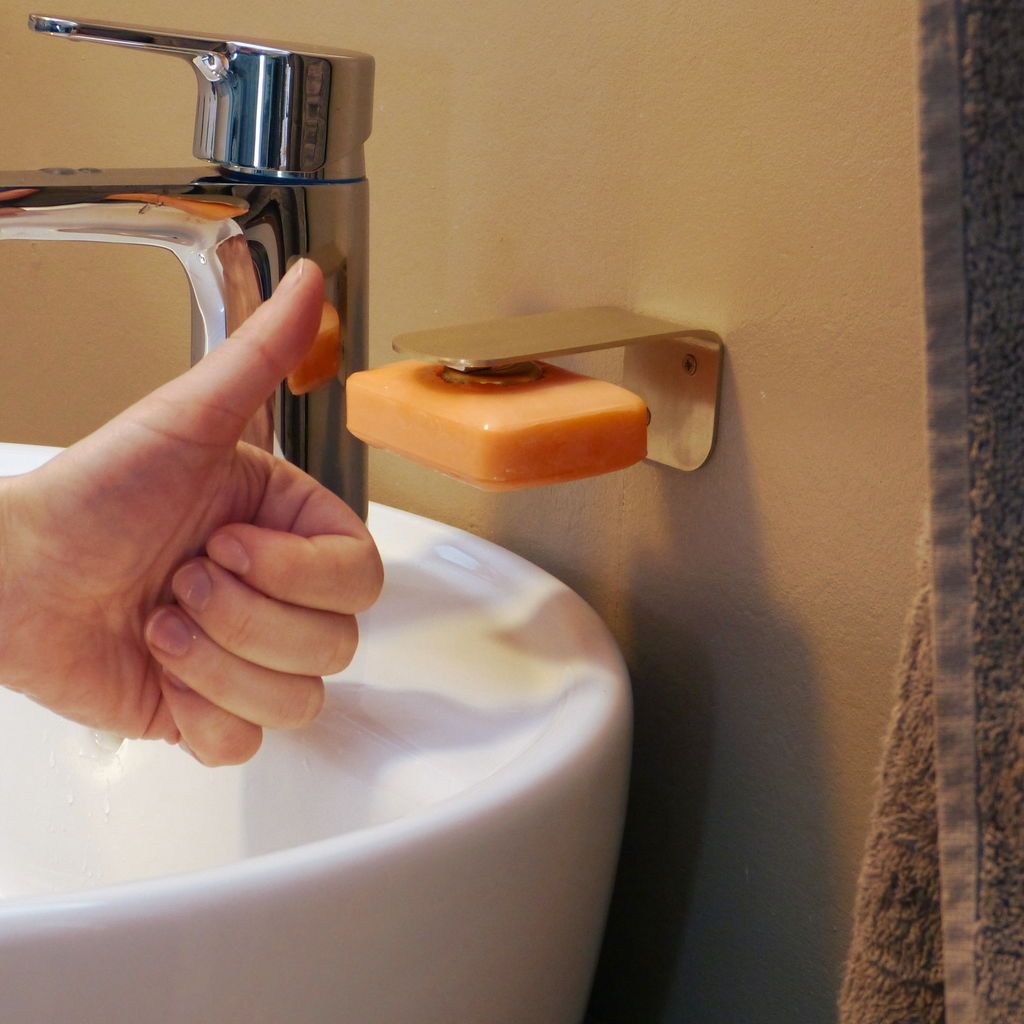
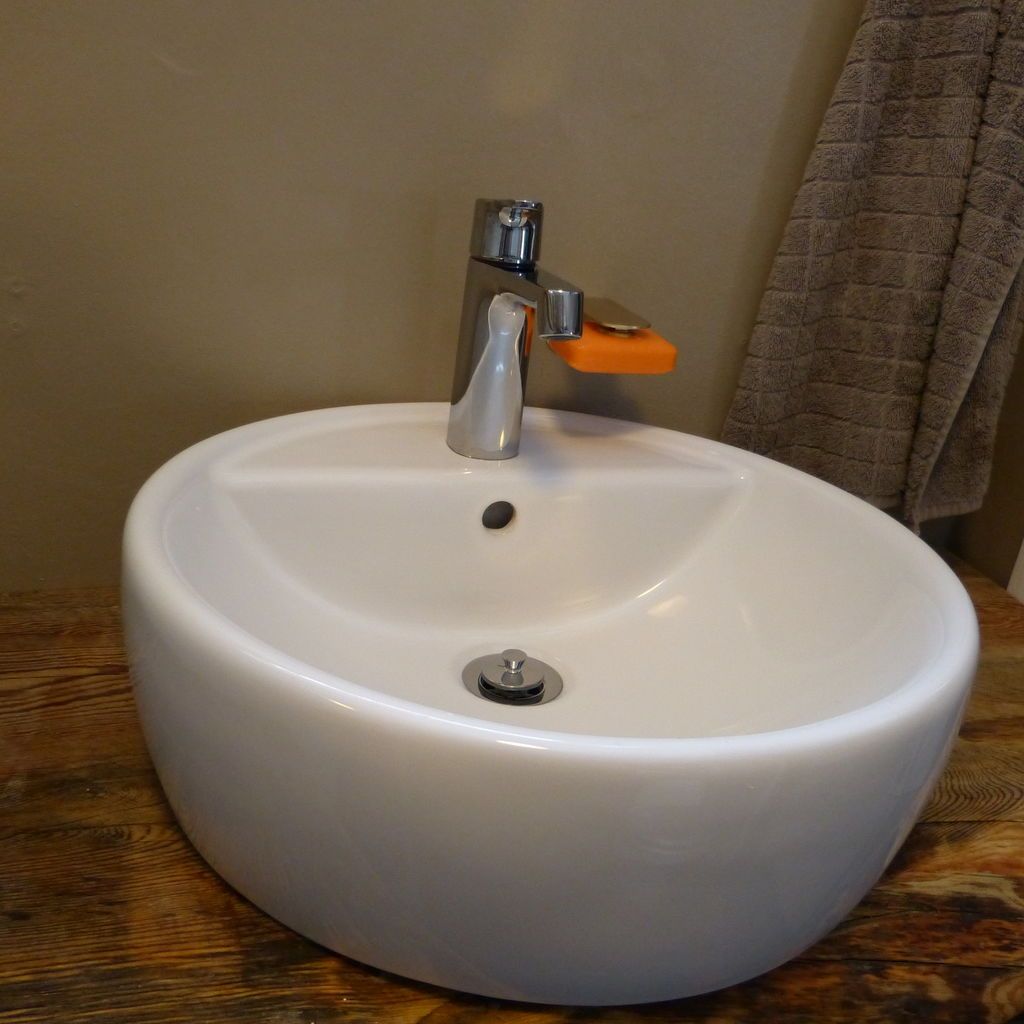
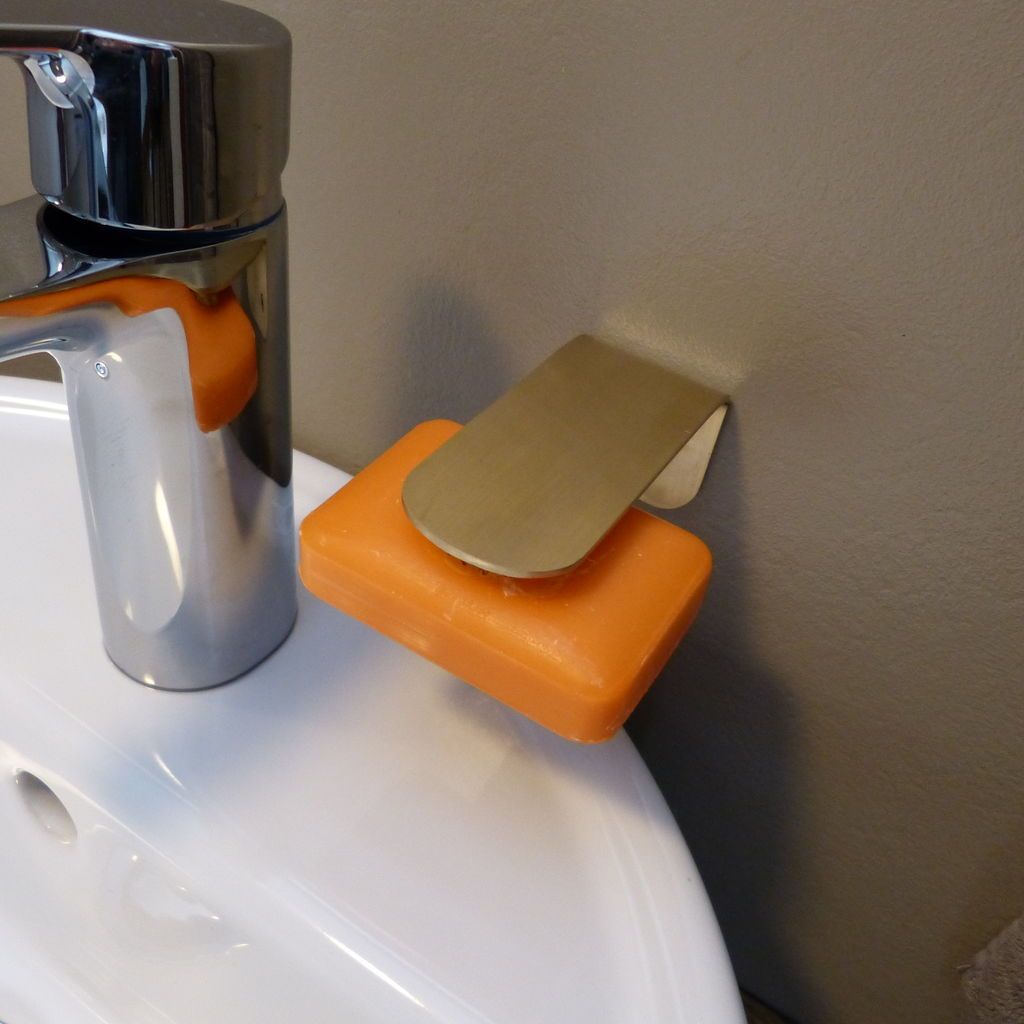
After all this metal work, it's finally time to wash your hands!
- Grab the soap
- Wash your hand thoroughly
- Hang the soap back
Enjoy dry, non-dirty soap the next time you use the bathroom!
Yes, of course: due to gravity, the soap will drip a little into the sink, but it is easy to clean and you don't have to lift anything to take care of it.
#14: Additional Tip
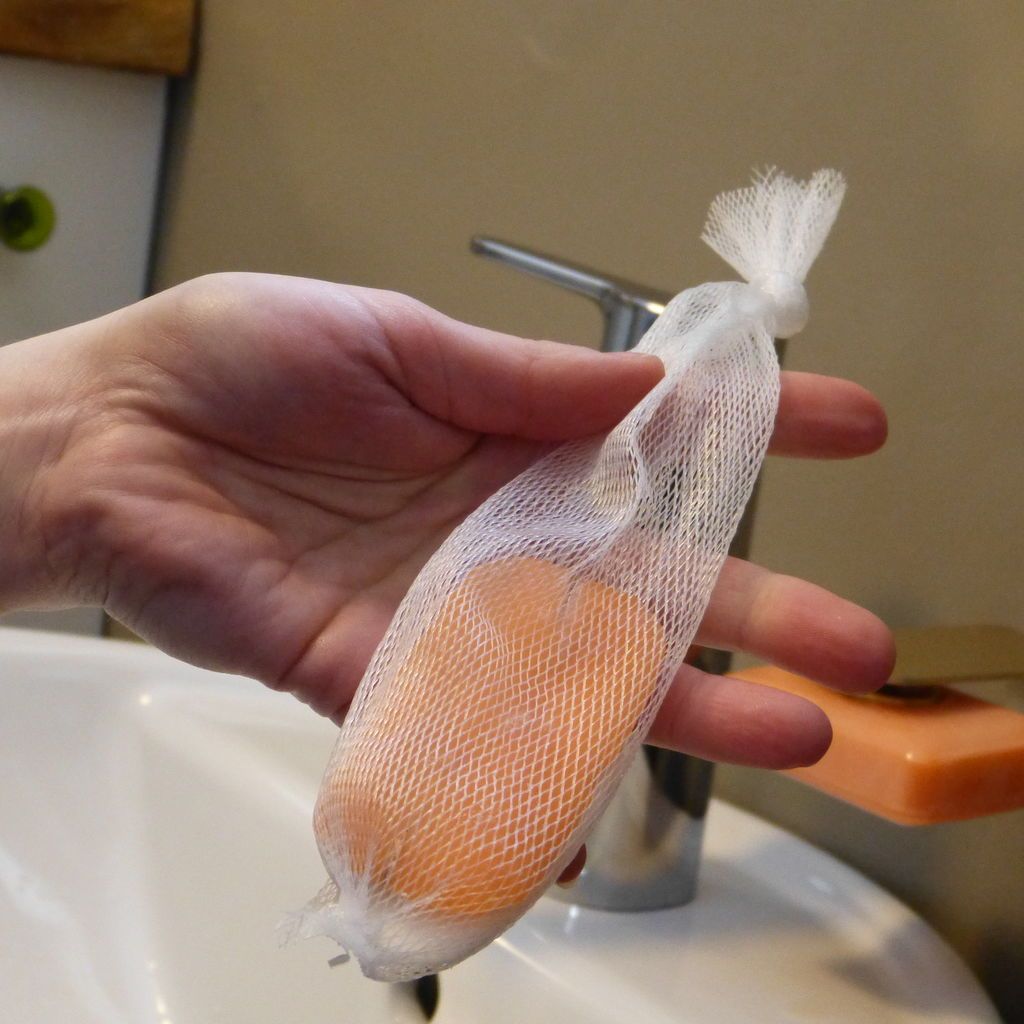
Wondering what to do with soap when it's too small to use?
It's simple but brilliant: use an onion net and keep it in the shower.
🙂 join our great community on Instagram: bit.ly/2FothPC

See this post on InstagramA post shared by Ingenio Extra (@ingenio.extra) on
Popular Content
How to make a rocket stove for outdoors
Cardboard Drawers Lined with Jeans
Ideas and Advantages of Window Grilles for the Home!
Latest Articles
How to make a refrigerator out of insulating material: Practical step-by-step guide
How to make a Kilim for the Home: Complete Step by Step Guide
How to protect ourselves from accidents in our workplace: Complete prevention and safety guide
Related Content
Great Ideas for Small Balconies!
Outdoor Sink Designs for the Garden
Floors that Would Look Incredible in the Bathroom
Make Your Own Floating Shelves with This Simple Technique!
Creative Home Decor Ideas to Transform Every Space
Refreshing your home starts with smart design choices that combine comfort, personality, and functionality. Whether you want to modernize a small apartment, upgrade outdoor areas, or create cozy rustic interiors, these trending ideas can completely change the atmosphere of your space.
Outdoor Spaces That Increase Style and Functionality
Outdoor living continues to dominate modern home trends. Homeowners are increasingly investing in practical entertainment zones inspired by these BBQ shed ideas, which create the perfect setup for gatherings and weekend cooking sessions.
First impressions also matter when designing exteriors. Elegant farm entrance gates design ideas help properties stand out while improving privacy and curb appeal.
Compact living solutions are also gaining popularity. These inspiring 16x40 shed house interior design ideas show how smaller spaces can still feel luxurious and functional.
To enhance patios and entryways, homeowners are adding stylish protection with these creative porch awning exterior DIY ideas that blend aesthetics with practicality.

Rustic and Cozy Interior Design Trends
Warm and natural interiors remain timeless. These charming rustic decor ideas combine wood textures, vintage accents, and earthy tones to create welcoming spaces.
Bedrooms are becoming more personalized with curated wall arrangements. Many homeowners use these stylish picture wall ideas for bedroom spaces to display memories and artwork creatively.
Textured wall treatments are another major trend. Installing a board and batten wall adds architectural character while keeping interiors elegant and modern.
Similarly, bold accent wall ideas can instantly transform plain rooms into eye-catching focal points without requiring a full renovation.
Smart Kitchen and Organization Inspiration
Functional kitchens are essential for modern homes. These practical kitchen wall cabinet ideas maximize storage while maintaining a clean and stylish appearance.
Organization also starts at the entrance. Well-designed mud room ideas help families keep shoes, coats, and daily essentials neatly arranged.
Colorful and Personalized Home Styling
Vibrant interiors are becoming increasingly popular thanks to playful dopamine decor ideas that use bright colors and joyful accessories to improve mood and energy.
Gallery walls also continue to evolve as a major decorative feature. These trendy gallery wall inspiration ideas offer creative ways to combine prints, photos, and statement art.
Young renters and new homeowners are especially embracing these stylish first apartment aesthetic ideas to create sophisticated interiors on a budget.
Finally, selecting the right shades can dramatically influence any room’s atmosphere. These modern trendy color ideas help homeowners choose palettes that feel fresh, elegant, and timeless.
Final Thoughts
From rustic charm and colorful interiors to outdoor entertaining areas and functional storage solutions, today’s home decor trends focus on creating spaces that feel both beautiful and livable. By combining smart layouts, modern textures, and personalized decorative elements, any home can become more stylish, comfortable, and inspiring.
Browse the Shop
 Acacia frida deluxe solid wood bed frame |
Bedroom bench |
Bed chest drawers |
Lingerie dresser |
Frame base |
Mirror with jewelry storage |
30 Bathroom Vanity |
Memory foam queen mattress |
Mattresses for back pain |
Nightstand set of 2 |
Grand Goldman Shop |
Civil Lawyer
Deutschland Trikot WM 2026
Acacia frida deluxe solid wood bed frame |
Bedroom bench |
Bed chest drawers |
Lingerie dresser |
Frame base |
Mirror with jewelry storage |
30 Bathroom Vanity |
Memory foam queen mattress |
Mattresses for back pain |
Nightstand set of 2 |
Grand Goldman Shop |
Civil Lawyer
Deutschland Trikot WM 2026







