

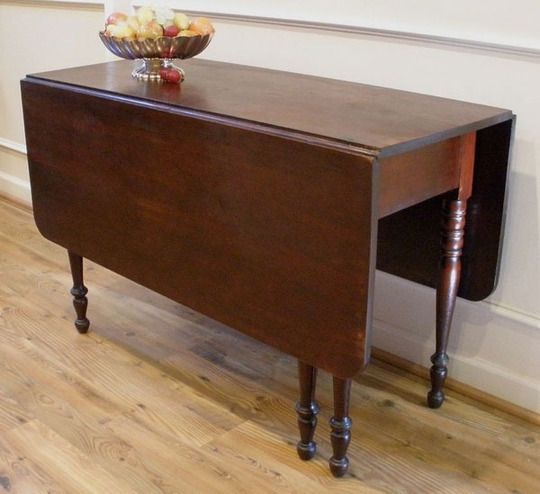
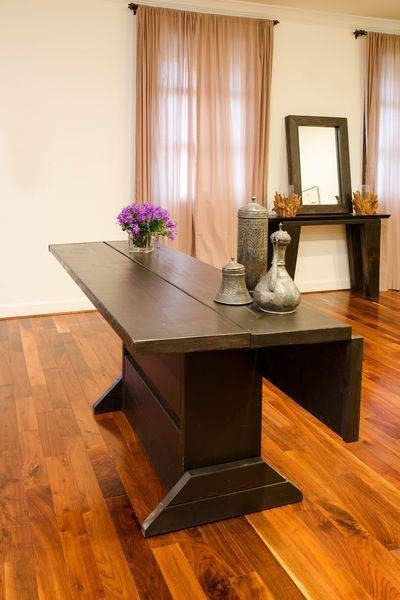
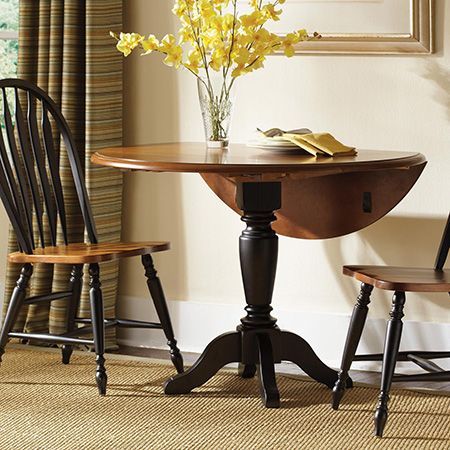
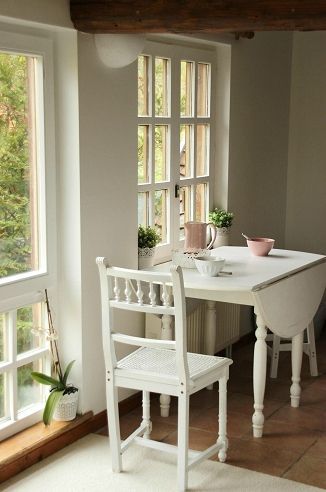
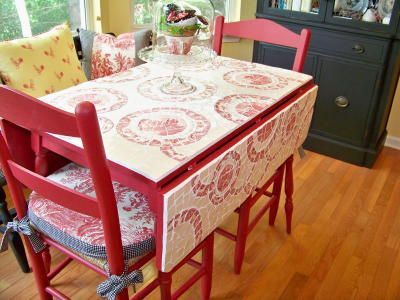
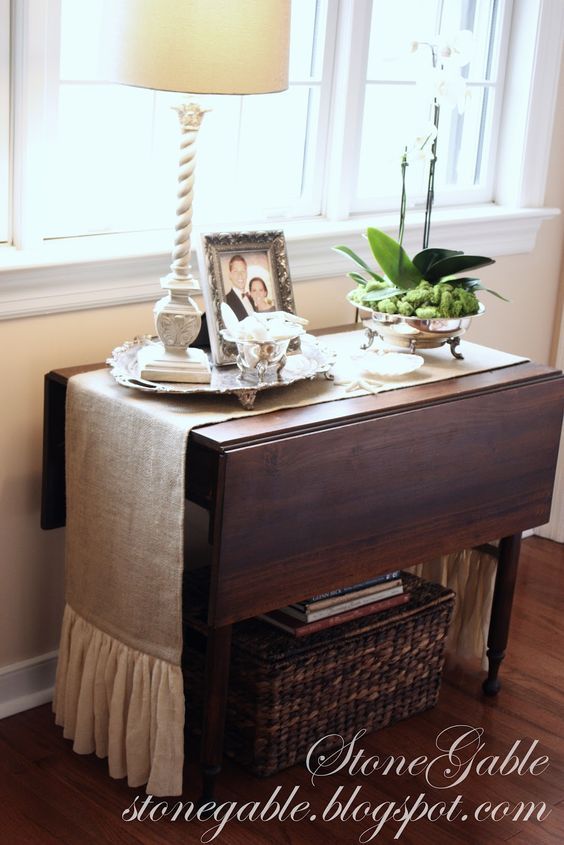
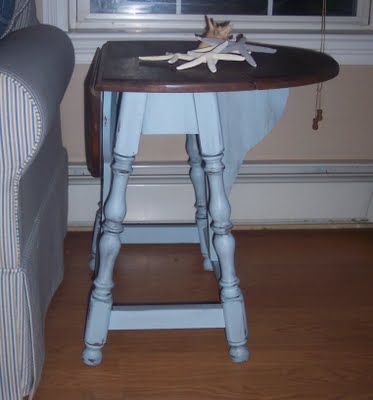
How to Make a Folding Dining Table: Dropleaf that suited a "nomadic" lifestyle. The ability to fold the table up to a third of its size or have a nice large space for playing board games or dining.
Note: While the steps in this process are not overly complicated, working with power tools/finishes/solvents is dangerous and you should not use them without proper training/safety equipment. Make sure wherever you work has adequate ventilation. In any shop environment, it is your responsibility to work safely.
Find Bleeding Edge Supplements at Scandalous Prices on iHerb.

Step 1: What are you going to need?
For this project, I was able to complete it using these tools: (I'm going to separate the process into two parts, building the table and painting the table). Building your Dropleaf table
Wood: Poplar
Tools:
- Table saw
- Band saw
- Lathe
- Drill
- Router
- Roman Ogee Bit (for decorative border around the table)
- Marking tools (sharpened pencils, rulers, combination square)
- Orbital sander
Materials:
- (6) Hinges
- Wooden Cookies (Size 20)
- 1/2″ screws
- Steel rod (to use as pins for the pivot door)
- Wood glue
- Clamps
- Sandpaper (120g, 150g, 180g, 220g)
- Table finish
- Painting
- Desired Gel Stain Color (Minwax Mahogany Gel Stain)
- Polyurethane
- Clean, white lint-free cloths (for cleaning or applying finish)
- Foam brushes
- Steel wool (0000)
- Vinyl or acetate
- Adhesive tape
Step 2: Start any furniture project

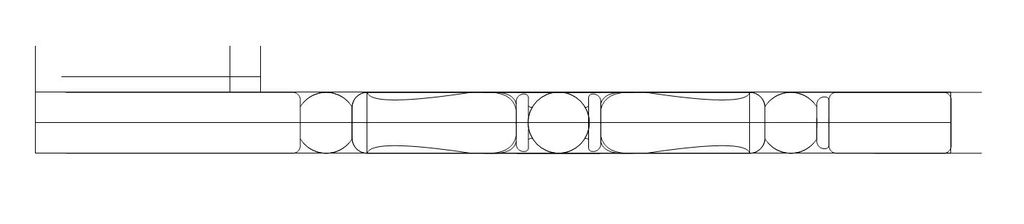
Find some inspiration. Look at historic furniture books, look at Pinterest, visit your grandmother's house. Whatever it takes, just find a project that inspires you, because if you're not excited to build it, why are you building furniture? It's tedious, dirty and worth it. I found my inspiration in several images and used elements from each to design my own table. The legs of one, the upper part of the other, the carpentry of a third.
This means you need to know what size the project will actually be, I find that looking at real furniture gives me a good idea of what size I want mine to be.
Personally I used the program called; Vectorworks to scale my drawing and printed the leg design at full scale.
Step 3: Placing the legs
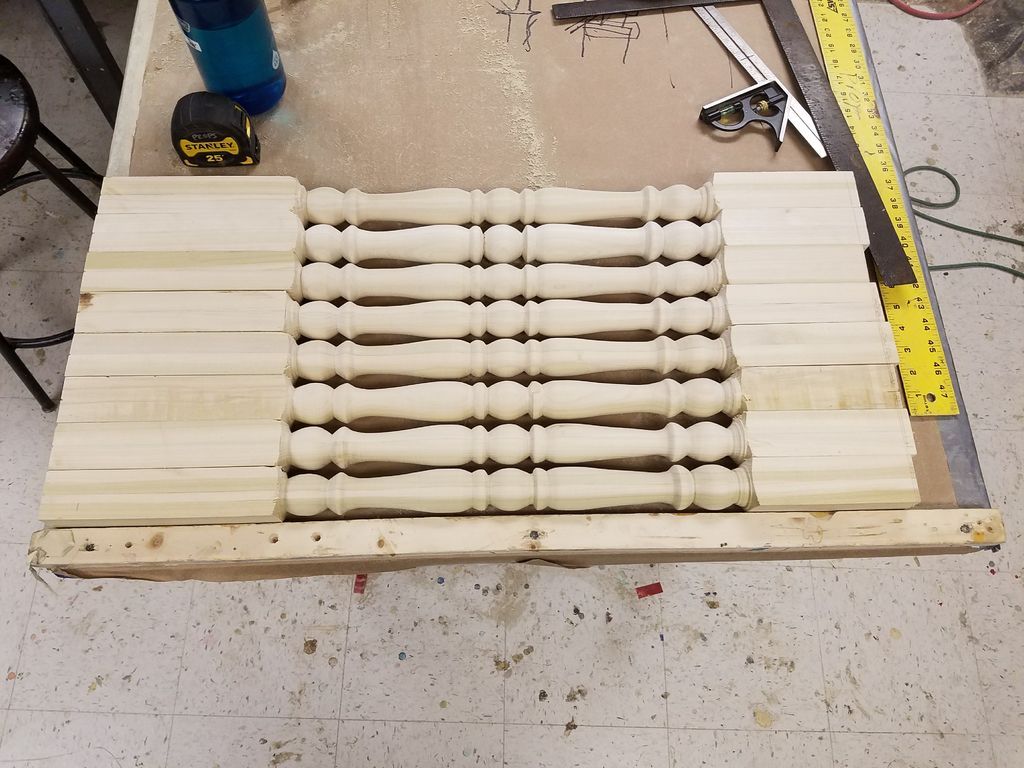
To make a lathe, you need to create a blank space. This is a block of wood longer than the finished piece (at least a couple of inches) and the thickness of the widest part of the finished piece on all sides. What this means is that you will probably need to stockpile materials to create your blank.
Then, using the table saw and a chop saw, cut the wooden bars to size, then paint wood glue on the face, place a matching stick on top and clamp until you think you can't fit another clamp. Repeat this process until you have all 8 legs attached. Wait 2 hours to dry.
Cut the pieces so the seams are flat and clamp one leg on the lathe. I used a duplicator, which allows you to make a piece and then duplicate the shape over and over again. But I think at a certain point it would be easier to do each leg individually.
After carving the shape of each leg, be sure to use sandpaper strips to clean the carved pieces. You can get its material extremely soft before removing it.
Step 4: Cut the apron and stretchers
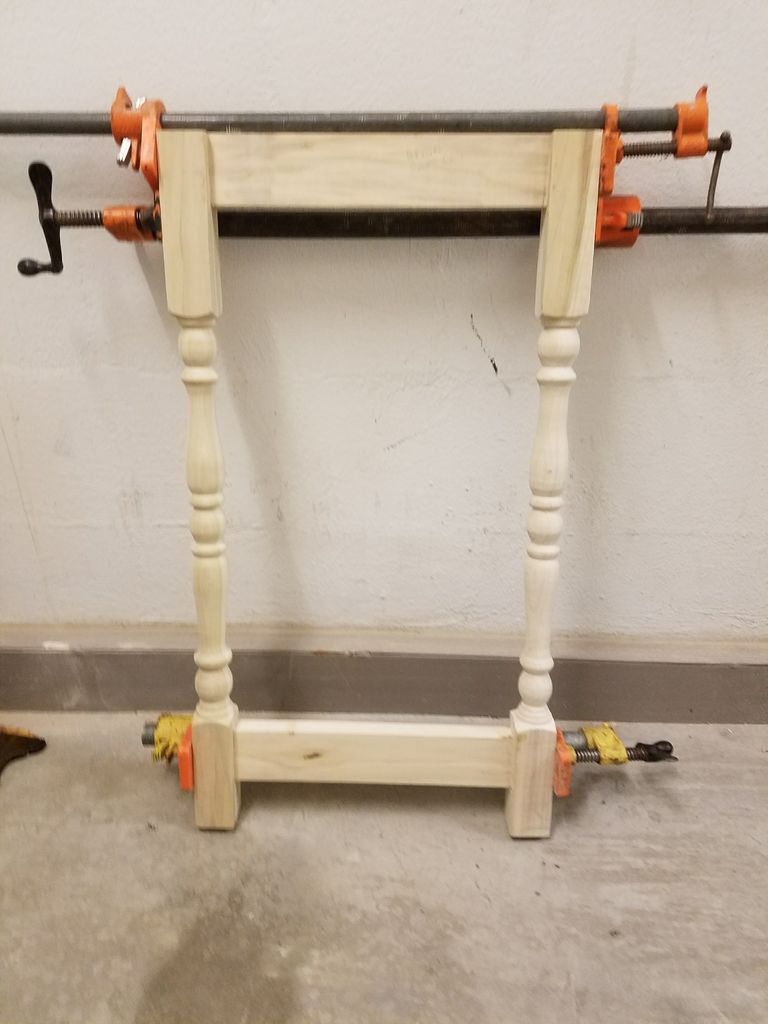
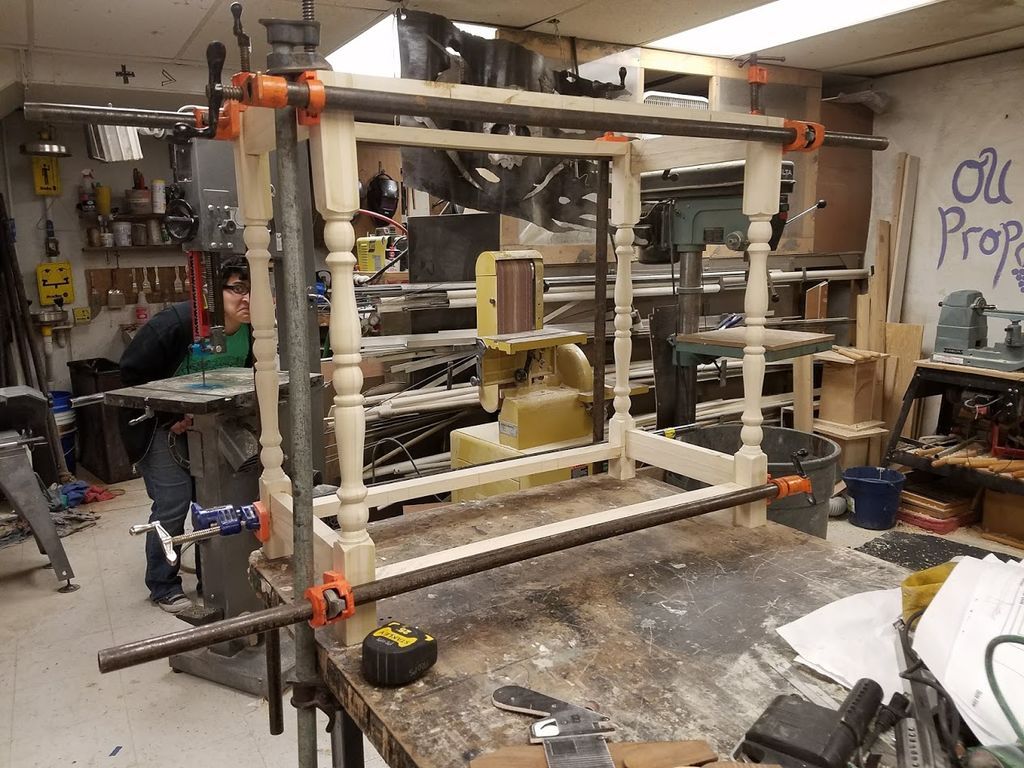
Four of the eight identical legs are used to create a table, the same way you would build any other table.
- Cut the apron and stretcher pieces to the size you want the final table to be, minus the thickness of the legs. (For example, if you want your table base to be 15″ long and your legs to be 3″ thick, cut the apron and stringer to 9″)
- Using a center thatFind the dowel template, drill two 1/2″ dowel holes on each side of each apron and one stretcher piece.
- Take two 1/2″ dowel points and transfer the placement of the dowel holes to each leg, then drill 1/2″ holes half the length of a dowel.
- Use wood glue liberally on each dowel and joining pieces. Use bar clamps to get pieces that fit together. Gluing the short sides of a table first makes it a less complicated process.
- After 2 hours you can unlock, repeat the process to create the complete table base. Along with clamping at each joint, clamping the entire piece to a table on two sides forces it to dry completely.
Step 5: Build the doors
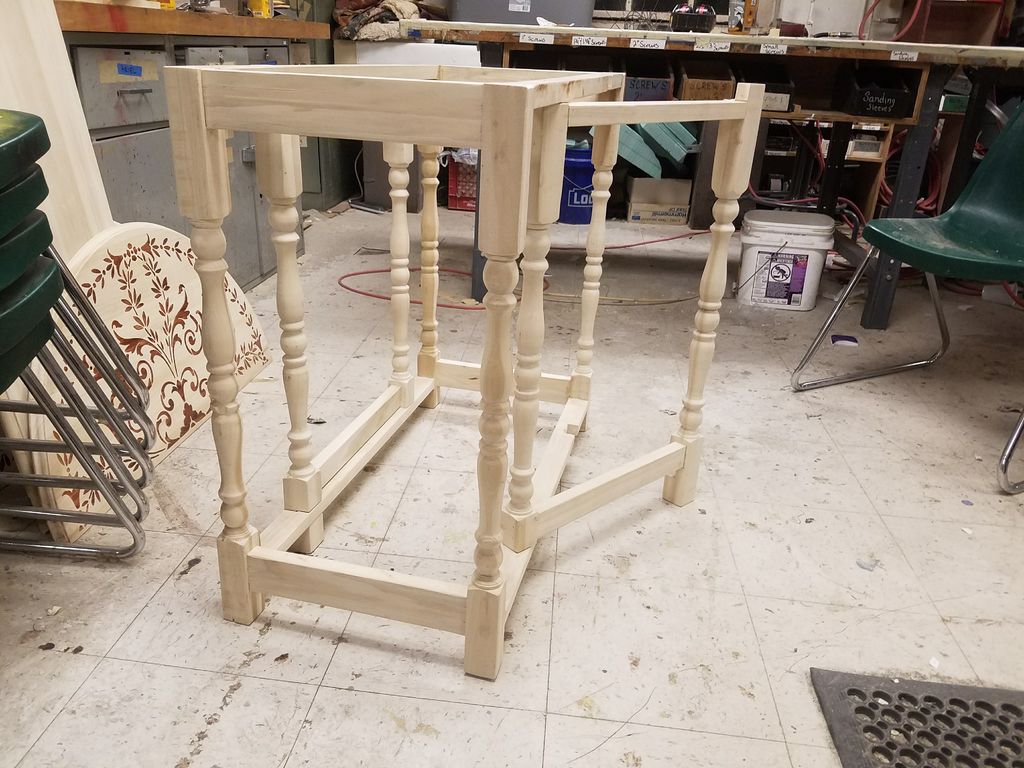
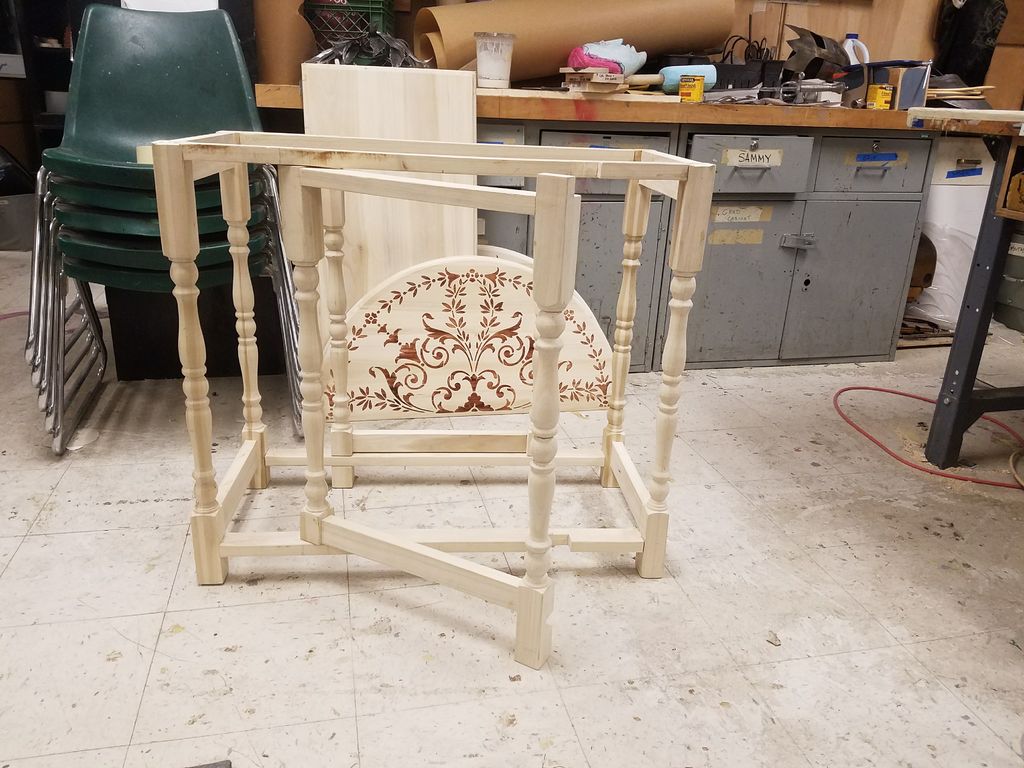
Choose a width you would like your pivot gate to be, it should fit between your legs and be no longer than the cane when extended. Once you have chosen the width, repeat the steps above to join the legs together to create two individual doors.
Once dry, you can take measurements of the finished table, to figure out where to cut your door to fit. One side will want to sit inside the apron/stretcher and the other wants to be the same length as the legs, but half cut, so that it can hold the blade up, while also sitting flat with the legs when folded. (I think this is much easier to understand just by looking at the pictures.)
On the side that is cut to fit inside your apron/stretchers, re-drill a hole and use an epoxy steel bolt on one side to create a pin hinge. Cut a hole in the apron and stretcher where you want to pivot the leg. Place the leg in one hole, and pour mixed epoxy into the hole on the other side of the leg, place the second steel pin, being careful not to get epoxy on the outside of the leg. (You only want epoxy on the door leg, not at all on the deck/stringer)
Step 6: Table Top
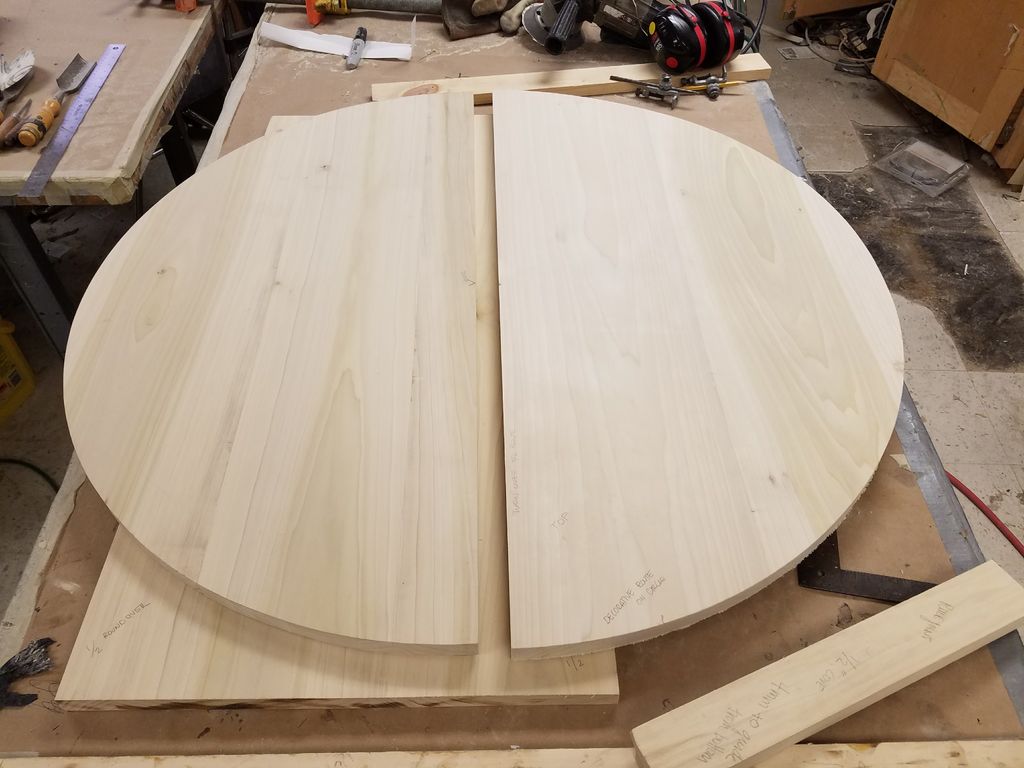
While you're waiting for your paws to dry, it's a good time to start working on the table. This table is built in three pieces. I took the poplar boards, planed and blended them to make three boards at 19″ x 38″ x 3/4″. Two were set aside for the “leaves” of the half circle and the final piece was the static table. your pieces are dry, using hatch stitches, draw a half circle on the face of your sheets and cut them out on the band saw, keeping the pieces separate from the beginning, means you don't need to figure out how to cut a 36″ diameter circle in half. To make your pieces fit together, you need to use a baton hinge. 3 per sheet.
First you need to create a joint ruler with the table pieces that are joined together. The long edges of the table should have a 3/4″ roundover tool and the long edges of the semicircle should have a 3/4″ path. The remaining unrouted edges of all pieces can get a matching decorative route, as they will not be important to the mechanics of the table.
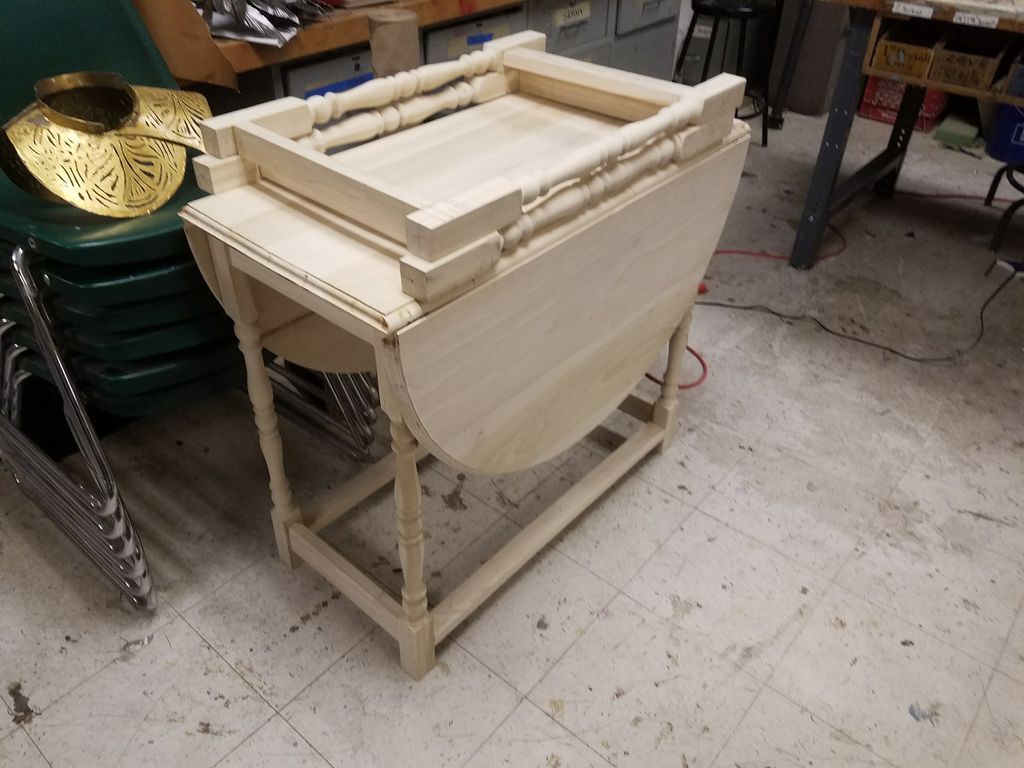
Your Dropleaf hinges should be placed at the bottom of the table so that it is offset towards the center of the joint, not at the point where they meet on the underside (this point is shown on the hinge/image)
Using a Palm Router or Dremel with a Router head, insert the hinges so they do not protrude from under the table. Join the three pieces to test the joint of your ruler. I kept my three pieces separate for finishing/sealing, because it is very difficult to flip when they are jointed together.
Step 7: Inlay template
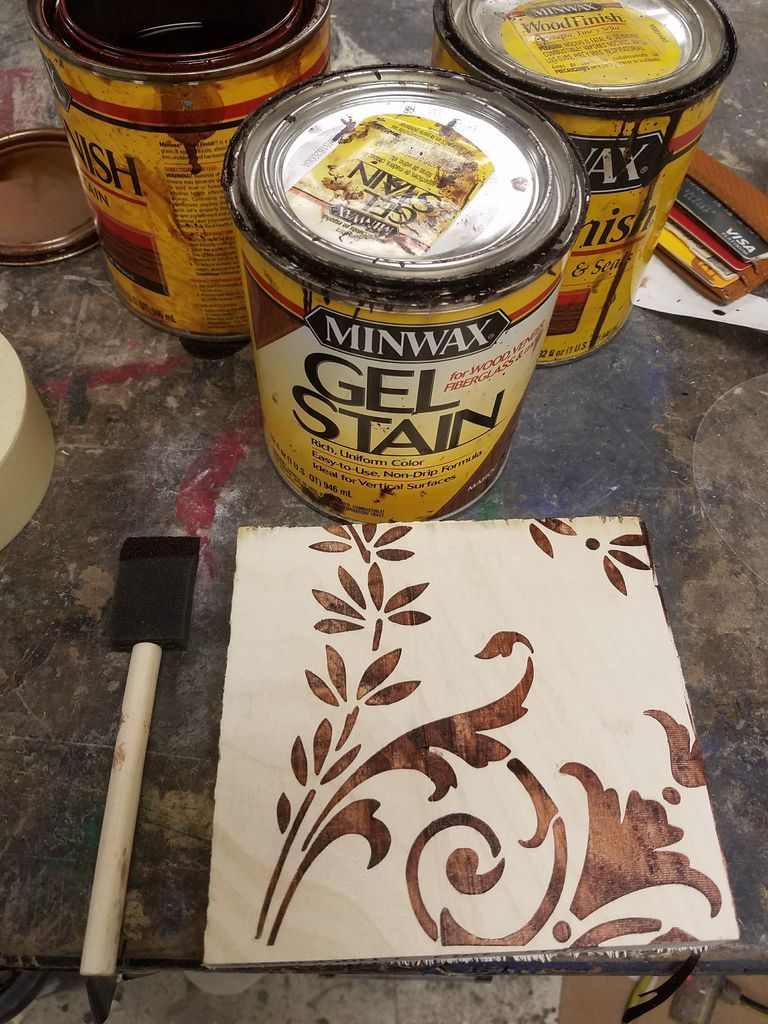


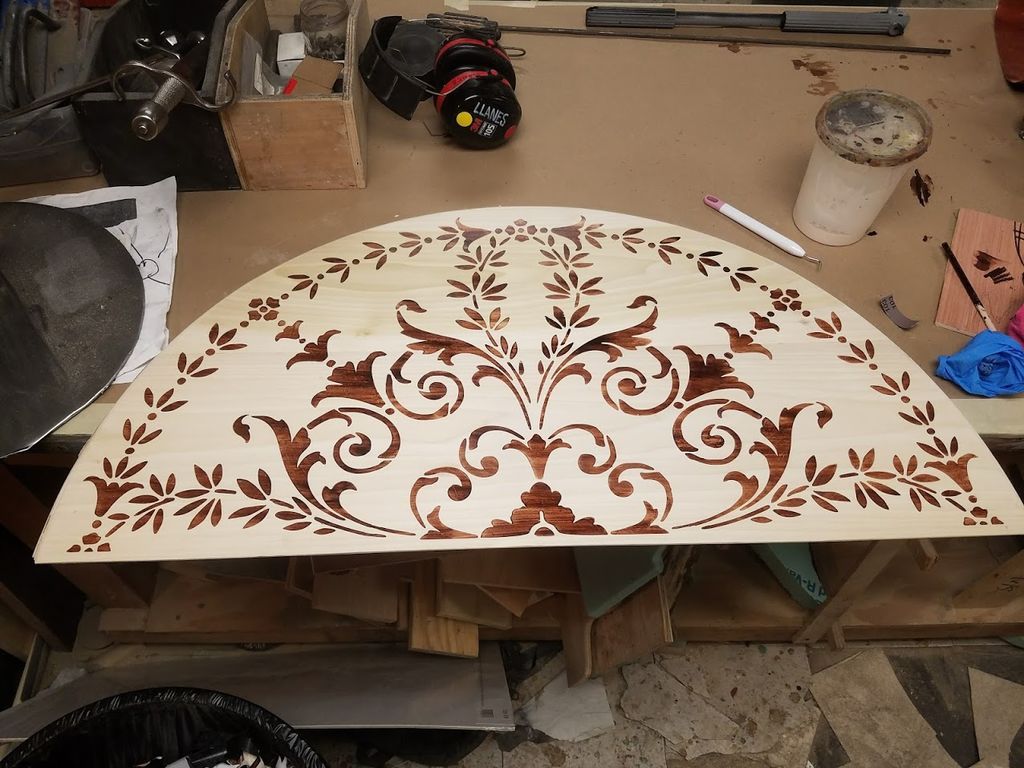


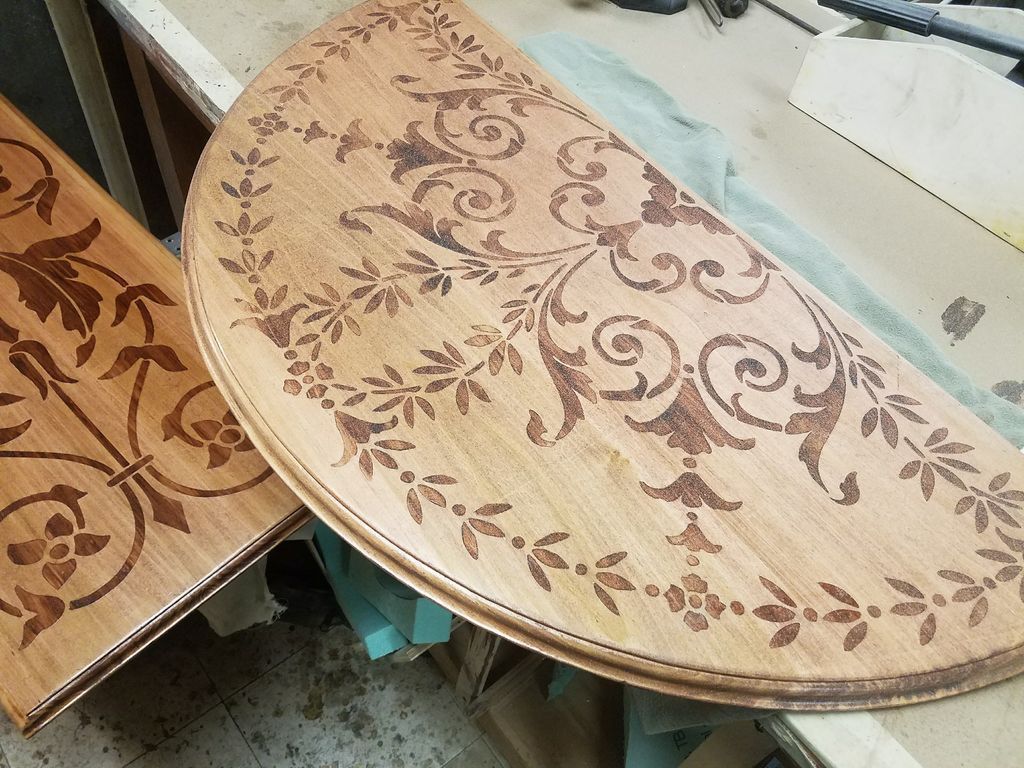

The most important part of this step is to test! Stain colors are never uniform, and you may have loved the look of a single piece of wood, but it may look totally different on a different type of wood.
- Find a stencil you like (mine was found at http://www.stencil-library.co.uk/), scale it to the size you need (I was able to scale mine in photoshop), and crop it. You can purchase pre-made stencils, cut them with an Exacto, or use a vinyl cutter to make stencils quickly.
- Take all the wood pieces and grit them to a minimum of 220 grit, then wipe them with a clean rag so they are ready for finishing.
- After sanding a sample piece, adhere your template to the sample piece as well as your final pieces. My stencil cutter only cuts up to 12″ x 24″, so I had 9 stencils total to apply. Once you place them where you want them, tape over any edges or seams and use an old credit card to squish the stencil into place.
- I then used a matte polish and rubbed it onto each exposed edge of the stencils to "seal" the edges of the stencil. After 10 minutes, you can apply the gel finish. I applied it with a rag, making sure to always work with the grain of the wood. After I had covered the entire section with the gel finish, I took a second clean rag and wiped off the excess. The stencil should be removed immediately after cleaning. Repeat this step for each piece you want to use a template on, then wait 24 hours before doing anything else.
- After 24 hours, you can stain the entire table as you would the desired oil stain. I tried to keep my finish for the entire table a little lighter than the stain I used for the stencil.
- Finally, after another 24 hours, use a foam brush to apply polyurethane. Wait 3 hours after first application and sand lightly. Clean the surface again, then apply a second coat of polyurethane. You can repeat this step as many times as you think necessary.
Step 8: Set your tabletop and enjoy!
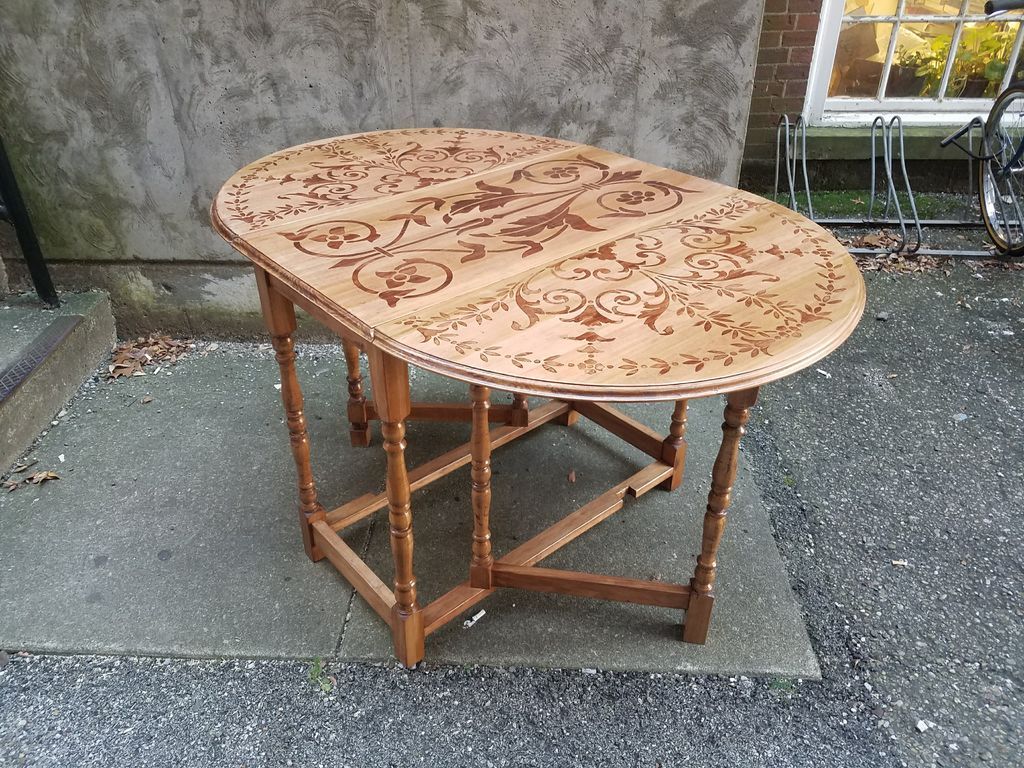
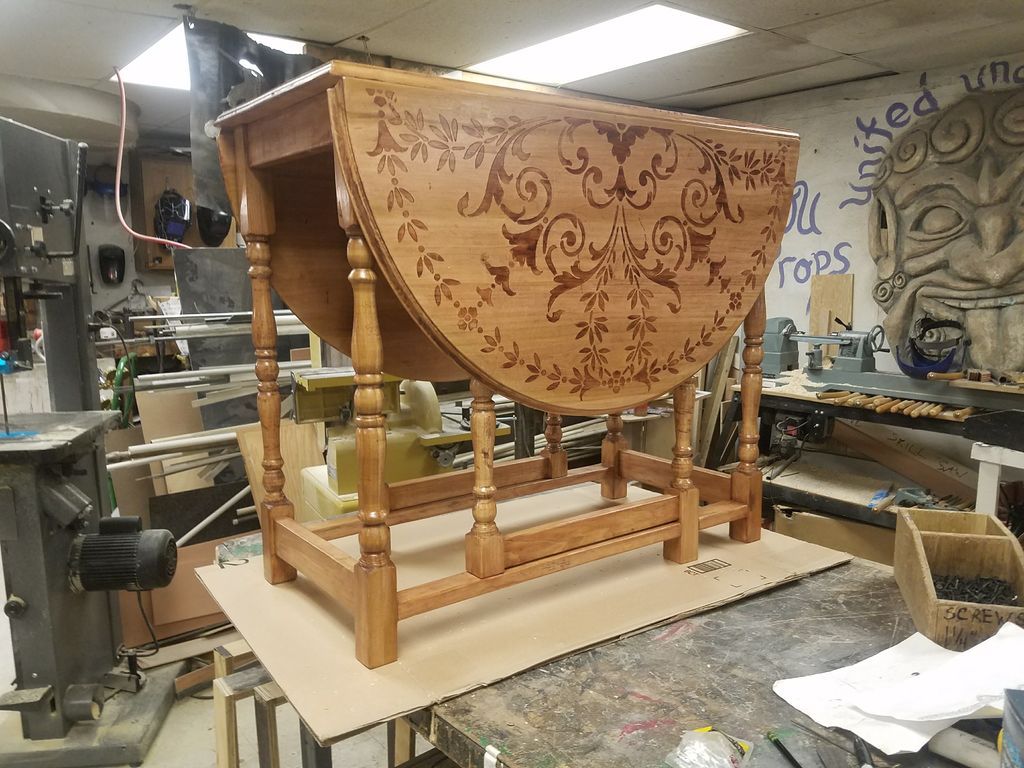
Once dry, screw the leaves onto the hinges and rotate the table legs onto the table. Use angle irons to attach your table to the apron.
Get a friend to help you flip your table and now you have your own Dropleaf table! Enjoy!
Similar Ideas:
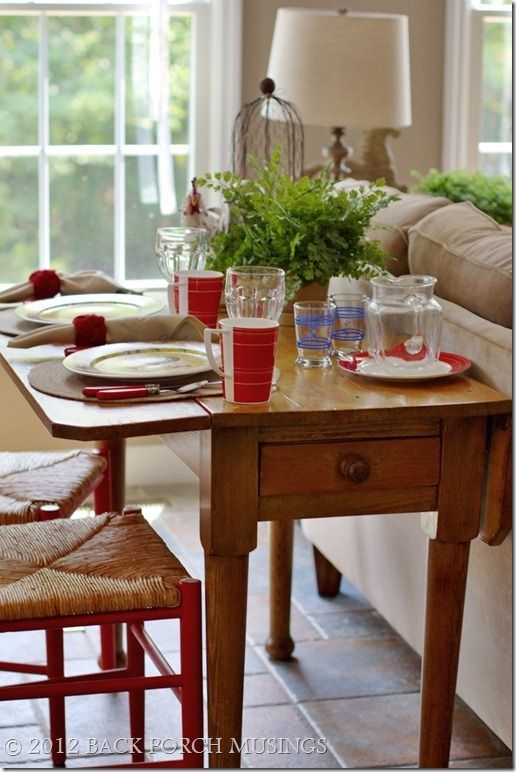
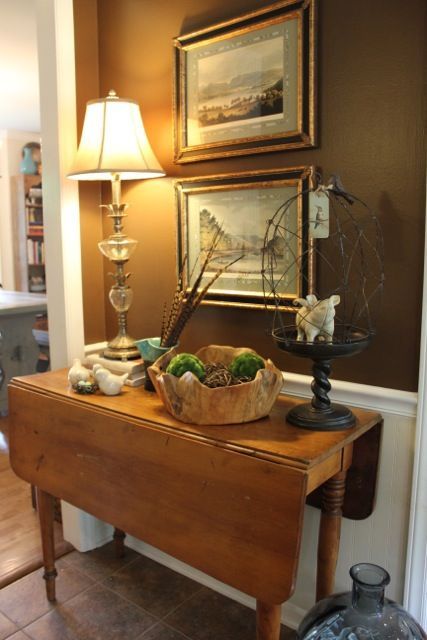
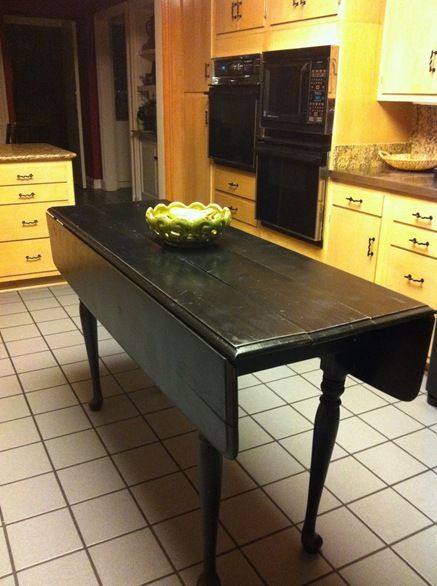
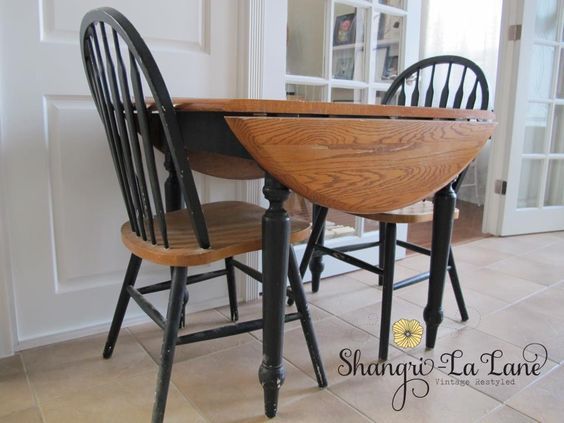
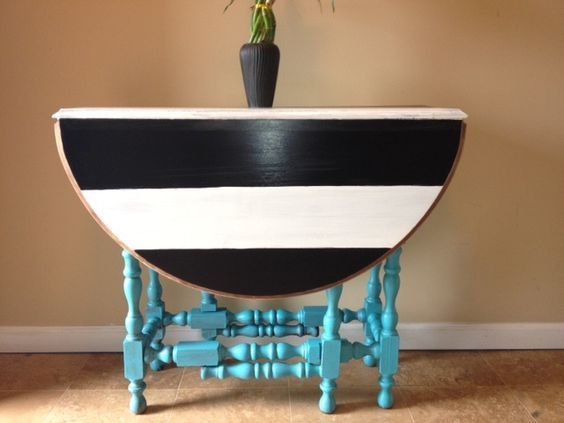
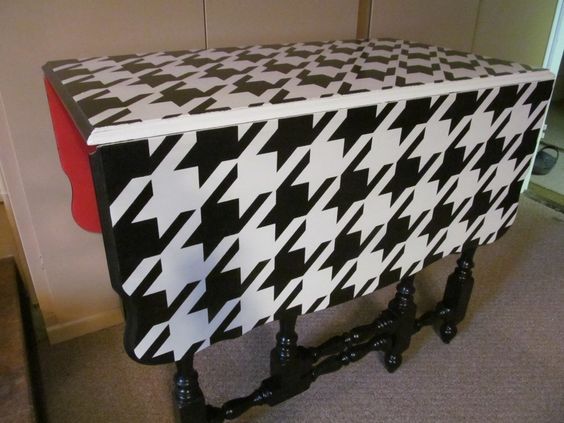
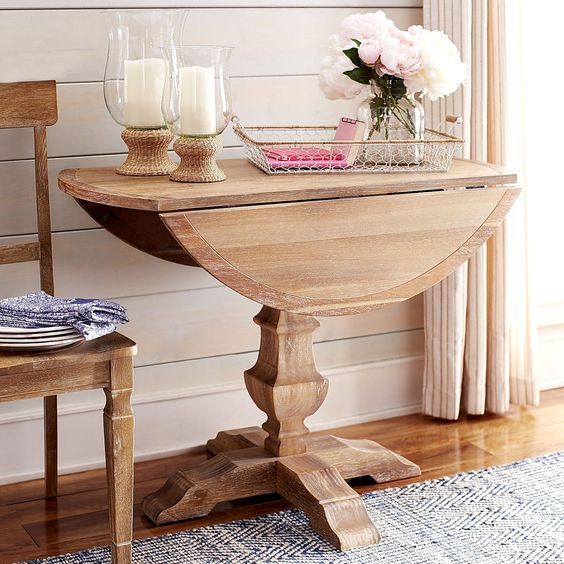
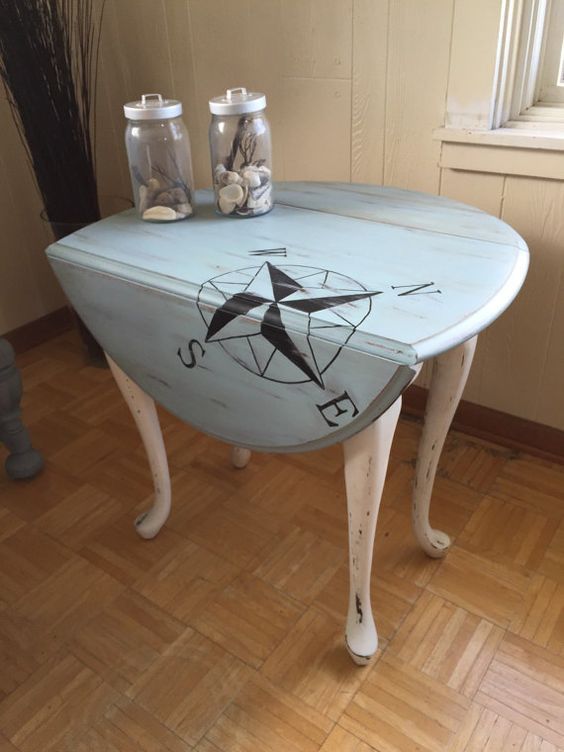
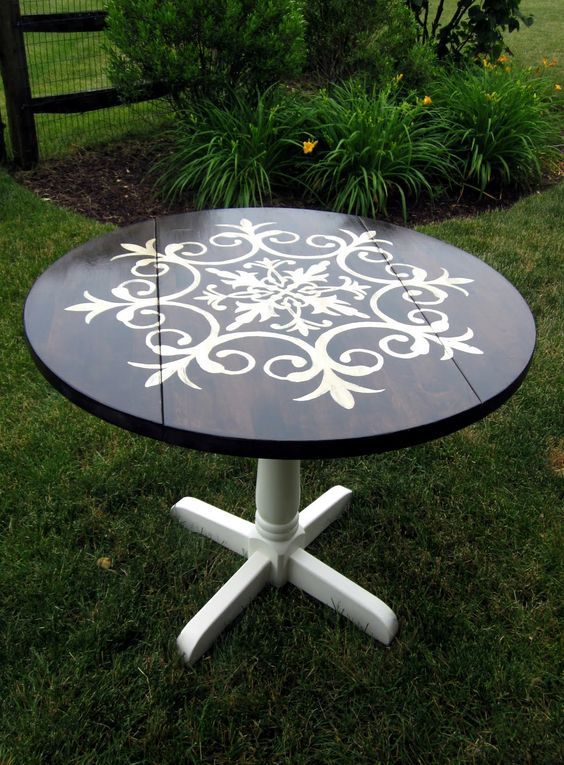

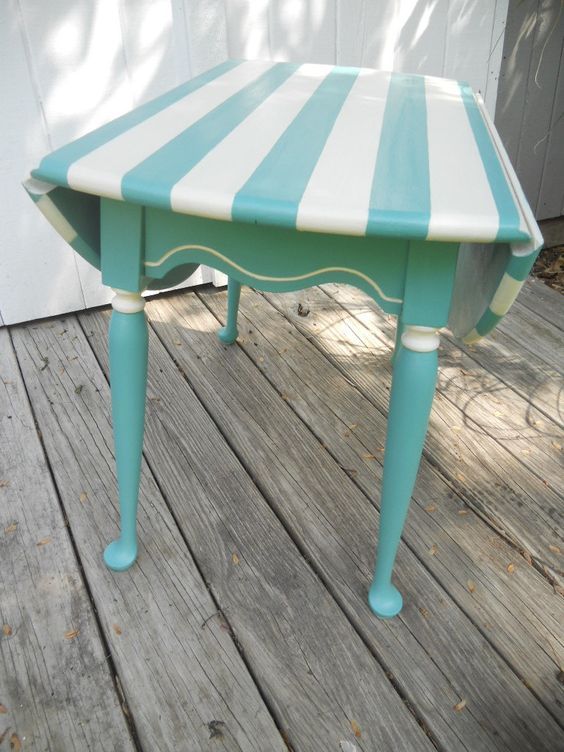
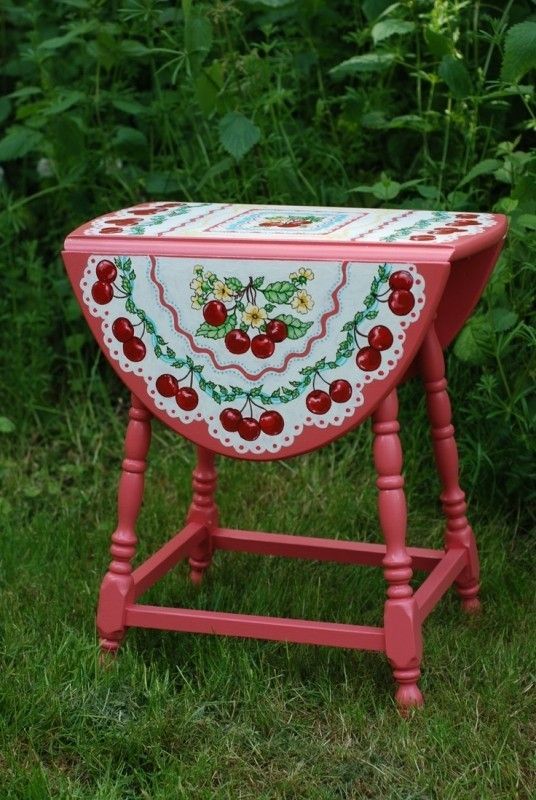

Popular Content
How to make a rocket stove for outdoors
Cardboard Drawers Lined with Jeans
Ideas and Advantages of Window Grilles for the Home!
Latest Articles
How to make a refrigerator out of insulating material: Practical step-by-step guide
How to make a Kilim for the Home: Complete Step by Step Guide
How to protect ourselves from accidents in our workplace: Complete prevention and safety guide
Related Content
Advantages of Installing Artificial Grass
Build Vinyl Frames to Decorate your Wall
Teepee: A House for Pets
Colorful Interiors for Home Decoration
Creative Home Decor Ideas to Transform Every Space
Refreshing your home starts with smart design choices that combine comfort, personality, and functionality. Whether you want to modernize a small apartment, upgrade outdoor areas, or create cozy rustic interiors, these trending ideas can completely change the atmosphere of your space.
Outdoor Spaces That Increase Style and Functionality
Outdoor living continues to dominate modern home trends. Homeowners are increasingly investing in practical entertainment zones inspired by these BBQ shed ideas, which create the perfect setup for gatherings and weekend cooking sessions.
First impressions also matter when designing exteriors. Elegant farm entrance gates design ideas help properties stand out while improving privacy and curb appeal.
Compact living solutions are also gaining popularity. These inspiring 16x40 shed house interior design ideas show how smaller spaces can still feel luxurious and functional.
To enhance patios and entryways, homeowners are adding stylish protection with these creative porch awning exterior DIY ideas that blend aesthetics with practicality.

Rustic and Cozy Interior Design Trends
Warm and natural interiors remain timeless. These charming rustic decor ideas combine wood textures, vintage accents, and earthy tones to create welcoming spaces.
Bedrooms are becoming more personalized with curated wall arrangements. Many homeowners use these stylish picture wall ideas for bedroom spaces to display memories and artwork creatively.
Textured wall treatments are another major trend. Installing a board and batten wall adds architectural character while keeping interiors elegant and modern.
Similarly, bold accent wall ideas can instantly transform plain rooms into eye-catching focal points without requiring a full renovation.
Smart Kitchen and Organization Inspiration
Functional kitchens are essential for modern homes. These practical kitchen wall cabinet ideas maximize storage while maintaining a clean and stylish appearance.
Organization also starts at the entrance. Well-designed mud room ideas help families keep shoes, coats, and daily essentials neatly arranged.
Colorful and Personalized Home Styling
Vibrant interiors are becoming increasingly popular thanks to playful dopamine decor ideas that use bright colors and joyful accessories to improve mood and energy.
Gallery walls also continue to evolve as a major decorative feature. These trendy gallery wall inspiration ideas offer creative ways to combine prints, photos, and statement art.
Young renters and new homeowners are especially embracing these stylish first apartment aesthetic ideas to create sophisticated interiors on a budget.
Finally, selecting the right shades can dramatically influence any room’s atmosphere. These modern trendy color ideas help homeowners choose palettes that feel fresh, elegant, and timeless.
Final Thoughts
From rustic charm and colorful interiors to outdoor entertaining areas and functional storage solutions, today’s home decor trends focus on creating spaces that feel both beautiful and livable. By combining smart layouts, modern textures, and personalized decorative elements, any home can become more stylish, comfortable, and inspiring.
Browse the Shop
 Acacia frida deluxe solid wood bed frame |
Bedroom bench |
Bed chest drawers |
Lingerie dresser |
Frame base |
Mirror with jewelry storage |
30 Bathroom Vanity |
Memory foam queen mattress |
Mattresses for back pain |
Nightstand set of 2 |
Grand Goldman Shop |
Civil Lawyer
Deutschland Trikot WM 2026
Acacia frida deluxe solid wood bed frame |
Bedroom bench |
Bed chest drawers |
Lingerie dresser |
Frame base |
Mirror with jewelry storage |
30 Bathroom Vanity |
Memory foam queen mattress |
Mattresses for back pain |
Nightstand set of 2 |
Grand Goldman Shop |
Civil Lawyer
Deutschland Trikot WM 2026







