

Are you someone who likes to always be surrounded by plants? Then this Wooden Air Plant Pendant will be an excellent idea for you.
This original piece of jewelry is a good introduction to small scale wood bending and mold making.
Find Bleeding Edge Supplements at Scandalous Prices on iHerb.


Materials to make a wooden pendant for a plant:
- Sheet metal (make sure it is between 1/26 and 1/40 inch thick)
- Wood glue
- A packing tape
- 1 blue painter's tape
- Also a foam tape or foam sheet
- Plywood
- 1 inch pin
- String
- Wood finish
- Sand paper
The tools you will need include:
- Clamps
- Spindle sander
- Band saw
- Belt sander
- Dremel tool or similar
- Pliers
Have fun...
Steps to make a wooden pendant for a plant:
#1: Cutting wood for molds


- Curved lamination of wood requires molds. We are going to make these molds out of plywood and a part of a dowel.
- Cut three pieces of half-inch plywood to approximately three by four inches. The exact measurement is not important but remains consistent.
- Glue those pieces together and wait for the glue to dry.
- Meanwhile, cut a piece of your dowel from one inch to about three inches long.
#2: Shape molds


This is the most difficult step, so be careful.
- Cut the dowel approximately in half diagonally, keeping the larger half. It may be easier to cut the piece while it is still attached to the longer dowel.
- Using the belt sander sand down so that it is exactly half a turn at the top and tapering to two and a half inches down.
- Using the sander, cut an angled channel in your piece of double thickness plywood. This channel should run from the top to about a half-inch away from the bottom and be about a half-inch thick. You want to be able to fit the dowel piece you just cut to fit into the channel with a little room on all sides.
- Rounds the hard edges on the sides of the channel. The sheet metal should be bent around that curve.
- Now glue the dowel into the single thickness piece of plywood so that it lines up with the channel when the two sides of your mold are facing each other.
Your molds are almost finished now.
#3: Tape molds

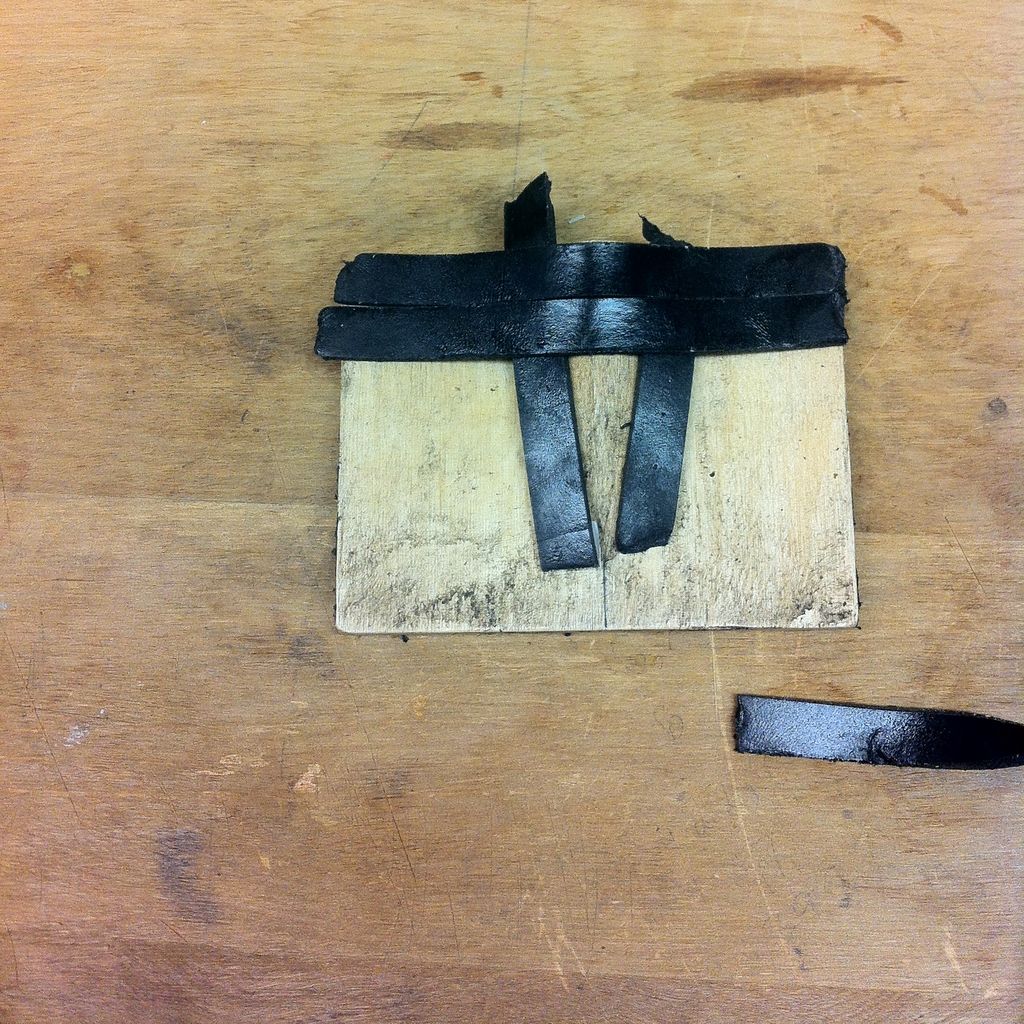

- We are going to use two types of tape on these molds. The foam tape will take up any extra space between your molds and ensure that the veneer layers are glued tightly. Packaging tape is there to make sure your work doesn't stick to your molds.
- Cut pieces of foam tape to go in the corners between the dowel and the plywood and glue them. Then cover the entire mold with foam tape. It is only necessary to cover a mold to cover all the gaps.
- Now cover both molds completely with packing tape.
#4: Glue the sheet


Now that the molds are complete, it's time to do some folded laminations.
- Start by cutting your sheet metal to the size of your molds. You will want four layers for each side. Two with the grain that goes vertically and two with the grain that goes horizontally. Replace a piece of horizontal grain with a layer of veneer.
- Apply blue painter's tape to one side of the two horizontal grain pieces. These will become the inner and outer layers of the lamination. The tape is there to keep the veneer clean and to prevent it from tearing and leaving a gap.
- Now apply the glue evenly to the sheet metal and stack them with the blue painters tape on the outside.
- Place the layers between the two halves of your mold and hold it all together. Seeing some glue is not a bad thing.
- You will have to do this step twice. Once on each side of the pendant.
#5: Unmold and paste


- After waiting for the glue to dry, it is now time to remove the lamination from the molds.
- Start by removing the clamps.
- Then remove the tape. This is harder than you might expect. Go slowly and make sure you don't remove any small pieces of the surface of the wood.
- Once you have done this with both halves of the pendant, apply glue to the flat parts and press them together. Glue removal here is a bigger problem because it's much harder to clean up later. Be more conscious of the amount of glue used in this step.
#6: Trim and Shape

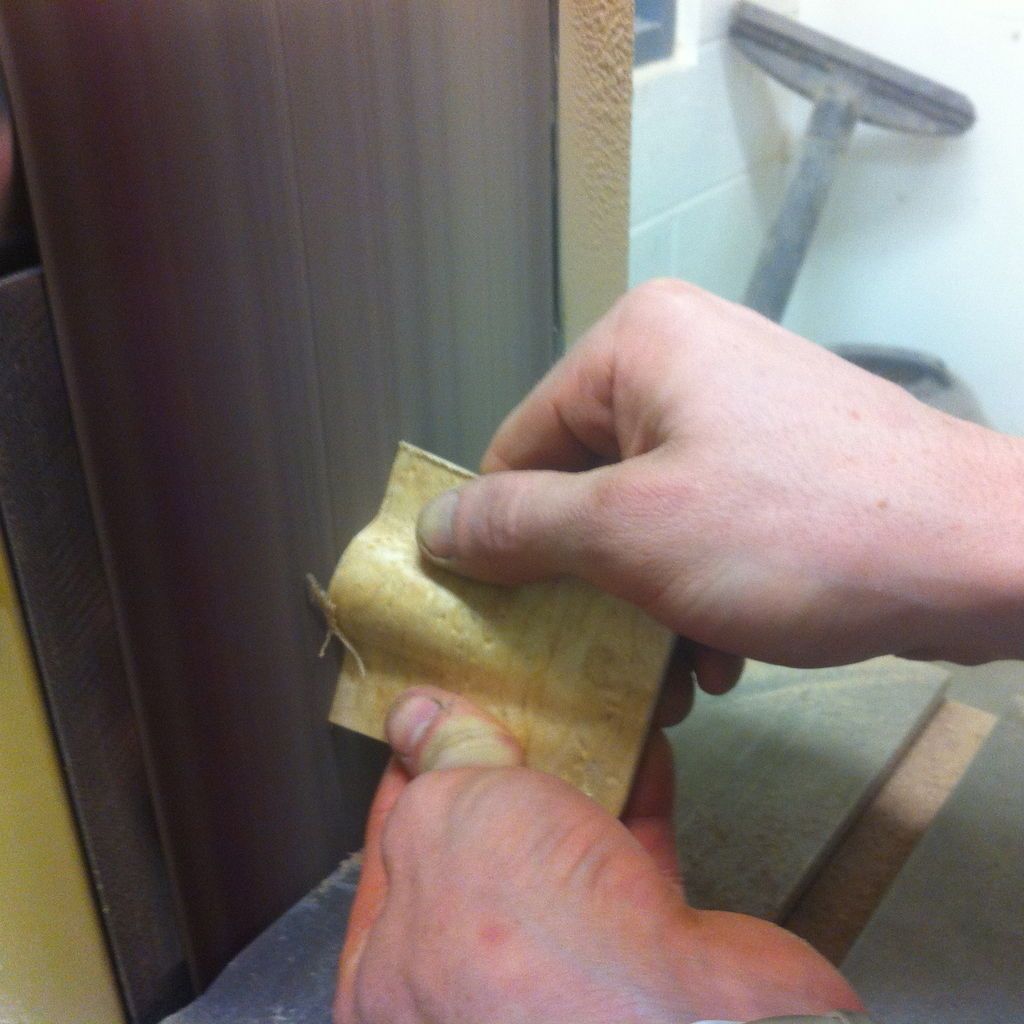
- Cut off the excess pieces of your pendant with the band saw. I chose it to be a trapezoidal shape, but you can really choose any shape for the flat parts.
- Sand all sides with the belt sander so they are flat and square.
- Use a Dremel to sand the edges and corners to make them more friendly. (I don't have a photo of this step, sorry)
#7: Drilling, sanding and finishing


- Punch two holes for the chain in the top corners of the pendant. I chose to use a Dremel for this step as well, although a drill or drill press would work just fine.
- Then sand everything with sandpaper that indicates a coarse grit (maybe 80 or 120) and move it to a fine grit (400 or 600).
- Once it's as smooth as you want, dust it off and apply a wood finish with a rag. To get the corners on the inside of the pendant, it is best to dip it in the finish and then remove the excess with a rag. Multiple coats are almost always necessary when applying a finish to wood.
#8: Add string


- Use a pair of pliers to hold your chain. In my case, I had to use a small copper wire to close the gap between the jump ring and the chain.
#9: Add a plant and use it


- Air plants are best for this vase because they don't need soil or water. Dried flowers would be nice too. I do not suggest the useof fresh flowers or live plants other than air plants.
- Wood is certainly not likely to withstand excessive moisture or soil well.
Remember that you can create your own wooden pendant for a plant with the measurements you see fit.
Don't forget to follow us on our social networks for more news!
Popular Content
How to make a rocket stove for outdoors
Cardboard Drawers Lined with Jeans
Ideas and Advantages of Window Grilles for the Home!
Latest Articles
How to make a refrigerator out of insulating material: Practical step-by-step guide
How to make a Kilim for the Home: Complete Step by Step Guide
How to protect ourselves from accidents in our workplace: Complete prevention and safety guide
Related Content
Ingenious Joints of Wooden Beams and Columns
Bottle Lock
Football Goal Made of PVC Pipes
Decorative Crafts Using Stones
Creative Home Decor Ideas to Transform Every Space
Refreshing your home starts with smart design choices that combine comfort, personality, and functionality. Whether you want to modernize a small apartment, upgrade outdoor areas, or create cozy rustic interiors, these trending ideas can completely change the atmosphere of your space.
Outdoor Spaces That Increase Style and Functionality
Outdoor living continues to dominate modern home trends. Homeowners are increasingly investing in practical entertainment zones inspired by these BBQ shed ideas, which create the perfect setup for gatherings and weekend cooking sessions.
First impressions also matter when designing exteriors. Elegant farm entrance gates design ideas help properties stand out while improving privacy and curb appeal.
Compact living solutions are also gaining popularity. These inspiring 16x40 shed house interior design ideas show how smaller spaces can still feel luxurious and functional.
To enhance patios and entryways, homeowners are adding stylish protection with these creative porch awning exterior DIY ideas that blend aesthetics with practicality.

Rustic and Cozy Interior Design Trends
Warm and natural interiors remain timeless. These charming rustic decor ideas combine wood textures, vintage accents, and earthy tones to create welcoming spaces.
Bedrooms are becoming more personalized with curated wall arrangements. Many homeowners use these stylish picture wall ideas for bedroom spaces to display memories and artwork creatively.
Textured wall treatments are another major trend. Installing a board and batten wall adds architectural character while keeping interiors elegant and modern.
Similarly, bold accent wall ideas can instantly transform plain rooms into eye-catching focal points without requiring a full renovation.
Smart Kitchen and Organization Inspiration
Functional kitchens are essential for modern homes. These practical kitchen wall cabinet ideas maximize storage while maintaining a clean and stylish appearance.
Organization also starts at the entrance. Well-designed mud room ideas help families keep shoes, coats, and daily essentials neatly arranged.
Colorful and Personalized Home Styling
Vibrant interiors are becoming increasingly popular thanks to playful dopamine decor ideas that use bright colors and joyful accessories to improve mood and energy.
Gallery walls also continue to evolve as a major decorative feature. These trendy gallery wall inspiration ideas offer creative ways to combine prints, photos, and statement art.
Young renters and new homeowners are especially embracing these stylish first apartment aesthetic ideas to create sophisticated interiors on a budget.
Finally, selecting the right shades can dramatically influence any room’s atmosphere. These modern trendy color ideas help homeowners choose palettes that feel fresh, elegant, and timeless.
Final Thoughts
From rustic charm and colorful interiors to outdoor entertaining areas and functional storage solutions, today’s home decor trends focus on creating spaces that feel both beautiful and livable. By combining smart layouts, modern textures, and personalized decorative elements, any home can become more stylish, comfortable, and inspiring.
Browse Grand Goldman Shop
Bean Bag & Lazy Sofa
Cabinets
Chairs & Accent
Coat Racks
Display & Etageres
Fireplaces & Acc.
Living Room Sets
Loveseats
Ottomans
Recliners & Massage
Browse the Shop
 Acacia frida deluxe solid wood bed frame |
Bedroom bench |
Bed chest drawers |
Lingerie dresser |
Frame base |
Mirror with jewelry storage |
30 Bathroom Vanity |
Memory foam queen mattress |
Mattresses for back pain |
Nightstand set of 2 |
Grand Goldman Shop |
Civil Lawyer
Deutschland Trikot WM 2026
Acacia frida deluxe solid wood bed frame |
Bedroom bench |
Bed chest drawers |
Lingerie dresser |
Frame base |
Mirror with jewelry storage |
30 Bathroom Vanity |
Memory foam queen mattress |
Mattresses for back pain |
Nightstand set of 2 |
Grand Goldman Shop |
Civil Lawyer
Deutschland Trikot WM 2026







