
Installing a DIY shower enclosure is possible if the shower tray is already correctly positioned, the walls are stable, and the kit is complete with profiles, glass panels, rollers, seals, and hardware. Precision in fixing, leveling, and sealing prevents friction, leaks, and faulty closures.
Before Installing the Shower Enclosure: Measurements, Kits, and Checks
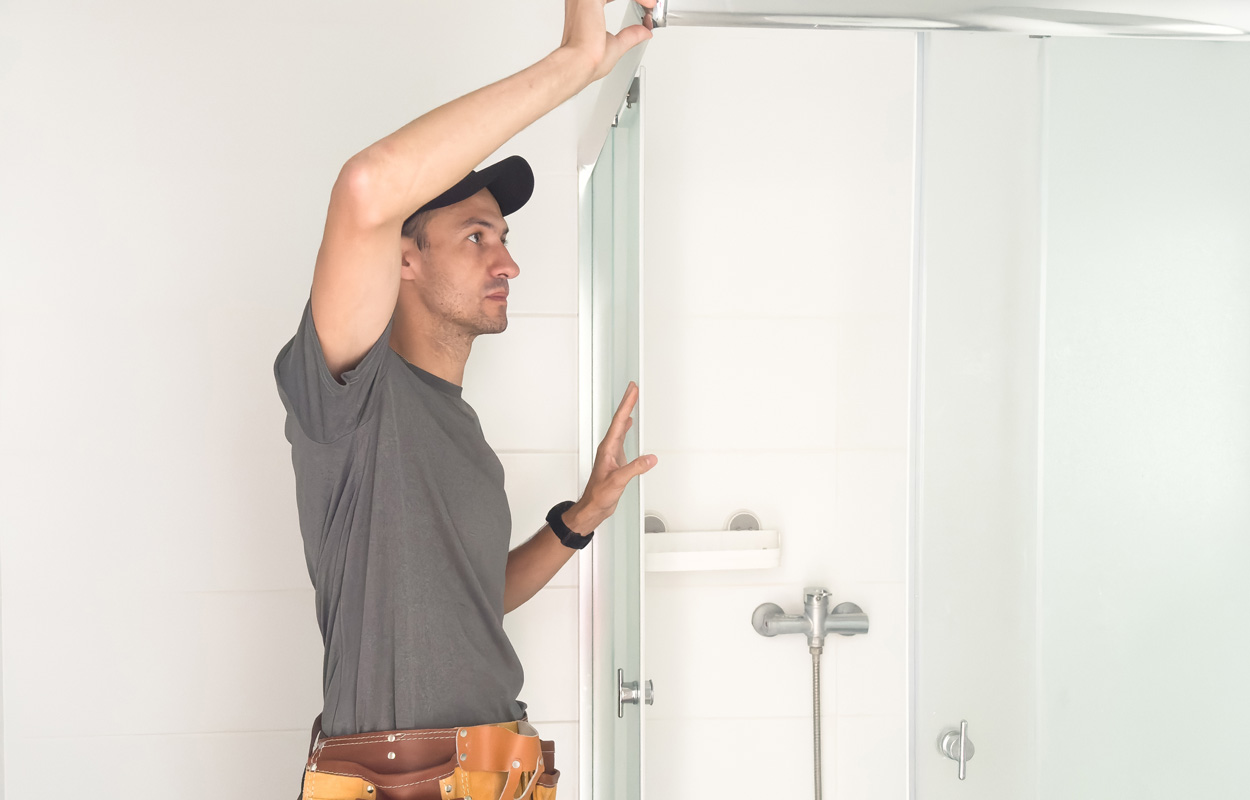
A shower enclosure kit can be square, rectangular, semicircular, front-facing, or walk-in. In corner models with sliding doors, each side can be an independent module, allowing you to combine different sizes when the shower tray is rectangular.
Find Original, High-end Home Decor that spark conversation at Grand Goldman Shop.

| What to Check Before Installation | Why It's Important | Practical Tip |
|---|---|---|
| Shower tray dimensions | The enclosure must fit the available side(s) | Check width, depth, and kit tolerances |
| Walls are plumb | Out-of-plumb profiles cause doors to slide poorly | Check with a level before drilling |
| Recess from outer edge | Avoids mounting too far forward on the tray | In many kits, U-profiles sit about 15 mm inside the edge |
| Profile extendability | Compensates for small dimensional differences | In extendable models, adjustment can reach up to 100 mm |
| Glass thickness and weight | Affects handling and safety | Always handle glass panels with two people if needed |
| Seals and magnets | Ensure water tightness and correct closure | Install them only after adjusting the doors properly |
| Silicone sealant | Seals contact between profiles and walls | Apply only after installation and checks are complete |
| Drilling into tiles | A bad hole can chip the tiling | Use a suitable drill bit and start without percussion |
Tools and Materials to Prepare
Before starting, gather all necessary tools: a drill with tile and masonry bits, a spirit level, a measuring tape, a rubber mallet, a screwdriver set, a silicone gun, and a utility knife. Having everything on hand makes the process smoother. For any additional home improvement tools you might need, check out our selection.
Positioning the U-Profiles on the Walls
Start by marking the position of the U-profiles on the wall. Use a level to ensure they are perfectly vertical. The profiles should be placed about 15 mm inside the edge of the shower tray. Drill pilot holes through the tile using a tile bit without percussion, then switch to a masonry bit for the wall. Secure the profiles with the provided screws and plugs.
How to Install Fixed Glass Panels and Extendable Rails
Once the U-profiles are fixed, insert the fixed glass panels. Make sure they are seated properly in the profiles. For extendable rails, adjust them to the exact width of your opening before fixing. This is where precision matters most for smooth operation later. Consider browsing our bathroom vanities to complement your new shower enclosure.
Step-by-Step Procedure for Installing the Shower Enclosure
Before You Start
Read the manufacturer's instructions thoroughly. Lay out all parts and identify each component. Ensure the shower tray is clean and level.
- Assemble the frame components loosely before tightening.
- Check all measurements twice before drilling.
- Have a helper available for lifting glass panels.
Mounting Sliding Doors Without Damaging the Glass
Sliding doors are the most delicate part. Attach the rollers to the top of the glass panels first, then carefully lift the door into the top rail. Tilt the bottom into the lower guide. Use a rubber mallet to gently seat the rollers. Never force the glass. For a complete bathroom upgrade, explore our range of mirrors and lighting.
Magnetic Seals and Splash Guards: How to Orient Them
Magnetic seals should be attached to the vertical edges of the doors where they meet. The magnetic strip faces inward toward the other door. Splash guards are installed at the bottom of the doors to prevent water from escaping. Ensure they are oriented correctly so water is directed back into the shower.
Sealing the Shower Enclosure with Sanitary Silicone
Apply a continuous bead of sanitary silicone along all joints where profiles meet the wall and where the frame meets the shower tray. Smooth the bead with a wet finger or a silicone tool. Allow it to cure for 24 hours before using the shower. Adding a new bathroom rug can complete the look.

Mistakes That Compromise Shower Enclosure Installation
- Skipping the level check on walls.
- Forcing glass panels into misaligned profiles.
- Applying silicone before final adjustments.
- Over-tightening screws, which can crack the glass.
- Not allowing silicone to cure fully.
Expert Tips
Always work from the inside of the shower when possible. Use plastic shims to adjust profile alignment if walls are slightly uneven. Clean all surfaces thoroughly before applying silicone. For more advanced projects, consider our home improvement collection for additional supplies.
Final Checks and Shower Enclosure Maintenance
After installation, test the doors for smooth sliding. Check that the magnetic seal closes fully. Wipe down the glass with a squeegee after each use to prevent water spots. Lubricate the rollers annually with silicone spray. A stylish storage bench can keep your bathroom organized.
When to Call a Professional
If your walls are significantly out of plumb, if the shower tray is uneven, or if the kit is missing critical parts, it's best to call a professional. Complex installations like frameless walk-in showers often require precise glass cutting and drilling that is best left to experts.
Frequently Asked Questions
Can I install a shower enclosure by myself?
Yes, but it's easier with a helper, especially for lifting and positioning glass panels. Most DIYers with basic tools can complete the job in a weekend.
What tools do I need for shower enclosure installation?
You'll need a drill with tile and masonry bits, a spirit level, measuring tape, rubber mallet, screwdrivers, silicone gun, and a utility knife. A work surface can help organize your tools.
How long does silicone take to cure?
Sanitary silicone typically takes 24 hours to fully cure. Avoid using the shower during this time to ensure a watertight seal.
Can I cut glass panels to size?
No, glass panels in kits are pre-cut and tempered. Cutting them will cause them to shatter. Always order the correct size.
How do I clean a new shower enclosure?
Use a mild detergent and a soft cloth. Avoid abrasive cleaners that can scratch the glass or damage the seals. A shower curtain can be an alternative if you prefer not to install glass.
Published: October 18, 2020 | Updated: July 3, 2026
Browse Grand Goldman Home Decor
Discover unique craftsmanship home decor and furniture at the Grand Goldman Shop.
Best Products We’ve Tested and Rated

Our testing team has hands-on reviews of pickleball equipment beginners paddles gear, breakfast champions morning meals fuel day, wimbledon awards player epic matches drama, 35mm rangefinder, and mat garage. Every option below was compared across price, build quality, and real-world performance, with honest pros and cons. We update these guides regularly as new models arrive, so the recommendations stay current.
Our testing team has hands-on reviews of gloves arthritic hands, gifts men, gloves on amazon, wedges beginners high handicappers, and golf pants. Every option below was compared across price, build quality, and real-world performance, with honest pros and cons. We update these guides regularly as new models arrive, so the recommendations stay current.
Browse the Shop
 Acacia frida deluxe solid wood bed frame |
Bedroom bench |
Bed chest drawers |
Lingerie dresser |
Frame base |
Mirror with jewelry storage |
30 Bathroom Vanity |
Memory foam queen mattress |
Mattresses for back pain |
Nightstand set of 2 |
Grand Goldman Shop |
Civil Lawyer
Deutschland Trikot WM 2026
Acacia frida deluxe solid wood bed frame |
Bedroom bench |
Bed chest drawers |
Lingerie dresser |
Frame base |
Mirror with jewelry storage |
30 Bathroom Vanity |
Memory foam queen mattress |
Mattresses for back pain |
Nightstand set of 2 |
Grand Goldman Shop |
Civil Lawyer
Deutschland Trikot WM 2026







