

Properly constructing a concrete base for garden lamp posts ensures long-term structural stability and electrical safety. The process involves digging a dedicated hole, housing a corrugated conduit for cables, and pouring leveled concrete, which is essential for a solid anchor using expansion bolts.
Technical Characteristics of the Base
| Feature | Technical Specification | Operational Notes |
|---|---|---|
| Material | Concrete (sand, gravel, cement) | Standard outdoor mix |
| Excavation Depth | 30 – 50 cm | Exceed local frost line |
| Base Dimensions | Minimum 30×30 cm | Proportional to lamp post height |
| Electrical Conduit | Corrugated tube Ø 20-25 mm | IP68 protection recommended |
| Curing Time | 24 – 48 hours | Varies with humidity |
| Fixing | Mechanical or chemical anchors | Stainless steel to prevent rust |
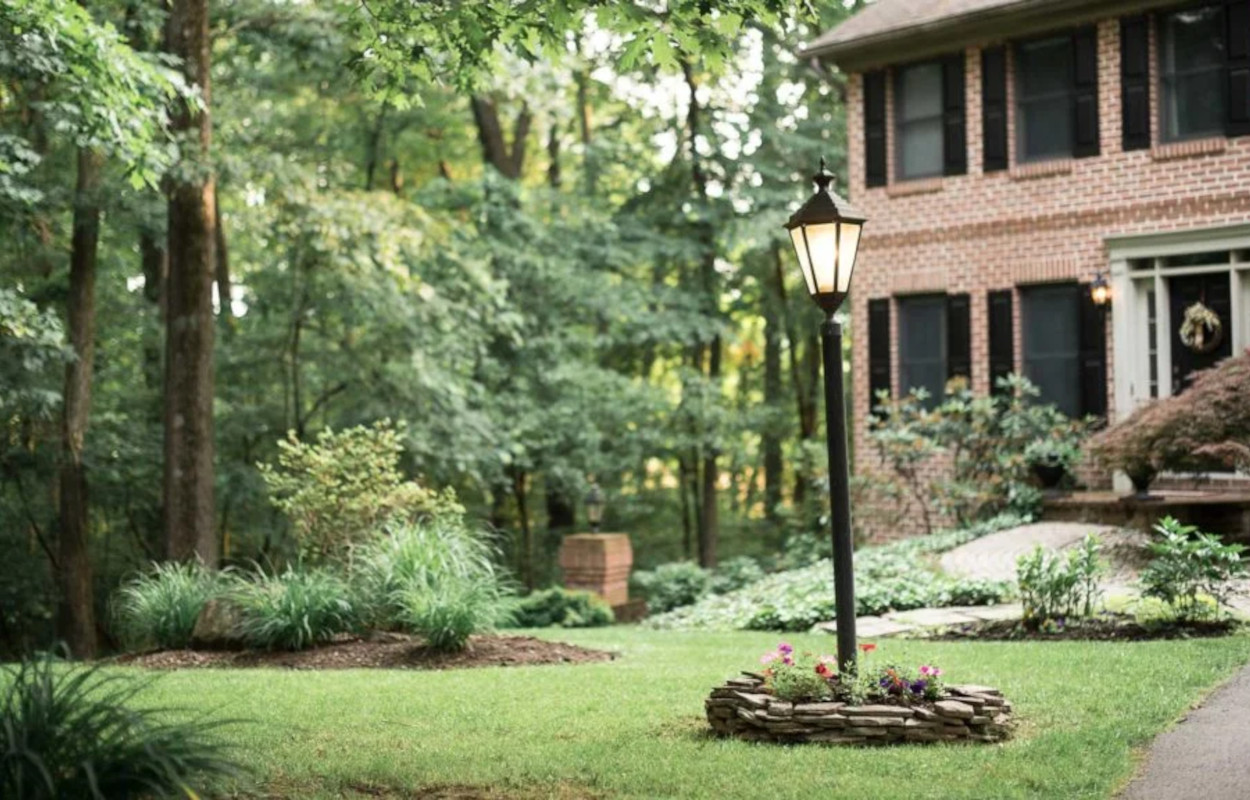
Outdoor lighting serves safety and usability needs for pathways during nighttime. A well-designed system also acts as a deterrent against break-ins. For an effective installation, you need to run electricity from the main panel or a junction box to the installation point. This is done using underground-rated cables protected by compression- and moisture-resistant piping. After positioning the conduit, you proceed to create the concrete base that will host the garden lamp posts. Many garden lamp posts come in kits with all necessary components, including anchors for fixing to the base. For all your lighting needs, including durable outdoor options, check out our collection.
Find Bleeding Edge Supplements at Scandalous Prices on iHerb.

Expert Tip
To prevent water pooling that could oxidize the lamp post base, it is recommended to create the top surface of the concrete base with a slight outward slope. This simple trick encourages rainwater to drain away from fixing points and the electrical connection compartment.
Step-by-Step Installation Procedure
Time required: 2 hours
1. Prepare the Formwork
After deciding the base dimensions, assemble the formwork using wooden boards or prefabricated forms. Ensure it is square and level. For home improvement tools and materials, browse our selection.
2. Dig the Excavation
Dig a hole at least 30 cm deep, wider than the formwork. Remove any loose soil and compact the bottom. This step is crucial for stability.
3. Install the Conduit
Lay a corrugated tube (Ø 20-25 mm) from the power source to the center of the formwork. Ensure it is buried at the correct depth and protected from damage. Pair this with our garden supplies for a complete setup.
4. Pour the Concrete
Mix concrete (standard 1:2:3 ratio of cement, sand, gravel) and pour it into the formwork. Use a trowel to level the surface, creating a slight slope outward as mentioned in the expert tip. Allow it to cure for 24-48 hours.
5. Mount the Lamp Post
Once the concrete is fully cured, position the lamp post base over the anchors. Use stainless steel expansion bolts to secure it tightly. Connect the electrical wiring inside the post. For comfortable outdoor seating near your new lighting, consider our outdoor patio furniture.

6. Final Connections and Test
Connect the lamp post to the main power supply, ensuring all connections are waterproof. Test the light to confirm proper operation. Add some outdoor decor to complete the look.
Frequently Asked Questions
1. How deep should the concrete base be for a garden lamp post?
The excavation should be 30-50 cm deep, depending on your local frost line. Going below the frost line prevents heaving during freeze-thaw cycles.
2. What type of concrete mix is best for outdoor lamp post bases?
A standard mix of 1 part cement, 2 parts sand, and 3 parts gravel (by volume) is ideal. Add water until the mixture is workable but not too wet. For related projects, explore our home improvement collection.
3. Do I need to use a corrugated tube for the electrical cable?
Yes, a corrugated tube (Ø 20-25 mm) with IP68 protection is highly recommended. It protects the cable from moisture, soil pressure, and accidental damage during installation.
4. How long should I wait before mounting the lamp post?
Allow the concrete to cure for at least 24-48 hours. In humid conditions, wait the full 48 hours to ensure the base is strong enough to hold the post securely.
5. Can I install a lamp post on an existing concrete slab?
Yes, but you must drill holes for expansion anchors and ensure the slab is thick enough (at least 10 cm) to support the post. Use stainless steel anchors to prevent rust. For additional outdoor upgrades, browse our outdoor lighting and garden supplies.
Browse Grand Goldman Home Decor
Discover unique craftsmanship home decor and furniture at the Grand Goldman Shop.
Best Products We’ve Tested and Rated

Our testing team has hands-on reviews of shorts men, balls seniors, irons seniors, driver beginners, and rangefinder money. Every option below was compared across price, build quality, and real-world performance, with honest pros and cons. We update these guides regularly as new models arrive, so the recommendations stay current.
Our testing team has hands-on reviews of shoes walking, hybrid clubs, clubs beginners, clubs seniors, and shirts men. Every option below was compared across price, build quality, and real-world performance, with honest pros and cons. We update these guides regularly as new models arrive, so the recommendations stay current.
Browse the Shop
 Acacia frida deluxe solid wood bed frame |
Bedroom bench |
Bed chest drawers |
Lingerie dresser |
Frame base |
Mirror with jewelry storage |
30 Bathroom Vanity |
Memory foam queen mattress |
Mattresses for back pain |
Nightstand set of 2 |
Grand Goldman Shop |
Civil Lawyer
Deutschland Trikot WM 2026
Acacia frida deluxe solid wood bed frame |
Bedroom bench |
Bed chest drawers |
Lingerie dresser |
Frame base |
Mirror with jewelry storage |
30 Bathroom Vanity |
Memory foam queen mattress |
Mattresses for back pain |
Nightstand set of 2 |
Grand Goldman Shop |
Civil Lawyer
Deutschland Trikot WM 2026







