

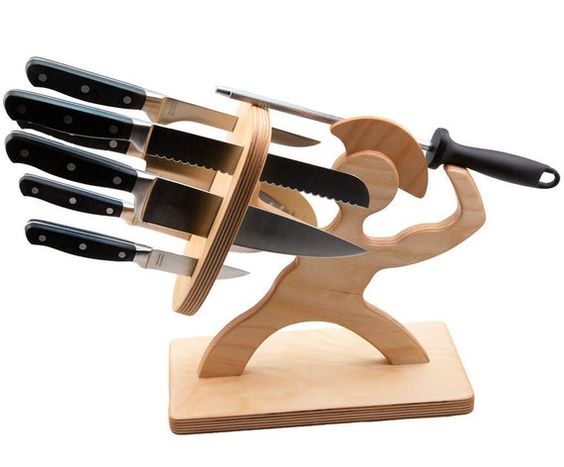
If you are looking for an original idea for your kitchen, making a Spartan knife block is what you are looking for to give a different touch to that home environment.
Knife blocks are awesome - just grab the knife you need without digging through drawers and start cutting.
Find Bleeding Edge Supplements at Scandalous Prices on iHerb.


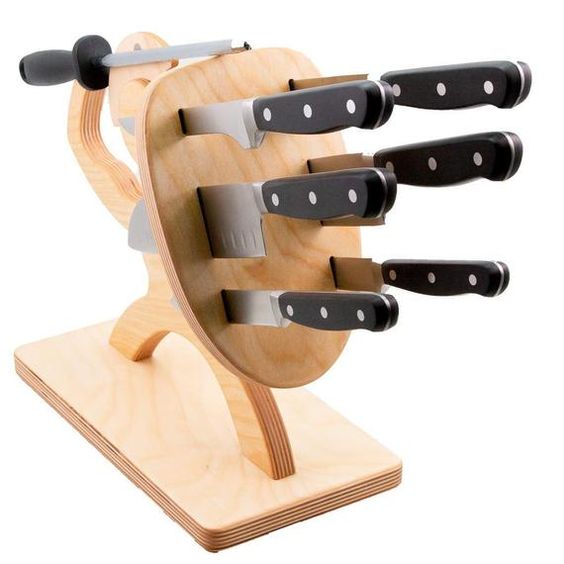
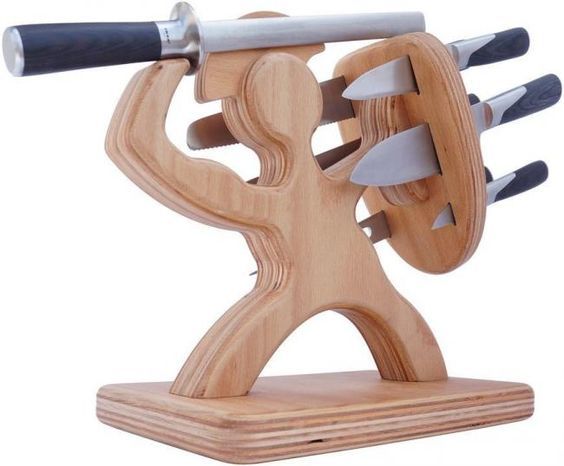
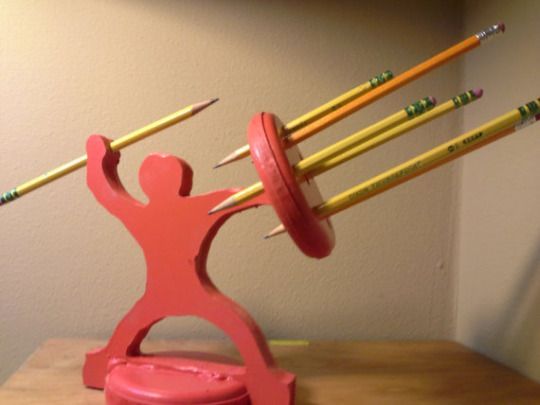
The resulting knife block resembles a Spartan-like warrior and can hold 15 knives of different sizes.
Materials and tools to make a Spartan knife block:
- 6mm and 12mm plywood (any other type of wood should be fine too)
- Adhesive spray
- Jigsaw (alternatives: jigsaw, CNC milling machine...)
- Wood glue
- Lead beads to fill the base (cloves, nuts or any other heavy material will also work)
- Sandpaper
- Double-sided adhesive tape
- Magnet – 6 mm diameter
- Drill
- Power tool with a drum sanding kit (can also be achieved with other tools)
Step 1: Make the base
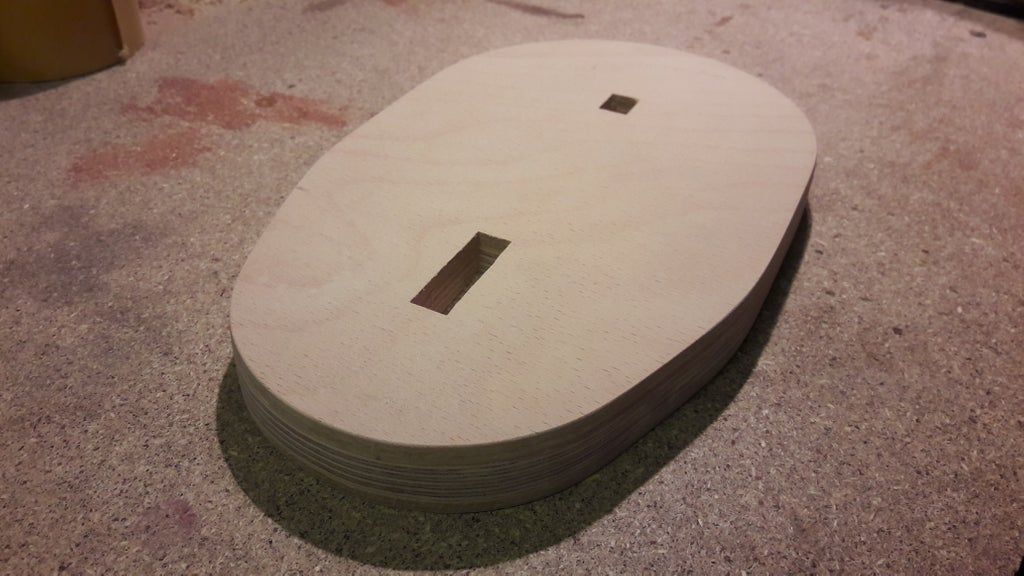
- Since the knife block is supposed to hold a large number of knives, I wanted the base to be heavy for good stability. Therefore, the base will be filled with lead beads (or any other heavy objects you have available, such as nails or nuts).
- Print the attached pdf files for the base and use spray adhesive to attach them to 6mm (bottom and top layer) and 12mm (middle layer) wood. Then use your jigsaw to cut out all three parts.
- Plue the bottom layer and middle layer together. Once dry, fill the lead beads into the hollow space and glue them to the top layer.
- After drying, sand all sides of the base until satisfactory.
Base Files in PDF
Step 2: Make the warrior
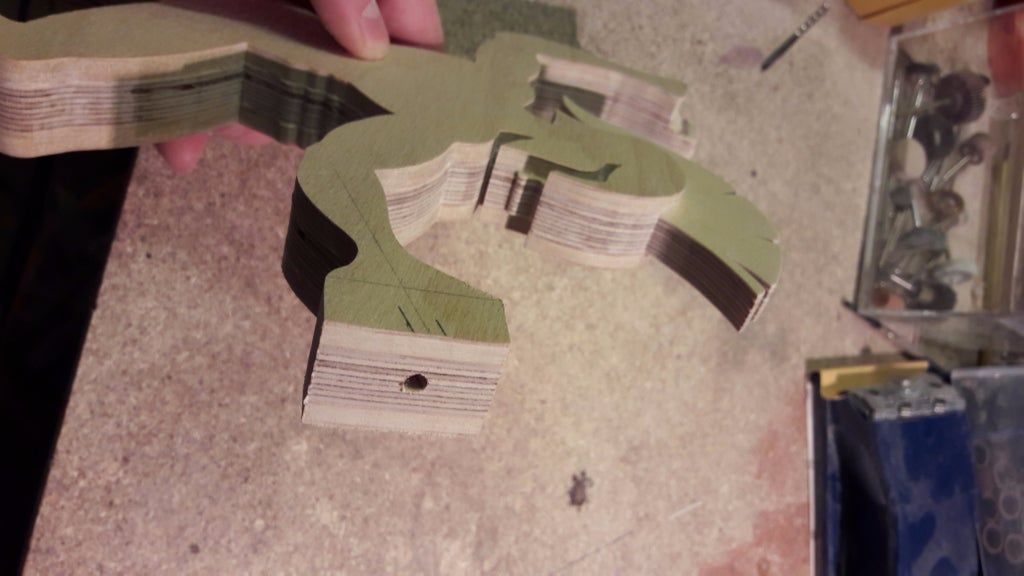
- For the warrior part, print the attached drawing and use spray adhesive to attach it to 6mm (2 side layers) and 12mm (middle layer) laminated wood. Please see the instructions in the first pdf file. Then use your jigsaw to cut out all three parts.
- As the warrior fills the entire A4 page, your printer may not be able to handle the drawing. For that case, I also attached the warrior in two parts on two separate pages. Print both and attach half to your piece of wood first. Then, cut some holes in the second half of the drawing. Place these holes in the overlapping section of both drawings directly on the lines. This way, you should be able to align the second half of the drawing correctly.
- Plue the three layers together and be careful to properly align the three layers. During gluing, press all parts of the warrior with clamps (legs, arms, head).
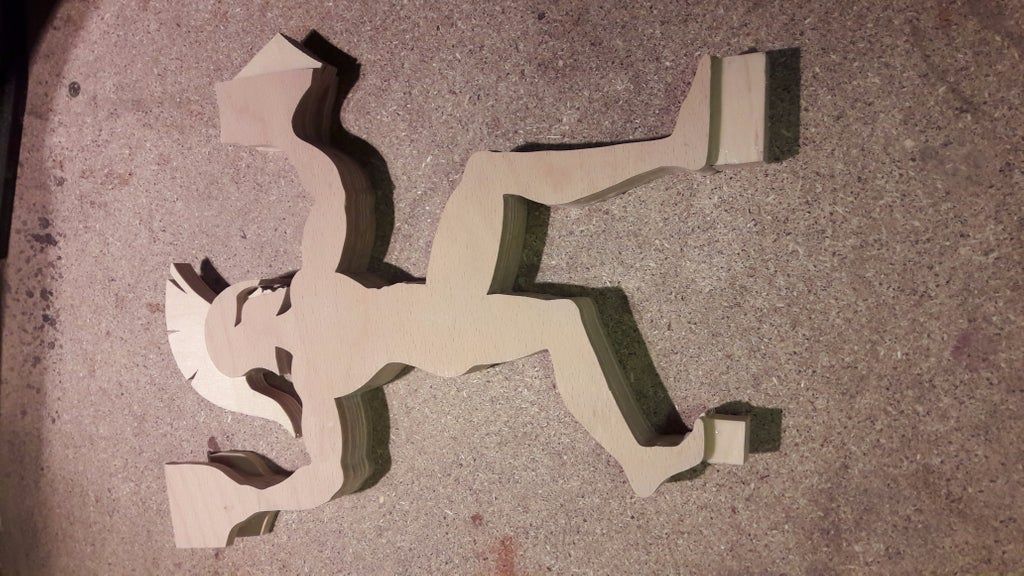
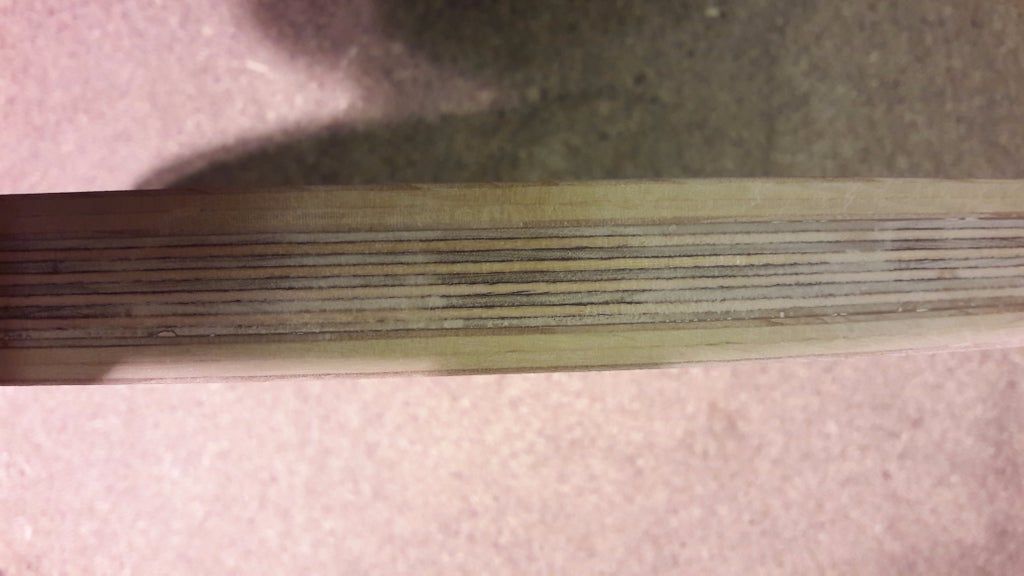

- The warrior's hands in the pictures look different from the drawings because I made the design on the fly. I provided the final design drawings.
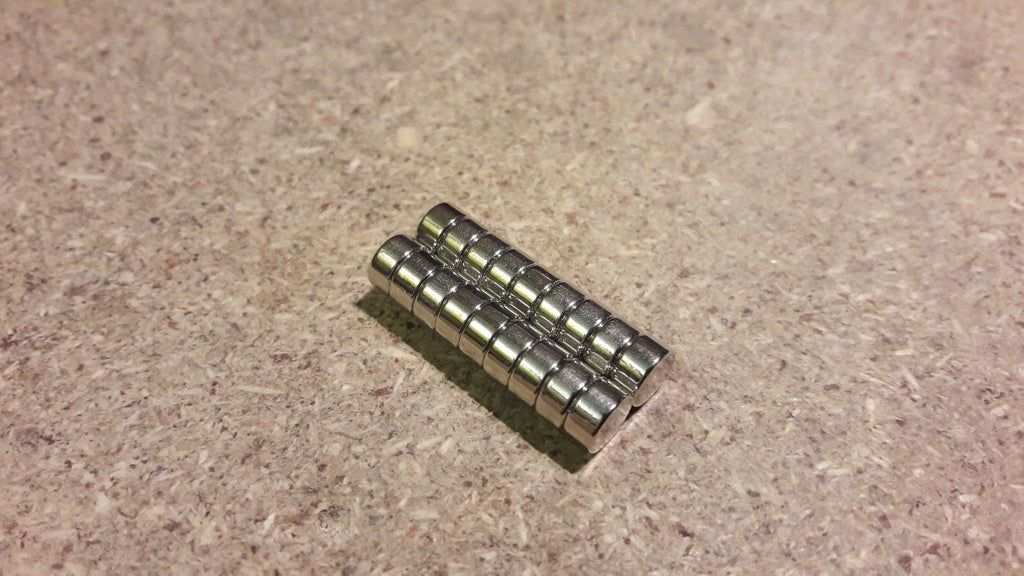
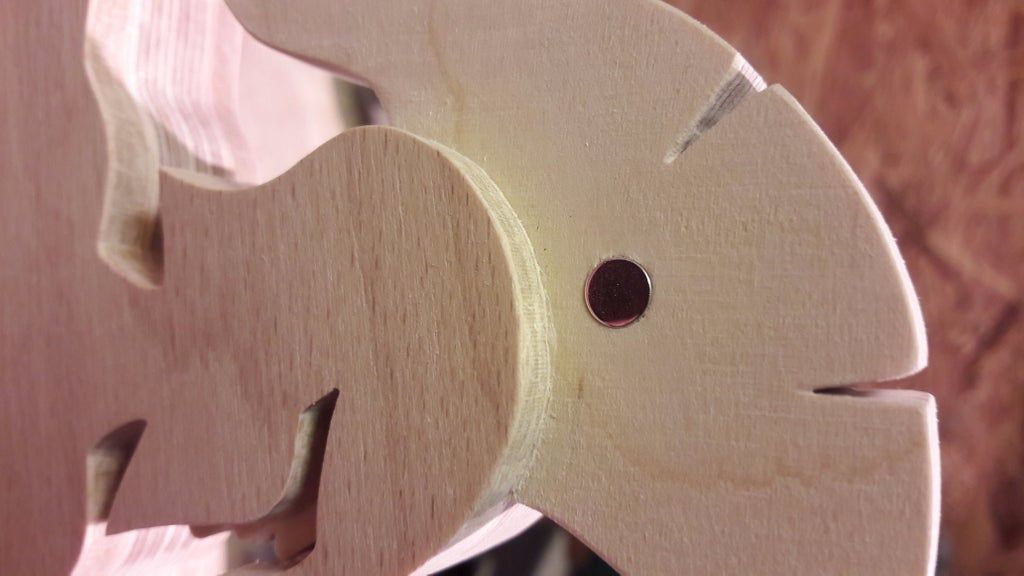
- Use a 5mm drill bit to drill a hole in the middle layer just above the warrior's head (see drawing). Drill only halfway! Then fit the 6mm magnet into the hole. It should be a tight fit. You can use a vice or similar tool to press the magnet into the hole. In case you are using hardwood, you will probably have to use a 6mm drill. If necessary, use glue to fix the magnet in place.
- Finally, use a power tool with a drum sanding kit to exercise the warrior's hand. Start working from the side where you placed the magnet. Sand about halfway down the wood (~12mm). Depending on the shape of the knife handle, which you plan to place in the warrior's hand, you can calculate the shape of the hands to properly fit the knife handle.
- When I finished withThis part, I noticed that the wrist, which was going to hold the shield, was very thin. Therefore, I drilled a 4mm hole in the arm all the way to the elbow. I then inserted a 4mm brass rod into the hole and glued it in to strengthen the wrist section. In the uploaded drawing, I made the doll thicker, so it should be fine. However, if you don't trust your wood, make the doll even thicker or do the same as me.
Base Files in PDF
Step 3: Sanding the warrior

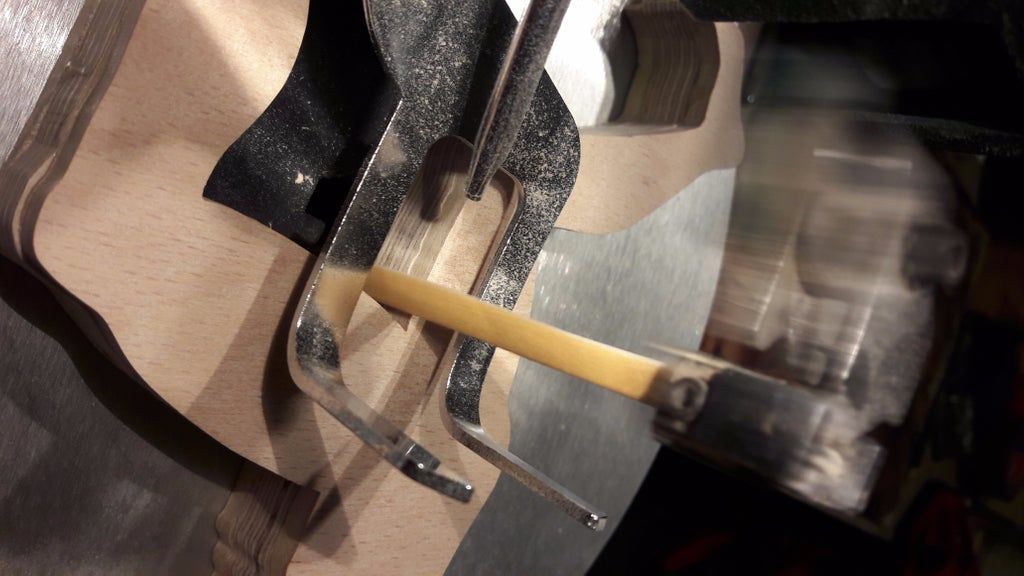
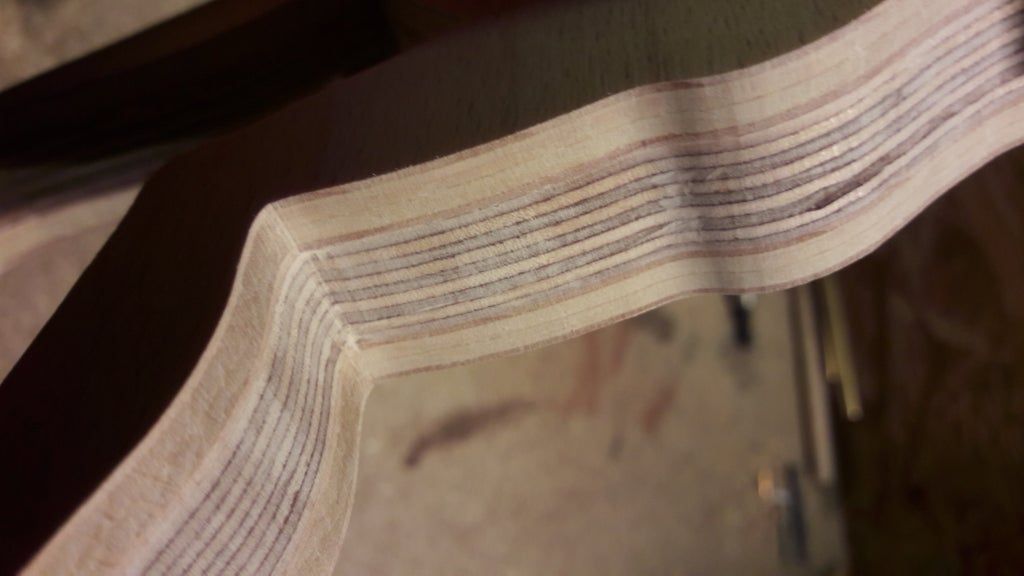
- Sanding the sides of the warrior can be a pain, because you want to progress carefully to preserve all the details. However, there is a good trick.
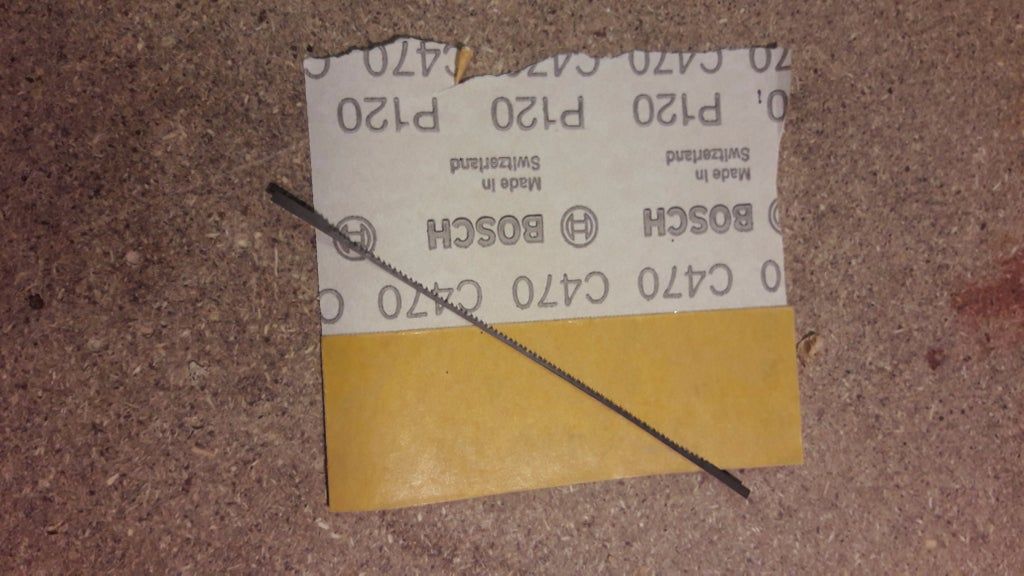
- Special sanding strips are available for your jigsaw. (enter “sanding strip scroll saw” into google) I thought they were a bit pricey. Alternatively, you can make your own sanding strips.
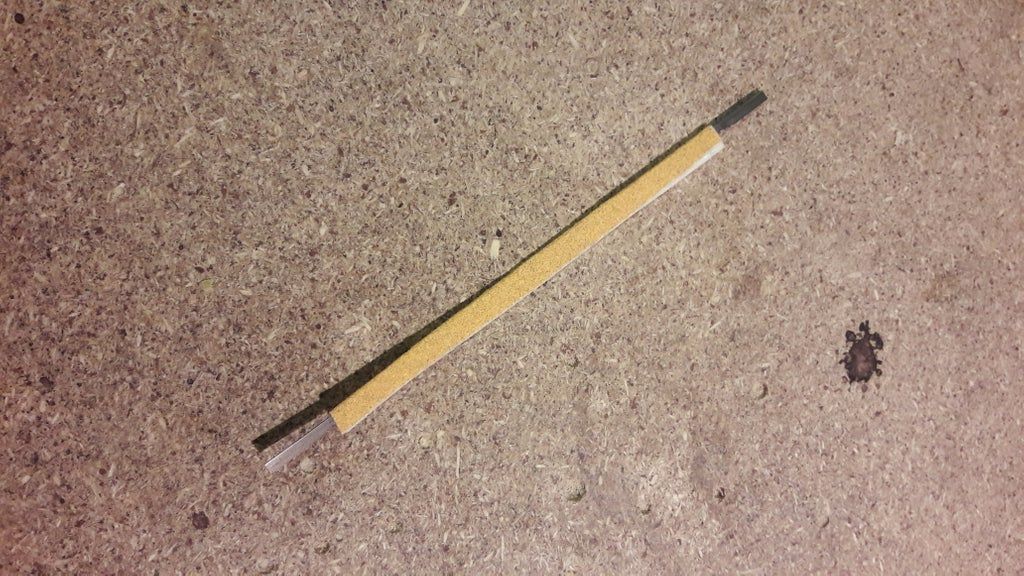
- Apply double-sided tape to the back of some sandpaper. Take a preferably wide scroll saw blade. Cut a strip of the taped sandpaper with a width of about 6 times the width of the jigsaw blade. Fold the strip along the middle and then remove the backing of the adhesive tape. Place the jigsaw blade with the flat side in the middle of the sandpaper and fold it again.
- You can now mount the self-made sanding strip to your jigsaw and sand the sides of the warrior until satisfactory. You will probably have to replace the sandpaper on the scroll saw blade a couple of times during this process. If a lot of glue seeped out the sides during gluing, you may want to remove the dried glue with a knife before you start sanding.
Step 4: Adjustments for your knives
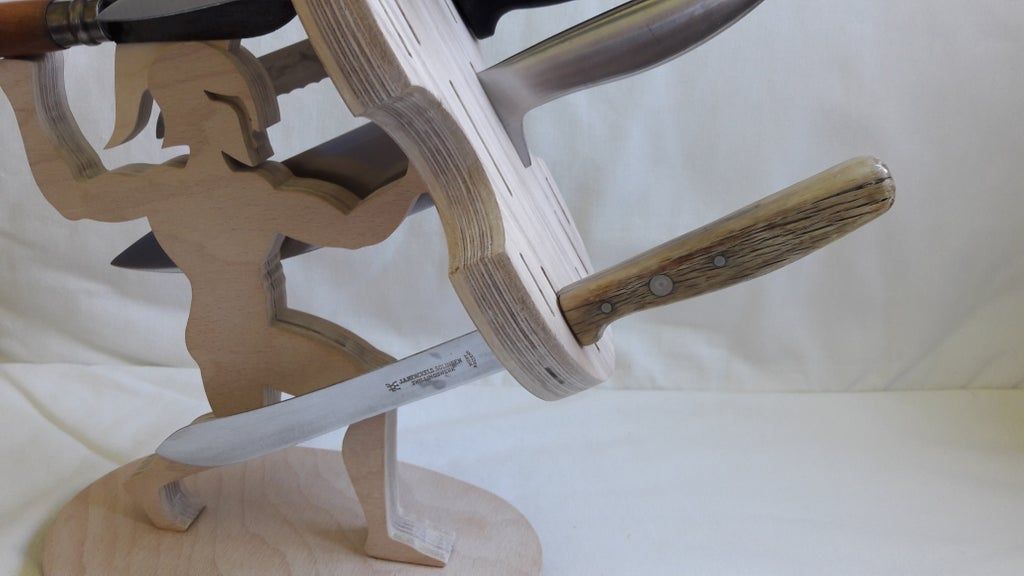
- The good thing about this knife block is that it looks great. The bad thing is that it is not suitable for all knives. When the blade is heavier than the handle or if both parts are in balance (as they should be), the blade will fit snugly in the blade block. However, when the knife handle is heavier than the knife blade, the knife tends to fall off the knife block. Therefore, it is highly recommended to adjust this final part for your knives.
- Focus on knives where the handle is heavier than the blade. For such knives, I found it best if the slots are about 1-2mm longer than the height of the blade. For example, I have some knives with a blade height of about 23mm. For these I made the slots 25 mm long.
- Print the attached pdf, grab a pen and adjust the length of the knife slits according to what you think is best for your knives.
Base Files in PDF
Step 5: Make the shield
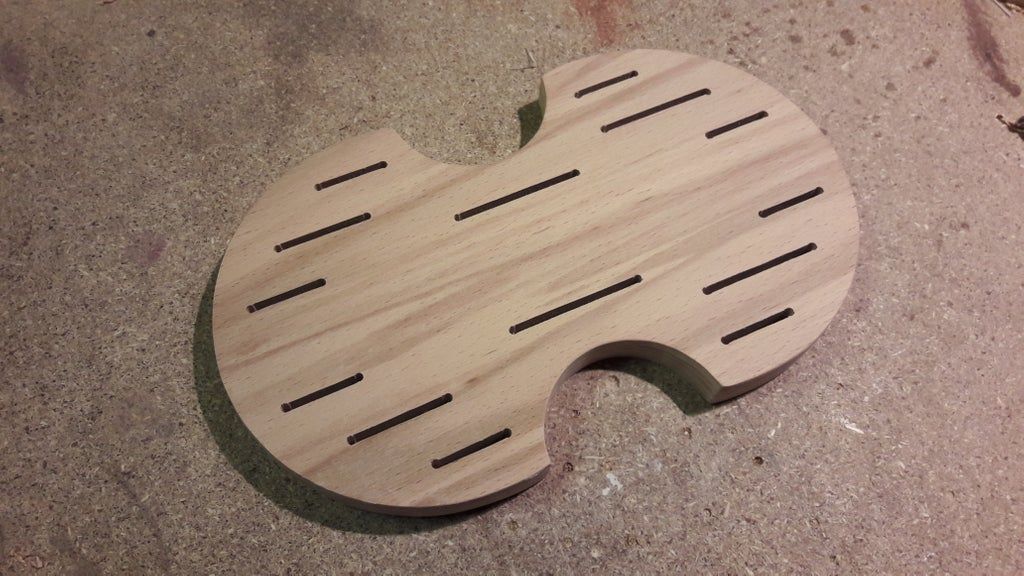
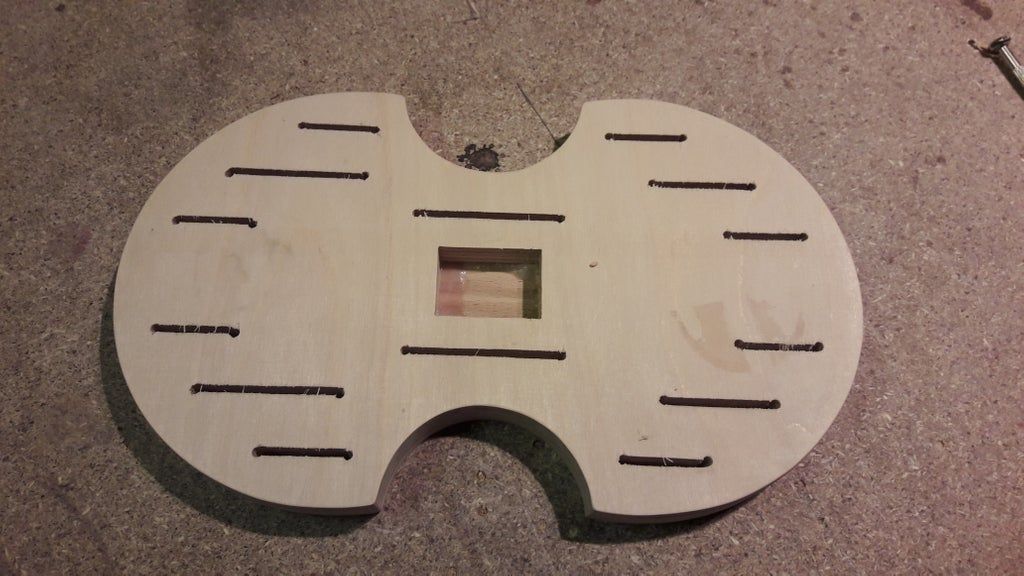
- Print the attached pdf files and use spray adhesive to attach them to 6mm (front and back ply) and 12mm (middle ply) wood. If you adjusted this part for your knives in the previous step, use the adjusted drawing for the front layer.
- Then use your jigsaw to cut out all three parts. Do not remove the drawing from the front layer after cutting!
- Glue the three pieces together and be careful to properly align the three layers. After drying, sand all sides of the guard until satisfactory.
- Use 3mm drills to drill holes at each end of the slits in the front layer. Stay just inside the black rectangle of slits. Have cBe careful to drill at a 90° angle. For the two largest slits in the middle, use 4mm drills.
- Then use a jigsaw to cut the slots by cutting along the lines and connecting the two holes of each slot.
- Sand the inside of the slots using the self-made sanding strips for your jigsaw or by folding some sandpaper and pulling back and forth across the slots. Also, lightly sand the edges of the slits.
Base Files in PDF
Step 6: Assemble knives on the knife block
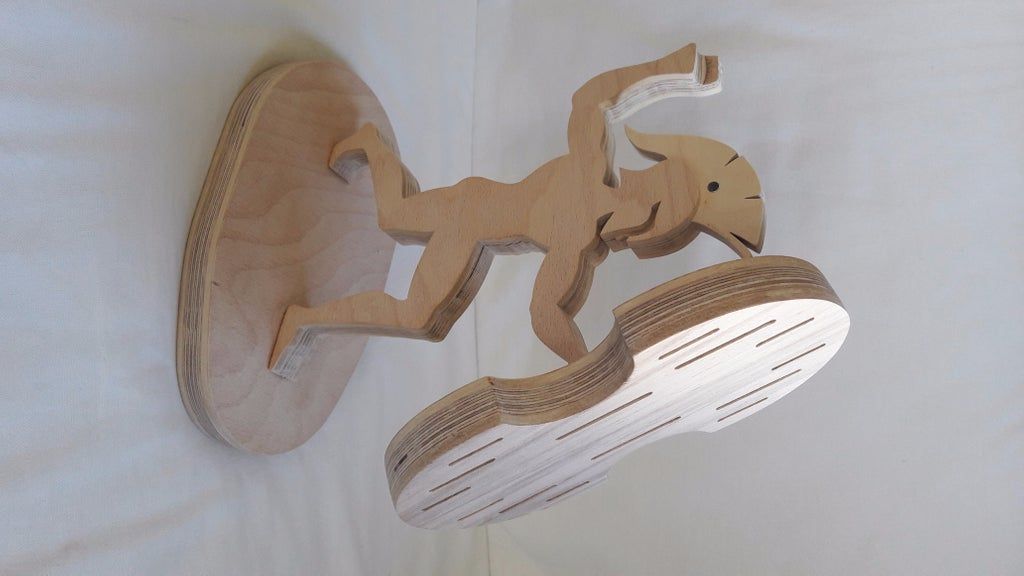
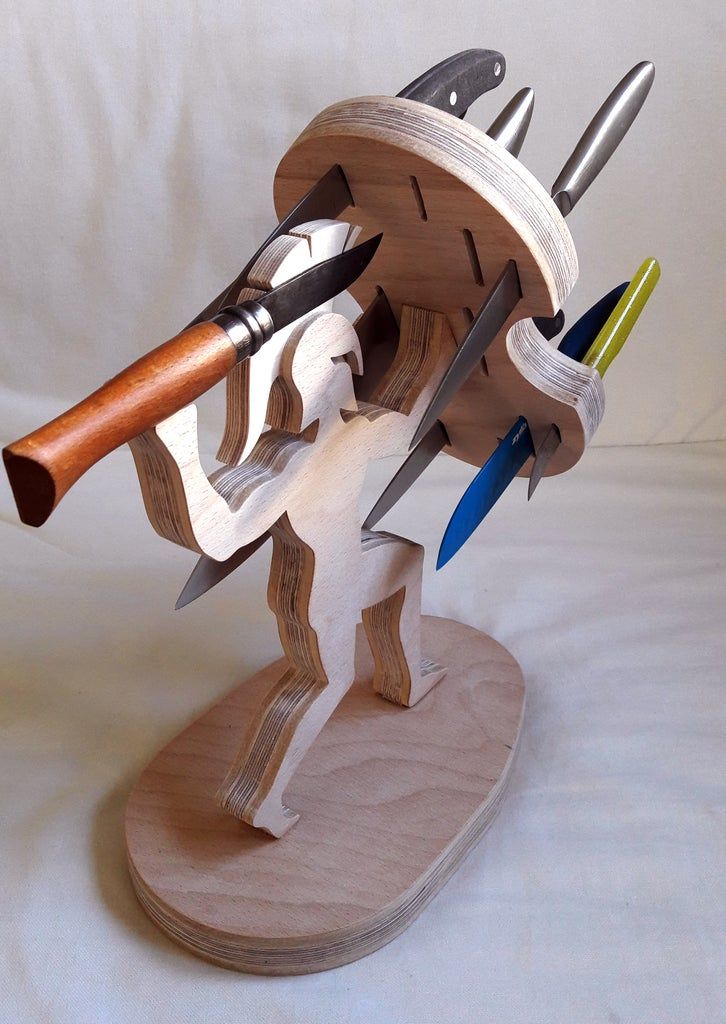
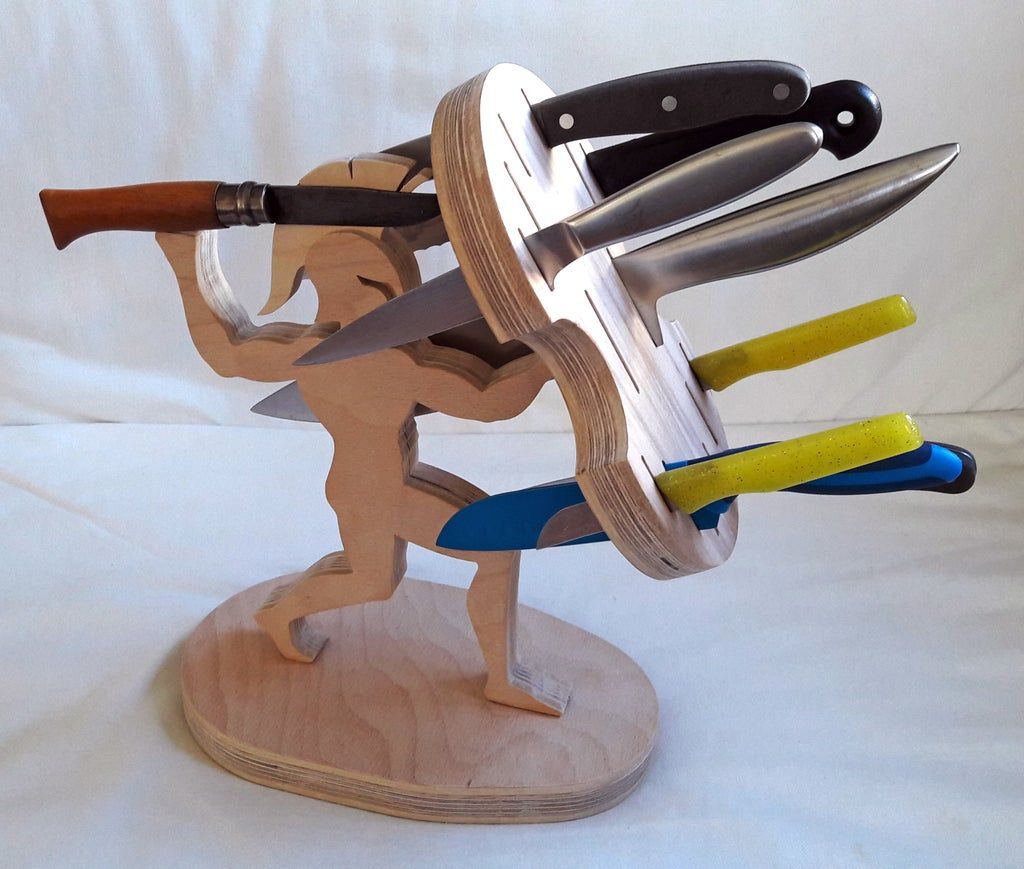
- When you finish the base, warrior, and shield part, check again to see if everything is sanded correctly. I also recommend lightly sanding all edges to avoid splinters later.
- Check if all parts fit together. If not, sand/cut some more until all the pieces fit together.
- Then hit the warrior at the base. Be sure to align the pieces at a 90° angle.
- After drying, glue the shield to the warrior.
Step 7: Apply Finish

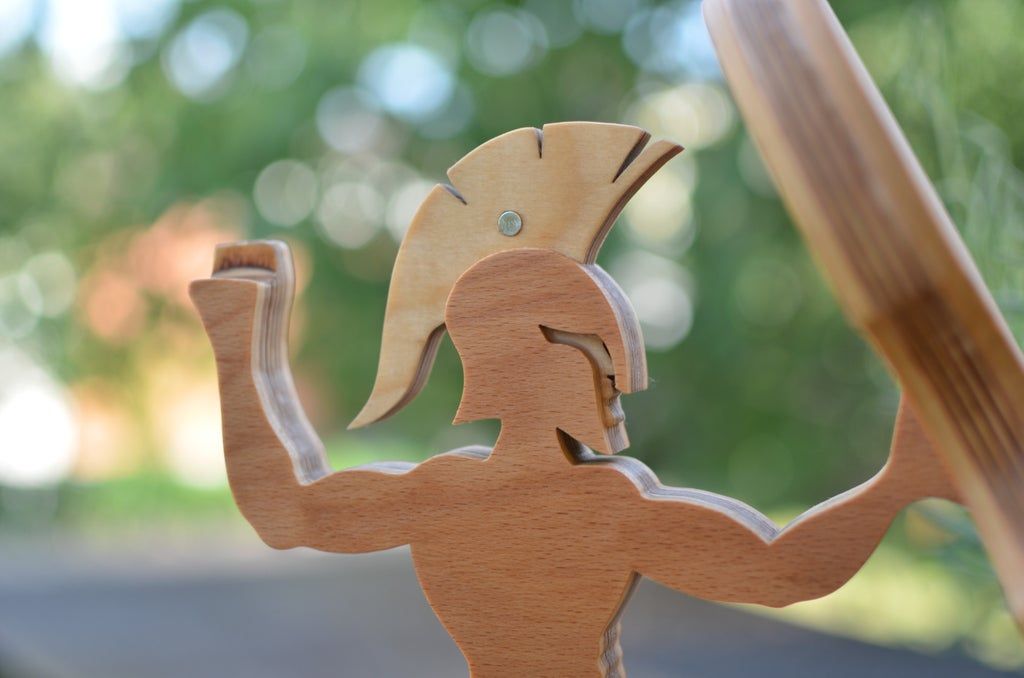

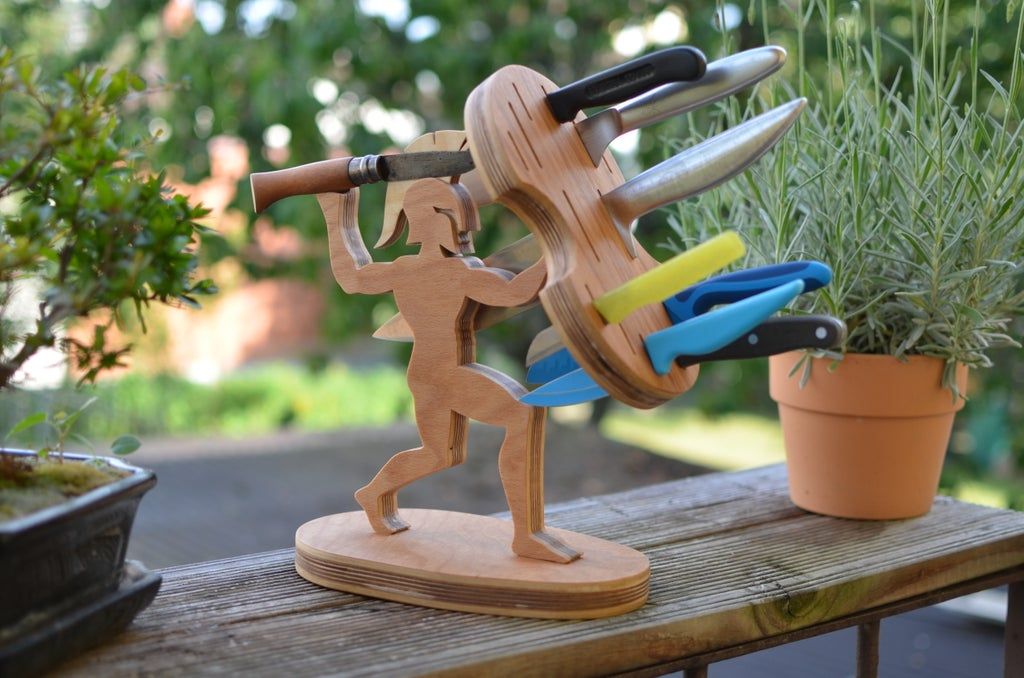
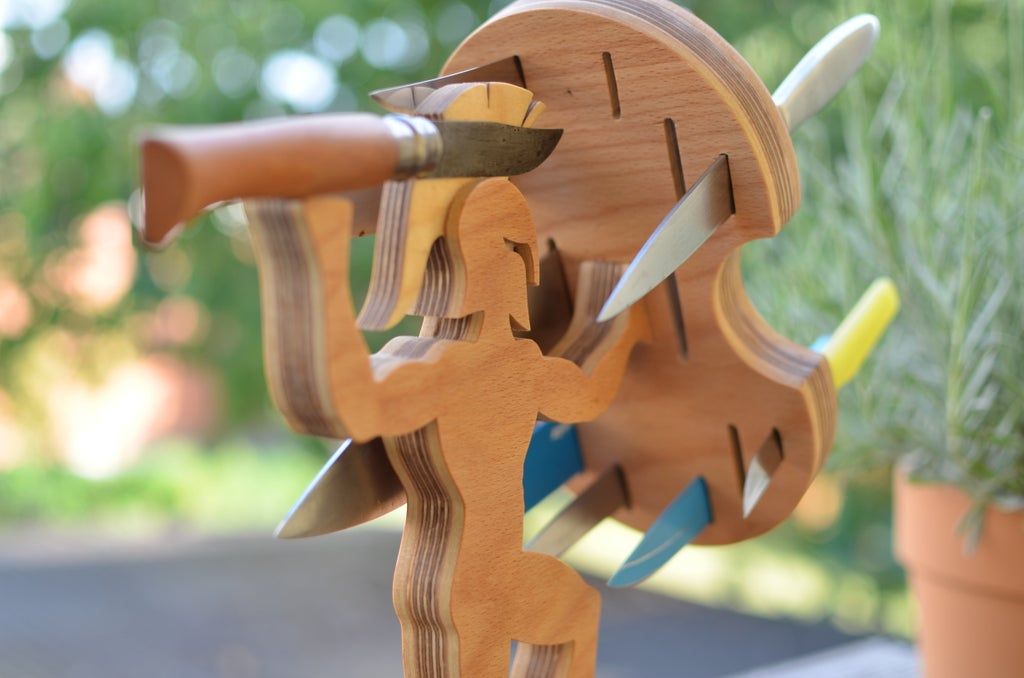
- Initially, I left my Spartan knife block untreated because I liked the look of pure wood.
- Finally, I selected the food countertop oil. Interestingly, this is a blend of high-quality linseed oil and mineral oil. Additionally, it contains some additives that are supposed to further improve its performance. So far, I am completely satisfied with this oil finish.
- To apply the oil finish, pour the oil onto the blade block and use a soft cloth to distribute the oil over all surfaces. Let it sit for a few minutes so the wood can absorb the oil. Then, use a cloth to remove all excess oil and let it dry for about a day. You can repeat this process to apply multiple coats of oil to further increase durability. I applied two coats so far.
- As I used two different types of wood (I think birch for the middle layer and beech for the side layers), the resulting color after applying the finish is different. This gives a nice effect that makes the face and crest of the helmet brighter.
Now you are done and can equip the Spartan with your knives.
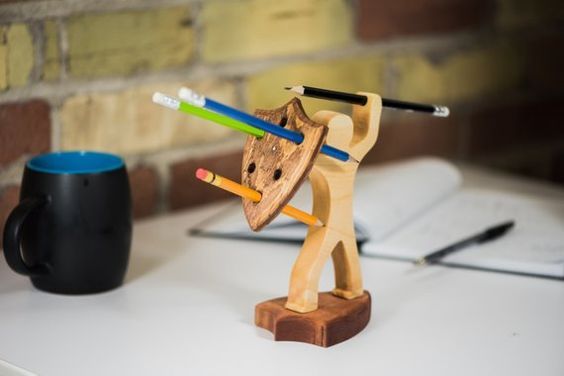
Ideas you can make with a Spartan knife block
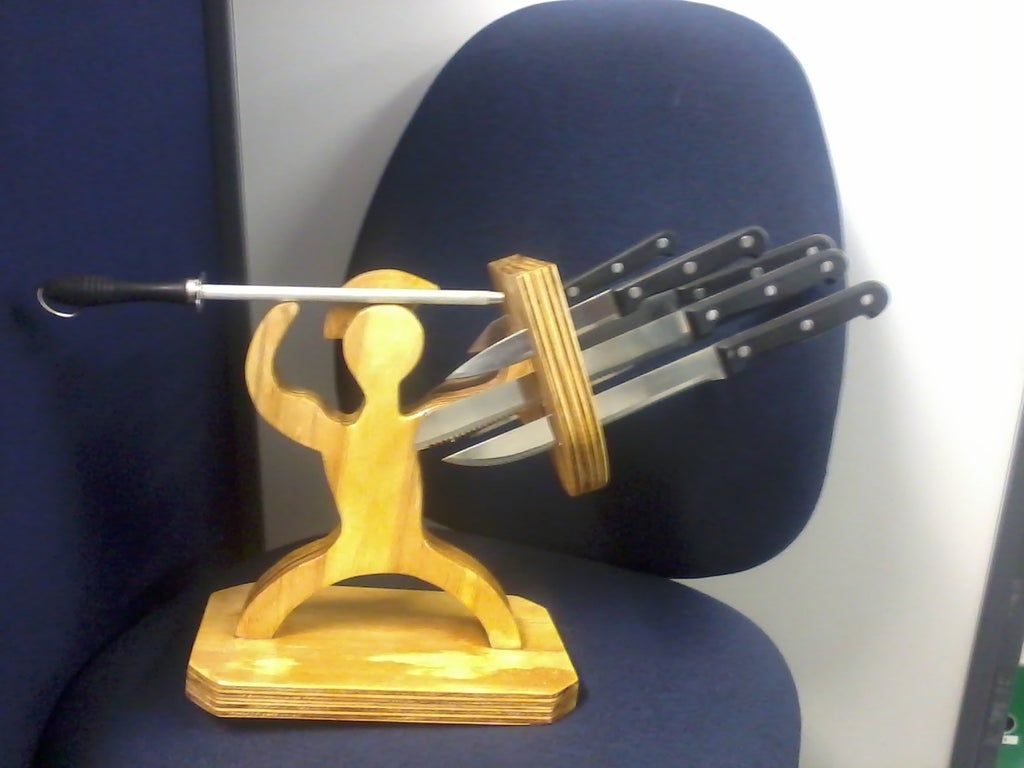
Enjoy!
Popular Content
How to make a rocket stove for outdoors
Cardboard Drawers Lined with Jeans
Ideas and Advantages of Window Grilles for the Home!
Latest Articles
How to make a refrigerator out of insulating material: Practical step-by-step guide
How to make a Kilim for the Home: Complete Step by Step Guide
How to protect ourselves from accidents in our workplace: Complete prevention and safety guide
Related Content
Wood Projects Created by AI
Mini Vise: Plastic Workbench Made from Ikea Plastic Boards
Backgrounds to Take Selfies
Know How to Build this Great 16 Drawer Sideboard!
Creative Home Decor Ideas to Transform Every Space
Refreshing your home starts with smart design choices that combine comfort, personality, and functionality. Whether you want to modernize a small apartment, upgrade outdoor areas, or create cozy rustic interiors, these trending ideas can completely change the atmosphere of your space.
Outdoor Spaces That Increase Style and Functionality
Outdoor living continues to dominate modern home trends. Homeowners are increasingly investing in practical entertainment zones inspired by these BBQ shed ideas, which create the perfect setup for gatherings and weekend cooking sessions.
First impressions also matter when designing exteriors. Elegant farm entrance gates design ideas help properties stand out while improving privacy and curb appeal.
Compact living solutions are also gaining popularity. These inspiring 16x40 shed house interior design ideas show how smaller spaces can still feel luxurious and functional.
To enhance patios and entryways, homeowners are adding stylish protection with these creative porch awning exterior DIY ideas that blend aesthetics with practicality.

Rustic and Cozy Interior Design Trends
Warm and natural interiors remain timeless. These charming rustic decor ideas combine wood textures, vintage accents, and earthy tones to create welcoming spaces.
Bedrooms are becoming more personalized with curated wall arrangements. Many homeowners use these stylish picture wall ideas for bedroom spaces to display memories and artwork creatively.
Textured wall treatments are another major trend. Installing a board and batten wall adds architectural character while keeping interiors elegant and modern.
Similarly, bold accent wall ideas can instantly transform plain rooms into eye-catching focal points without requiring a full renovation.
Smart Kitchen and Organization Inspiration
Functional kitchens are essential for modern homes. These practical kitchen wall cabinet ideas maximize storage while maintaining a clean and stylish appearance.
Organization also starts at the entrance. Well-designed mud room ideas help families keep shoes, coats, and daily essentials neatly arranged.
Colorful and Personalized Home Styling
Vibrant interiors are becoming increasingly popular thanks to playful dopamine decor ideas that use bright colors and joyful accessories to improve mood and energy.
Gallery walls also continue to evolve as a major decorative feature. These trendy gallery wall inspiration ideas offer creative ways to combine prints, photos, and statement art.
Young renters and new homeowners are especially embracing these stylish first apartment aesthetic ideas to create sophisticated interiors on a budget.
Finally, selecting the right shades can dramatically influence any room’s atmosphere. These modern trendy color ideas help homeowners choose palettes that feel fresh, elegant, and timeless.
Final Thoughts
From rustic charm and colorful interiors to outdoor entertaining areas and functional storage solutions, today’s home decor trends focus on creating spaces that feel both beautiful and livable. By combining smart layouts, modern textures, and personalized decorative elements, any home can become more stylish, comfortable, and inspiring.
Browse the Shop
 Acacia frida deluxe solid wood bed frame |
Bedroom bench |
Bed chest drawers |
Lingerie dresser |
Frame base |
Mirror with jewelry storage |
30 Bathroom Vanity |
Memory foam queen mattress |
Mattresses for back pain |
Nightstand set of 2 |
Grand Goldman Shop |
Civil Lawyer
Deutschland Trikot WM 2026
Acacia frida deluxe solid wood bed frame |
Bedroom bench |
Bed chest drawers |
Lingerie dresser |
Frame base |
Mirror with jewelry storage |
30 Bathroom Vanity |
Memory foam queen mattress |
Mattresses for back pain |
Nightstand set of 2 |
Grand Goldman Shop |
Civil Lawyer
Deutschland Trikot WM 2026







