

Simple Plastic Tube Desk Organizer, keep your desk organized with this simple DIY project that uses plastic tubes from your hardware store.
This desk organizer can be customized to meet your particular desk needs, and can be expanded if you ever need more space.
Find Bleeding Edge Supplements at Scandalous Prices on iHerb.

Store big things, small things, oddly shaped things, anything!
This quick afternoon project comes together quickly, and keeping your area organized means you can spend more time and less time searching for the right tool for the job.
Ready to get organized? Let's do it!
Step 1: Supplies
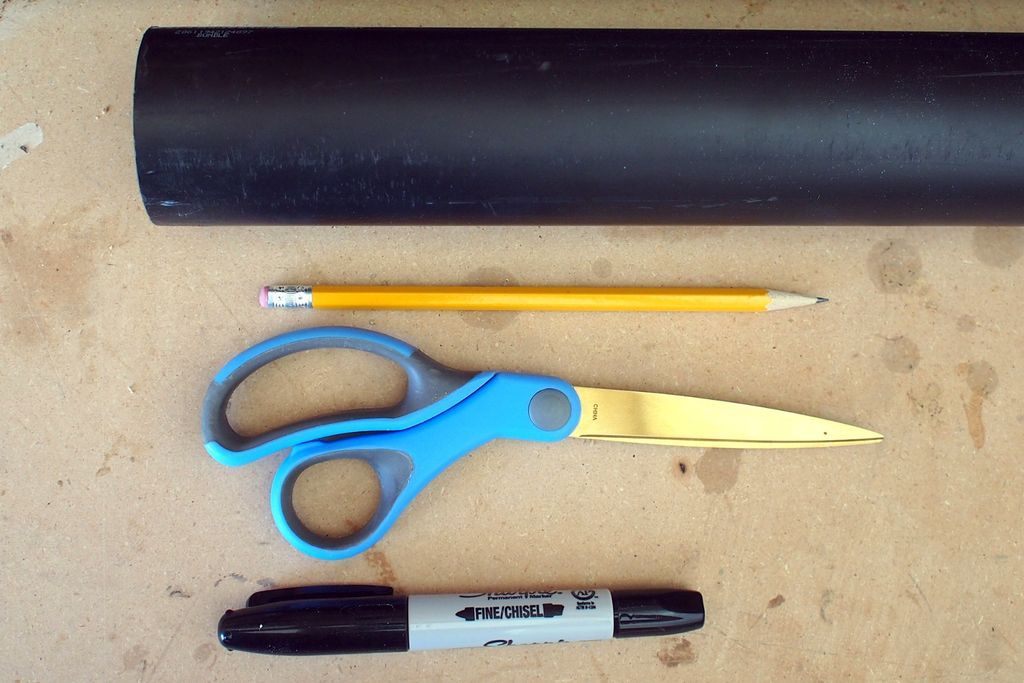
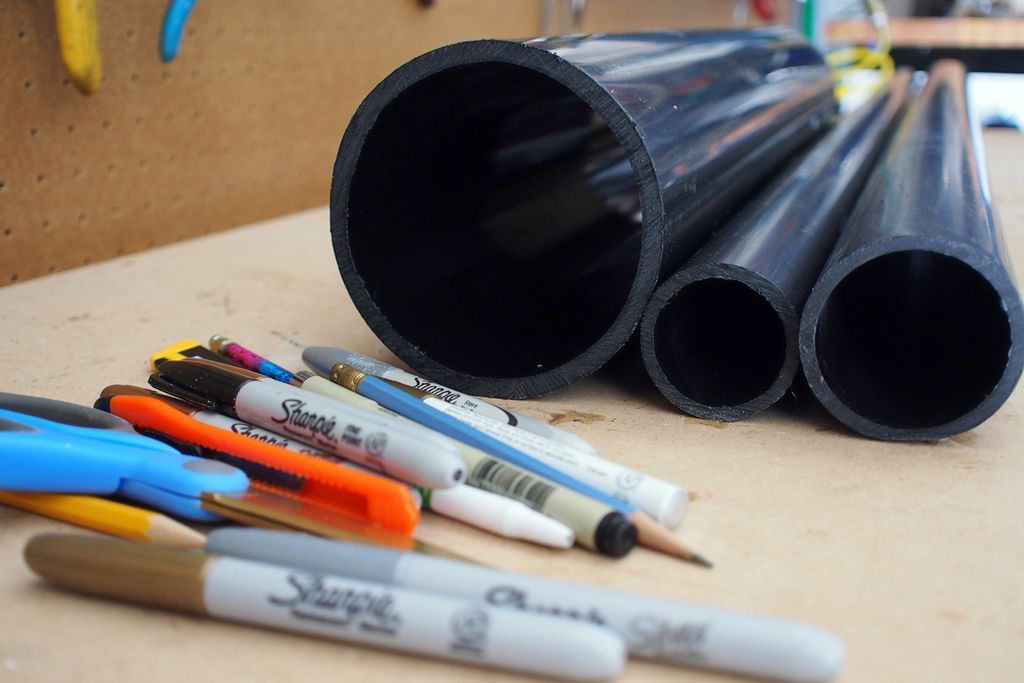
This simple desk organizer can be made from any plastic pipe, so it doesn't really matter if it's ABS or PVC. I chose ABS since that's what they had pre-cut lengths at my local hardware store.
Most home centers have an untrimmed or pre-cut section, allowing you to purchase smaller sections of tubing without having to purchase a full 12' length.
I found a few different sizes of pipe: 3/4″, 1″ and 2″. The exact sizes will depend on your design, but having a variety leaves you with plenty of options.
In addition to the pipe, you will also need a method of determining the angle (speed square, protractor, angle indicator), a saw, a marker, and a really strong adhesive(glue).
Step 2: Mark your angle
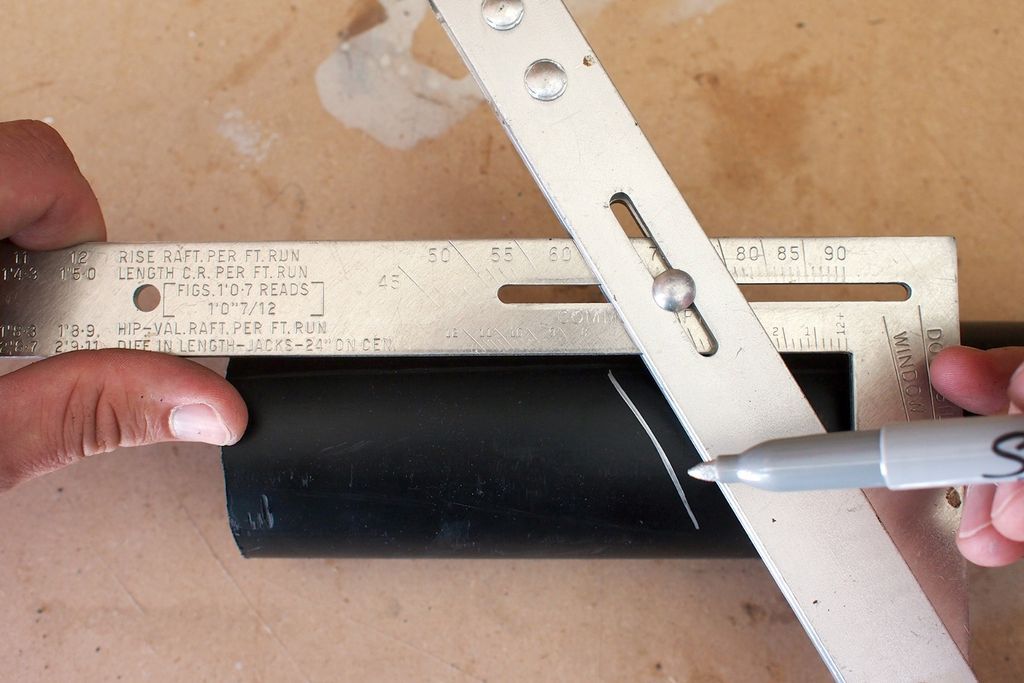
After some trial and error, I determined that 60° was the optimal angle to cut my pipes.
This angle allowed items to slide in the pipes, but was at a high enough angle to keep things upright.
I set my angle gauge to 60° and placed the gauge on the side of the pipe, then made a mark on an arbitrarily short length of pipe.
Since these pipes need to be different lengths, I simply envisioned lengths between 2-6″.
The pipes were clamped to a sturdy work surface and carefully cut with a hand saw.
Step 3: Sand
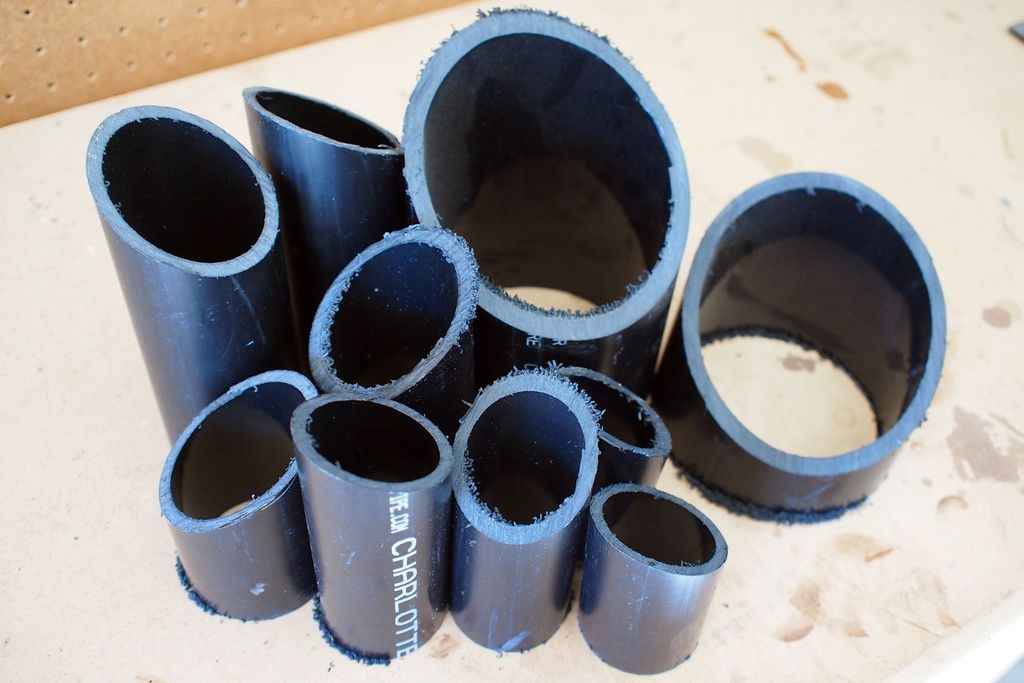
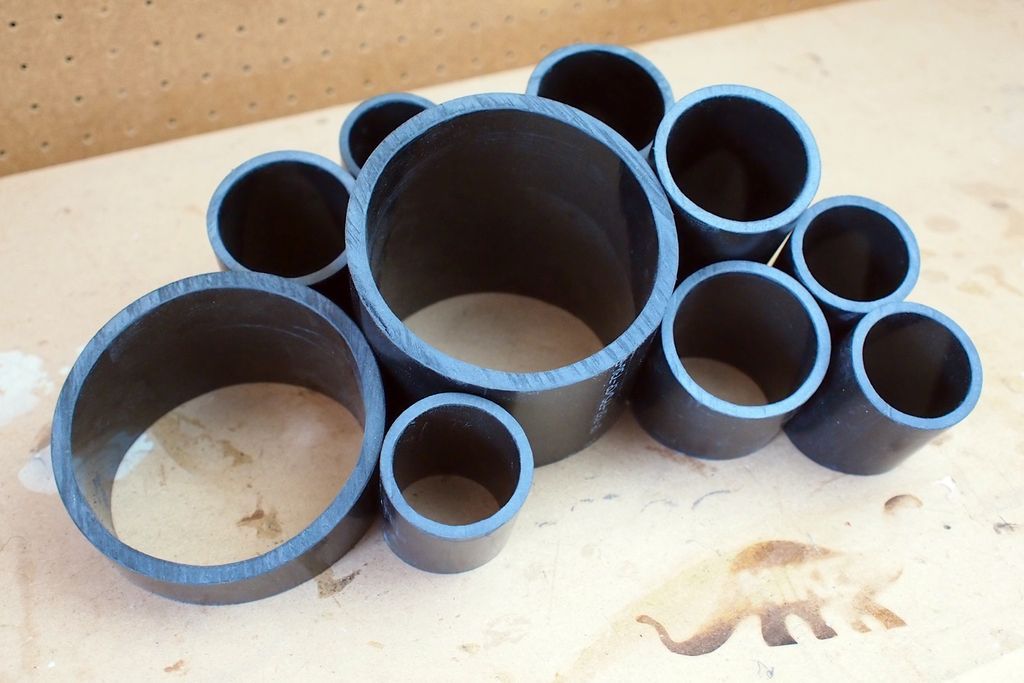
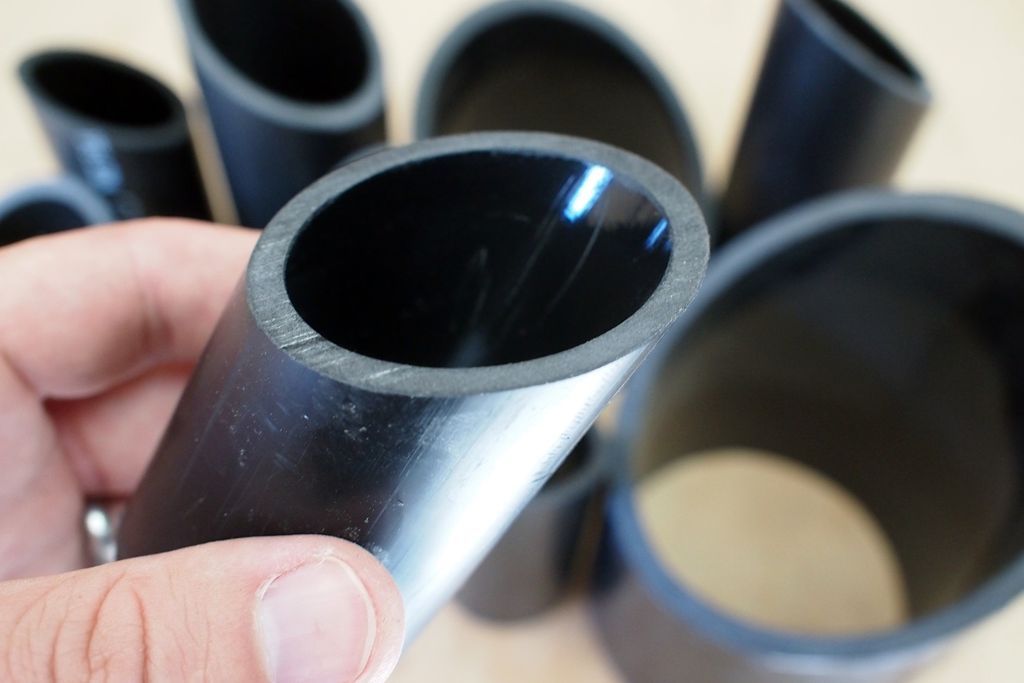
After sawing the lengths of pipe they needed to remove any unsightly edges.
I used the rough side of a file to remove most of the rough plastic ridges from the ends of the pipe, then switched to the fine side to create a nice smooth edge.
Step 4: Arrange and join your tubes
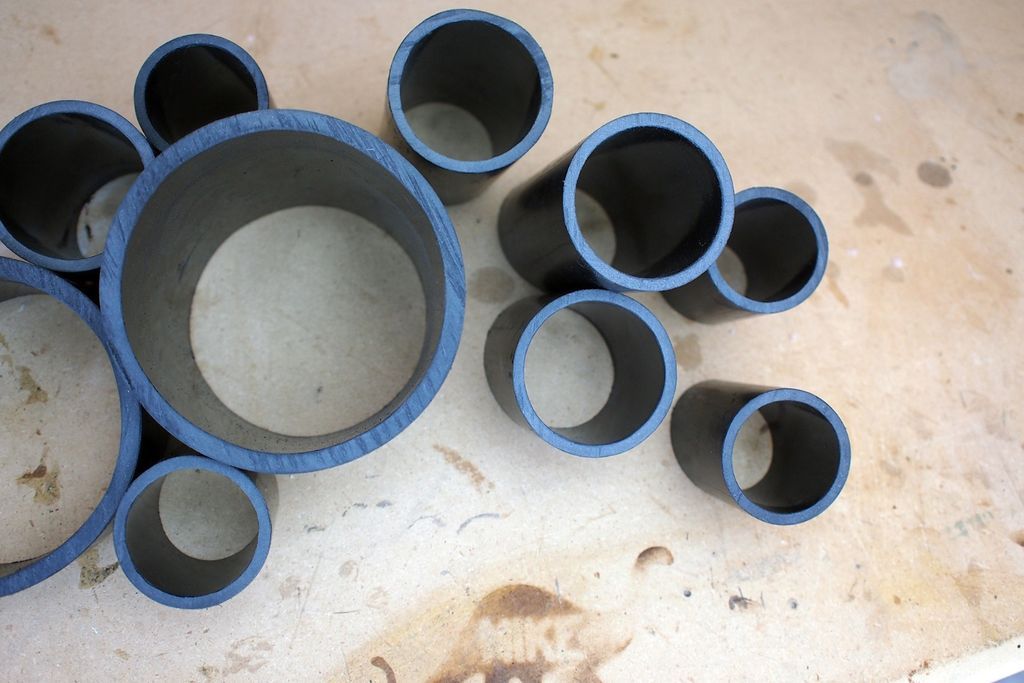
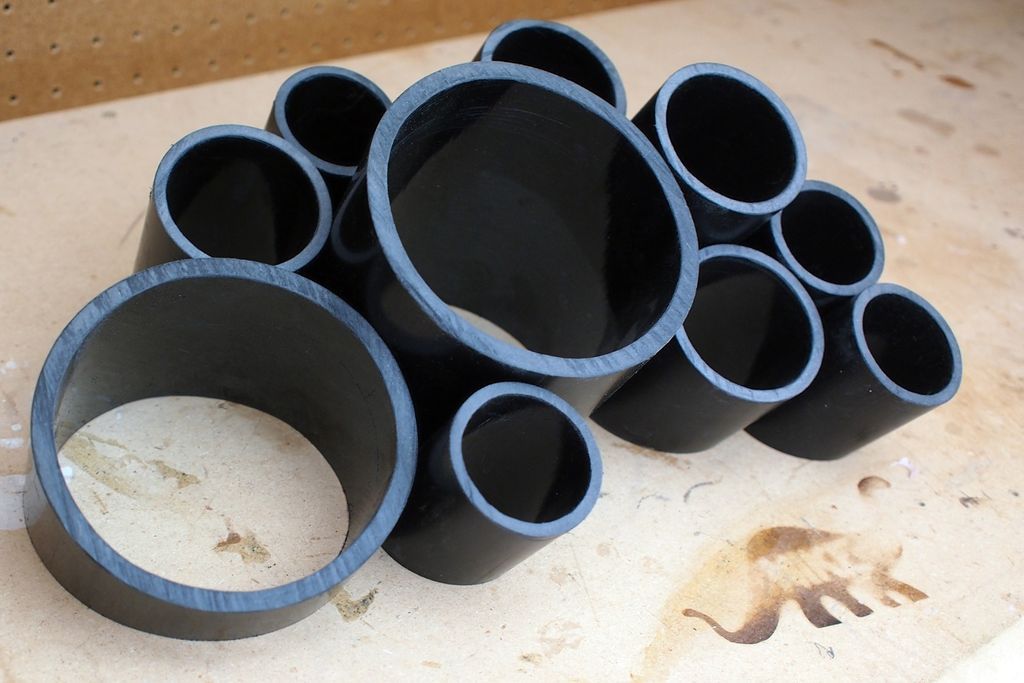
With the ends clean, the pipes can be rotated so that the sloping side is facing down, then the pipes can be placed in the desired array.
Experiment with a few different arrangements to determine what works best for you.
When you are happy with the arrangement, I use an E6000 to permanently join the pipes.
To make spreading the glue easier, I sprayed a small amount onto some paper, then used a piece of wood as an applicator to apply a smear of glue to where two tubes meet.
Step 5: Settings
There is a small window of time after applying the glue where you can make small adjustments before the glue sets.
Check to make sure the angled end of each cutting tube makes solid contact with your work surface; Any gaps here will be noticeable and may require you to sand the entire lower level.
Once the pipe assembly looks good, allow the glue to dry completely.
Step 6: Cut Base
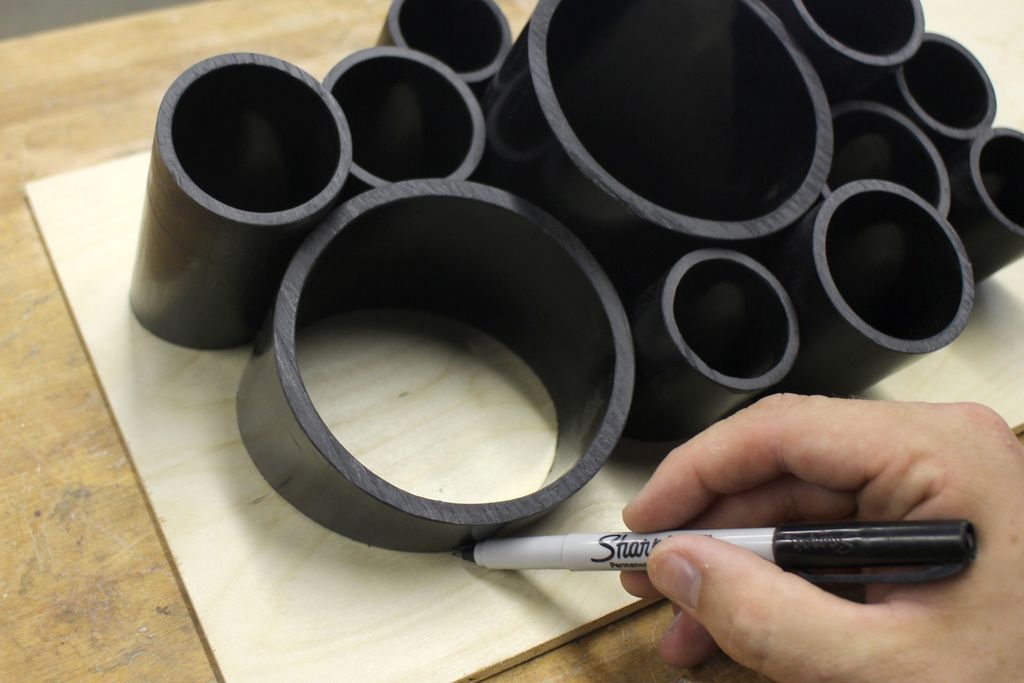
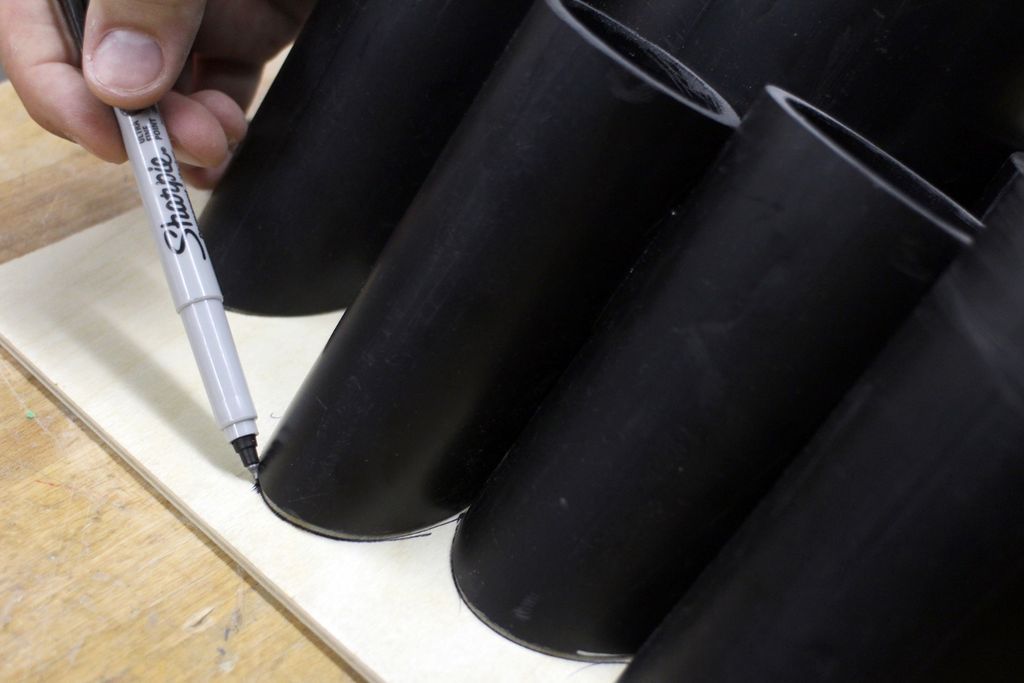
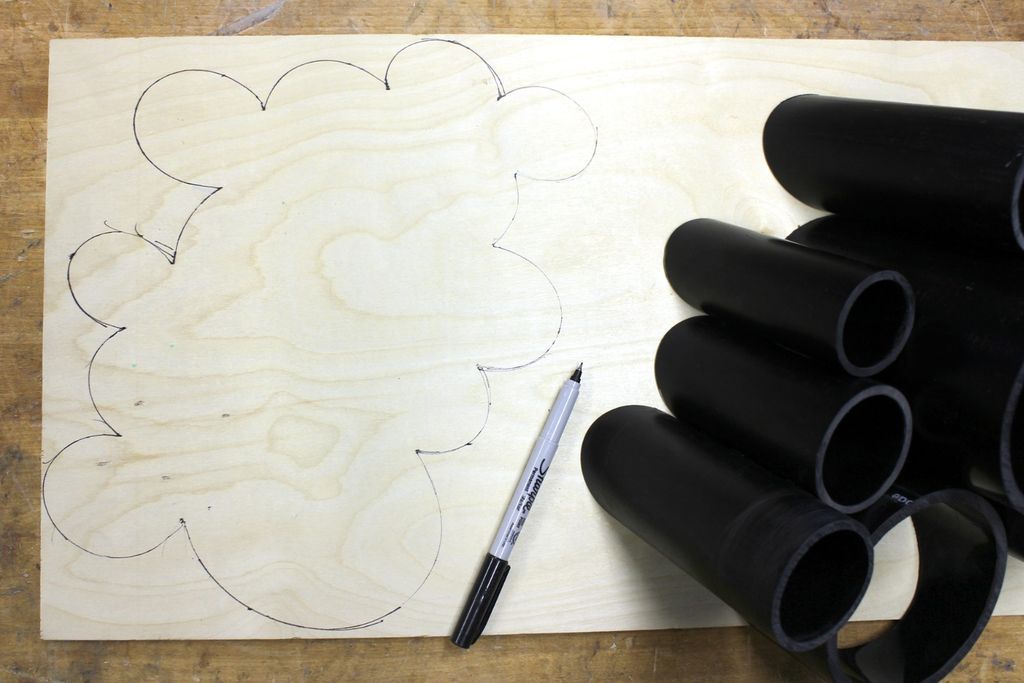
A base is not necessarily required as the feathers can easily stay inside the pipes, but I think it finishes the piece nicely and encloses the pipes in case the organizer accidentally moves and the feathers don't come out of the bottom.
I used a piece of thin plywood as my base.
Placing the set of pipes on top of the plywood, I carefully traced around the outside of the pipes, making sure to get into all the corners.
After removing the pipe array, I checked the outline and filled in the gaps.
Step 7: Cut the base
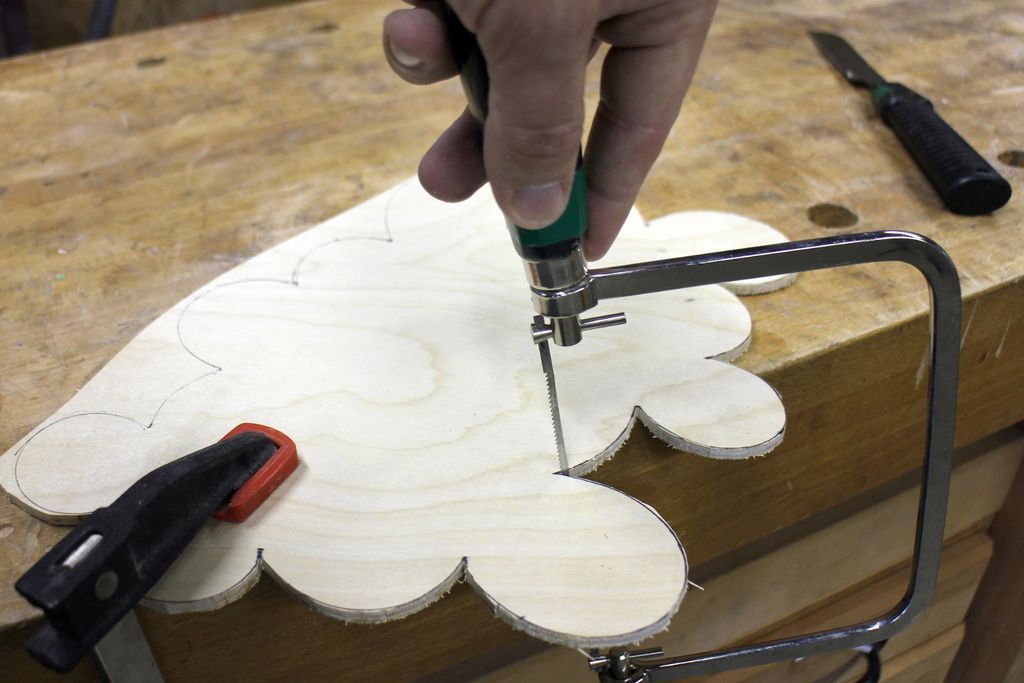
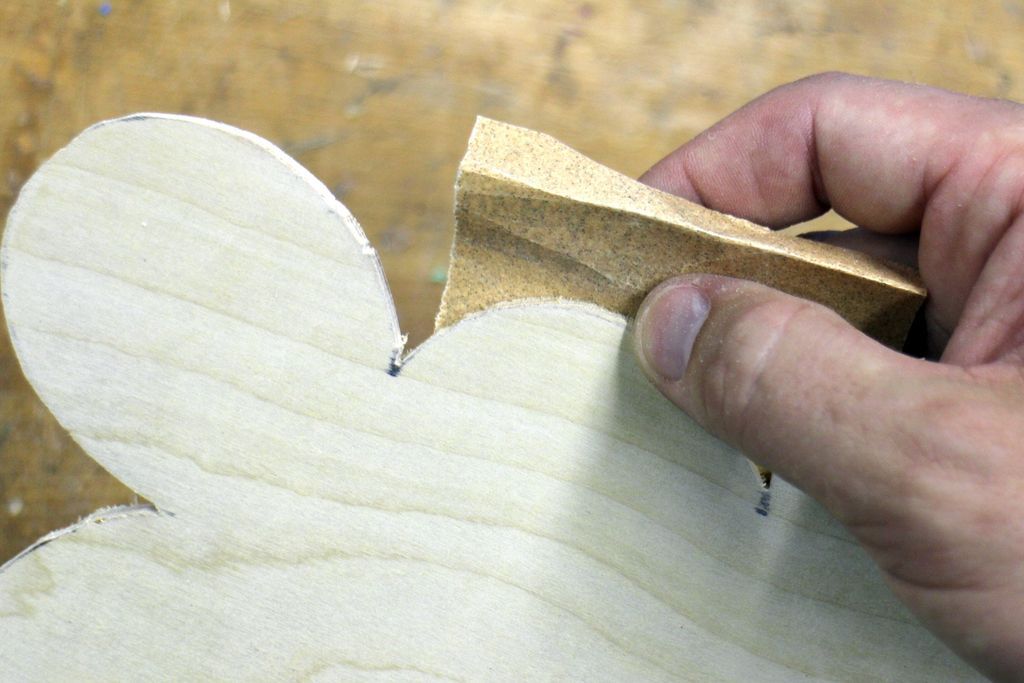
Following the outline with a jigsaw, the base was cut from the thin plywood.
After cutting the entire contour, the edges were cleaned with sandpaper.
Step 8: Glue
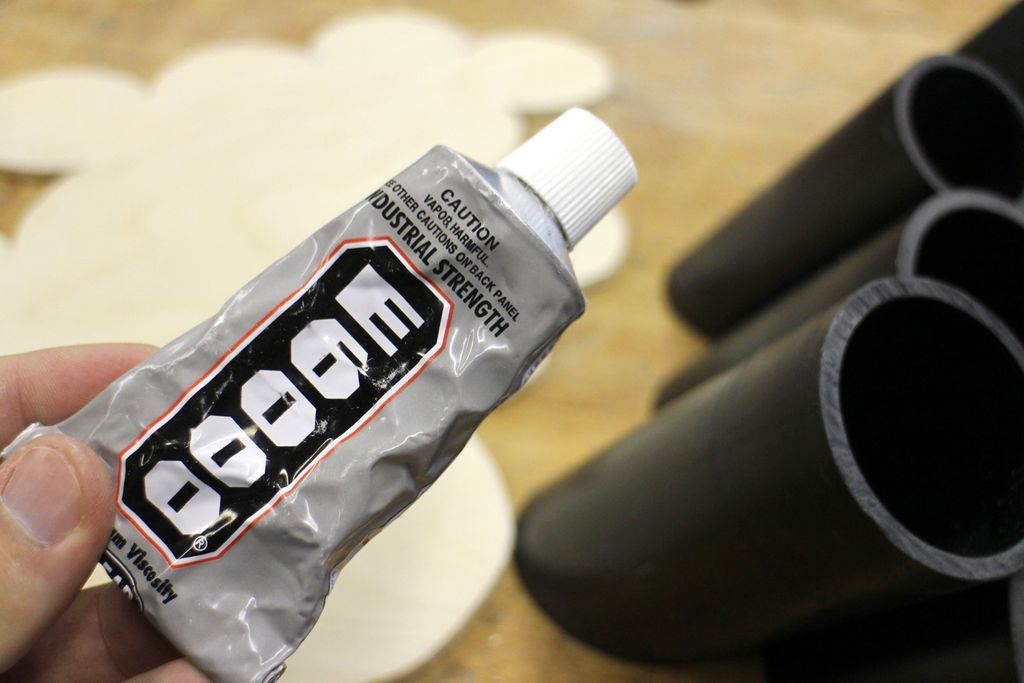
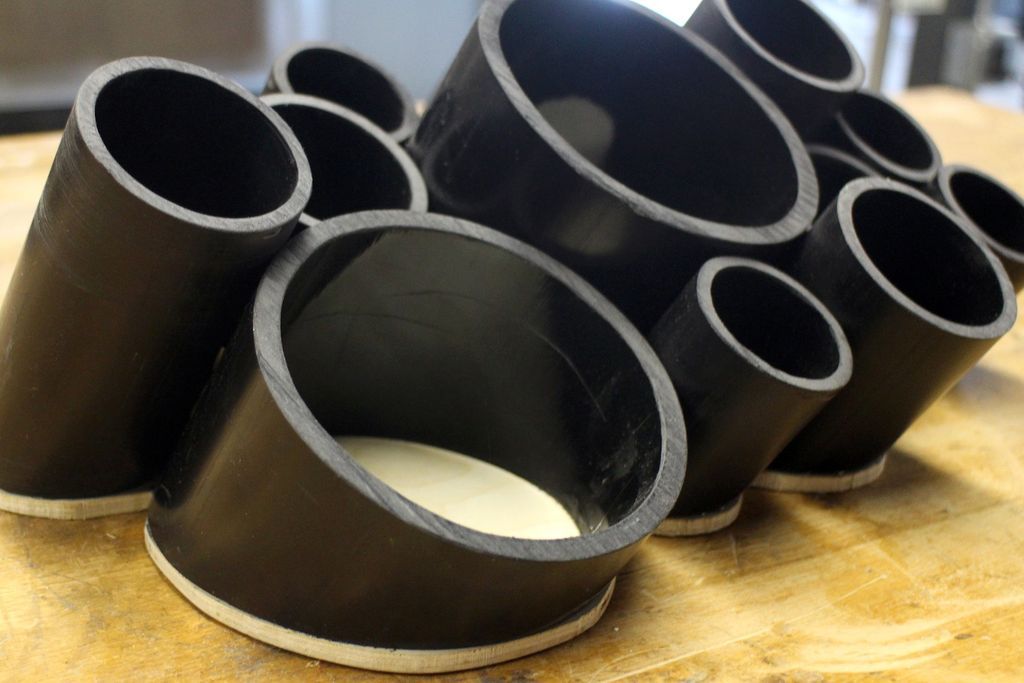
Using E6000 glue I glued the base to the pipe matrix.
As this glue is quite strong, I only needed to use a little around the perimeter of the pipe assembly to create a solid bond between the pipes and the base.
Step 9: Paint
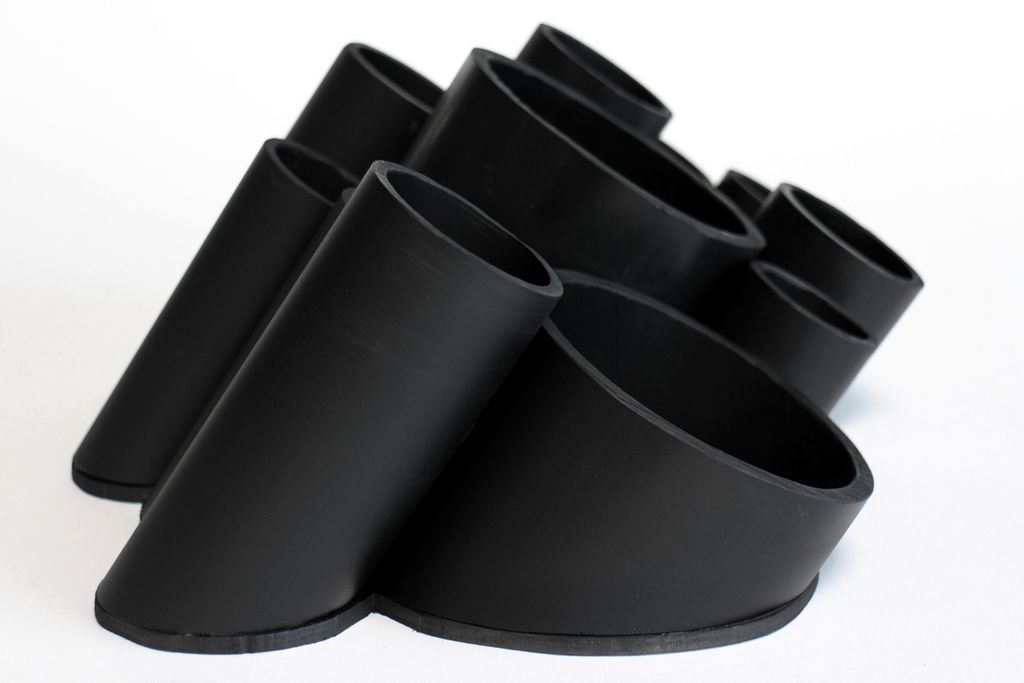
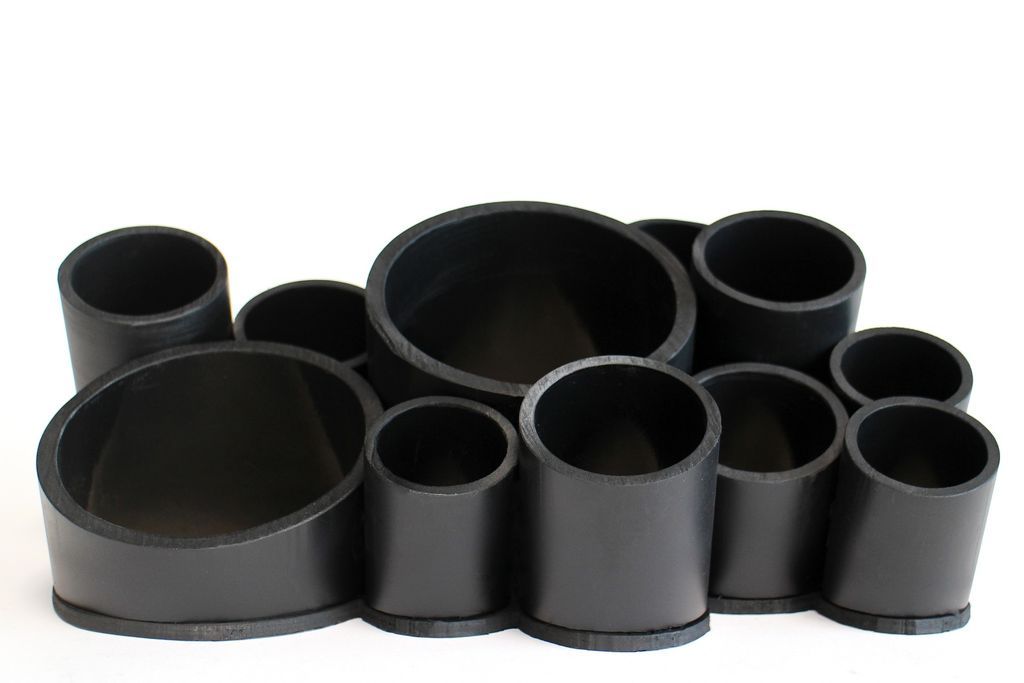
To give the desk organizer a uniform appearance, I decided to paint it matte black.
Painting the base to attach the pipes was an easy choice, but the paint also helped mask any scratches or prints on the ABS pipes.
I coated the entire tube organizer with 2 coats of paint, then let it dry completely before filling it with the stationary paper.
Step 10: Done!
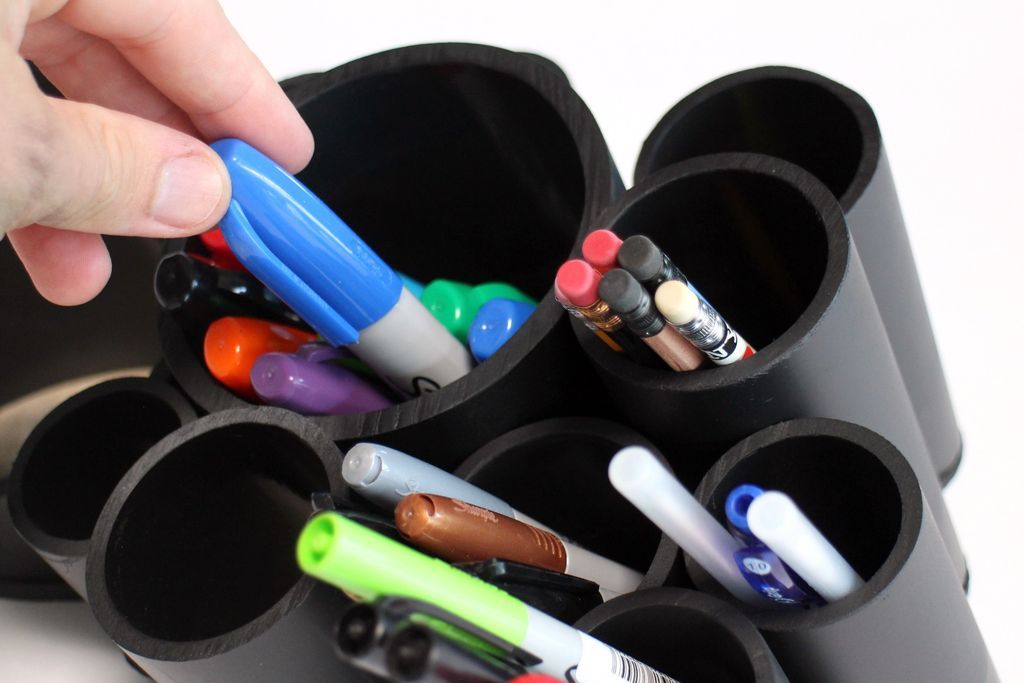
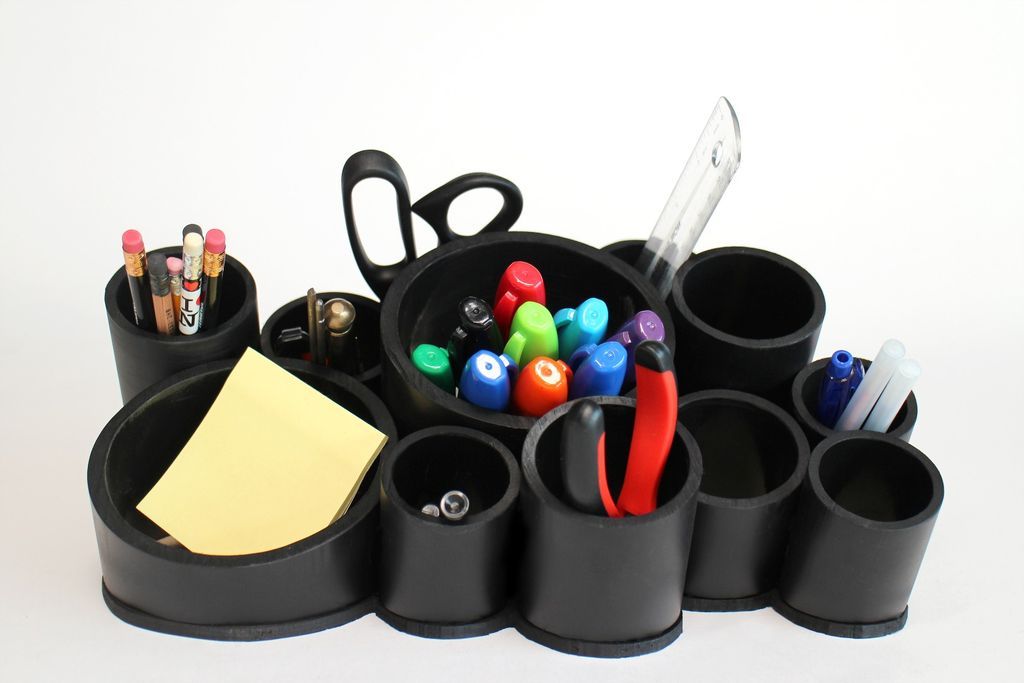
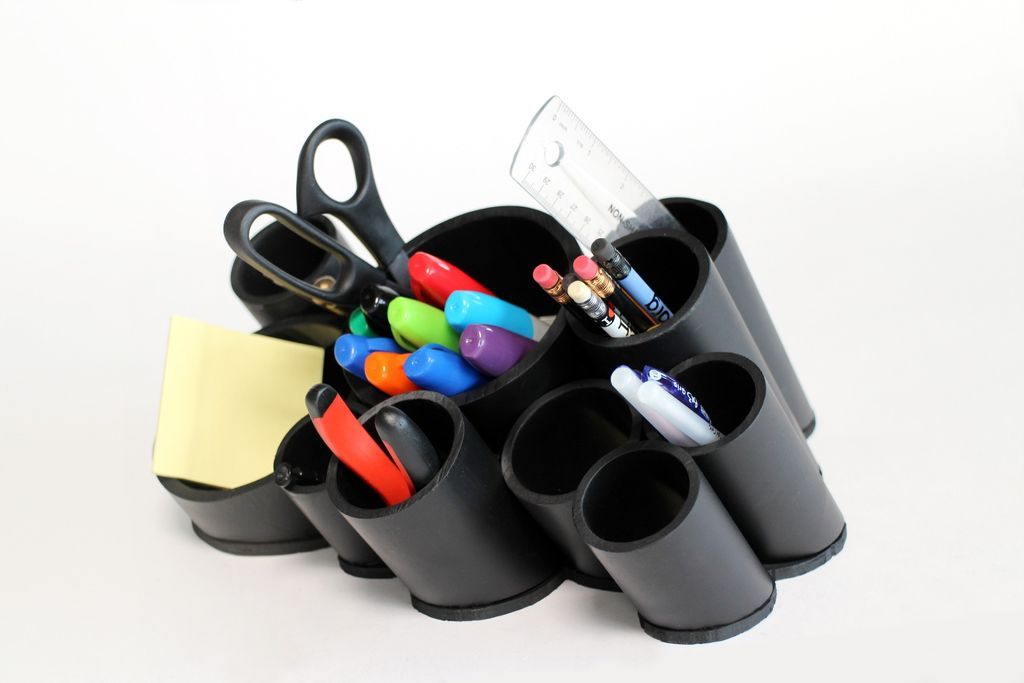
Your desktop organizer is complete! Stock it with all your pens, markers, scissors, and other daily desk detritus to keep your workspace organized!
There's no end to the possible variations, so let your creative side loose!
Get more information at Perfectidea.com and on our Facebook for more Simple Plastic Tube Desk Organizer.
- Tags
- plastic
Popular Content
How to make a rocket stove for outdoors
Cardboard Drawers Lined with Jeans
Ideas and Advantages of Window Grilles for the Home!
Latest Articles
How to make a refrigerator out of insulating material: Practical step-by-step guide
How to make a Kilim for the Home: Complete Step by Step Guide
How to protect ourselves from accidents in our workshopunder: Complete prevention and safety guide
Related Content
Build Vinyl Frames to Decorate your Wall
Watercolor Painted Walls that Explode the World of Dreams
DIY BBQ Table!
Build an Amazing and Cool Acrylic Skateboard!
Creative Home Decor Ideas to Transform Every Space
Refreshing your home starts with smart design choices that combine comfort, personality, and functionality. Whether you want to modernize a small apartment, upgrade outdoor areas, or create cozy rustic interiors, these trending ideas can completely change the atmosphere of your space.
Outdoor Spaces That Increase Style and Functionality
Outdoor living continues to dominate modern home trends. Homeowners are increasingly investing in practical entertainment zones inspired by these BBQ shed ideas, which create the perfect setup for gatherings and weekend cooking sessions.
First impressions also matter when designing exteriors. Elegant farm entrance gates design ideas help properties stand out while improving privacy and curb appeal.
Compact living solutions are also gaining popularity. These inspiring 16x40 shed house interior design ideas show how smaller spaces can still feel luxurious and functional.
To enhance patios and entryways, homeowners are adding stylish protection with these creative porch awning exterior DIY ideas that blend aesthetics with practicality.

Rustic and Cozy Interior Design Trends
Warm and natural interiors remain timeless. These charming rustic decor ideas combine wood textures, vintage accents, and earthy tones to create welcoming spaces.
Bedrooms are becoming more personalized with curated wall arrangements. Many homeowners use these stylish picture wall ideas for bedroom spaces to display memories and artwork creatively.
Textured wall treatments are another major trend. Installing a board and batten wall adds architectural character while keeping interiors elegant and modern.
Similarly, bold accent wall ideas can instantly transform plain rooms into eye-catching focal points without requiring a full renovation.
Smart Kitchen and Organization Inspiration
Functional kitchens are essential for modern homes. These practical kitchen wall cabinet ideas maximize storage while maintaining a clean and stylish appearance.
Organization also starts at the entrance. Well-designed mud room ideas help families keep shoes, coats, and daily essentials neatly arranged.
Colorful and Personalized Home Styling
Vibrant interiors are becoming increasingly popular thanks to playful dopamine decor ideas that use bright colors and joyful accessories to improve mood and energy.
Gallery walls also continue to evolve as a major decorative feature. These trendy gallery wall inspiration ideas offer creative ways to combine prints, photos, and statement art.
Young renters and new homeowners are especially embracing these stylish first apartment aesthetic ideas to create sophisticated interiors on a budget.
Finally, selecting the right shades can dramatically influence any room’s atmosphere. These modern trendy color ideas help homeowners choose palettes that feel fresh, elegant, and timeless.
Final Thoughts
From rustic charm and colorful interiors to outdoor entertaining areas and functional storage solutions, today’s home decor trends focus on creating spaces that feel both beautiful and livable. By combining smart layouts, modern textures, and personalized decorative elements, any home can become more stylish, comfortable, and inspiring.
Browse the Shop
 Acacia frida deluxe solid wood bed frame |
Bedroom bench |
Bed chest drawers |
Lingerie dresser |
Frame base |
Mirror with jewelry storage |
30 Bathroom Vanity |
Memory foam queen mattress |
Mattresses for back pain |
Nightstand set of 2 |
Grand Goldman Shop |
Civil Lawyer
Deutschland Trikot WM 2026
Acacia frida deluxe solid wood bed frame |
Bedroom bench |
Bed chest drawers |
Lingerie dresser |
Frame base |
Mirror with jewelry storage |
30 Bathroom Vanity |
Memory foam queen mattress |
Mattresses for back pain |
Nightstand set of 2 |
Grand Goldman Shop |
Civil Lawyer
Deutschland Trikot WM 2026







