

How to Make a Recycled Wood Table with a Modern Design, there is a large amount of wood in the free world to be able to take and reuse, you can find it in garbage containers, alleys, vacant lots, abandoned buildings, recycling yards and architectural rescue centers.
Most wood, if free of rot, is just as strong, durable and good to use as new wood.
Find Bleeding Edge Supplements at Scandalous Prices on iHerb.


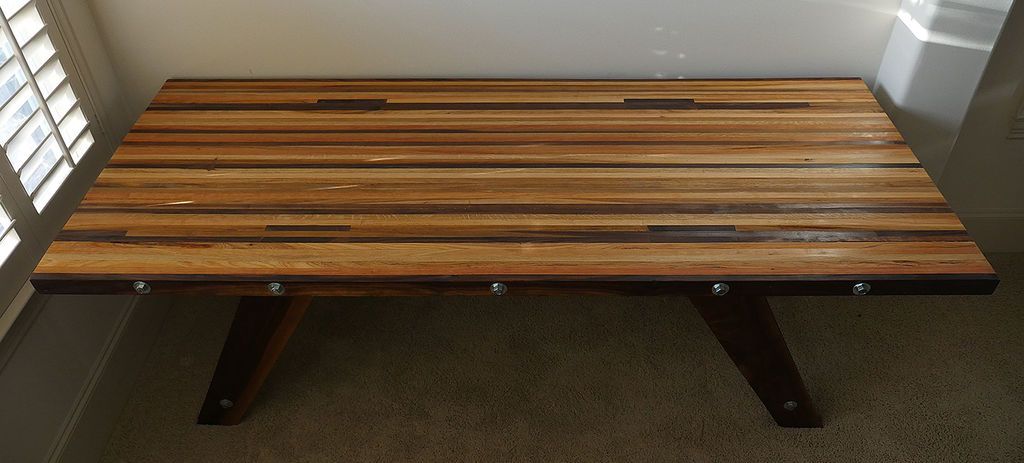
This table was made from all reclaimed wood, both three-dimensional wood and plywood. There are many methods for laminating wood - this project focuses on a dirty method and for those of us who don't own a lot of clamps and other heavy-duty accessories for dealing with wild wood.
It is about ten feet long by thirty inches wide, sitting about a foot off the ground.
If you can salvage the wood, the other materials are not too expensive: five threaded rods, nuts, washers, screws; a gallon or so of wood glue; sandpaper; and polyurethane.

As for tools, you will need a table saw, a circular saw, a power drill, a sander, a mallet, some drill bits, and a belt sander.
Step 1: Frame

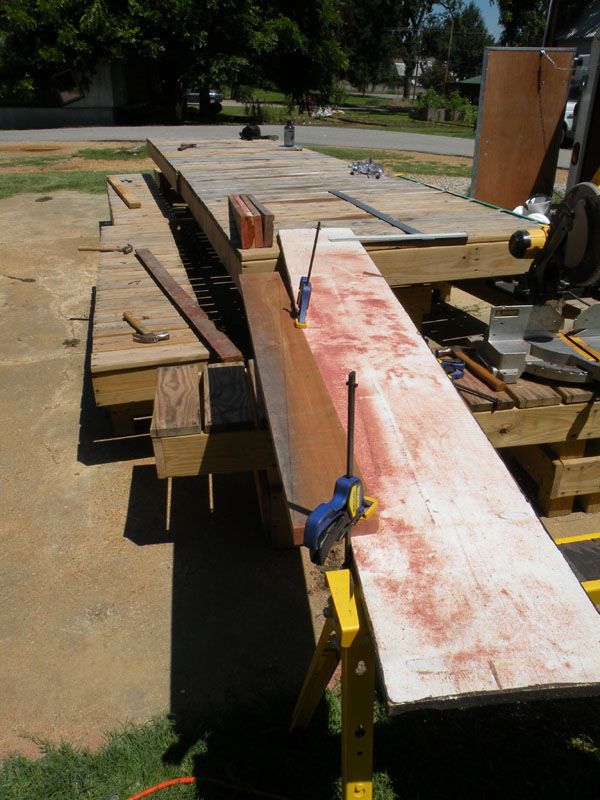
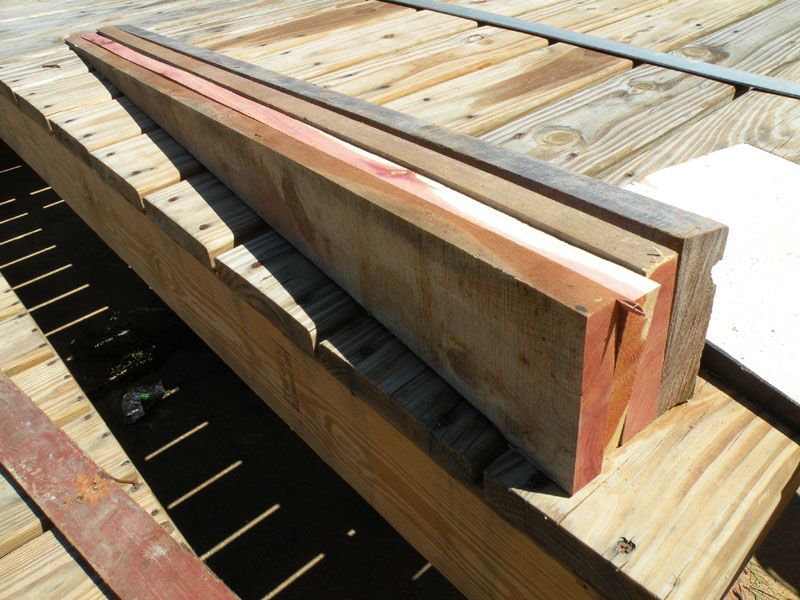


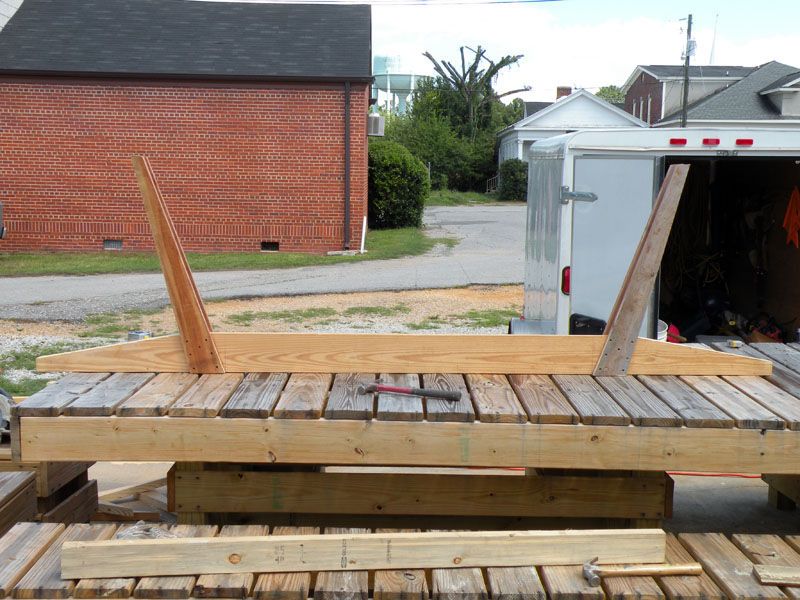

The design is basic for this table, we use a trestle scheme: the use of two parallel load-bearing structures with inclined legs to support the top.
Measure from the baseline 30-32 inches. This will be the top of the table.
Now that you have this geometric design, choose some wood for the legs. I went with 2″x6″ pieces of cedar that we managed to salvage from the street. I measured a rough length for them, four feet or so, then ran a line from the opposite corner to the other corner.
Using a circular saw and a steady hand, cut out the legs, each essentially a long, sharp triangle. You will need eight in total.
Place the legs with the thick end over the two-leg mark on the line representing the top of the table, and pull the other end so that it touches the base line. You want the legs to be in line with the end of the table, which will give a nice visual rake to the legs and provide maximum stability.
We used eight foot 2″x8″ yellow pine for the sawhorses themselves.
Cut on each end as shown in the photos, from about 2″ down to where the legs hit. Screw and glue the legs to the trestles in opposite pairs.
Use at least four screws long enough to go through the trestle and into the other leg for maximum strength.
Step 2: Lamination


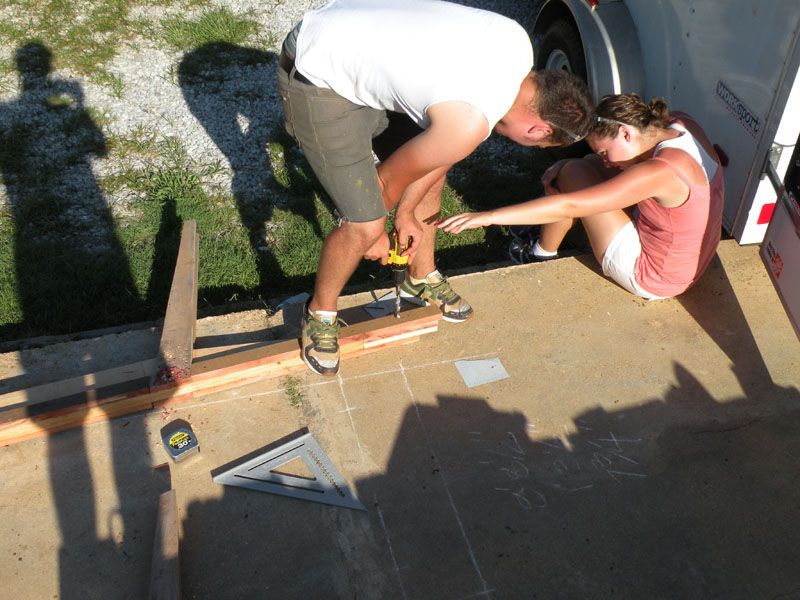

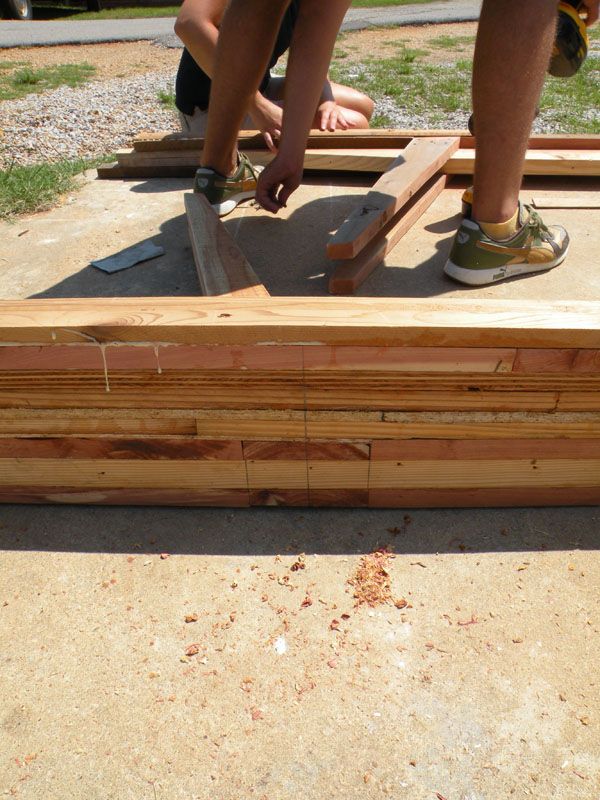


Normally, laminating a large amount of wood together is done with powerful clamps.were stick or pipe and a large amount of glue. Those clamps are expensive, though, and you need a large, perfectly level workbench for things to line up properly.
In the absence of these tools, we use a slightly less rigorous but no less strong method using screws and threaded rods.
The first step is to prepare your wood. We cut it into random widths, meaning the background was going to be irregular, as seen in the presentation photos. You can use the table saw to cut to consistent widths, if desired.
You can use any type of wood, plywood, dimensional, hardwood, softwood, whatever you think might be aesthetically interesting.
Once you've torn out a large pile of wood, run some 60-80 grit sandpaper over both sides to remove loose dirt, paint, and sand, which will inhibit the glue from bonding.
Then, starting with one easel or another, paint the wood with regular yellow wood glue (thinned with a little water), then put it on the easel and screw it to the 2″x8″ with drywall or wood screws.
Place them close enough so that some glue oozes out of the seams, and there are no pockets or gaps along the length. Build the wood up and around the ends of the legs, securing them in place and preventing them from kicking when loaded.
Continue in this manner, staggering the seams and varying the wood so that no similar pieces end up directly next to each other.
This method has its weaknesses; That is, the thing will tend to warp, tilt and leak over time, since there are no connectors that run across the entire surface of the table.
To solve this problem, mark five holes; one in the center, one across each set of legs and one at each end.
Depending on the length of the bit, go deeper every few layers with a 5/8″ bit. It's difficult to get them perfectly straight, however, I don't know if a drill press and drilling holes in each piece would be any easier, because the whole alignment would be a nightmare.
You can see the pencil lines used to design those holes in some of these images.
Step 3: Assembly


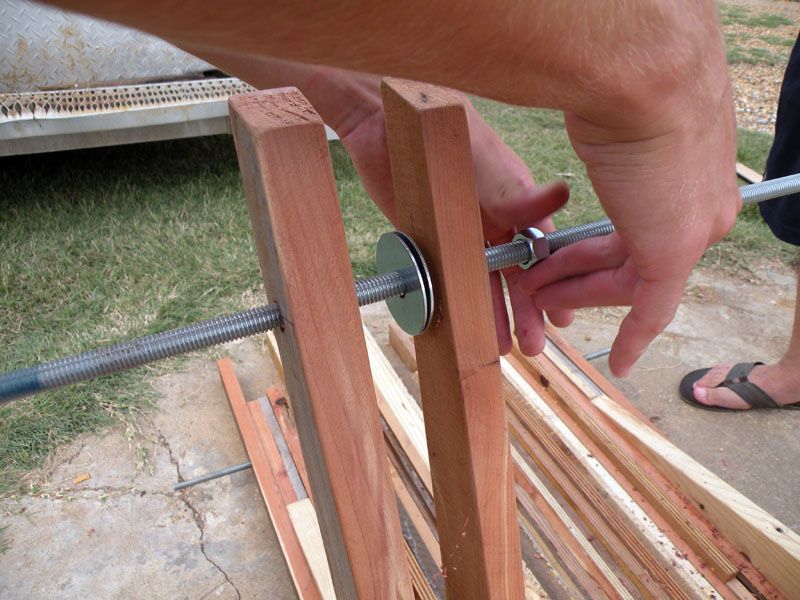


Once you have two halves of approximately the same width with 5/8″ holes along their length, it's time to finish bracing the legs, lift it up, and assemble everything.
Feed threaded rods from at least one side. Stand up both halves, with people holding each side for stability. Throw the threaded rods directly into your drill and feed them through the five holes you made in the last step.
If the holes are not exactly straight, the drilling method will screw them in quite reliably. Apply a large amount of glue to the two pieces where the halves meet, use fender nuts and washers to tighten the entire assembly.
If the center is located imperfectly, you can also throw some truck tie down ratchet straps around the whole thing to hold it down better.
For the legs, drill a 5/8″ or slightly smaller hole about two to three inches above the bottom of each leg.
Run a 1/2″ threaded rod, placing fender washers between the legs and on the outside. Turn the nuts down to pinch the legs. Use the internal nuts to push the legs in as well, spreading them slightly for a wider stance.
Step 4: Finished


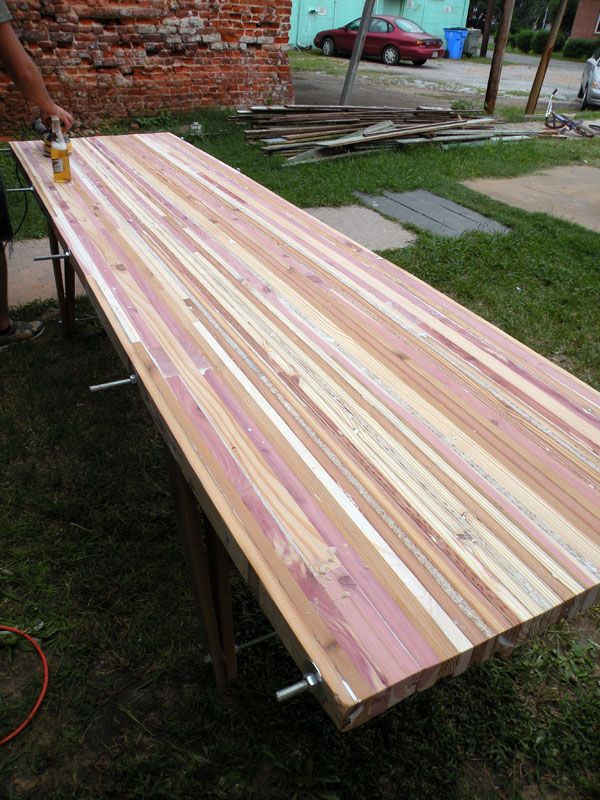


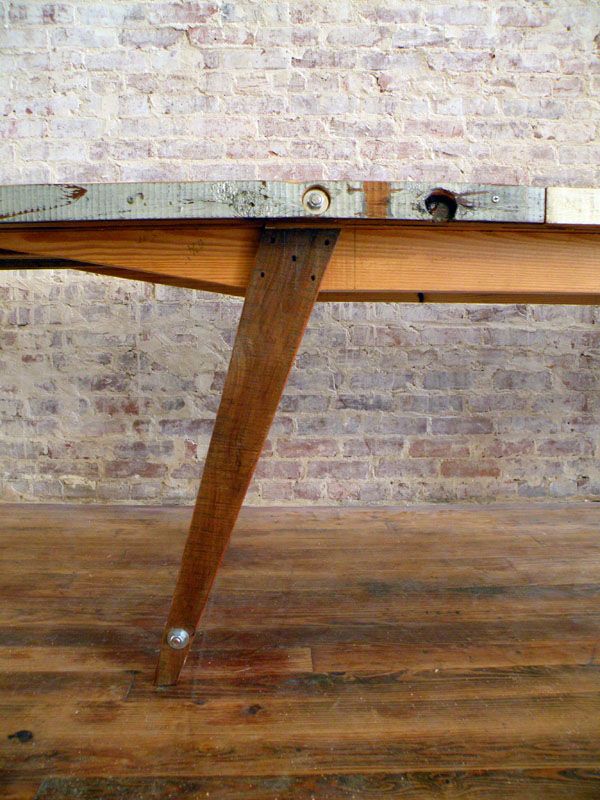


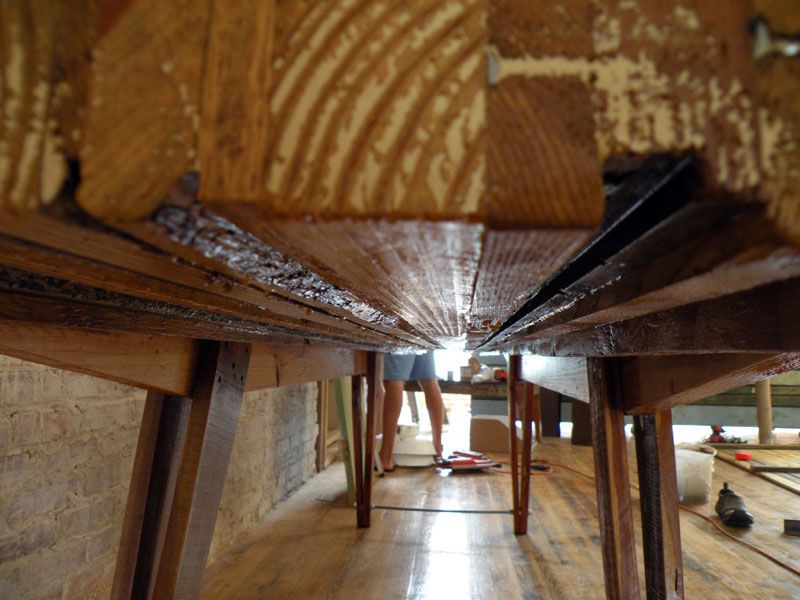
Flat down the table with an old hand plane to smooth out. We chose pieces with paint or other interesting things to give the edges some visual interest. Glue and screw them together; We also used the truck's ratchet straps to hold them down.
Set up a fence with clamps and a wooden bar to run a circular saw through and trim the ends. You can see we cut a screw or two; try to avoid this Sand with a belt sander, starting with an aggressive 80 grit or higher to remove more really high spots. Move to 100, then 120 grit.
We fill in all other imperfections with a regular vinyl wall paste. You could use wood filler, or just leave them. Sand with 100 and 120 grit again, use a couple coats of polyurethane and you're done. A coat of furniture wax isn't a bad idea, especially if it's going to receive heavy use.
Step 1: Ideas of the same concept


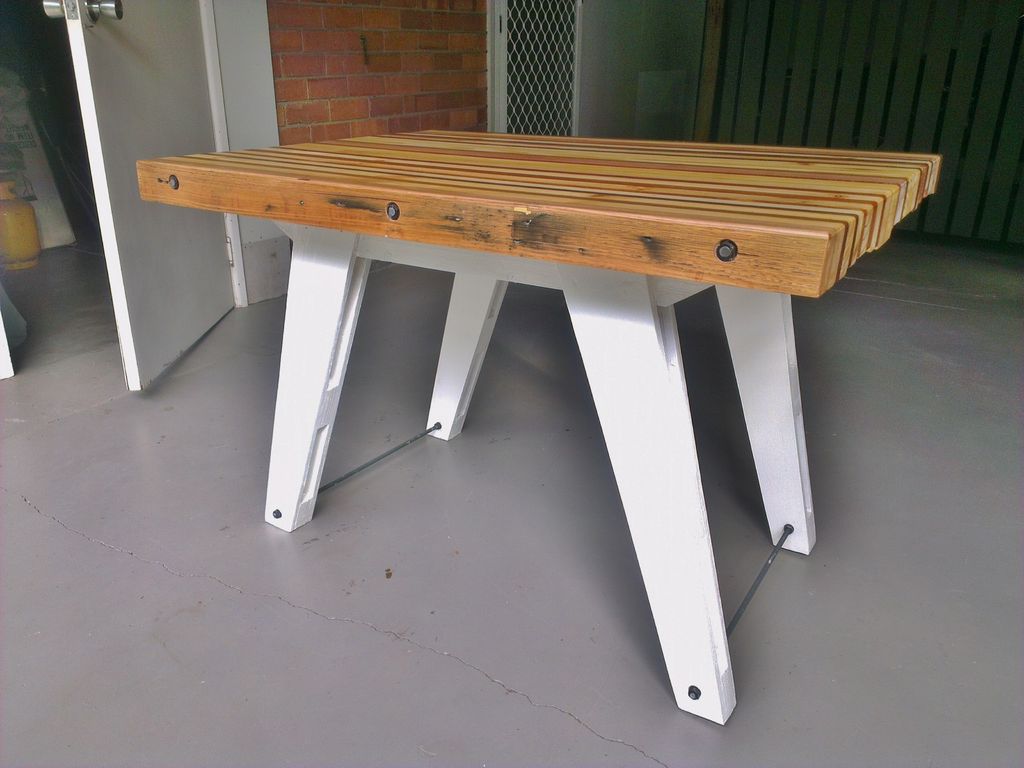
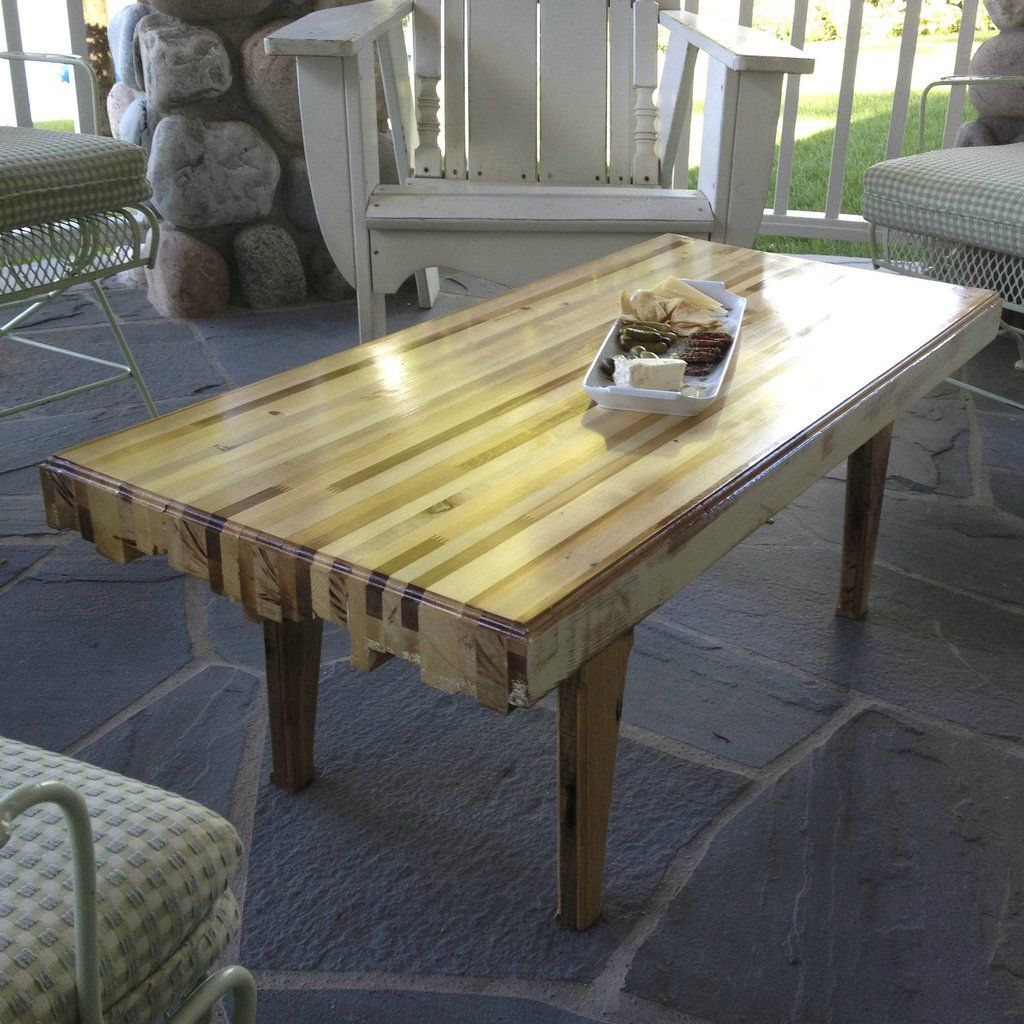


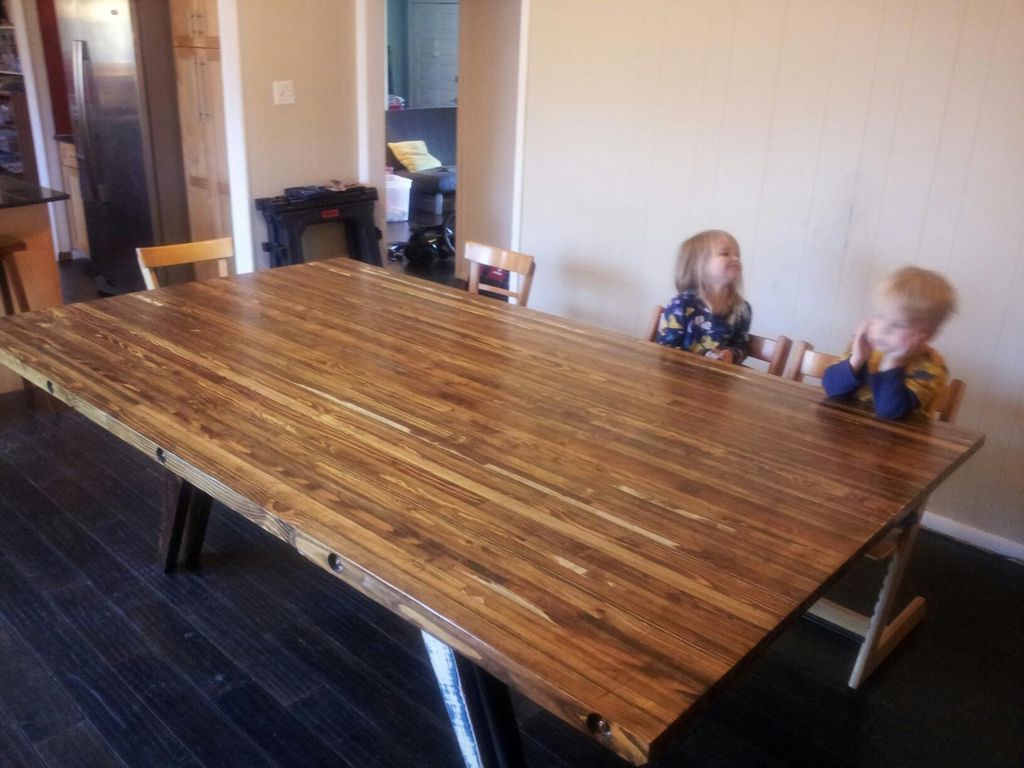


Get more information at perfectionidea.com and on our Facebook for more How to Make a Recycled Wood Table with a Modern Design.
- Tags
- Guide
Popular Content
How to doa rocket stove for outdoors
Cardboard Drawers Lined with Jeans
Ideas and Advantages of Window Grilles for the Home!
Latest Articles
How to make a refrigerator out of insulating material: Practical step-by-step guide
How to make a Kilim for the Home: Complete Step by Step Guide
How to protect ourselves from accidents in our workplace: Complete prevention and safety guide
Related Content
How to Make Pallet Loungers for the Garden
How to Make Concrete Spheres!
Giant Crochet Animal Designs
DIY: Lighting and Concrete
Creative Home Decor Ideas to Transform Every Space
Refreshing your home starts with smart design choices that combine comfort, personality, and functionality. Whether you want to modernize a small apartment, upgrade outdoor areas, or create cozy rustic interiors, these trending ideas can completely change the atmosphere of your space.
Outdoor Spaces That Increase Style and Functionality
Outdoor living continues to dominate modern home trends. Homeowners are increasingly investing in practical entertainment zones inspired by these BBQ shed ideas, which create the perfect setup for gatherings and weekend cooking sessions.
First impressions also matter when designing exteriors. Elegant farm entrance gates design ideas help properties stand out while improving privacy and curb appeal.
Compact living solutions are also gaining popularity. These inspiring 16x40 shed house interior design ideas show how smaller spaces can still feel luxurious and functional.
To enhance patios and entryways, homeowners are adding stylish protection with these creative porch awning exterior DIY ideas that blend aesthetics with practicality.

Rustic and Cozy Interior Design Trends
Warm and natural interiors remain timeless. These charming rustic decor ideas combine wood textures, vintage accents, and earthy tones to create welcoming spaces.
Bedrooms are becoming more personalized with curated wall arrangements. Many homeowners use these stylish picture wall ideas for bedroom spaces to display memories and artwork creatively.
Textured wall treatments are another major trend. Installing a board and batten wall adds architectural character while keeping interiors elegant and modern.
Similarly, bold accent wall ideas can instantly transform plain rooms into eye-catching focal points without requiring a full renovation.
Smart Kitchen and Organization Inspiration
Functional kitchens are essential for modern homes. These practical kitchen wall cabinet ideas maximize storage while maintaining a clean and stylish appearance.
Organization also starts at the entrance. Well-designed mud room ideas help families keep shoes, coats, and daily essentials neatly arranged.
Colorful and Personalized Home Styling
Vibrant interiors are becoming increasingly popular thanks to playful dopamine decor ideas that use bright colors and joyful accessories to improve mood and energy.
Gallery walls also continue to evolve as a major decorative feature. These trendy gallery wall inspiration ideas offer creative ways to combine prints, photos, and statement art.
Young renters and new homeowners are especially embracing these stylish first apartment aesthetic ideas to create sophisticated interiors on a budget.
Finally, selecting the right shades can dramatically influence any room’s atmosphere. These modern trendy color ideas help homeowners choose palettes that feel fresh, elegant, and timeless.
Final Thoughts
From rustic charm and colorful interiors to outdoor entertaining areas and functional storage solutions, today’s home decor trends focus on creating spaces that feel both beautiful and livable. By combining smart layouts, modern textures, and personalized decorative elements, any home can become more stylish, comfortable, and inspiring.
Browse the Shop
 Acacia frida deluxe solid wood bed frame |
Bedroom bench |
Bed chest drawers |
Lingerie dresser |
Frame base |
Mirror with jewelry storage |
30 Bathroom Vanity |
Memory foam queen mattress |
Mattresses for back pain |
Nightstand set of 2 |
Grand Goldman Shop |
Civil Lawyer
Deutschland Trikot WM 2026
Acacia frida deluxe solid wood bed frame |
Bedroom bench |
Bed chest drawers |
Lingerie dresser |
Frame base |
Mirror with jewelry storage |
30 Bathroom Vanity |
Memory foam queen mattress |
Mattresses for back pain |
Nightstand set of 2 |
Grand Goldman Shop |
Civil Lawyer
Deutschland Trikot WM 2026







