

Fix a Hole in a Drywall, whether from a doorknob, naughty children playing, or a moving accident; a hole in drywall is a catastrophe.
You might think that repairing this unexpected opening would require all kinds of specialized knowledge, but repairing a hole in drywall is actually very easy.
Find Bleeding Edge Supplements at Scandalous Prices on iHerb.

Chances are, you probably already have most of the things you need to do the repair at home.
Step 1: Tools + Supplies

To fix a hole in drywall, we will cut a plug around the damaged drywall and replace it with undamaged drywall.
To do this, we will use a standard hole saw of the correct size.
Hole saws are a useful tool and it is worth getting a set that includes several sizes, rather than just one.
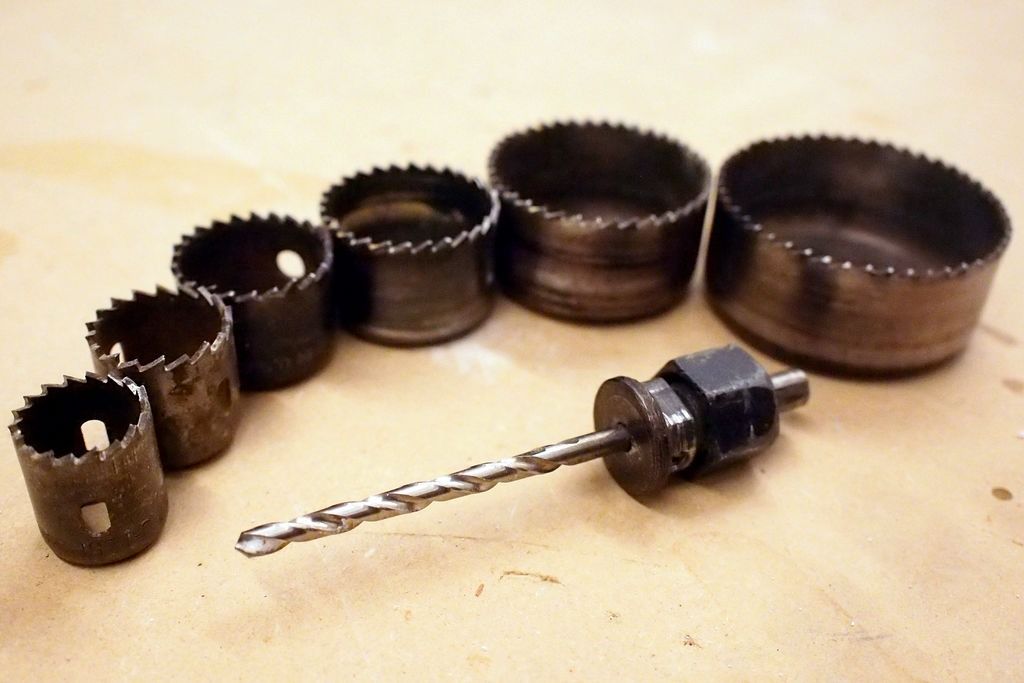
This is what you will need:
- Hole saw (buy a kit with various sizes)
- Electric drill
- MDF
- Reusable wood (any thickness)
- Wide putty knife
- Joint compound (also called “mud” or wall putty)
- Sandpaper
Step 2: Hole Size

We'll start by matching a hole saw to the size of the damage in the drywall. You chose a hole saw that is as close in size as possible.
Step 3: Assemble the saw
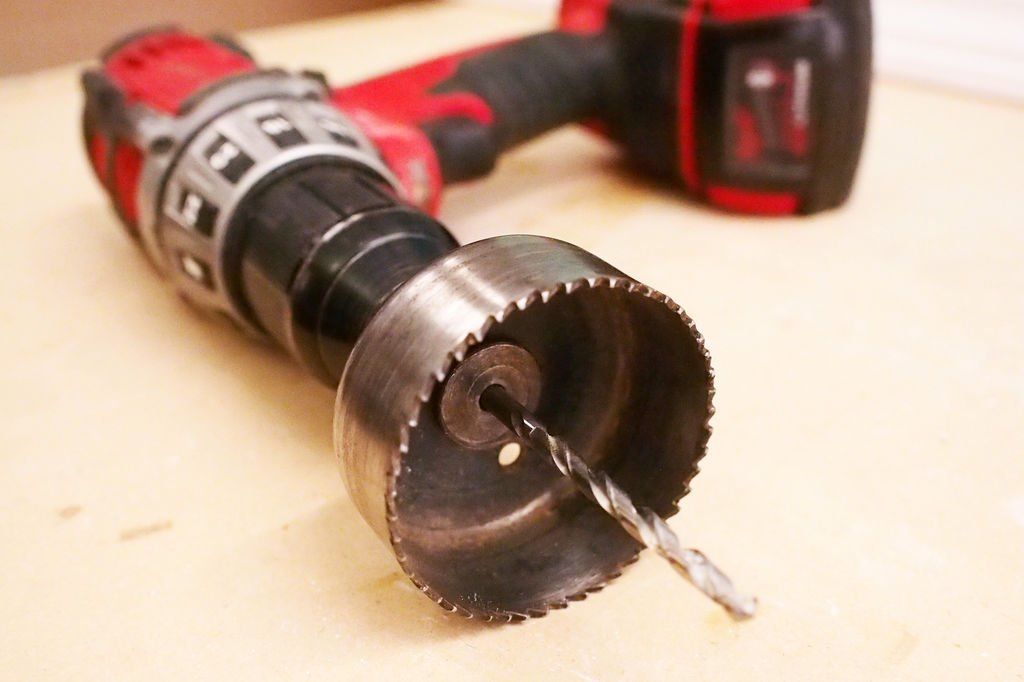
Once you have the size hole saw you need, you will need to mount the saw to the threaded chuck.
Every hole saw is a little different, but most will have a nut that must be removed before the hole saw will slide onto the chuck.
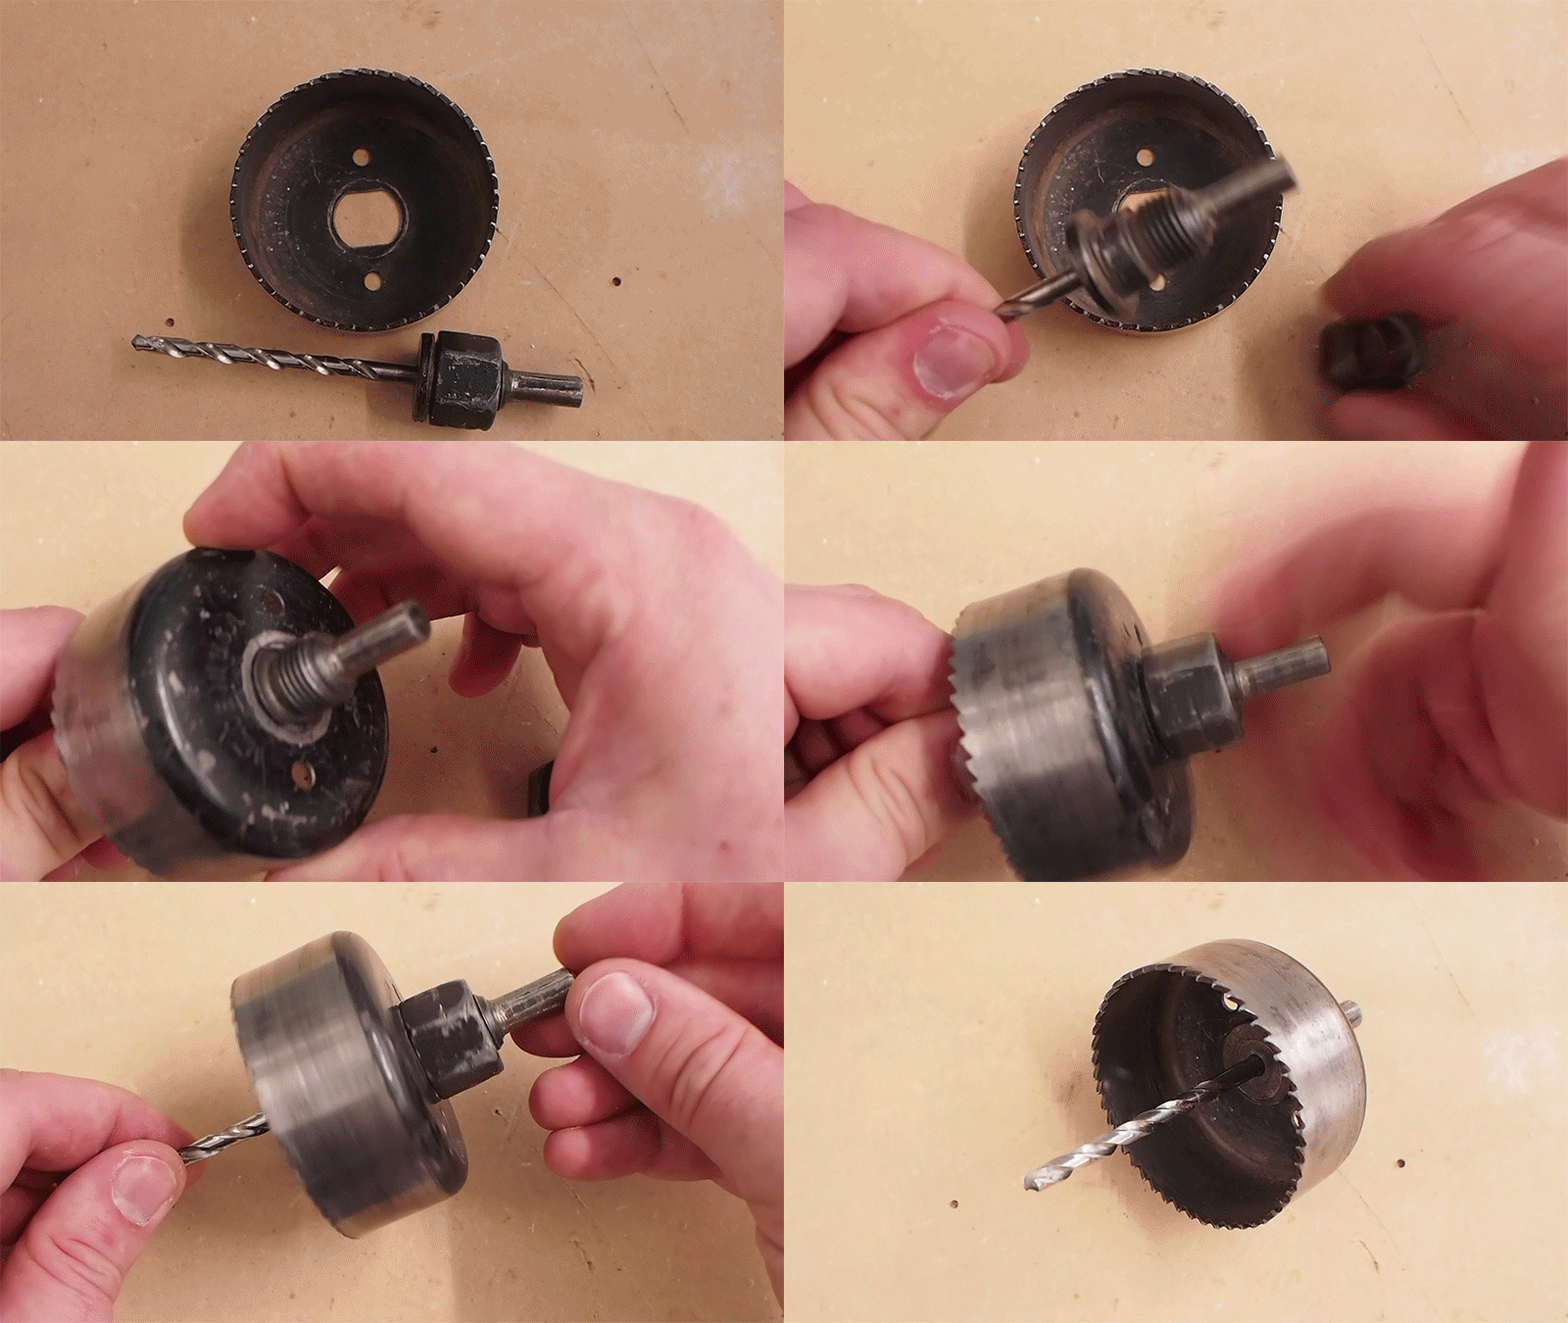
Because hole saws thread in the same direction as the saw, there is no reason to overtighten the nut as friction will automatically tighten it.
Therefore, the hole saw nuts can be tightened firmly by hand.
Step 4: Cut the plywood template
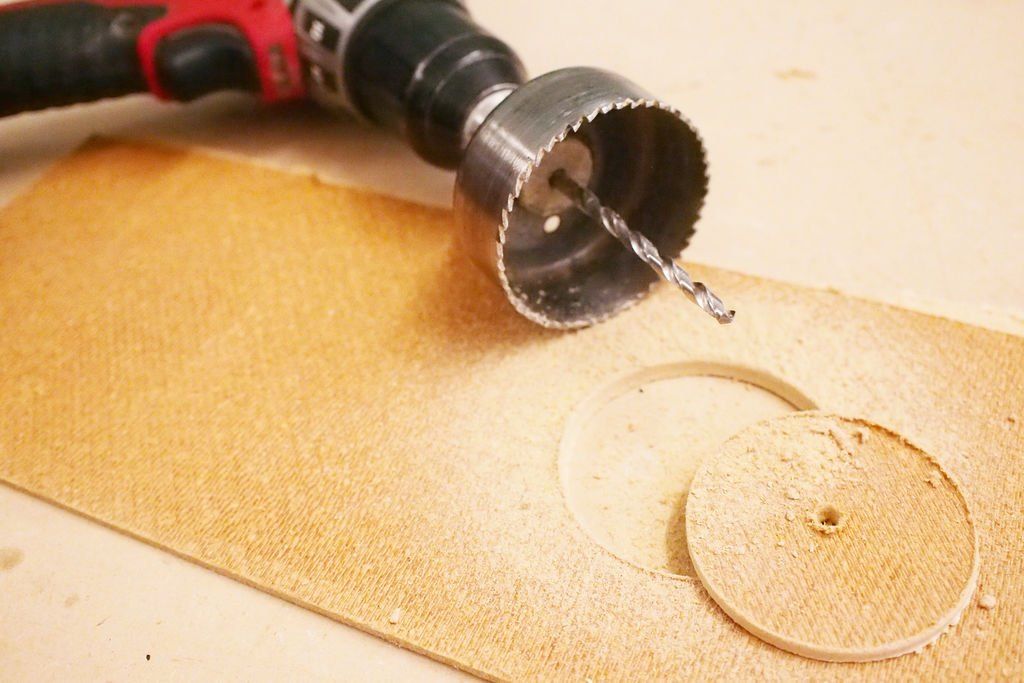
To prevent the hole saw from skipping around the drywall during cutting, there needs to be a jig that will accommodate the circumference of the saw blade. I used MDF.
Plywood can be any thickness as it only guides the blade and holds it in place when cutting drywall.
Step 5: Pierce the damage

Place the template against the wall, with the opening in the template directly over the damaged drywall.
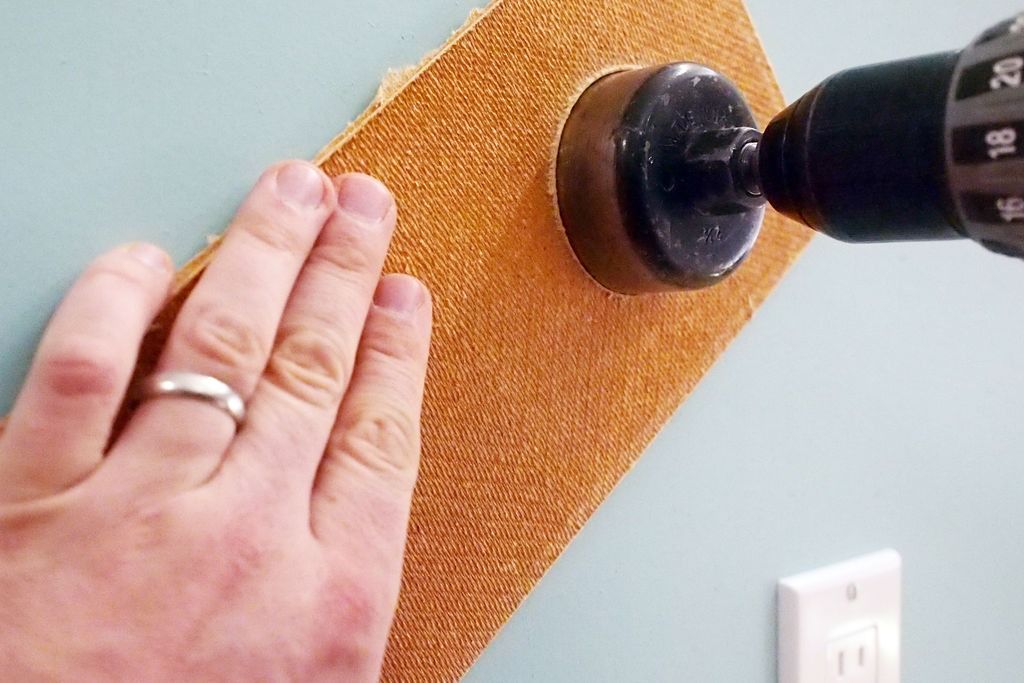
Holding the template firmly against the wall with one hand, align the saw inside the template and slowly drill and push into the drywall, the template will keep the saw centered around the damage.
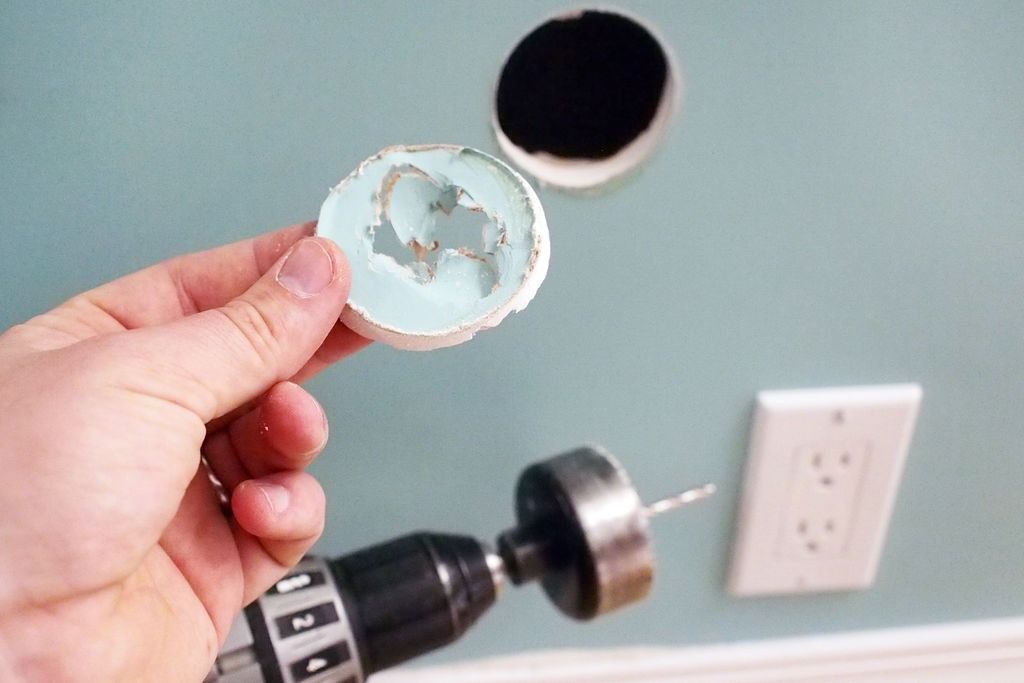
Continue drilling until you cut completely through the drywall.
A clean hole, with a plug from the damaged drywall, will be left in the saw.
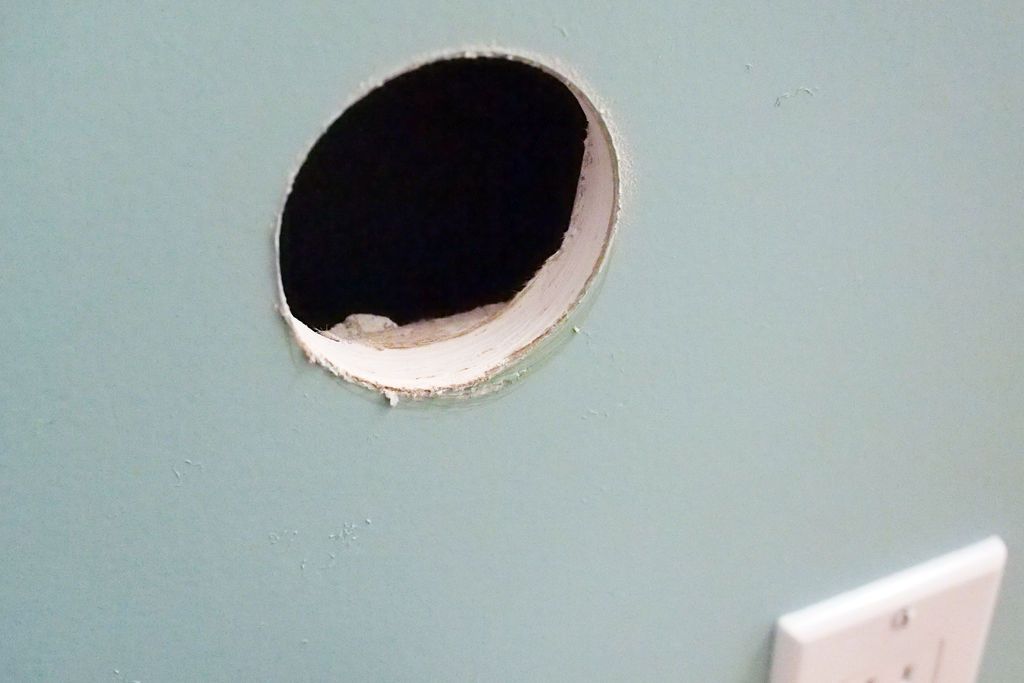
Remove the template, hole saw, and any debris in and around the opening.
Step 6: Make a new component

To cover the opening in the wall, we will make a block of drywall with the same saw.
A big advantage of using this method is that almost any thickness of drywall will work to make a new plug, it doesn't have to match the thickness of the existing drywall.
If you have ½" thick drywall and a ⅜" thick sheet of veneer lumber, this method!will work fine!
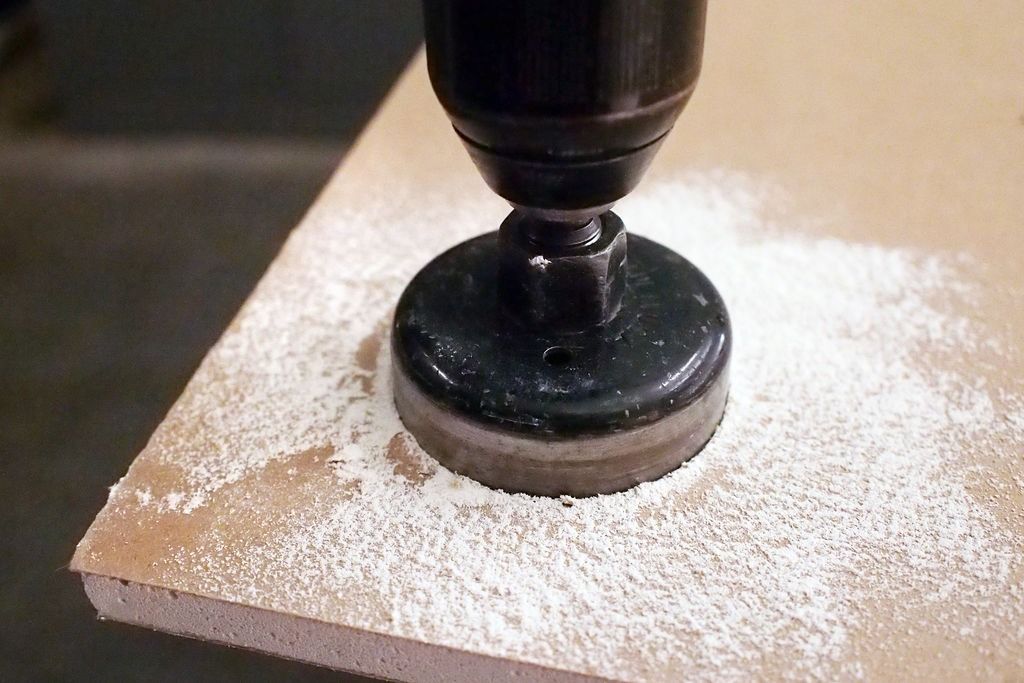
Keeping the drill perpendicular to the piece of plywood, start drilling into the wood, but stop before going completely through.
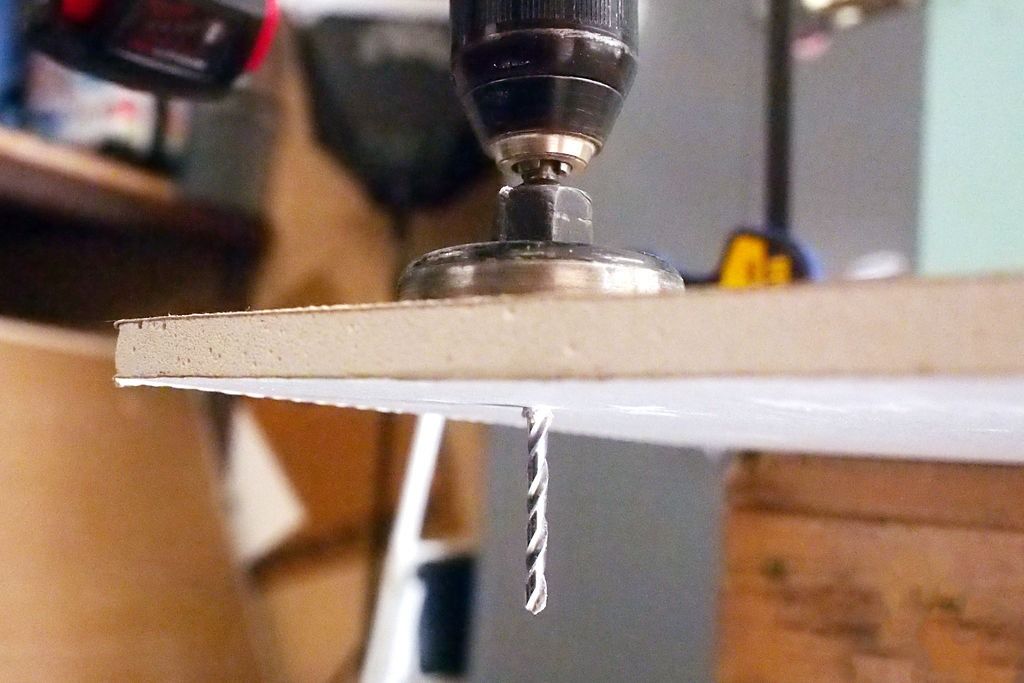
Your hole saw should have gone through the middle layer of plaster but not through the back layer of paper. This is critical to repairing the hole.
If you accidentally drilled all the way through the drywall, find another area and drill a new connector; You will need the backing paper to make an effective patch.
Step 7: Cut and mark the patch
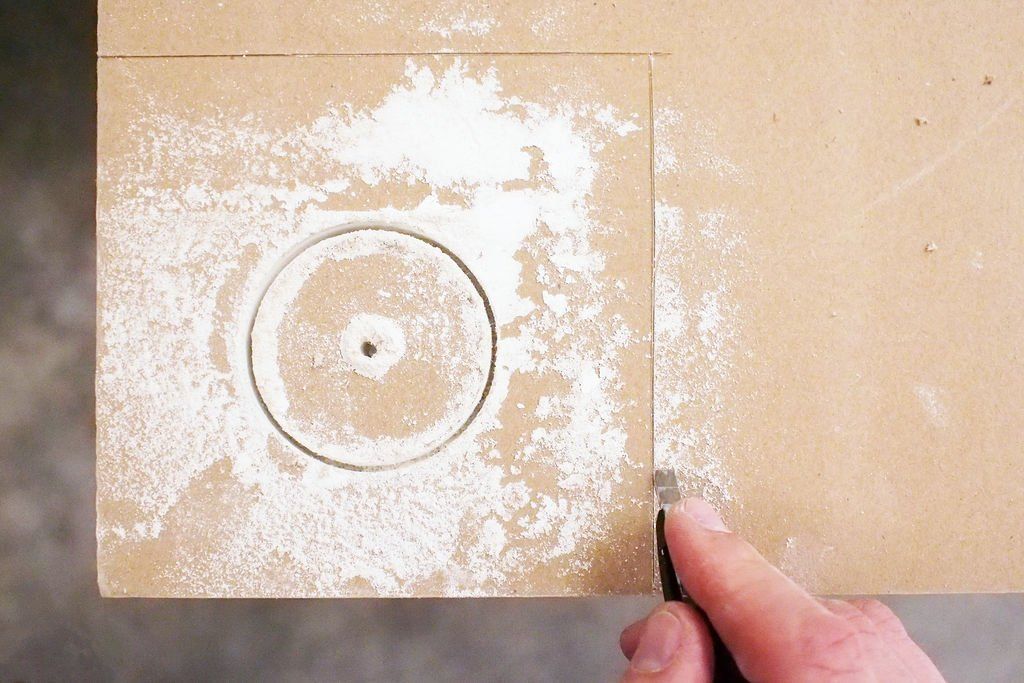
Using a sharp knife, cut around the partially perforated scrap drywall. Take your time and make multiple shallow cuts to cut completely through the drywall.
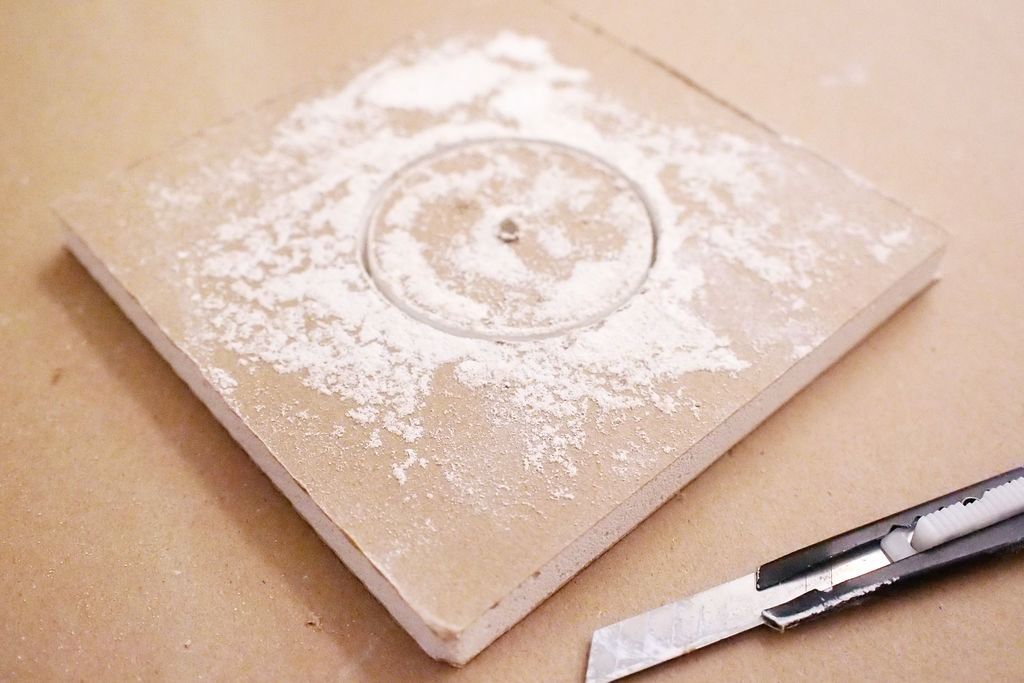
You will need a few inches around the partially pierced plug to make a patch.
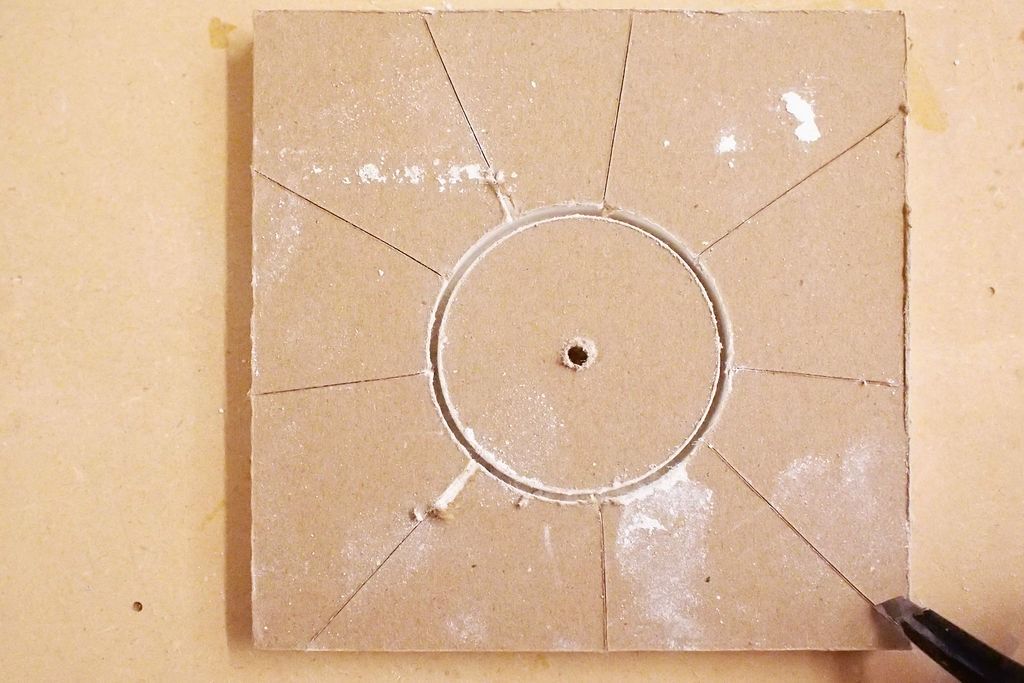
Grade the radial marks from the partially drilled plug outward from the cut patch.
The score does not have to be very deep, just enough to allow the drywall to break with our hands.
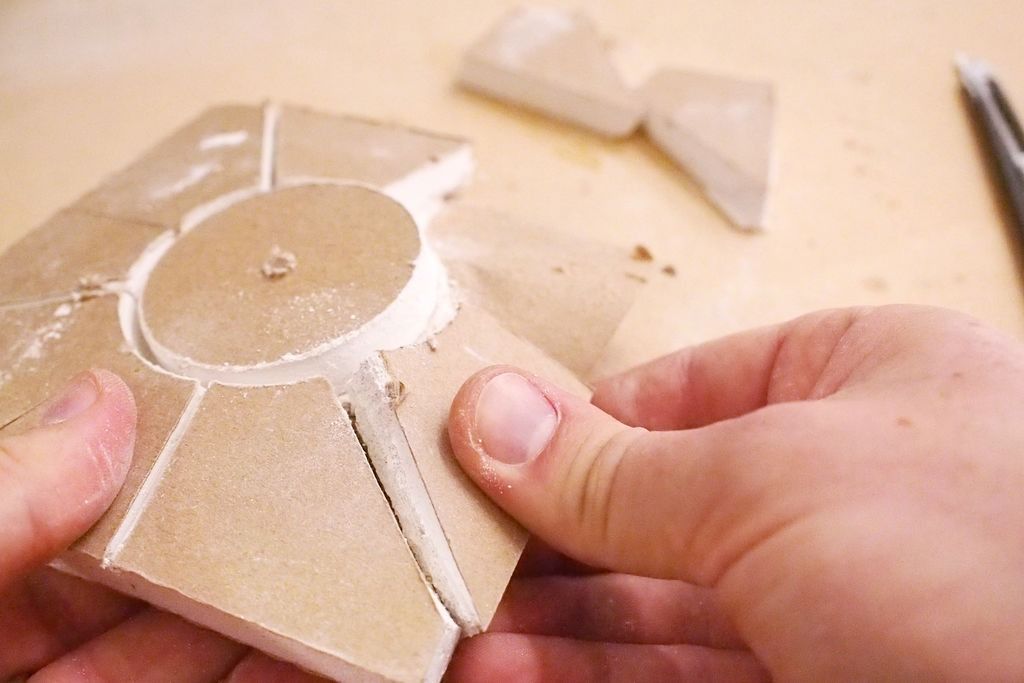
Using a firm grip, tear along the scratch and remove the drywall from around the partially perforated plug, being careful to leave the backing paper intact.
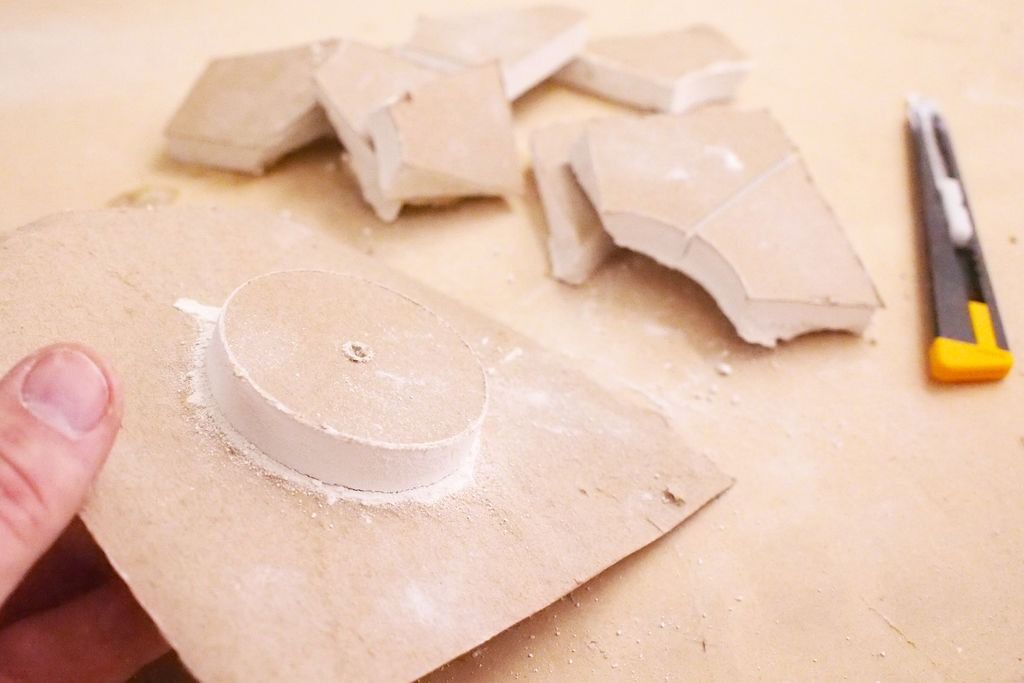
When done correctly, you will have a drywall plug with a paper skirt attached.
Step 8: Trim and wet the patch
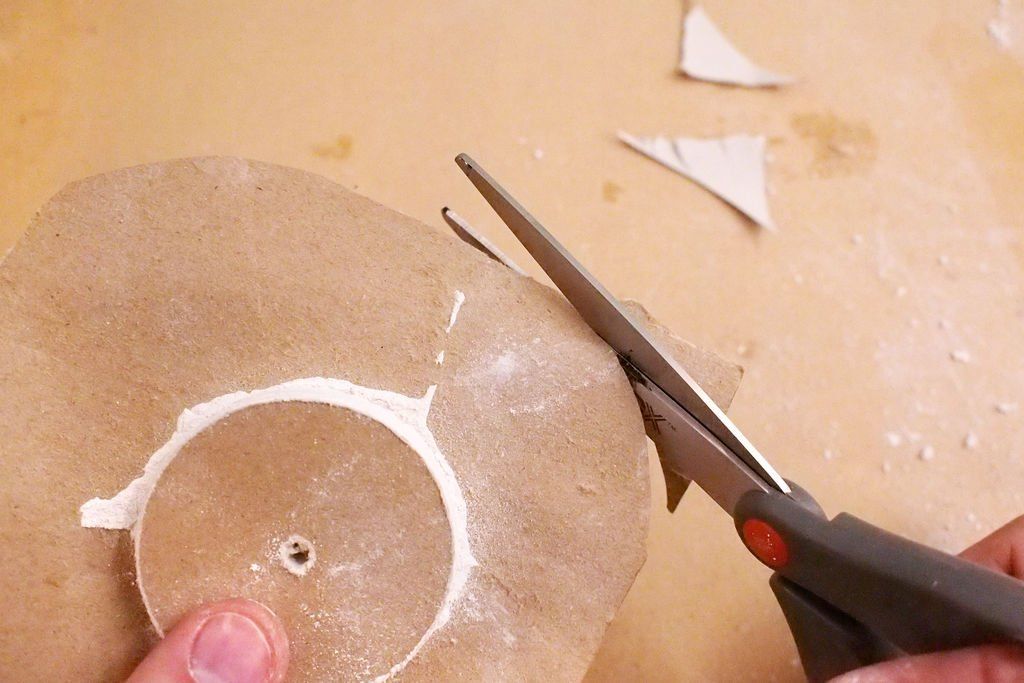
Trimming the corners of the patch is optional, but I find it makes the patch easier to hide without sharp edges. I used regular scissors to make a small radius at each corner.
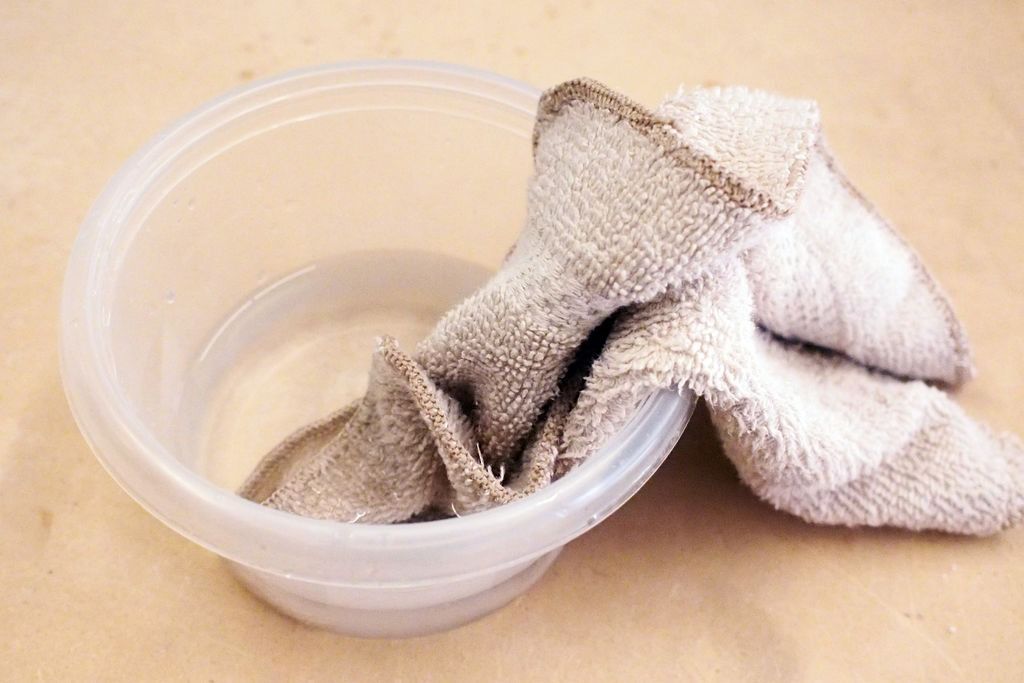
Using a damp cloth, I moistened the patch paper. Don't get the paper too wet, the idea is to have a patch of wet paper that will accept the drywall joint compound.
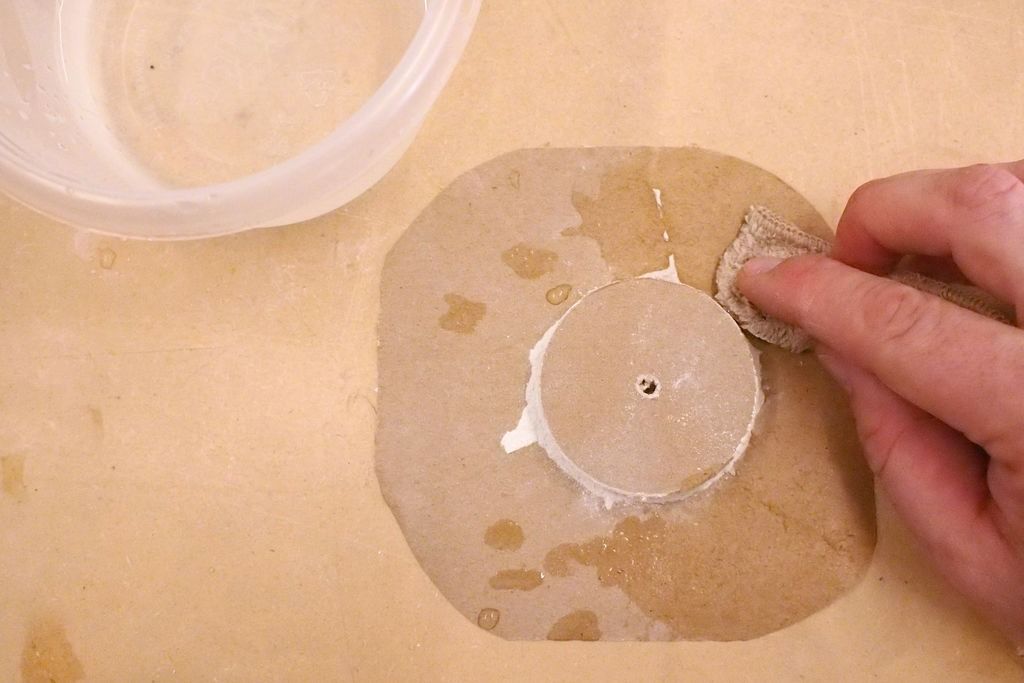
Wipe the paper with the damp cloth, being careful to keep the moisture on the paper and not on the drywall. Once wet, set the patch aside.
Step 9: Apply Joint Compound
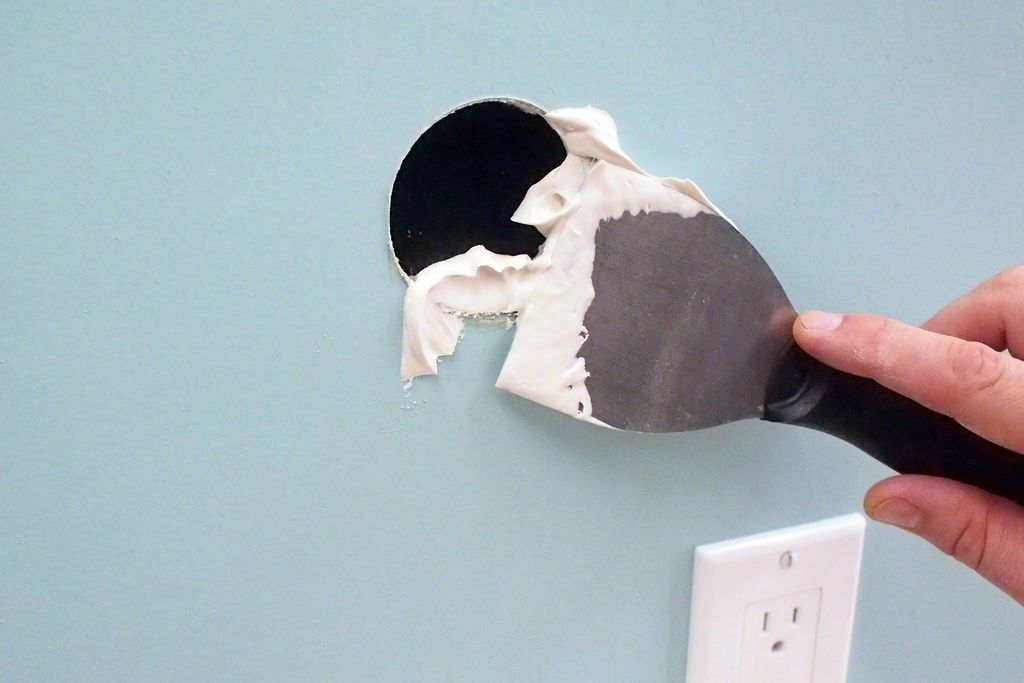
Open the drywall joint compound and mix well.
Using the putty knife, apply a generous amount of joint compound to the opening and to the surface around the opening.
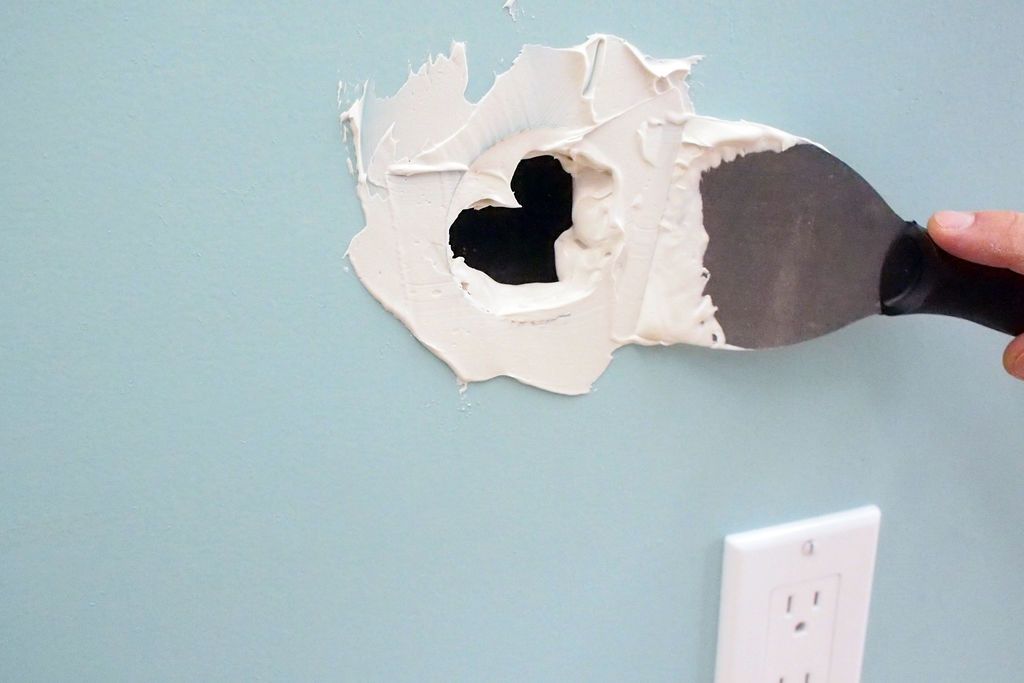
Make sure there is enough compound on the inside of the opening, this will fill the space made by the saw blade slot.
When the new plug is inserted, it will squeeze any excess compound behind the wall where it won't be seen, so don't worry about overdoing it here.
Step 10: Insert the patch
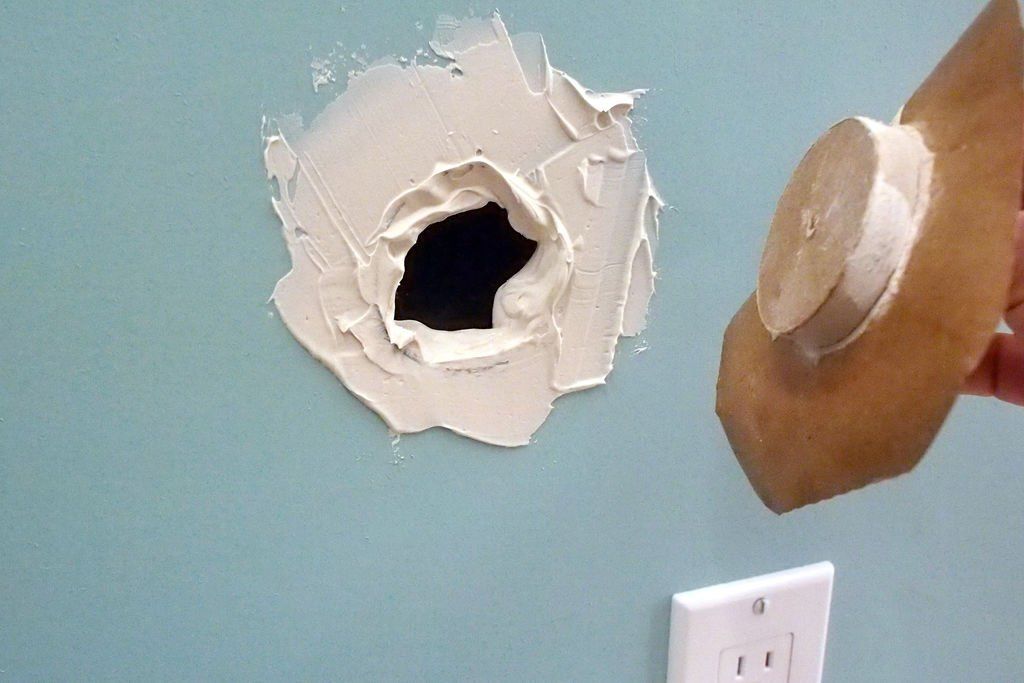
Line up the moistened paper patch and insert with the plug facing in, leaving the paper facing you.

Gently press the plug into the opening until it is fully seated and the back of the paper is flush with the wall.

Use the spatula to press from the center of the patch outward to expel air bubbles and make good contact between the paper skirt and the wall.
Any joint compound pushed from the putty knife is simply placed back on the patch and continues to be smoothed.
Step 11: Add Joint Compound
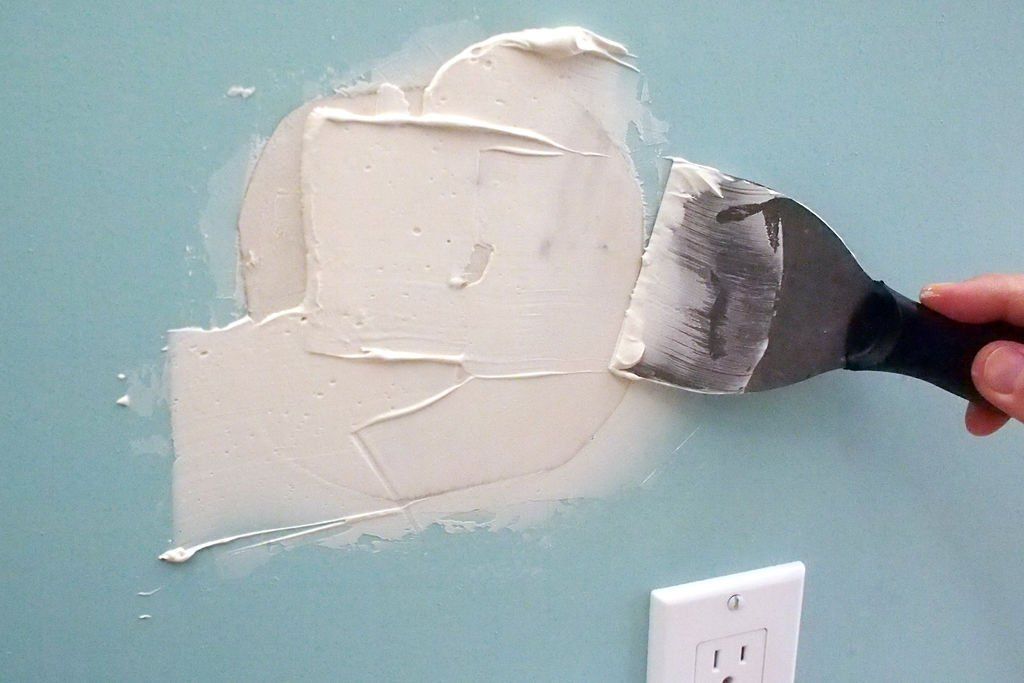
Apply more joint compound with the putty knife over the patch, using the putty knife to smooth the compound into even, smooth layers.

The goal here is to make a smooth transition from the existing wall surface to the edge of the patch.
I find it effective to alternate and make passes from the center out, then drop back from the outside of the patch and make passes towards the center.
When the patch, and more importantly the edges of the patch, are covered, allow the joint compound to dry completely.
I let the compound dry overnight before moving on to the next step.
Step 12: Sanding
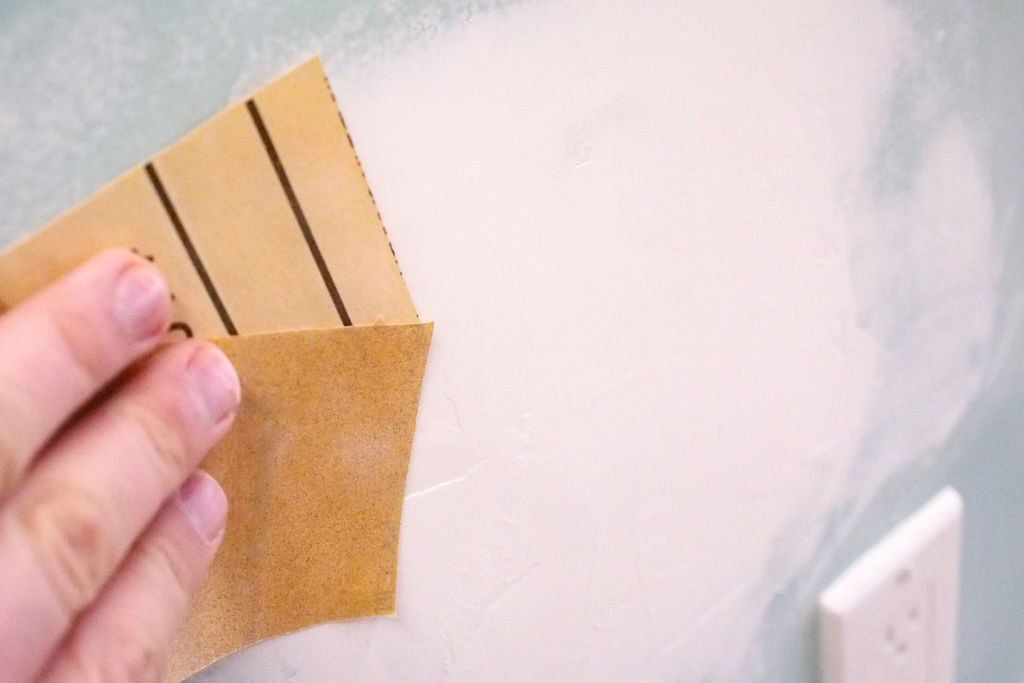
When the joint compound is completely dry, it can be lightly sanded. Trying to sand partially dried joint compound won't work, and will make a huge mess.
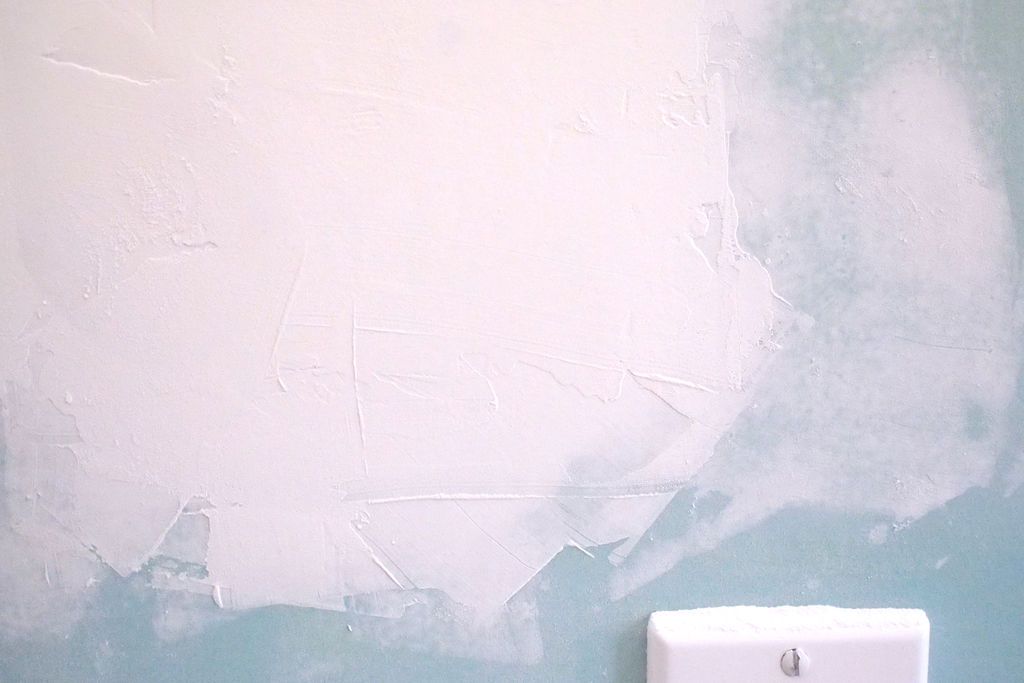
Start with 120-grit sandpaper and work with 200-grit sandpaper, removing putty knife marks, high spots, and smoothing the joint compound to make a seamless transition from the existing wall to the patch.
After sanding, clean all dust and dirt before painting.
Step 13: Paint
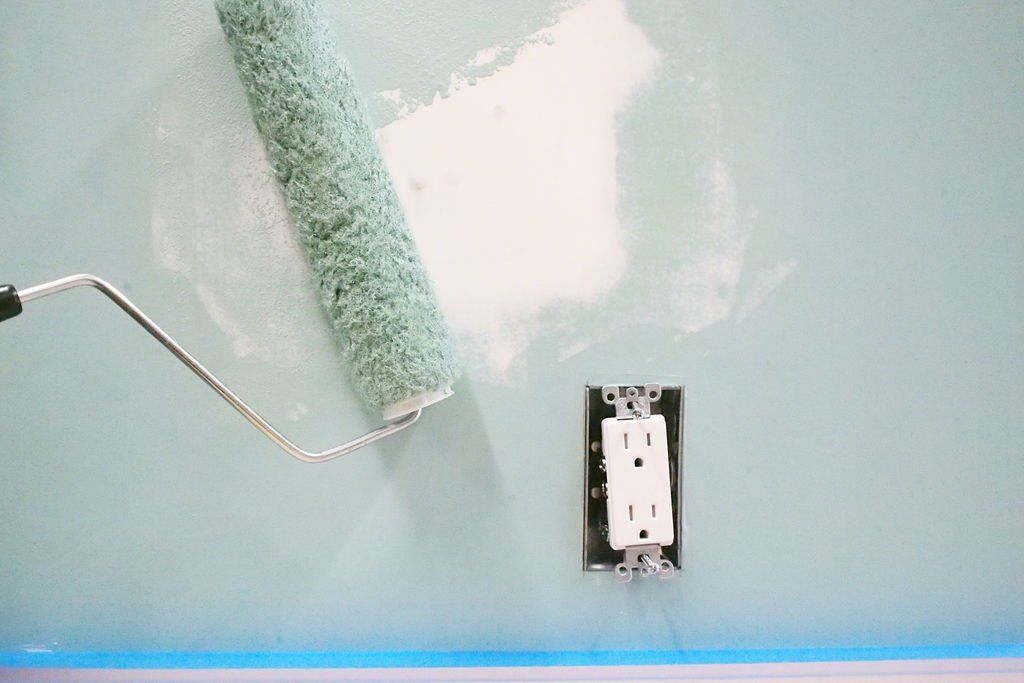
To cover the patch, corresponding paint was applied with a paint roller.
Rollers are a better choice for painting large flat areas, not only because it is faster, but the finish on the blades of a roller is much smoother than with a brush.
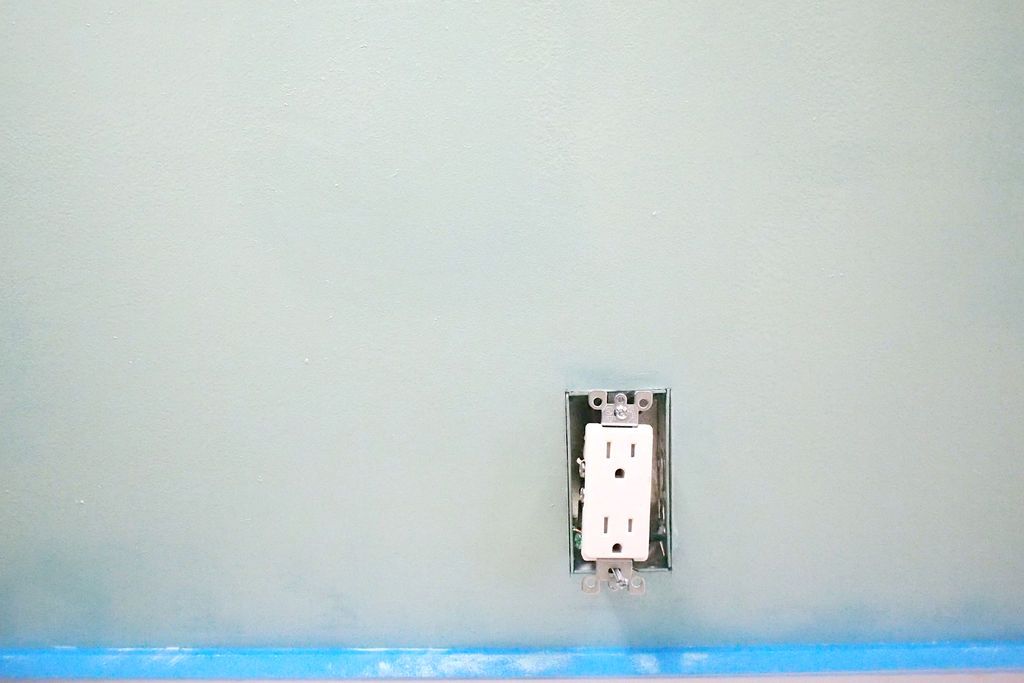
If your patch was near an outlet or switch, it is best to remove the faceplate or mask with tape to avoid accidentally painting it.
The more time spent sanding the patch and joint compound to make a smooth transition will pay off after painting.
Can you tell where the patch is in the image above? No, right? Greetings!
Get more information at Perfectidea.com and on our Facebook for more Incredible Stacked Wood Lamp
- Tags
- Guide
- Plaster Wall
Popular Content
How to make a rocket stove for outdoors
Cardboard Drawers Lined with Jeans
Ideas and Advantages of Window Grilles for the Home!
Latest Articles
How to make a refrigerator out of insulating material: Practical step-by-step guide
How to make a Kilim for the Home: Complete Step by Step Guide
How to protect ourselves from accidents in our workplace: Complete prevention and safety guide
Related Content
Bar Carts With Incredible Designs
Concrete: Learn to Decorate your Home with This Element!
Compost Bin Ideas
Cool Wall Mounted Coat and Hat Rack!
Creative Home Decor Ideas to Transform Every Space
Refreshing your home starts with smart design choices that combine comfort, personality, and functionality. Whether you want to modernize a small apartment, upgrade outdoor areas, or create cozy rustic interiors, these trending ideas can completely change the atmosphere of your space.
Outdoor Spaces That Increase Style and Functionality
Outdoor living continues to dominate modern home trends. Homeowners are increasingly investing in practical entertainment zones inspired by these BBQ shed ideas, which create the perfect setup for gatherings and weekend cooking sessions.
First impressions also matter when designing exteriors. Elegant farm entrance gates design ideas help properties stand out while improving privacy and curb appeal.
Compact living solutions are also gaining popularity. These inspiring 16x40 shed house interior design ideas show how smaller spaces can still feel luxurious and functional.
To enhance patios and entryways, homeowners are adding stylish protection with these creative porch awning exterior DIY ideas that blend aesthetics with practicality.

Rustic and Cozy Interior Design Trends
Warm and natural interiors remain timeless. These charming rustic decor ideas combine wood textures, vintage accents, and earthy tones to create welcoming spaces.
Bedrooms are becoming more personalized with curated wall arrangements. Many homeowners use these stylish picture wall ideas for bedroom spaces to display memories and artwork creatively.
Textured wall treatments are another major trend. Installing a board and batten wall adds architectural character while keeping interiors elegant and modern.
Similarly, bold accent wall ideas can instantly transform plain rooms into eye-catching focal points without requiring a full renovation.
Smart Kitchen and Organization Inspiration
Functional kitchens are essential for modern homes. These practical kitchen wall cabinet ideas maximize storage while maintaining a clean and stylish appearance.
Organization also starts at the entrance. Well-designed mud room ideas help families keep shoes, coats, and daily essentials neatly arranged.
Colorful and Personalized Home Styling
Vibrant interiors are becoming increasingly popular thanks to playful dopamine decor ideas that use bright colors and joyful accessories to improve mood and energy.
Gallery walls also continue to evolve as a major decorative feature. These trendy gallery wall inspiration ideas offer creative ways to combine prints, photos, and statement art.
Young renters and new homeowners are especially embracing these stylish first apartment aesthetic ideas to create sophisticated interiors on a budget.
Finally, selecting the right shades can dramatically influence any room’s atmosphere. These modern trendy color ideas help homeowners choose palettes that feel fresh, elegant, and timeless.
Final Thoughts
From rustic charm and colorful interiors to outdoor entertaining areas and functional storage solutions, today’s home decor trends focus on creating spaces that feel both beautiful and livable. By combining smart layouts, modern textures, and personalized decorative elements, any home can become more stylish, comfortable, and inspiring.
Browse the Shop
 Acacia frida deluxe solid wood bed frame |
Bedroom bench |
Bed chest drawers |
Lingerie dresser |
Frame base |
Mirror with jewelry storage |
30 Bathroom Vanity |
Memory foam queen mattress |
Mattresses for back pain |
Nightstand set of 2 |
Grand Goldman Shop |
Civil Lawyer
Deutschland Trikot WM 2026
Acacia frida deluxe solid wood bed frame |
Bedroom bench |
Bed chest drawers |
Lingerie dresser |
Frame base |
Mirror with jewelry storage |
30 Bathroom Vanity |
Memory foam queen mattress |
Mattresses for back pain |
Nightstand set of 2 |
Grand Goldman Shop |
Civil Lawyer
Deutschland Trikot WM 2026







