

9 Aging Techniques for Wood, aged wood has the appearance of being worn and old, giving it texture and a rustic, homey appeal. Called barn wood, so called because most of it is salvaged from old barns that have been exposed to the elements for many years.
If you were to purchase wood like this for a project, you can expect to pay a premium for the aged look of barn wood. However, making your own distressed wood is incredibly easy…
Find Bleeding Edge Supplements at Scandalous Prices on iHerb.

We'll explore nine simple techniques that will take any store-bought wood from cheap to elegant. The best part about doing it yourself is that you can modify any of the techniques to fit the tools available, and combine the treatments in different ways to get the look you want.
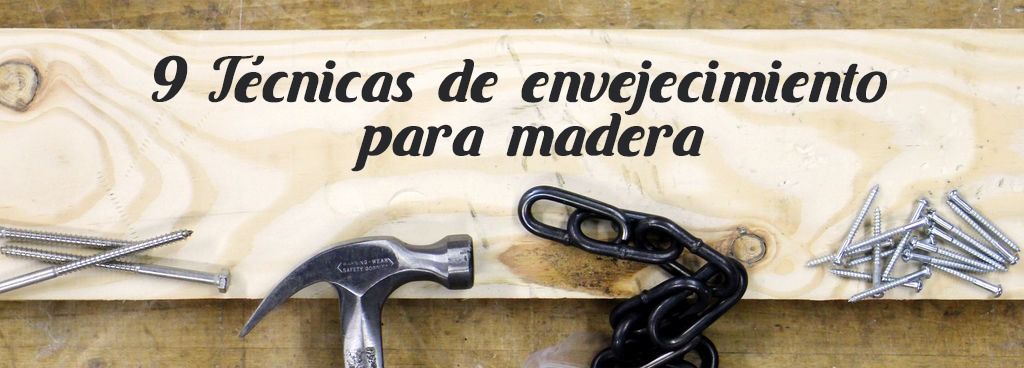
Here we go!
Step 1: Use cheap wood

Wood struggling to look old usually involves some superficial damage to the surface of the wood, so there is no need to use expensive wood.
More expensive wood is generally free of knots and warping, while cheap wood generally has more knots and other surface imperfections which will increase the aging effect.
While you don't want warped wood, damage to the surface will add depth to the wood when a finish or paint is added.
Skip the expensive stuff and find inexpensive wood.
Step 2: Textures
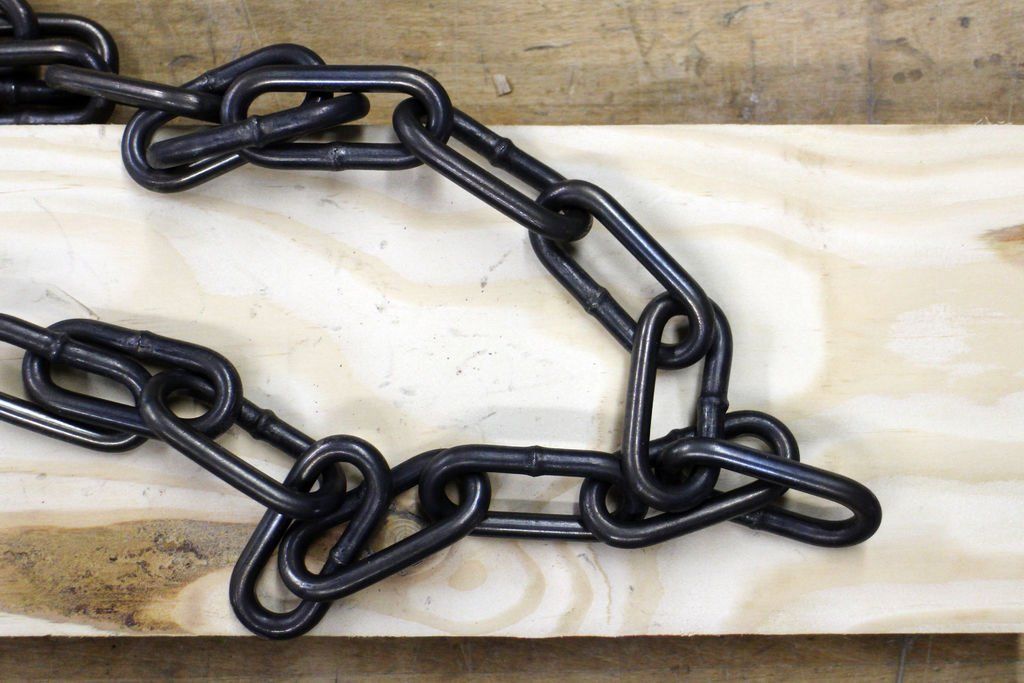
The aged wood looks like it has been through a lot in its life.
That won't be the case with new wood, so we'll have to improvise on how to add a story to the surface of the wood through texturing.
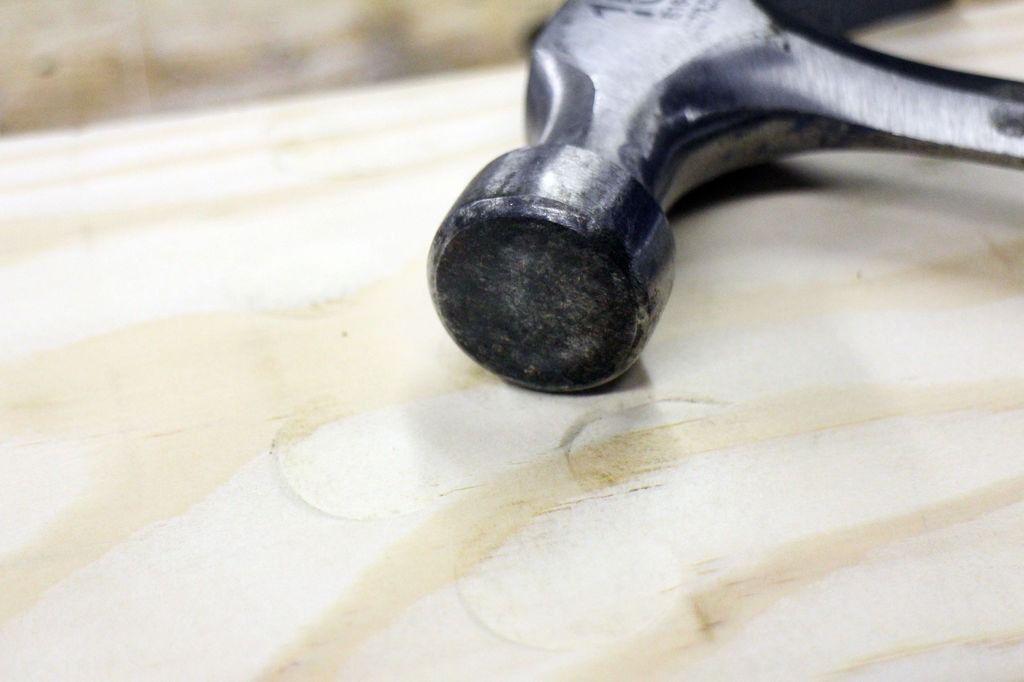
A great way to add texture is to make marks in the wood with almost any hard instrument you have on hand. The more varied, the better.
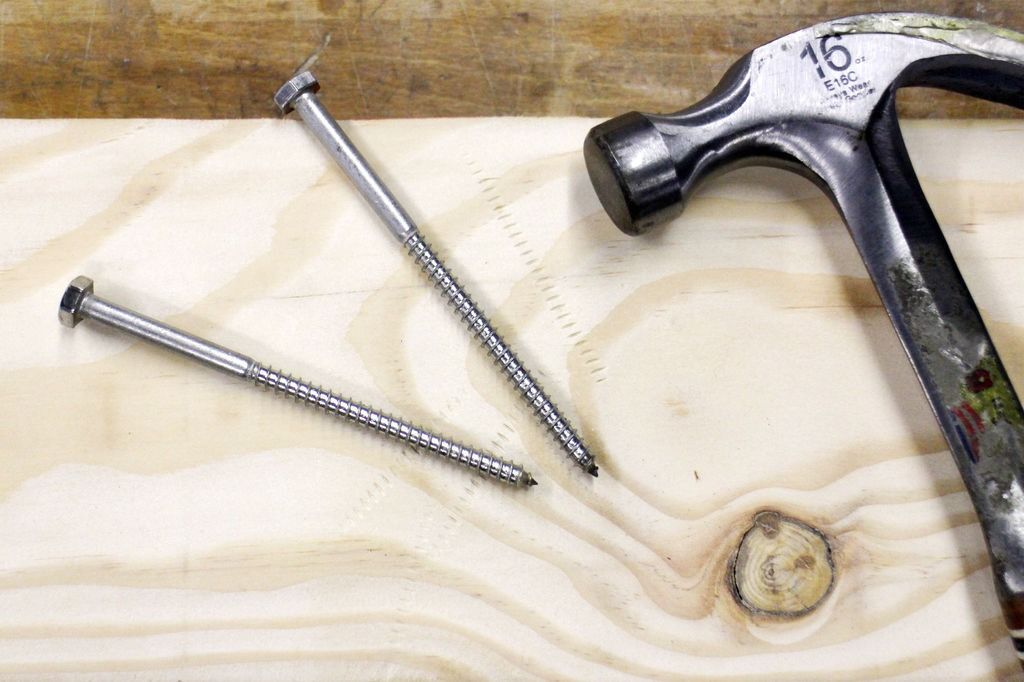
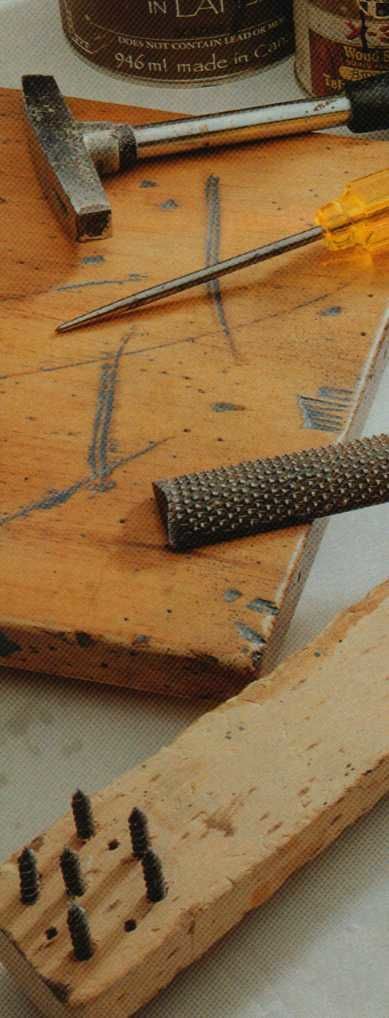
Threading large screws leaves an evenly spaced pattern.
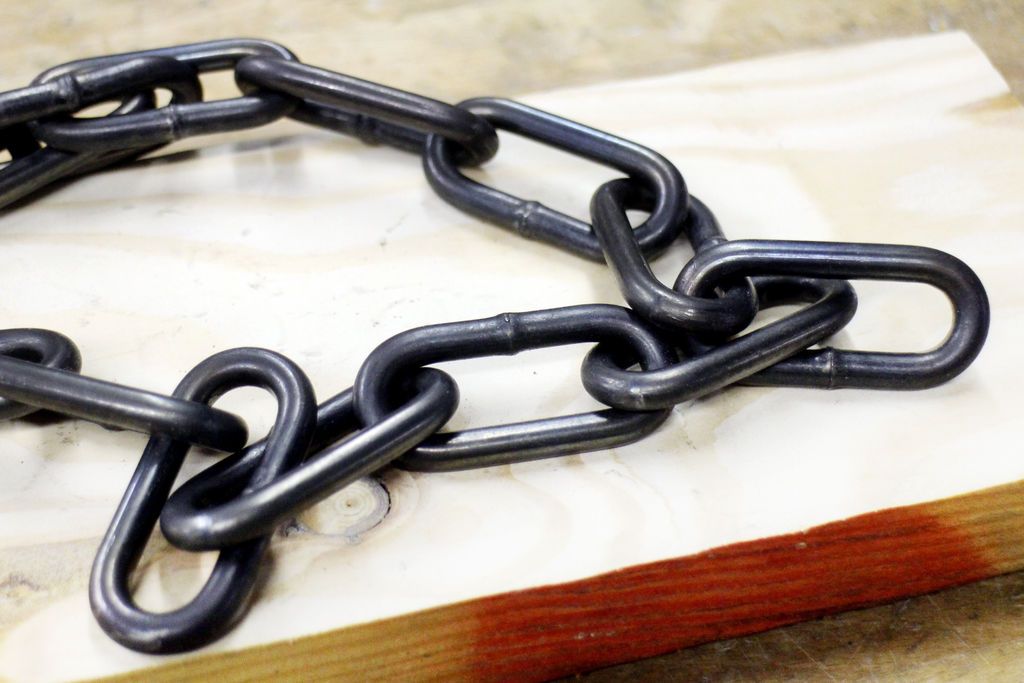
The steel chain can make irregular divisions. Greasy chains leave marks and some discoloration.
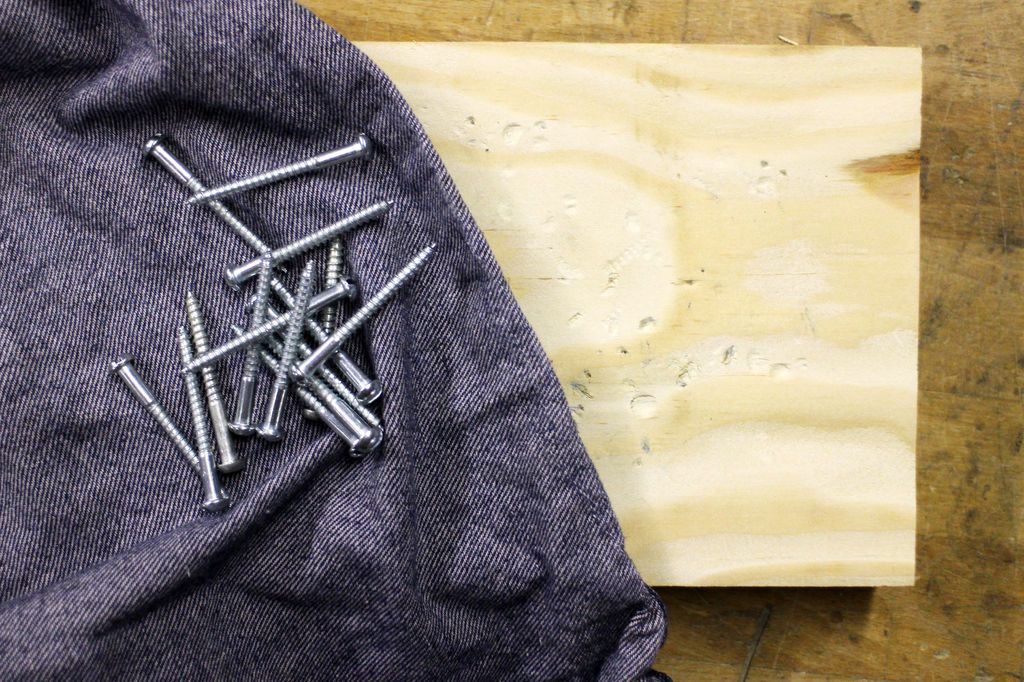
Placing a handful of nails on a shop rag and tapping the wood allows you to make all kinds of small inlays, rounded marks from the heads, spirals from the threads, and sharp splinters from the pointed ends. This is one of my favorites.
Of course, this is just what I had on hand.
Experimenting with anything dense that has some shape or texture can provide pleasing results.
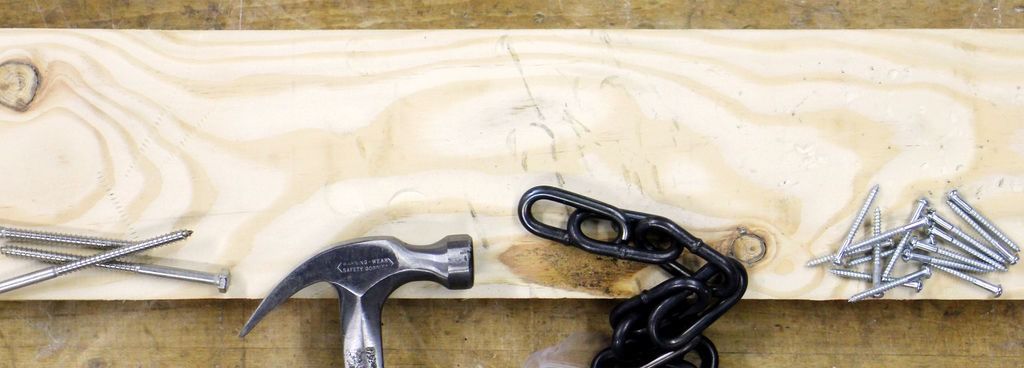
Marks and dents are just part of the process. To really highlight these imperfections you need to add color.
Step 3: Wire Brush
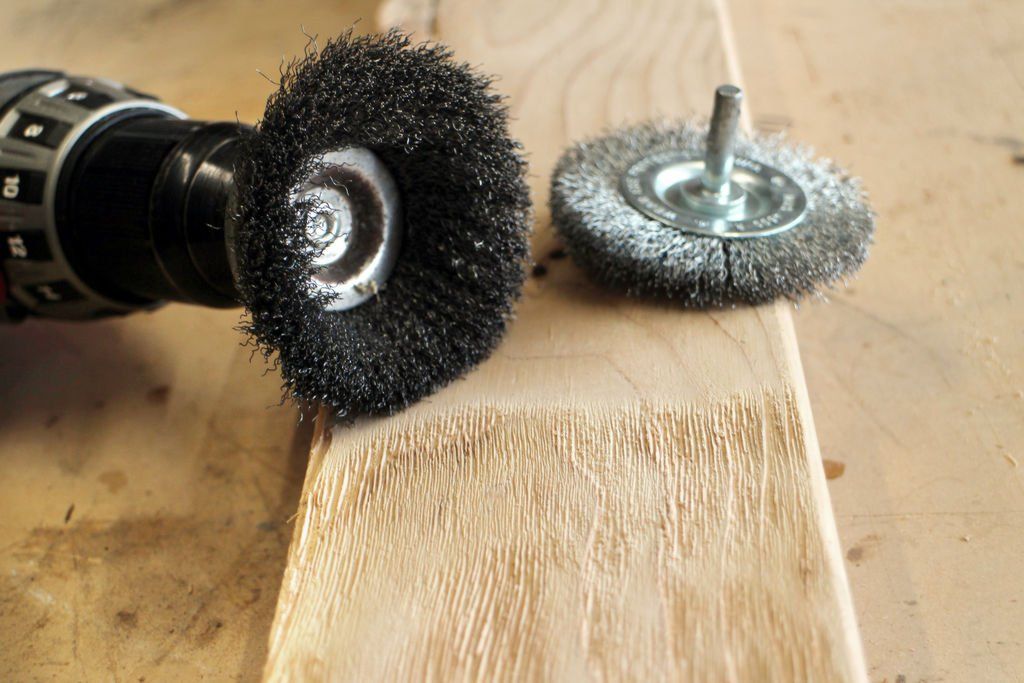
Barn wood is prized because of the deep weathering that comes from being exposed to the elements.
You can imitate this in a fraction of the time by using a variety of wire brushes that fit your drill.
If you are using any type of soft wood (and if you are using cheap wood, then it will be soft) this part is very easy.
Load any wire brush into the chuck of your drill and move the brush over the wood along the grain.
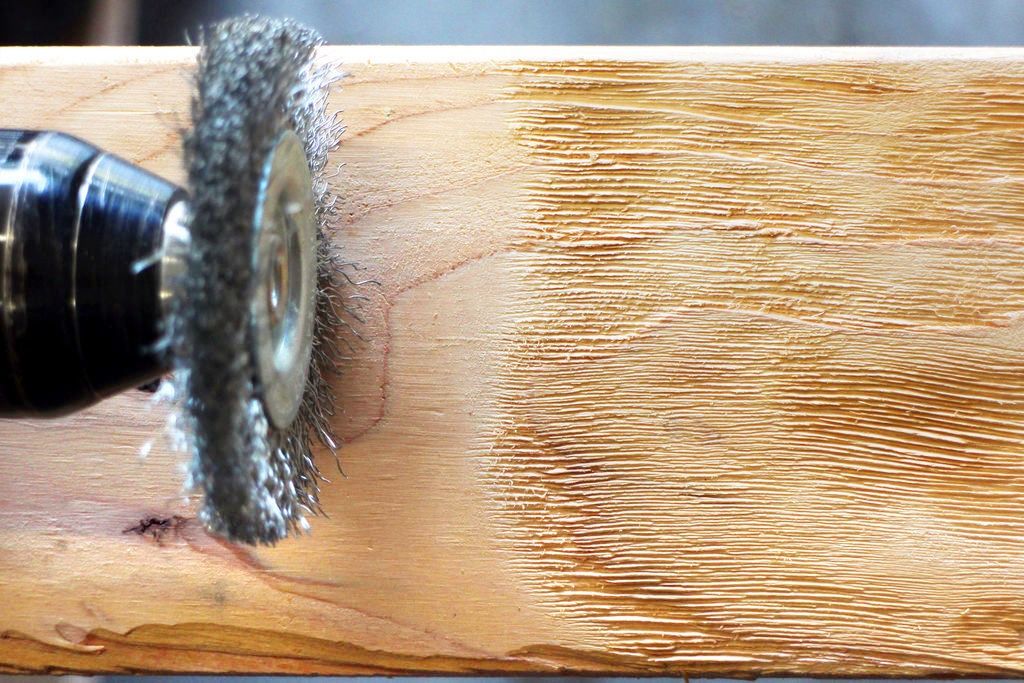
The brush will easily extract the softwood fibers and leave behind some of the denser grains, which will etch into the texture of the brush along the way.
Depending on the amount of pressure you apply to the brush against the wood, there are different levels of texture you can achieve.
Be sure to wear a dust mask, this process can be a little messy.
Step 4: Staining the wood
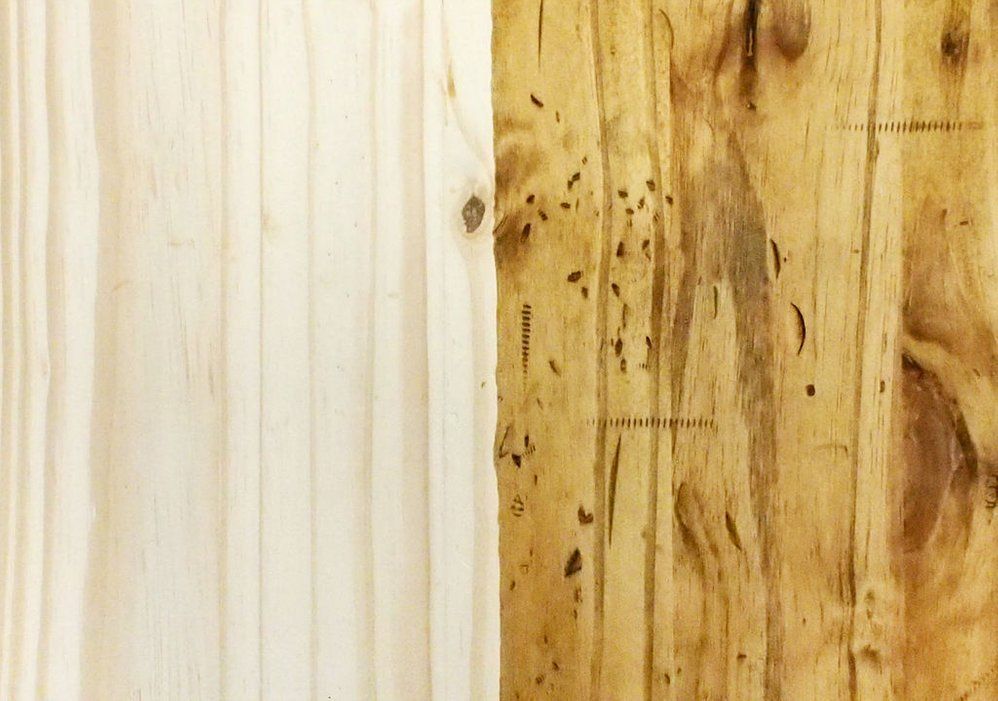
Any impeSurface perfection from the previous steps will stand out when you apply a finish to the wood.
The stain builds up in the dents and makes these areas much darker and more visually appealing.
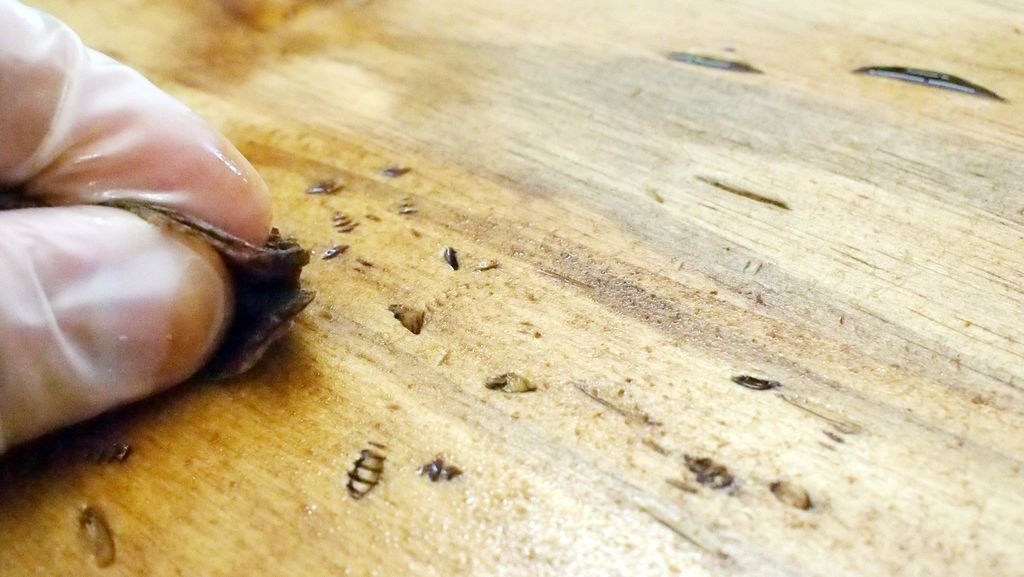
To make the effect look really spectacular, I have been successful in spending a little extra time over the holes to ensure a good amount of paint has been deposited and allowing it to absorb more time into the wood.
Step 5: Tea dyeing (with vinegar + steel wool)
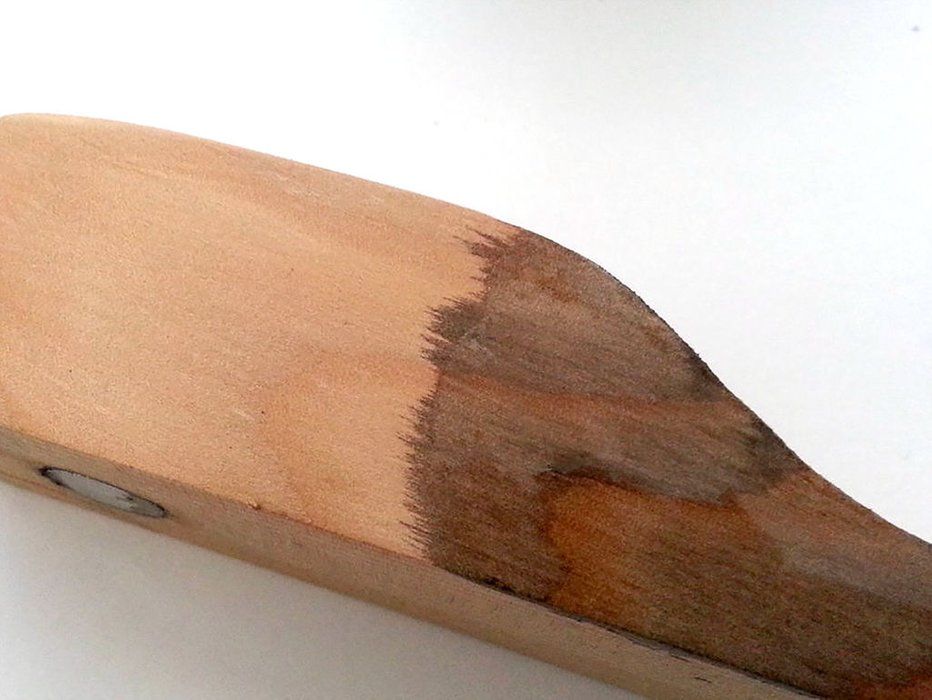
Tea coloring is a chemical reaction between the bitter tannin of steeped tea and a mixture of iron acetate from steel wool and vinegar to darken the wood.
The black tea is steeped and allowed to cool to room temperature.
In a separate container, the steel wool is soaked in vinegar and left for approximately 10 hours.
When steel wool is combined with an acetic acid (vinegar) it causes the steel to rust (rust), producing iron acetate.
When both solutions are ready, brush the tea onto the wood and let it soak. Next, brush on the iron acetate solution and watch as the wood slowly begins to darken.
CAUTION:
- Making iron acetate produces hydrogen gas, do not seal containers and keep in a ventilated area.
- Staining will primarily occur on the surface of the wood, be careful if you need to sand afterwards.
- The tannin content of the wood is the predominant factor in the darkness of the stain. The best part of this technique is the work of close substitutes. Don't have white vinegar? Use any other type of vinegar. Don't have steel wool? Use any other piece of steel (staples, nails, shavings, etc.)
Step 6: Paint + sanding
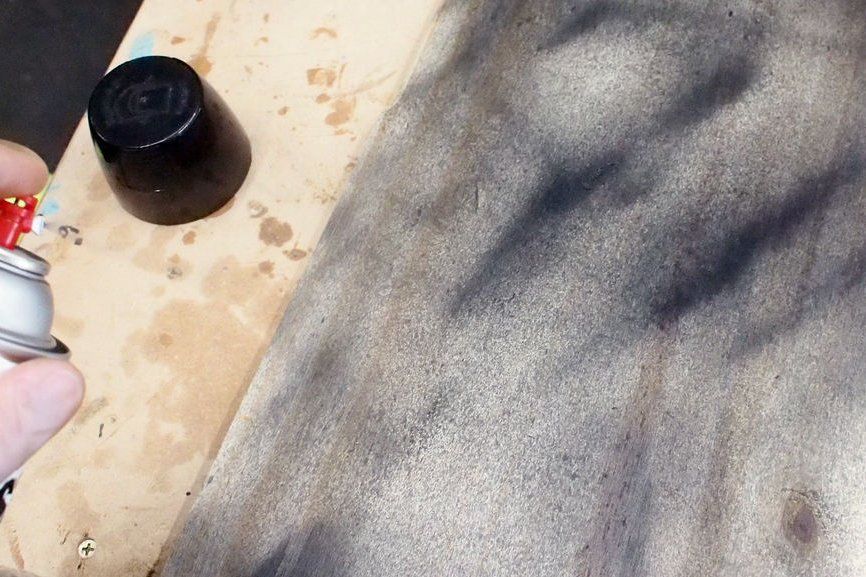
To go along with additive aging methods, such as staining and staining, you can also age wood by subtractive methods, such as sanding.
Maybe your reclaimed wood already has some paint on it, if not, add a quick coat of the color you want and then sand with a coarse grit sandpaper.
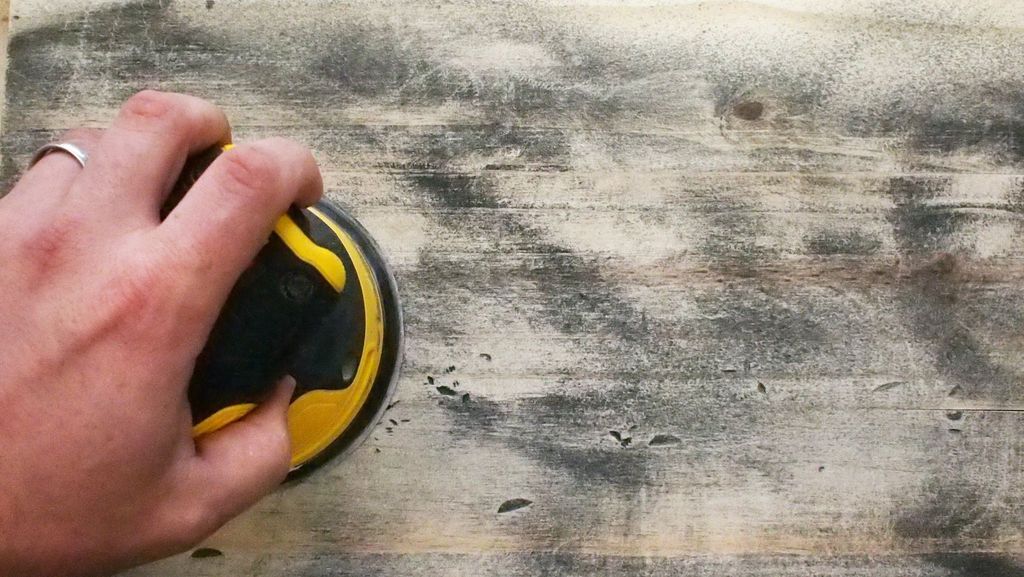
I used 80 grit sandpaper on my random orbital sander to remove some of the paint from the surface of this piece of wood.
If you work aggressively and try not to spend too much time in one place, you will end up with sandpaper texture and do a random job of sanding, both desirable for the final product.
Step 7: Scraping
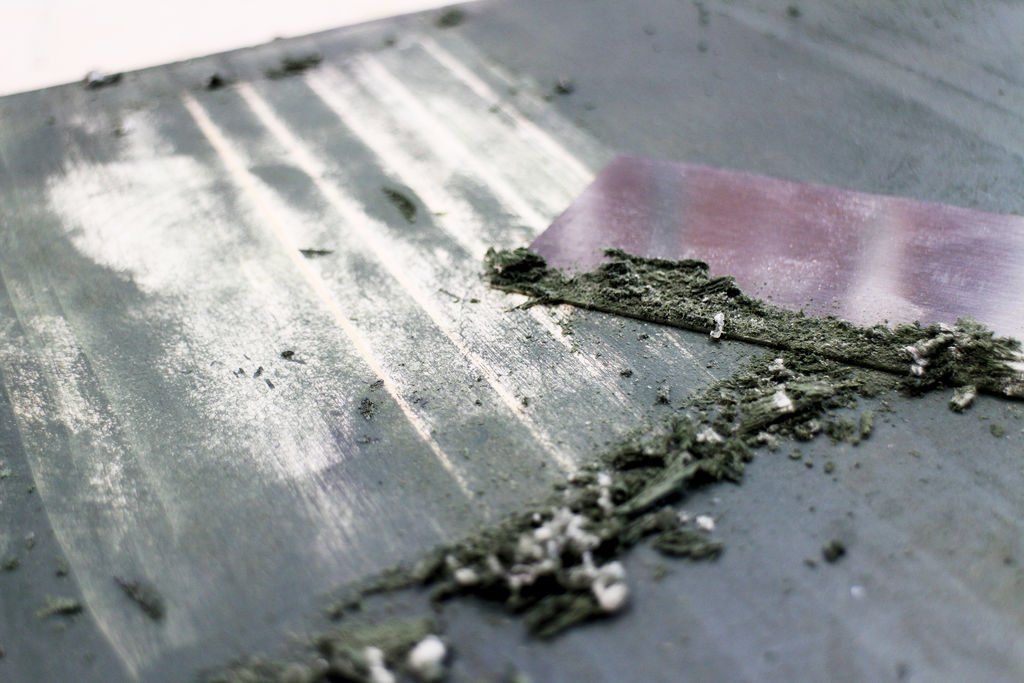
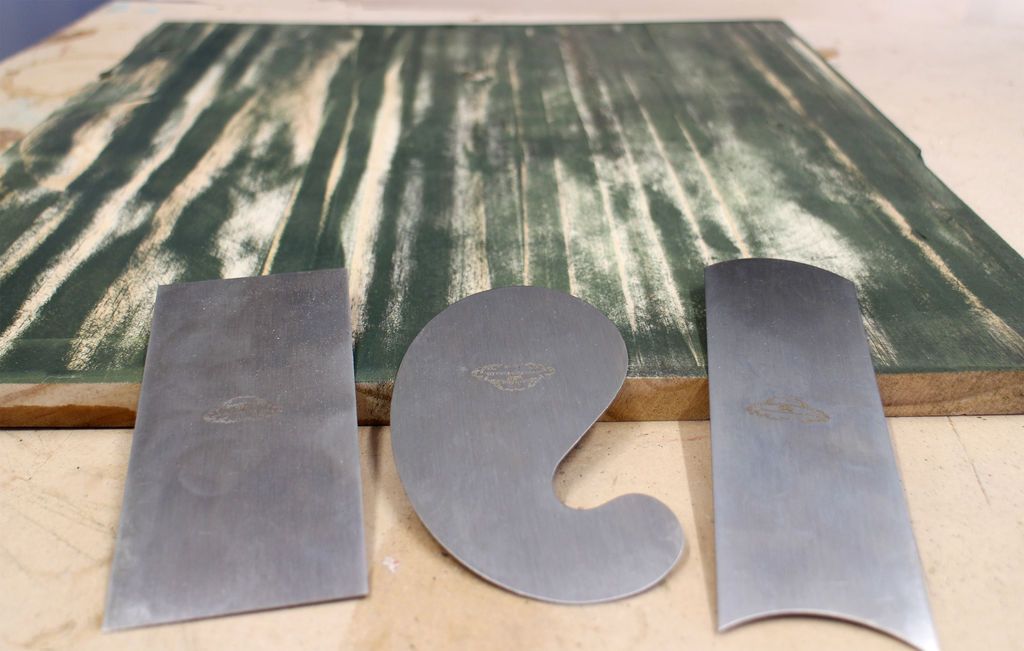
Using cabinet scrapers is a great way to get a faded look from painted wood without much effort.
These straight-edged flat scrapers are used in woodworking to scrape and smooth the surface of wood, a common tool for cabinetmakers.
However, they are put to good use in scraping a painted wood panel for a distressed look without having to wait for the wood to weather and remove the paint.
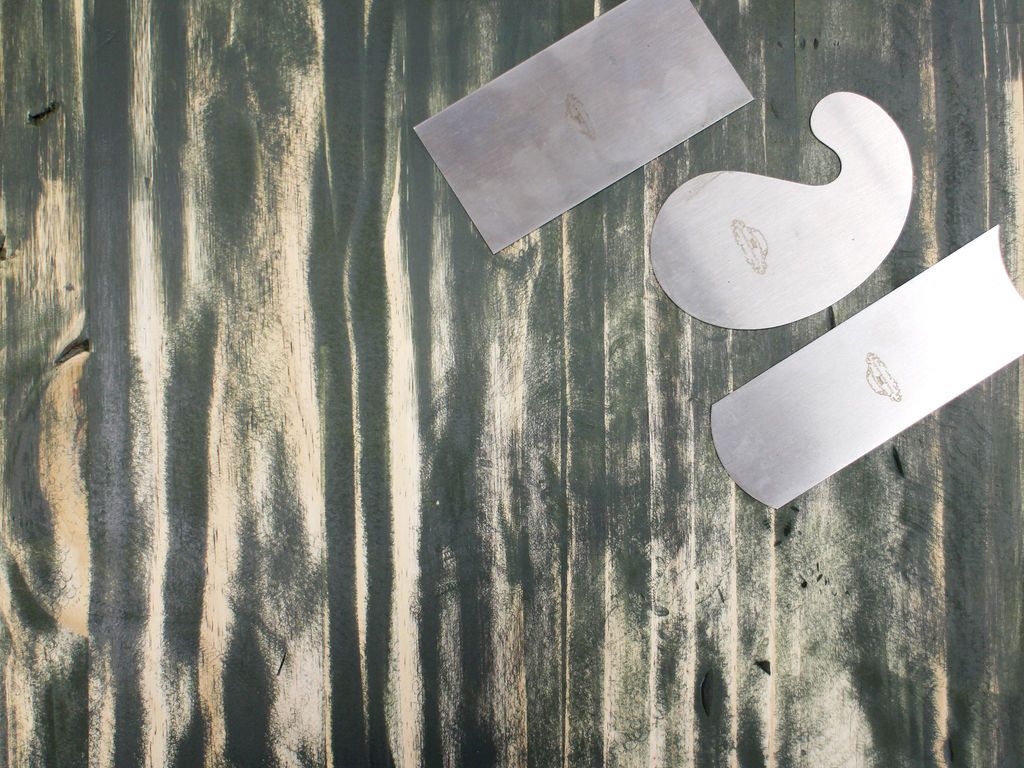
Cabinet scrapers come in different shapes, and can generally go into any place you may need.
Step 8: White Wash Stripping
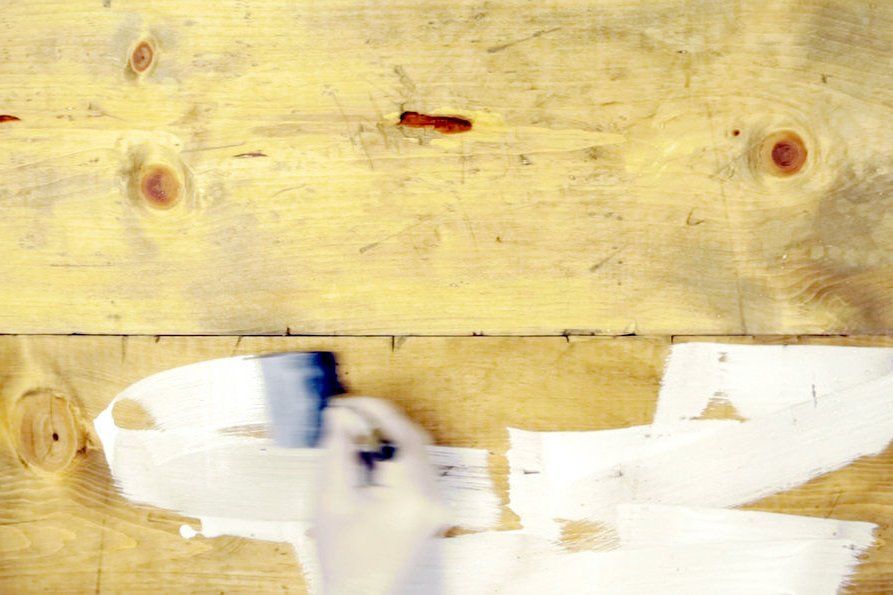
A white wash stripping solution is similar to a finish, but instead of giving the wood a darker color, it lightens it with a subtle white color and lets the grain show through.
The stain can be applied in multiple coats, or can sit on the wood longer for a deeper white appearance.
Alternatively, you can apply and then wipe off the white wash on the wood for a muted effect, which looks more like aged wood than if you left it on longer.
Step 9: Build Layers
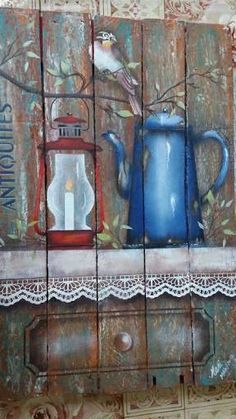
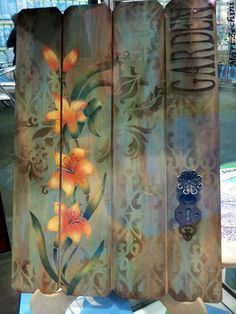
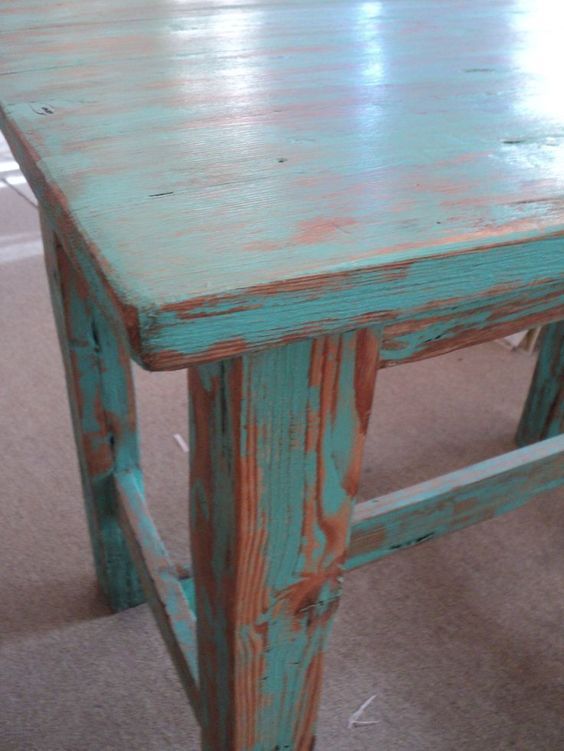
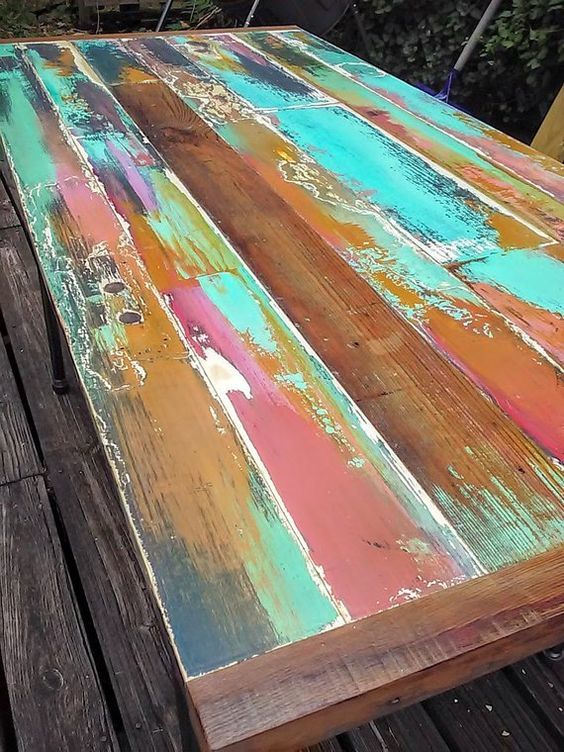
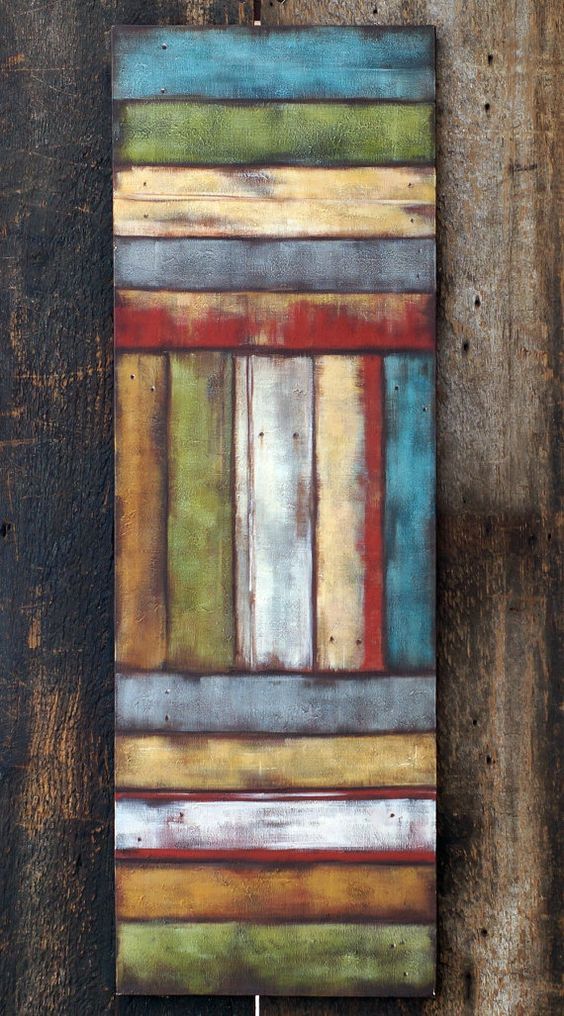
Applying any of the above methods will achieve good results in making new wood look worn, but the real secret to making your aged wood look amazing is to build up the layers by combining different methods.
This makes sense when you think about how naturally aged wood came to look the way it does: it's likely been painted a few times, had some damage over the years, and been baked in the sun resulting in a faded appearance.
Think about this when applying treatments to your wood.
The more layers of aging your wood has, the better it will appear.
Ideas and Examples:
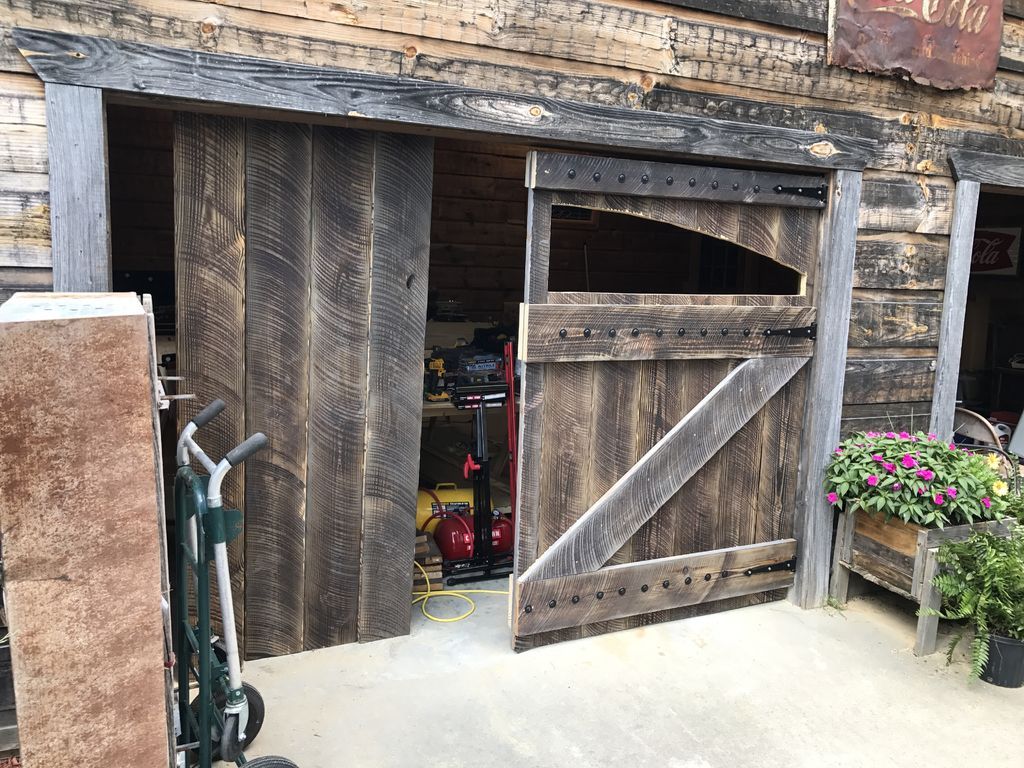
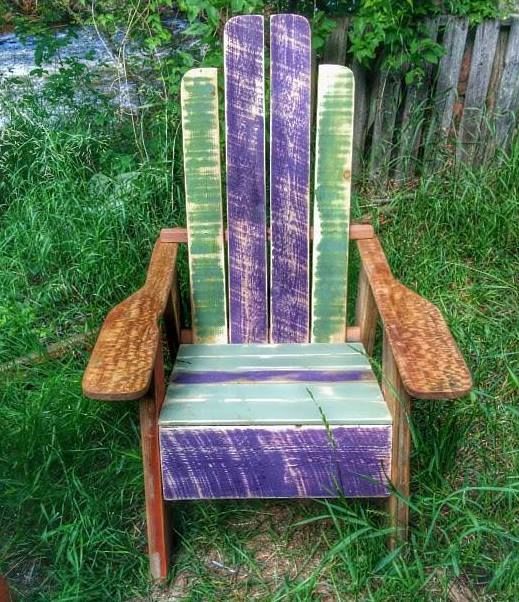
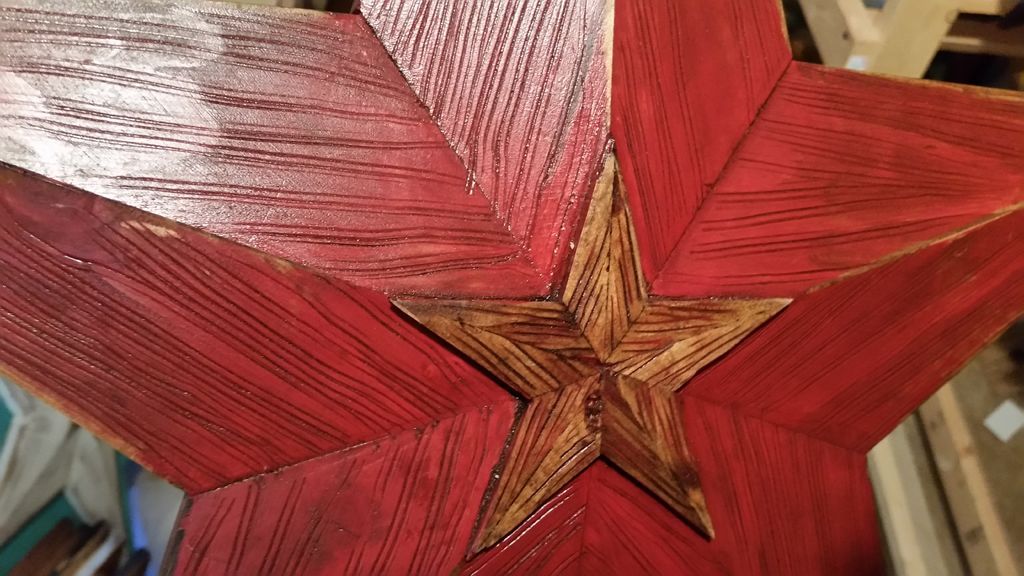
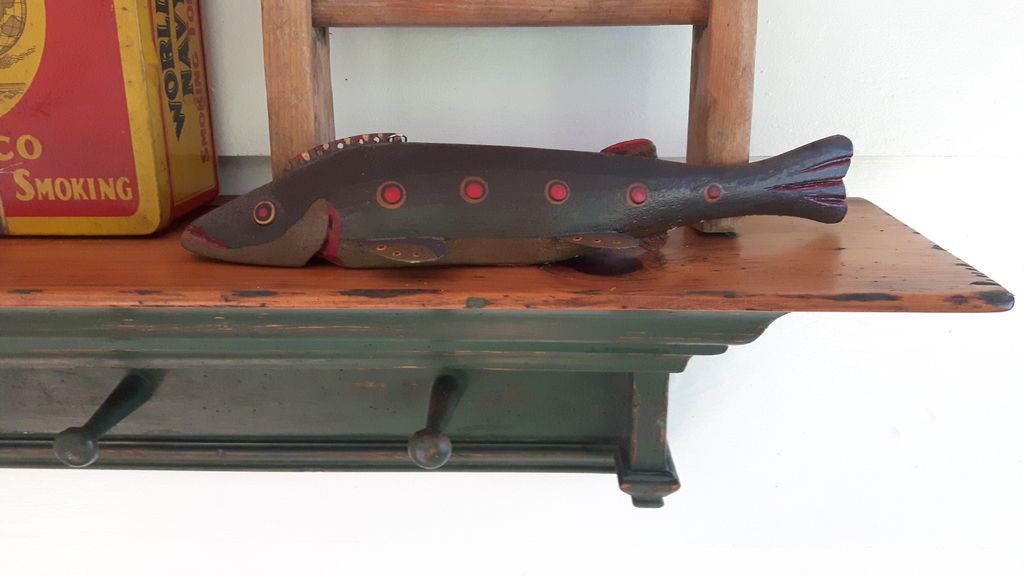
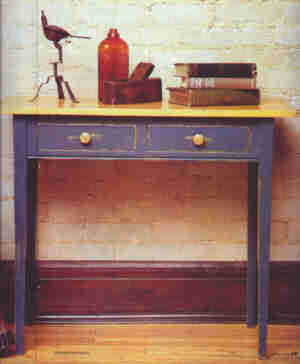
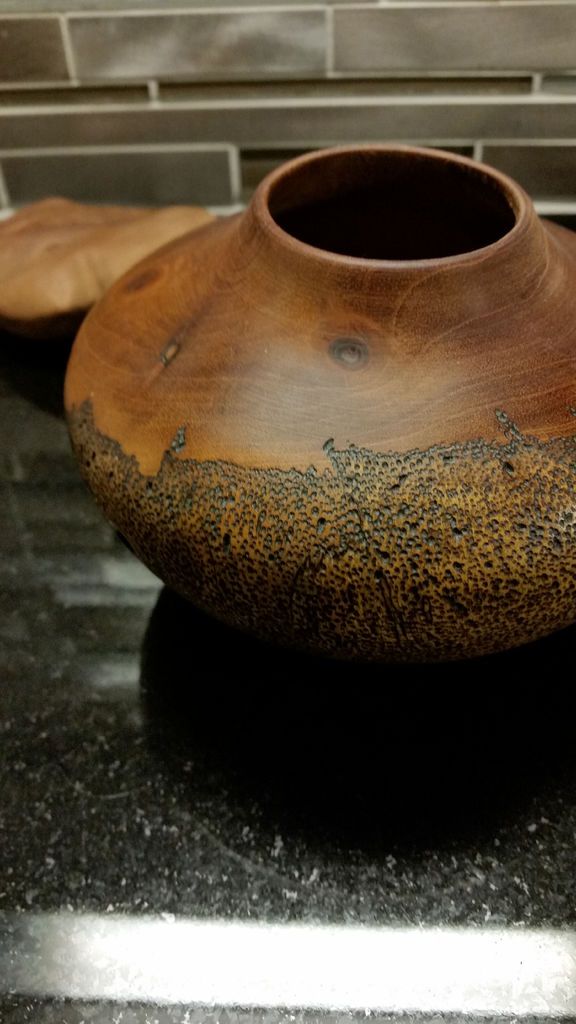
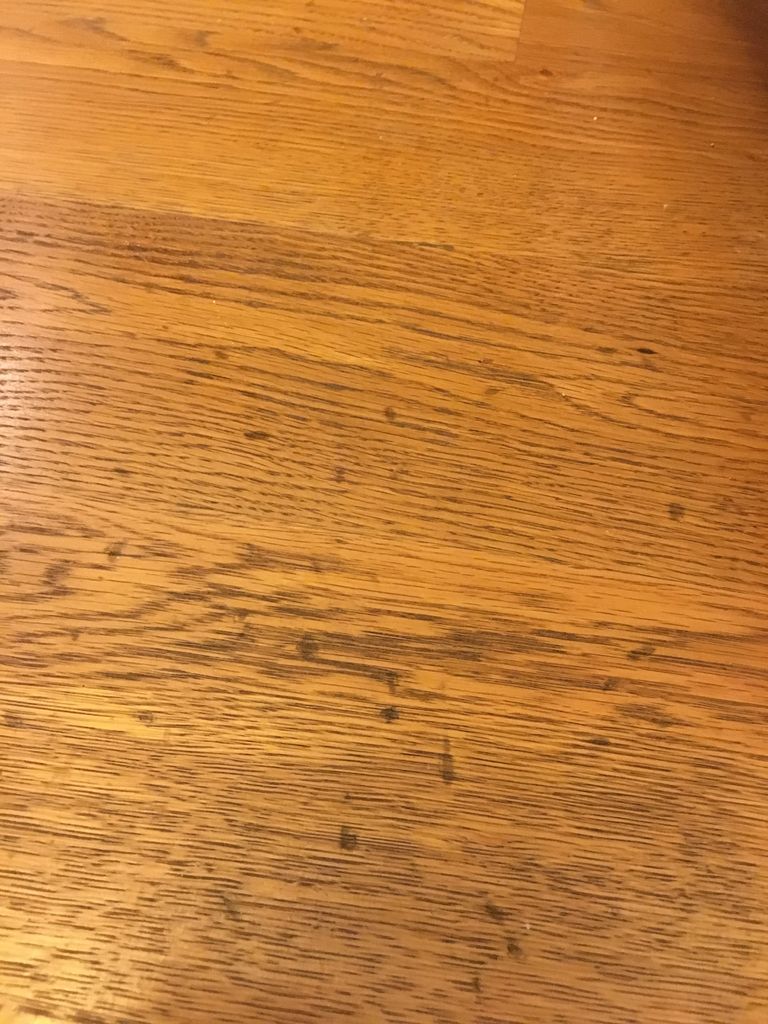
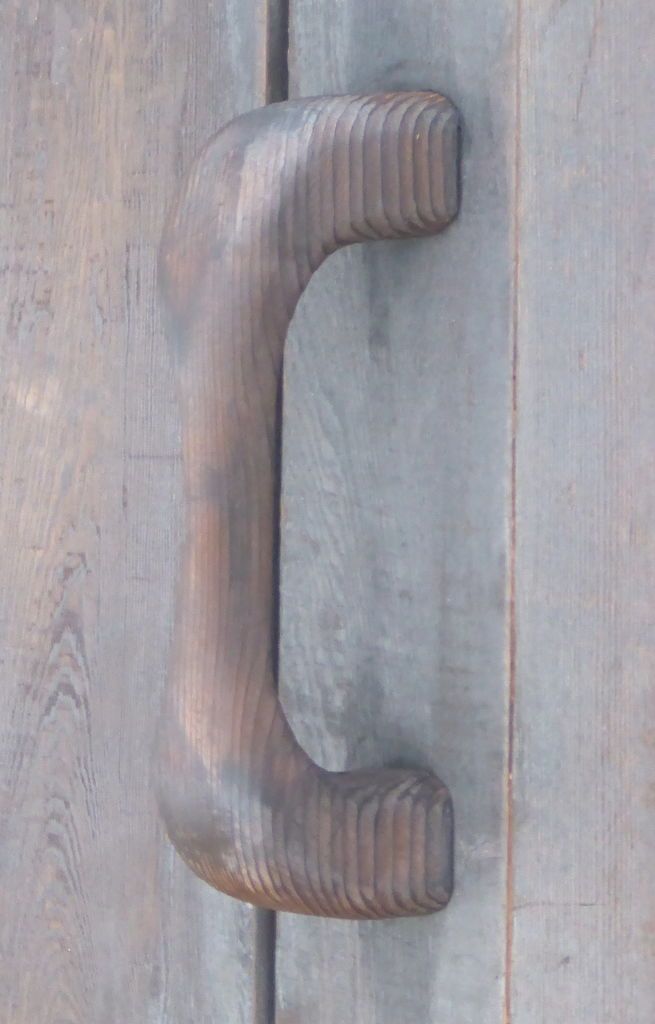
Do you have a favorite method for wood? I want to see it!
Get more information at perfectionidea.com and on our Facebook for more 9 Aging Techniques for Wood.
- Tags
- Guide
Popular Content
How to make a rocket stove for outdoors
Cardboard Drawers Lined with Jeans
Ideas and Advantages of Window Grilles for the Home!
Latest Articles
How to make a refrigerator out of insulating material: Practical step-by-step guide
How to make a Kilim for the Home: Complete Step by Step Guide
How to protect ourselves from accidents in our workplace: Complete prevention and safety guide
Related Content
Ideas for Compact Stairs in Small Spaces
Steel and Polyester Fabric Stool
Paracord Harness for Laptops
How to Make Cardboard Birds
Creative Home Decor Ideas to Transform Every Space
Refreshing your home starts with smart design choices that combine comfort, personality, and functionality. Whether you want to modernize a small apartment, upgrade outdoor areas, or create cozy rustic interiors, these trending ideas can completely change the atmosphere of your space.
Outdoor Spaces That Increase Style and Functionality
Outdoor living continues to dominate modern home trends. Homeowners are increasingly investing in practical entertainment zones inspired by these BBQ shed ideas, which create the perfect setup for gatherings and weekend cooking sessions.
First impressions also matter when designing exteriors. Elegant farm entrance gates design ideas help properties stand out while improving privacy and curb appeal.
Compact living solutions are also gaining popularity. These inspiring 16x40 shed house interior design ideas show how smaller spaces can still feel luxurious and functional.
To enhance patios and entryways, homeowners are adding stylish protection with these creative porch awning exterior DIY ideas that blend aesthetics with practicality.

Rustic and Cozy Interior Design Trends
Warm and natural interiors remain timeless. These charming rustic decor ideas combine wood textures, vintage accents, and earthy tones to create welcoming spaces.
Bedrooms are becoming more personalized with curated wall arrangements. Many homeowners use these stylish picture wall ideas for bedroom spaces to display memories and artwork creatively.
Textured wall treatments are another major trend. Installing a board and batten wall adds architectural character while keeping interiors elegant and modern.
Similarly, bold accent wall ideas can instantly transform plain rooms into eye-catching focal points without requiring a full renovation.
Smart Kitchen and Organization Inspiration
Functional kitchens are essential for modern homes. These practical kitchen wall cabinet ideas maximize storage while maintaining a clean and stylish appearance.
Organization also starts at the entrance. Well-designed mud room ideas help families keep shoes, coats, and daily essentials neatly arranged.
Colorful and Personalized Home Styling
Vibrant interiors are becoming increasingly popular thanks to playful dopamine decor ideas that use bright colors and joyful accessories to improve mood and energy.
Gallery walls also continue to evolve as a major decorative feature. These trendy gallery wall inspiration ideas offer creative ways to combine prints, photos, and statement art.
Young renters and new homeowners are especially embracing these stylish first apartment aesthetic ideas to create sophisticated interiors on a budget.
Finally, selecting the right shades can dramatically influence any room’s atmosphere. These modern trendy color ideas help homeowners choose palettes that feel fresh, elegant, and timeless.
Final Thoughts
From rustic charm and colorful interiors to outdoor entertaining areas and functional storage solutions, today’s home decor trends focus on creating spaces that feel both beautiful and livable. By combining smart layouts, modern textures, and personalized decorative elements, any home can become more stylish, comfortable, and inspiring.
Browse the Shop
 Acacia frida deluxe solid wood bed frame |
Bedroom bench |
Bed chest drawers |
Lingerie dresser |
Frame base |
Mirror with jewelry storage |
30 Bathroom Vanity |
Memory foam queen mattress |
Mattresses for back pain |
Nightstand set of 2 |
Grand Goldman Shop |
Civil Lawyer
Deutschland Trikot WM 2026
Acacia frida deluxe solid wood bed frame |
Bedroom bench |
Bed chest drawers |
Lingerie dresser |
Frame base |
Mirror with jewelry storage |
30 Bathroom Vanity |
Memory foam queen mattress |
Mattresses for back pain |
Nightstand set of 2 |
Grand Goldman Shop |
Civil Lawyer
Deutschland Trikot WM 2026







