

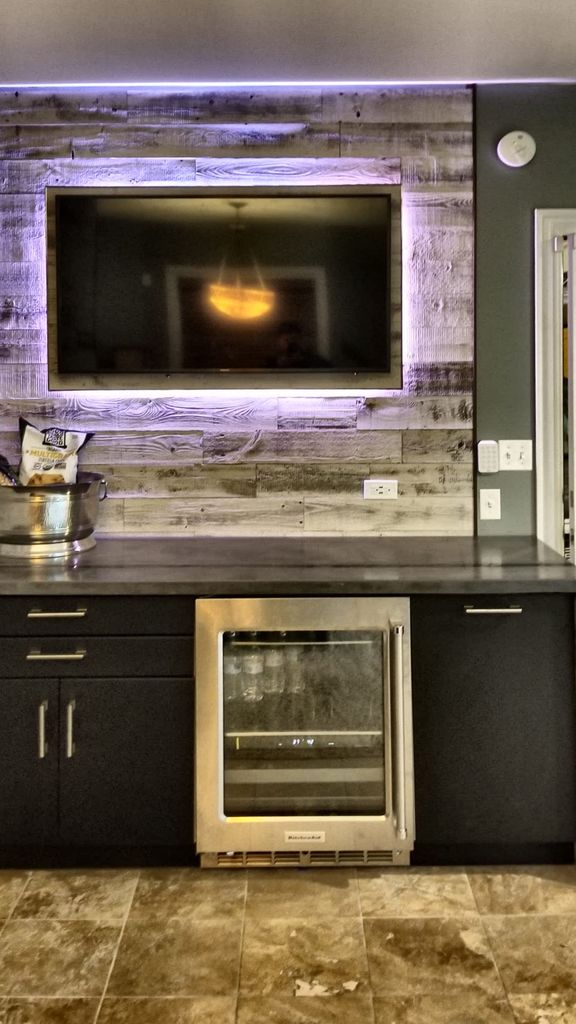
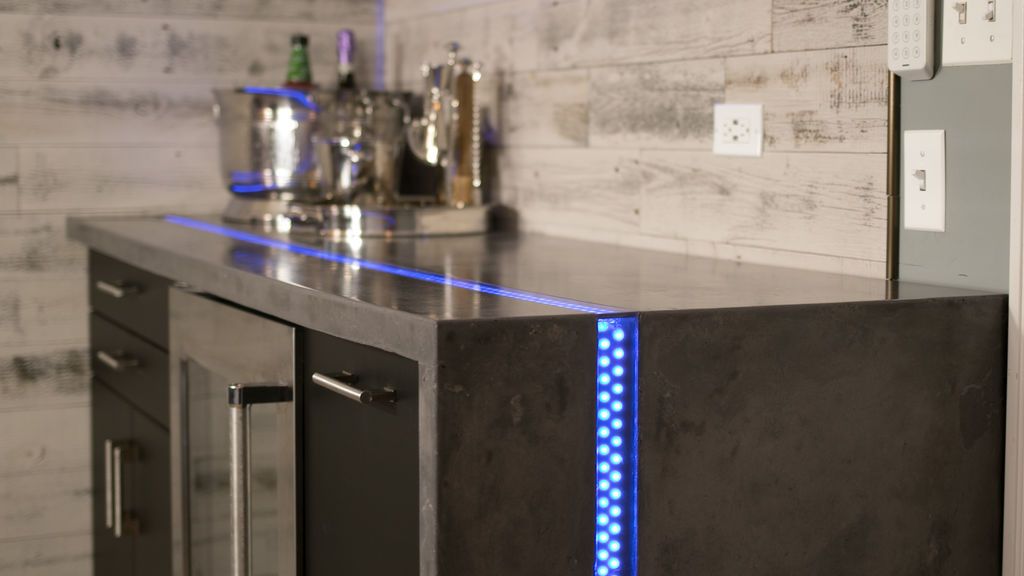
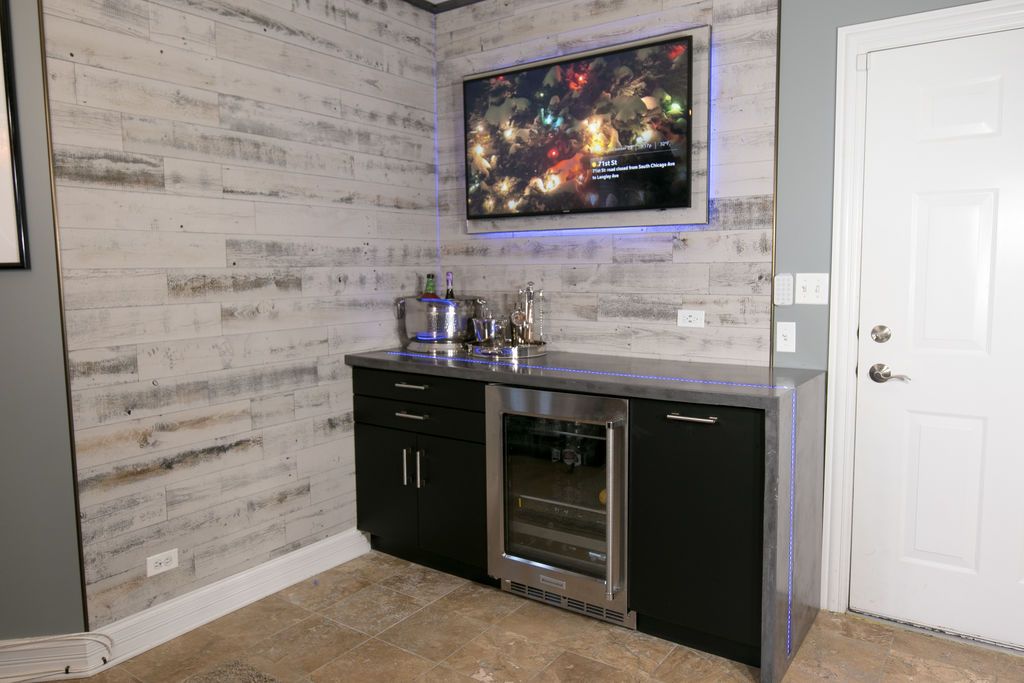
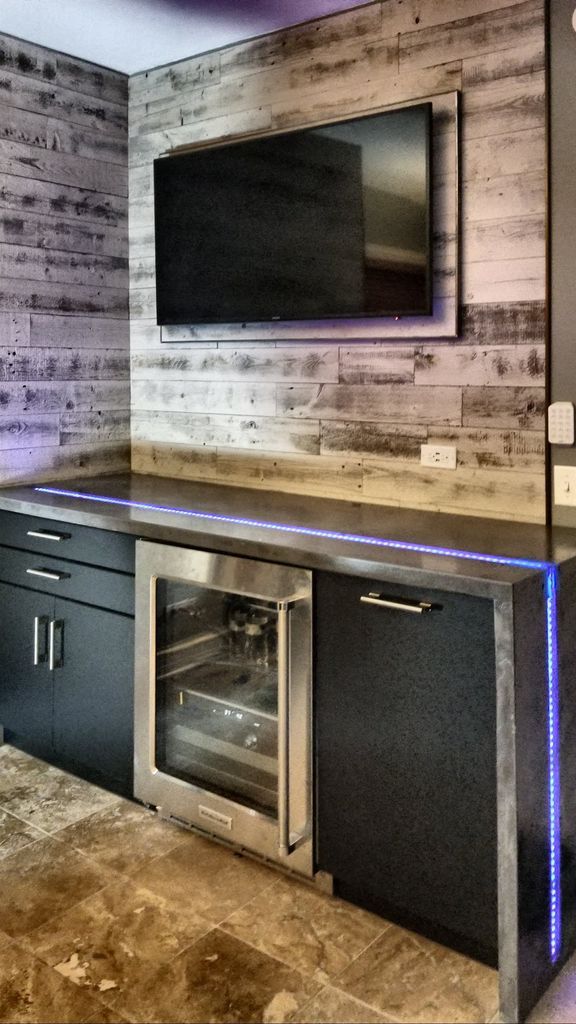
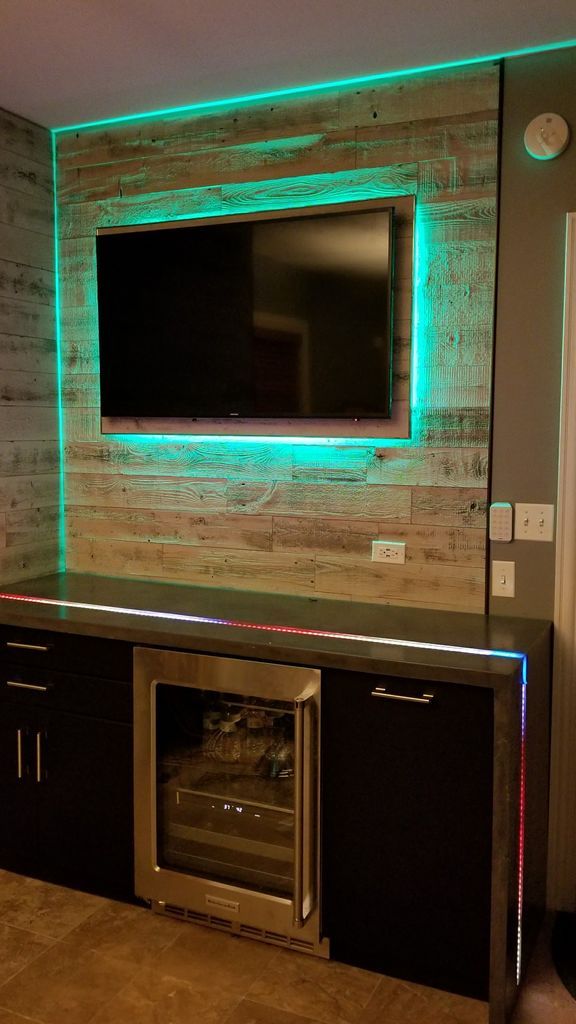
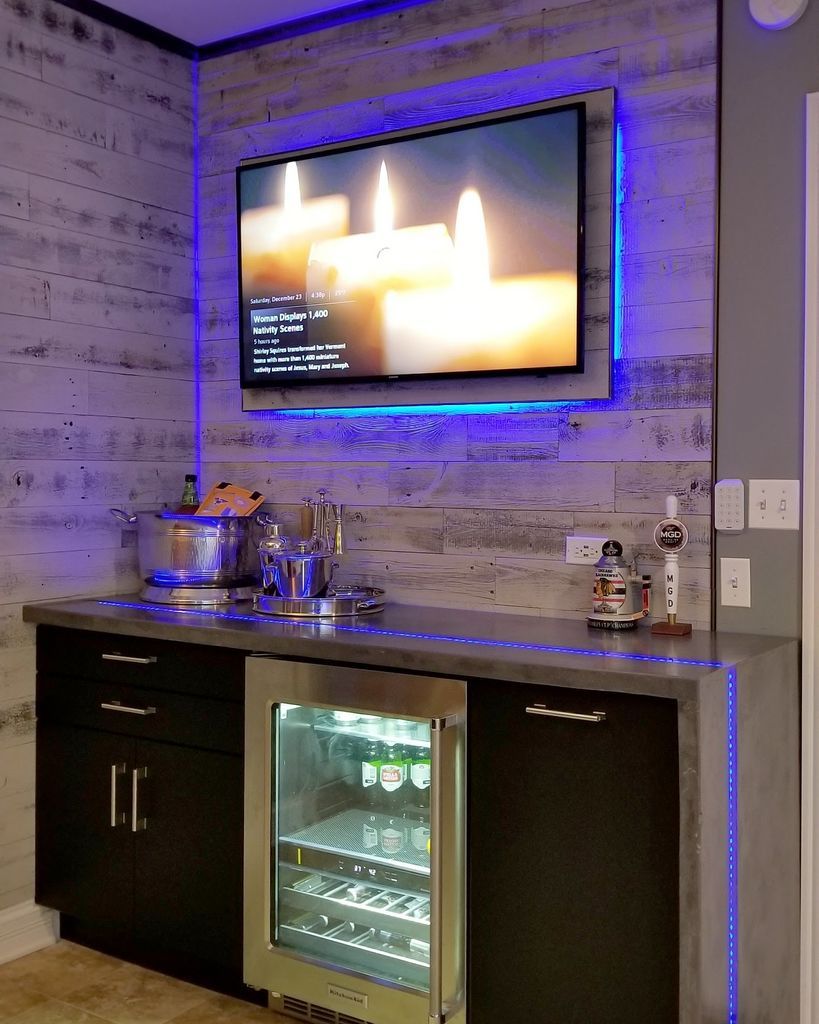
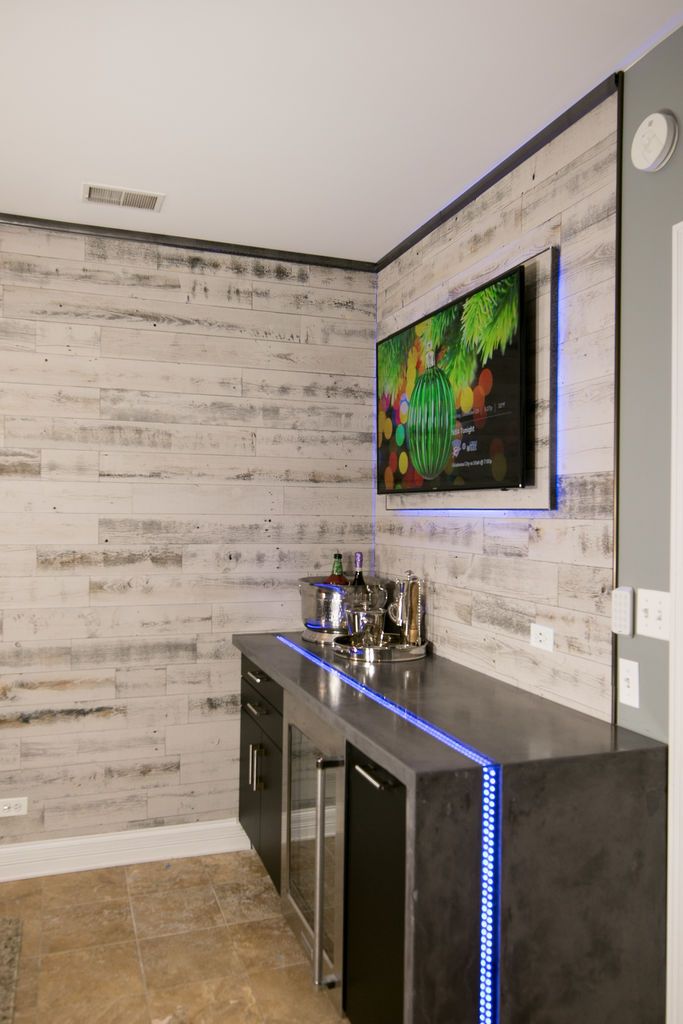
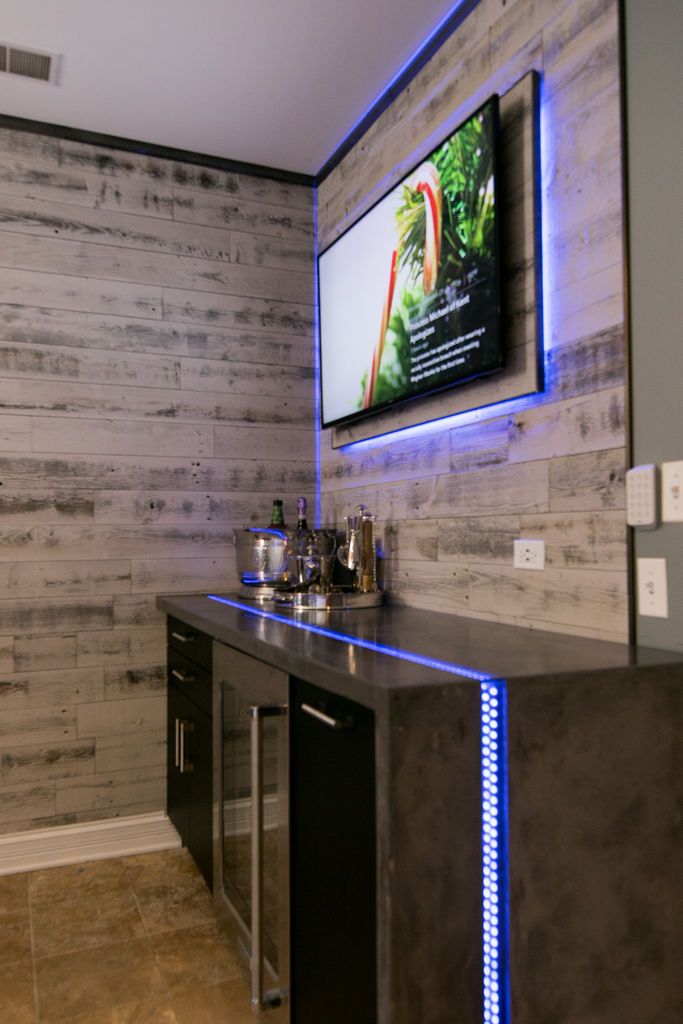
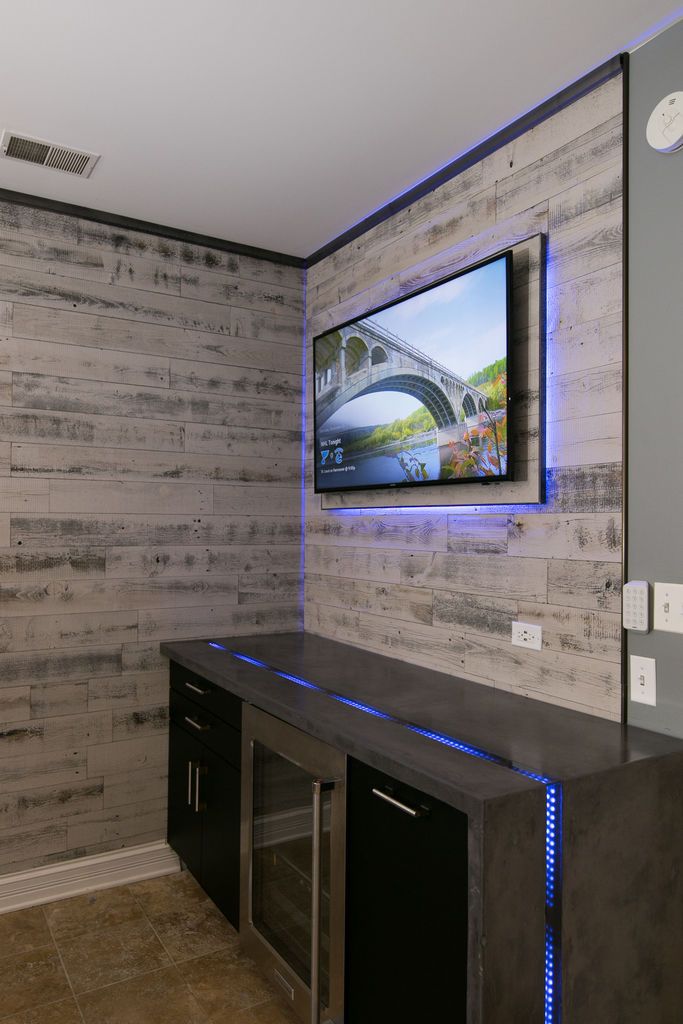
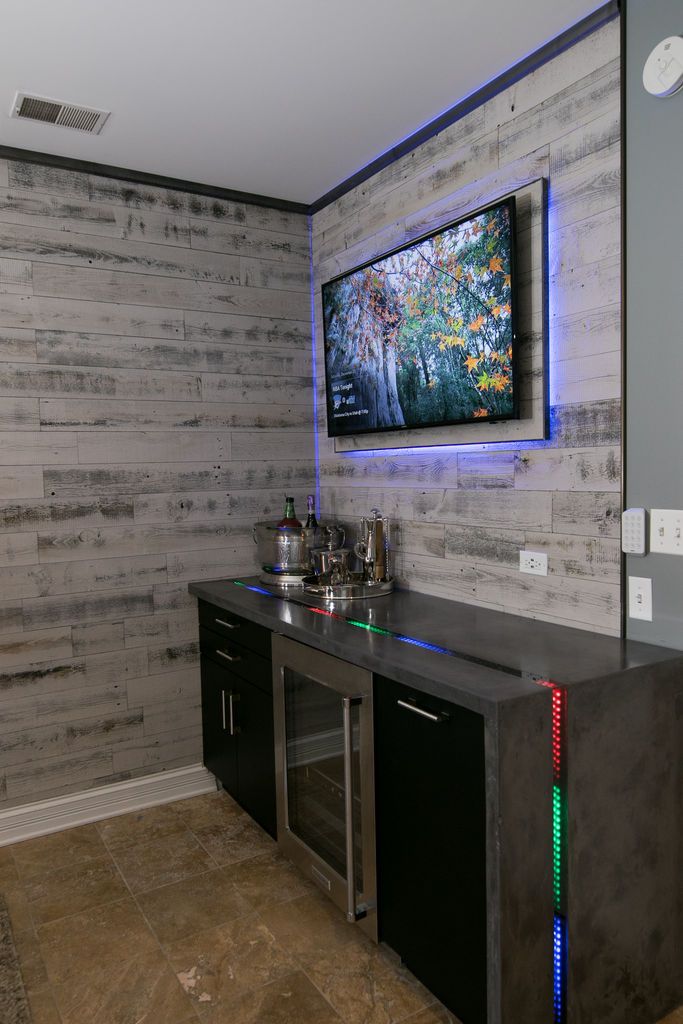
Waterfall Concrete Countertop with LED Light Installation, how to make a one-piece concrete countertop with an embedded river of flowing LED lights cascading over the edge (using neopixel LED strips). The LEDs are individually controllable so they can be animated and even have music sync display modes.
The countertop is made from a glass fiber reinforced concrete mix (GFRC or GRC), which is prefabricated into a melamine form. I made the mix from scratch. I mixed 280 lbs of the dry materials (including the powdered pigment), all at once, so the color would be consistent. I used 40 pounds for the face coating and the rest in batches for the fiberglass back coat.
Find Bleeding Edge Supplements at Scandalous Prices on iHerb.

I used an LED controller that has music reactive modes, chasing modes and solid color modes, with an RF remote, to control the WS2812 LED strips. (https://goo.gl/u6Xj6Y) The LEDs are covered by a transparent smoke gray acrylic sheet, which is embedded so that it is flush with the concrete countertop.
Step 1: Tools and materials
Materials for the shape:
- Two (2) 4'x8' (3/4″) sheets of melamine
- 100% black silicone sealant
- Wax finish
- Instrument for perfect edges
LED Products:
- Music controller with remote control
- WS2812 60 LED/m
- WS2813 (new LED chip with data redundancy)
- 5V LED power supply
- Acrylic sheets (for diffusers)
- Frosting spray for acrylic
Concrete (GRC):
- GRC Recipes
- 1.5 bag of AR glass fibers
- Concrete mixer
- Concrete sealer
- Compaction roller for GRC
- Concrete pigment powder: (1 lb) or (3 lbs)
Tools:
- Angle grinder
- RZ dust mask
- Diamond grinding wheel (for grinding the underside of the table):
- Level
- Bosch 18V Cordless Circular Saw
- Miter saw
- Table saw
Step 2: Make the melamine shape
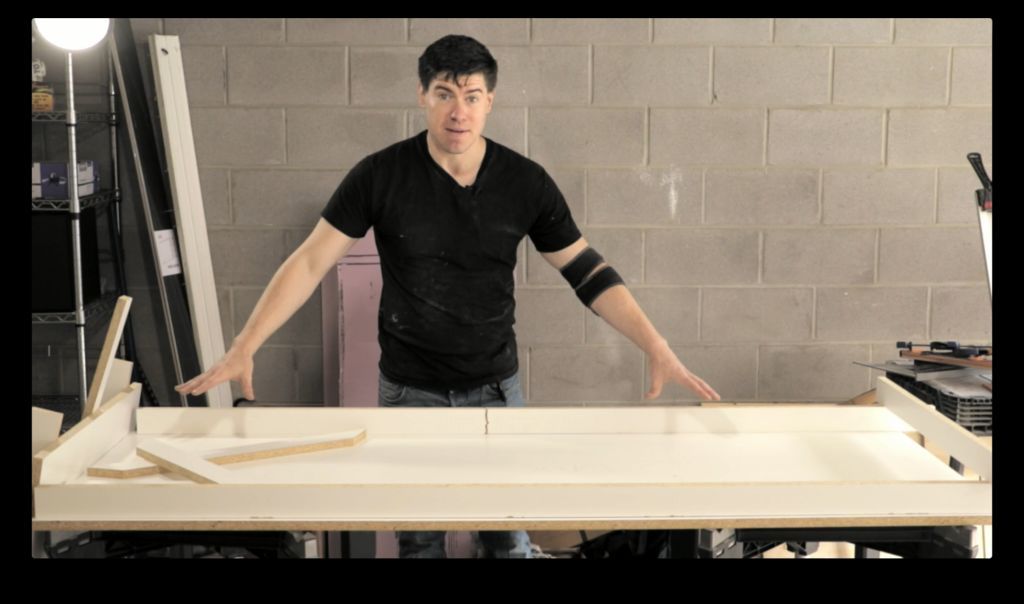
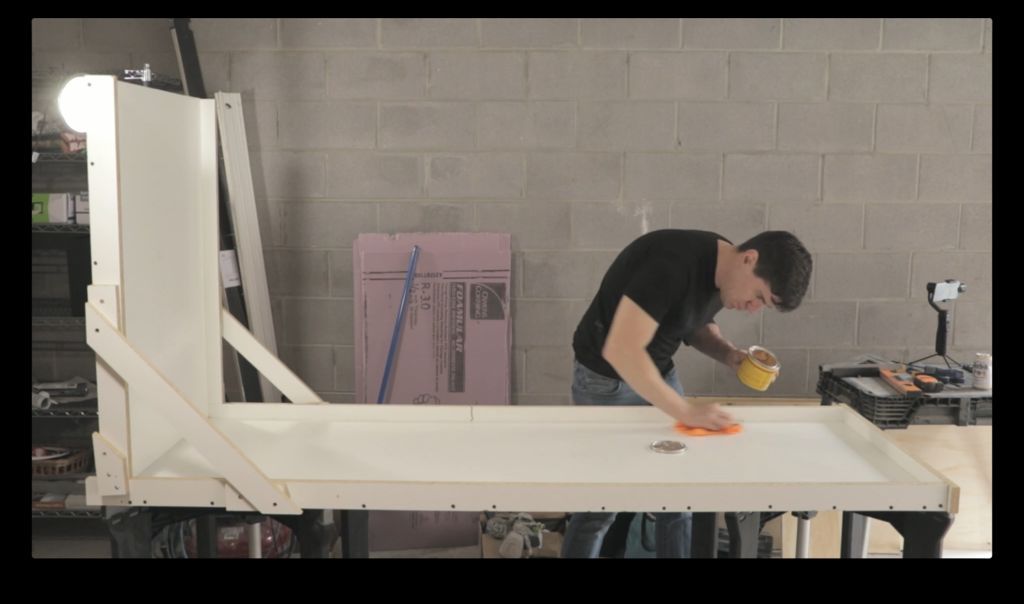
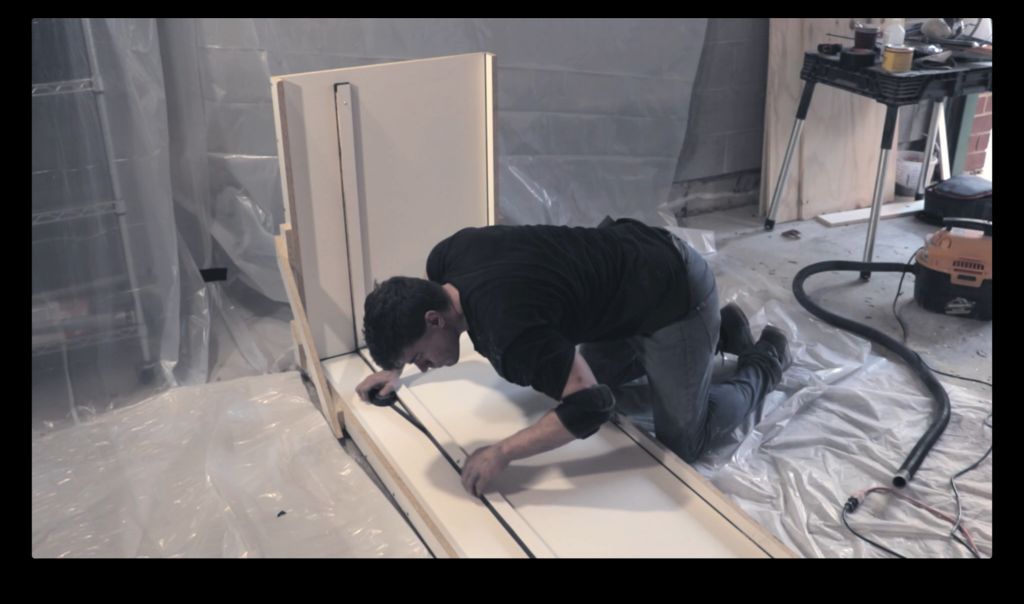
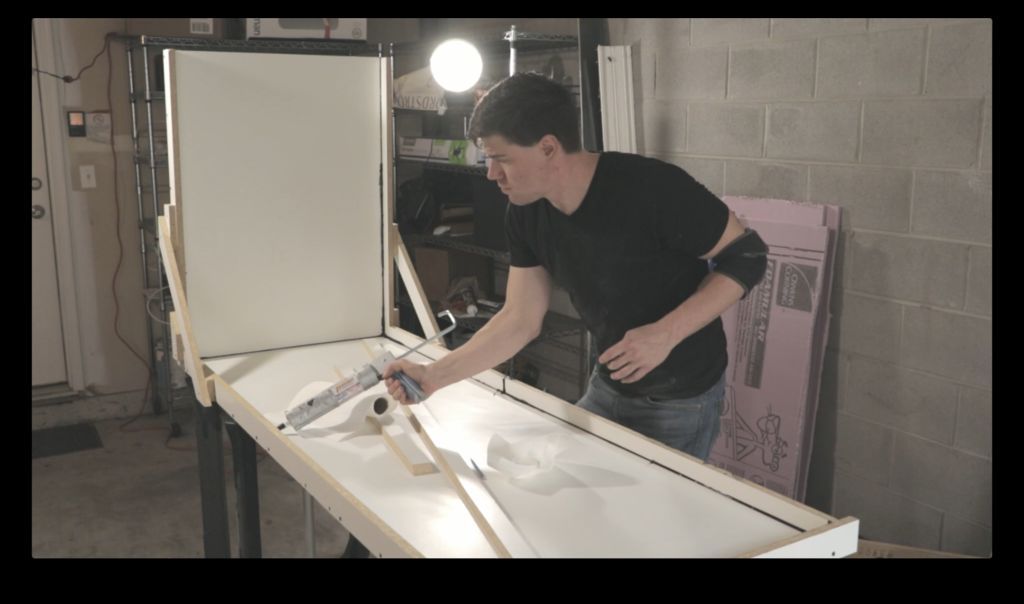
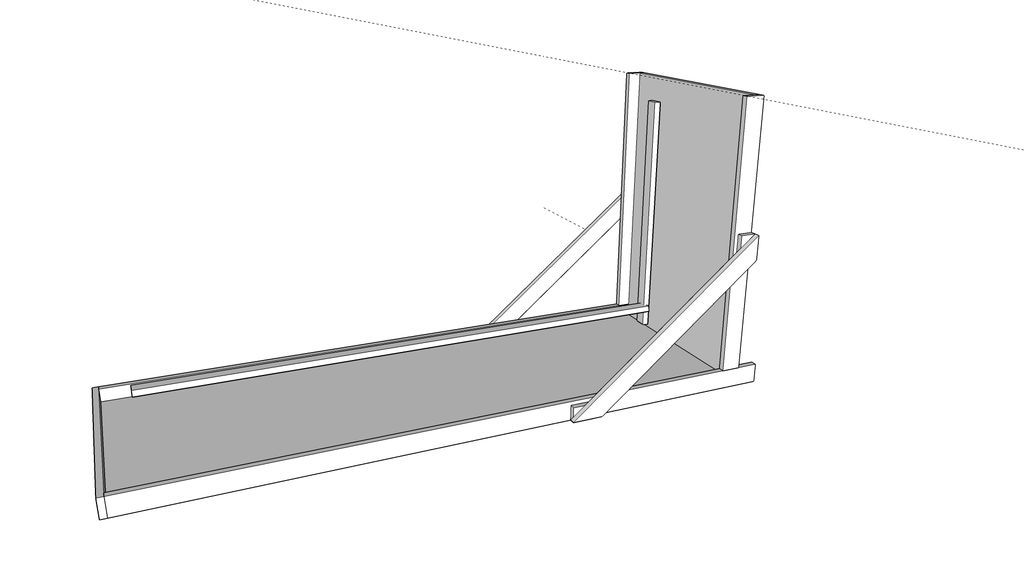 This is a prefabricated design, so the countertop is being placed upside down. To make the melamine form, you will need to do the following:
- Counterweight Base: Cut a piece of melamine base to the exact dimensions of your countertop, in my case 76″x26″.
- Cut waterfall base: Cut a base piece for your waterfall to 3/4″ longer than the height of your waterfall section, and the exact width (same as the base piece). In my case, this was 38.25″x26″ for a 37.5″ waterfall (1.5″ taller than the 36″ cabinet height).
- Cut the sides: Cut strips of melamine for the sides of your form to the height of your counter plus 3/4″. In my case, the counter was 1 5/8″ thick, so the sides were cut to 2 3/8″ It's easiest to cut these strips on a table saw. Cut all the strips at the same time, so that the height is identical. Then, use the miter saw to cut the strips to the length you need.
- Side Cut List: 2 Sides for Top (80″). The two sides for the top can be a few centimeters longer than the length of the base piece. 1 End piece (27.5″-30″). This can also be a little longer, better too long than too short. 2 Sides for the waterfall (35 7/8″). These should be cut exactly to the height of the waterfall section (37.5″) minus the height of the countertop sides (1 5/8″). Cut the sides with a circular saw if you don't have a table saw. Just be very careful to make cuts that are consistently straight and of a uniform width (so the sides are the same height).
- Cut the LED channel molds: Use a table saw to cut the concrete channel moldswhere you will place the LEDs. I made these from melamine strips. A 2″ wide channel will allow two parallel LED strips IMPORTANT: Set the table saw blade at an angle (I set it to 15 degrees, but the exact angle doesn't matter), so the sides of the channel molds are slanted. This way, when you cut the acrylic diffusers, you can cut them at the same angle, so that the angled sides of the concrete channel hold the diffuser in place, flush with the counter surface. Next, use 3/4″ electrical tape. To cover the exposed sides of the strips, so that water does not soak in when you pour the concrete.
- Assemble the form: Pre-drill holes, and then screw the sides to the base and waterfall. I used 1.25″ drywall screws for this.
- Place the wood slab upside down (with the top of the slab against the base of the form).
- Apply paste wax to the inside of the form and the bottom/sides of the slab.
- Caulk the inside edges with black silicone caulk. After the sealant dries and remove the excess to leave clean putty lines, and your shape is ready.
Step 3: Cut Foam Countertop Inserts
You will cut the 1/2″ pink insulating foam inserts to fit inside the form, so the concrete is only 1 1/8″ thick (except on the sides, where it is a full 1 5/8″ thick). Simply use an Exacto knife to score the foam sheet, so it is about 1-2″ less than the table size in both directions. After scoring the foam, it is easily adjusted by hand. If you want it precise, you can also cut the foam with a circular saw or table saw.
Step 4: Mix
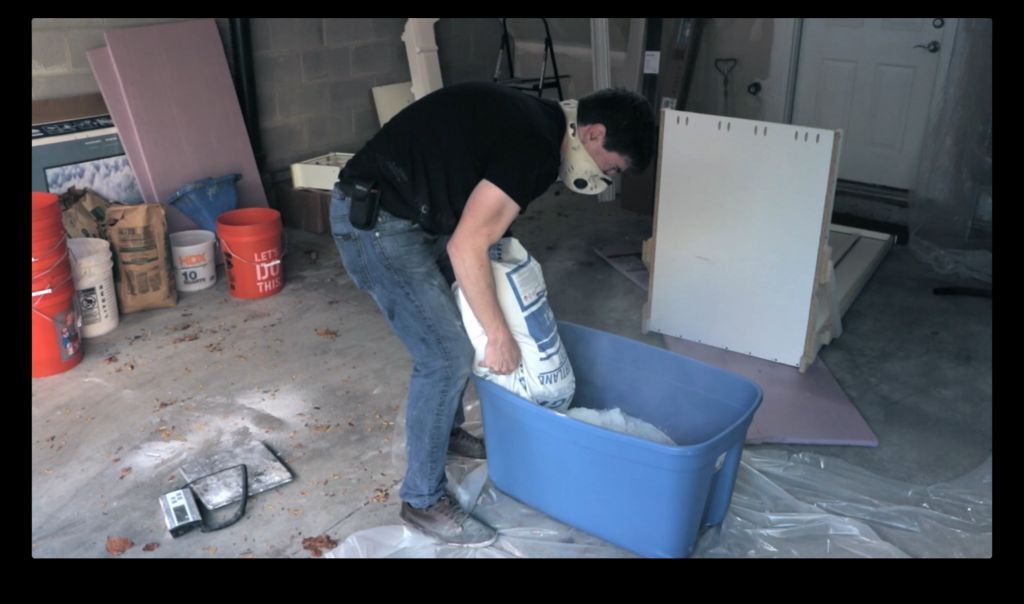
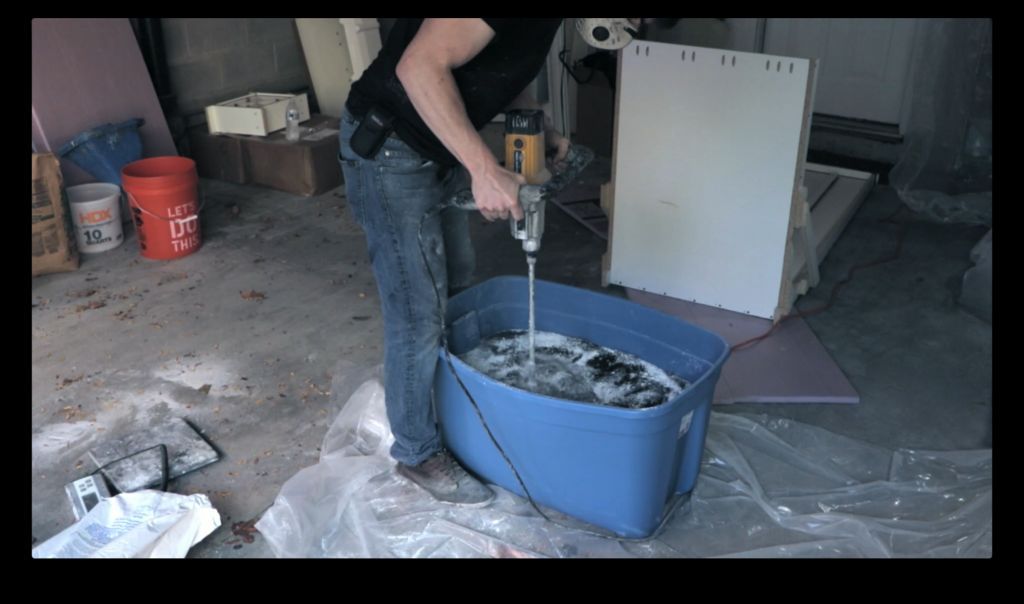
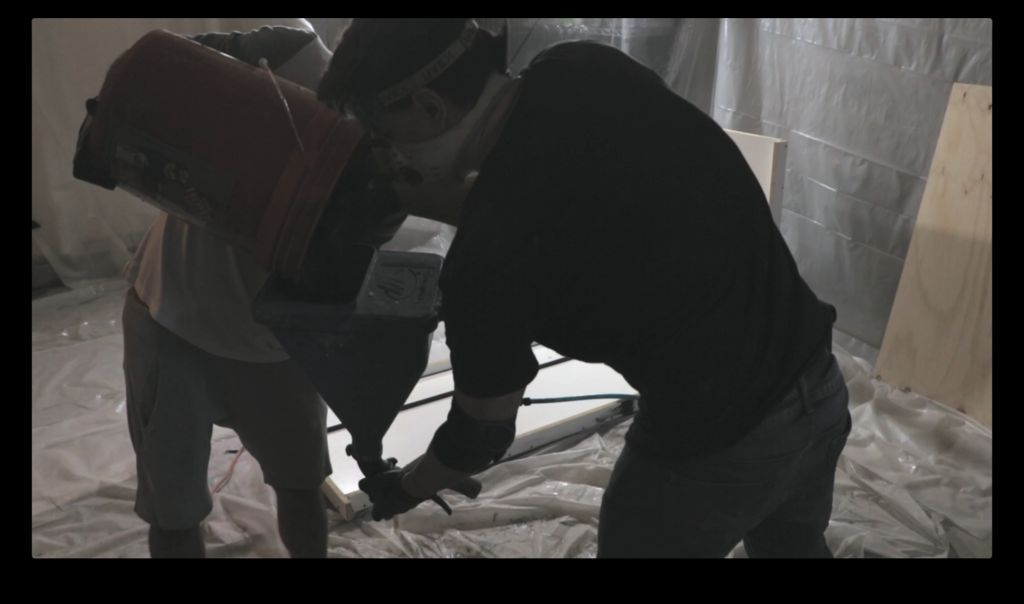
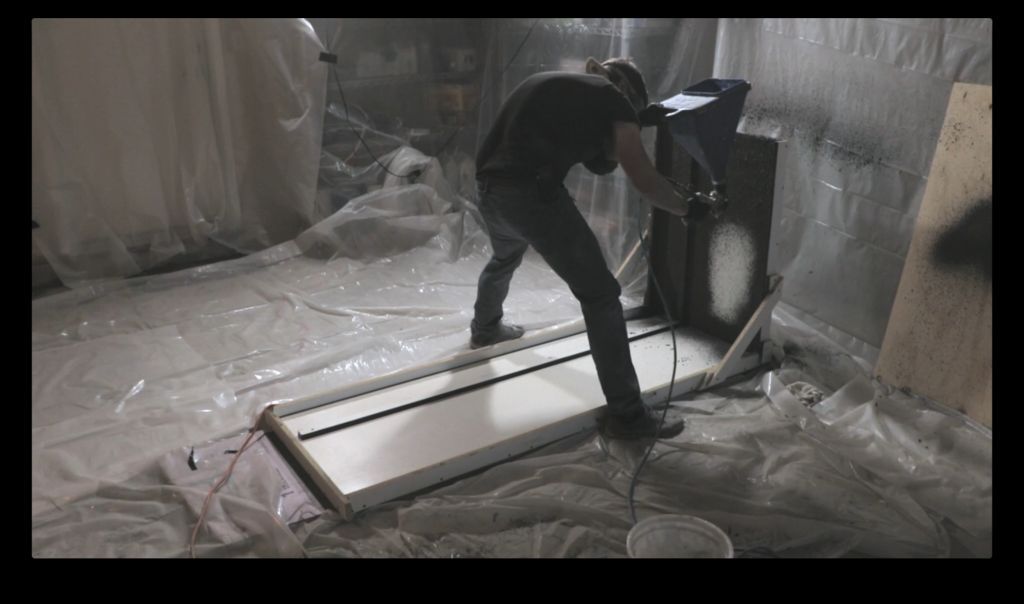
See my previous instructions on GFRC recipes, material links and mixing instructions: https://www.instructables.com/id/GFRC-Floating-Con …
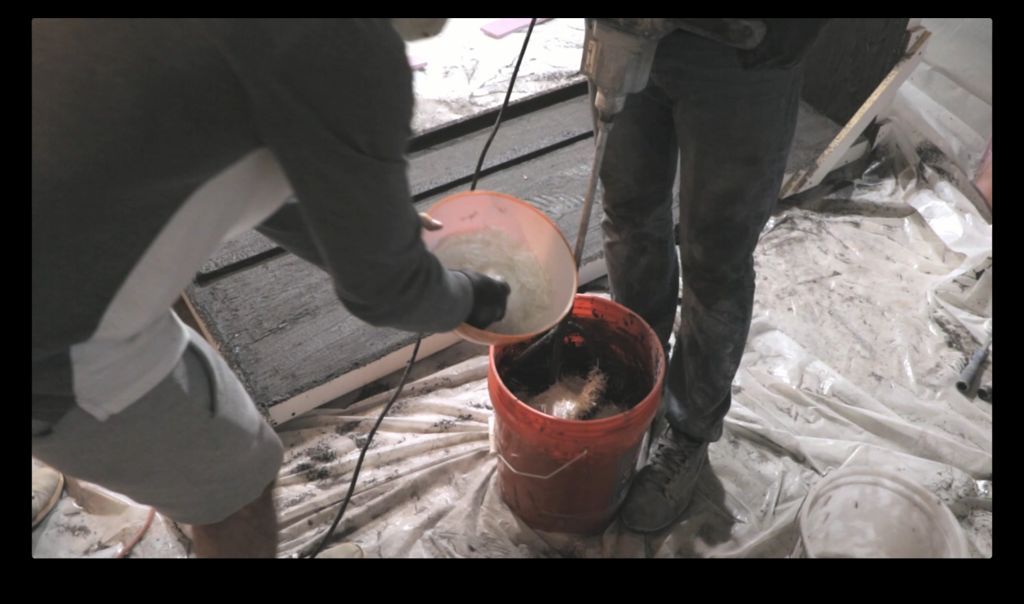
I mixed 280 pounds of dry ingredients for GFRC (cement, sand, pozzolan, pigment, any powder mix) in a large tub, so the color would be uniform between the face and back. I also took out a couple of kilos and put it aside to use as a layer of mud later.
Then I took 40 lbs of dry mix, and added the wet ingredients (water, polymer, antifoam, and just a small amount of superplasticizer since we want them to stick to the verticals) and mixed them together. Again, see previous instructions for detailed mixing instructions.
After waiting 5 minutes and making sure the face layer was still pancake-like, I used a hopper gun to spray the face layer, spraying the corners first, then the sides, then the middle of the form. QUICKLY, use a chip brush to lightly brush the coat and remove any bubbles. Work a little harder with the brush in the corners to remove bubbles there.
Optional: Wait until the band firms up, then spray the second layer of the face coat. If you do so, make each layer of siding no larger than 1/8" (1/4" total).
Wait for the face coat to harden before adding a back coat. You want it to be firm, but still wet, so you can't easily run it with your finger, but it still sticks to the back layer.
Step 5: GRC
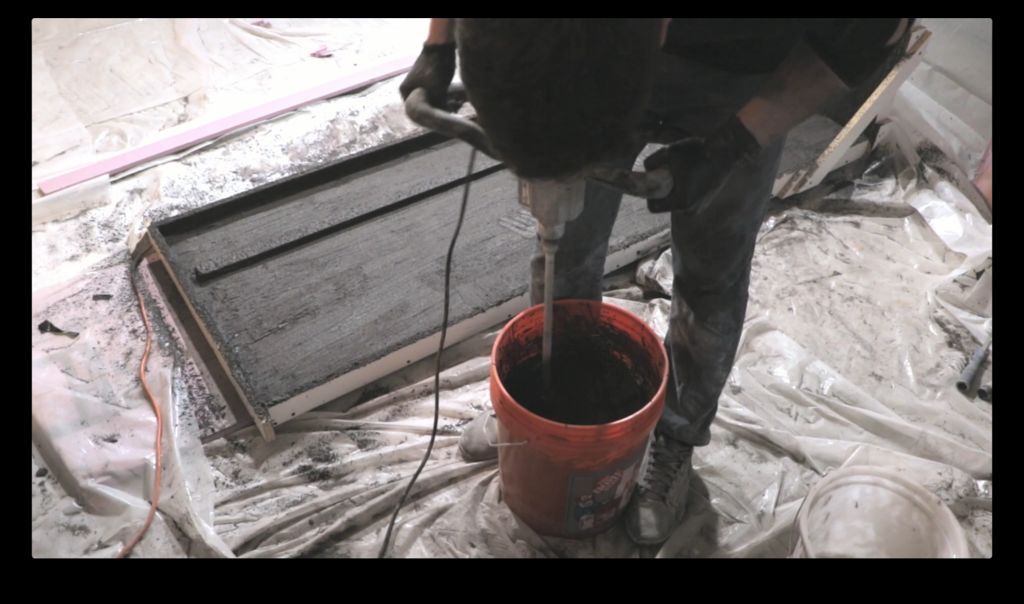
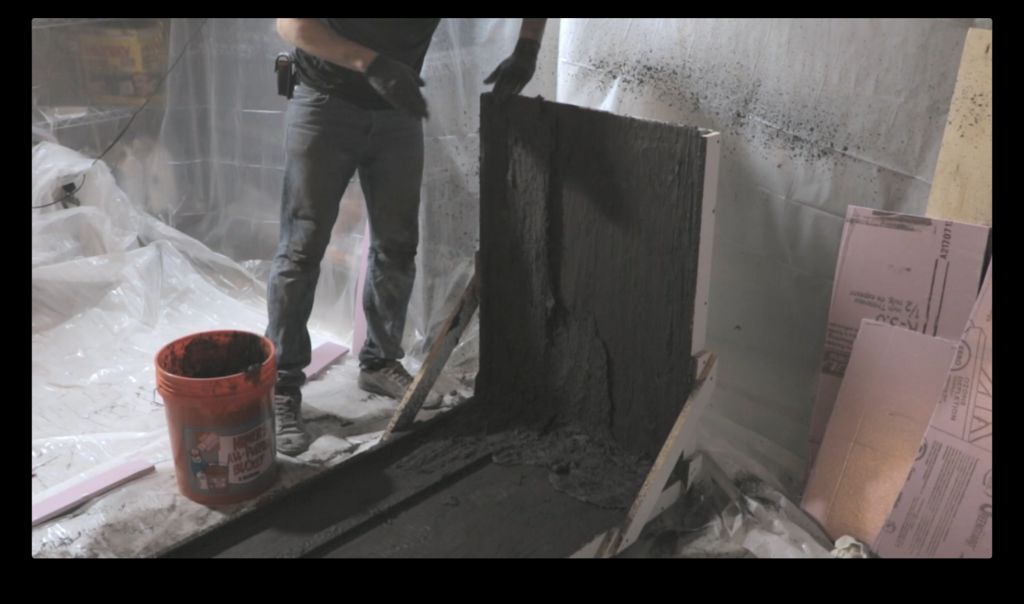
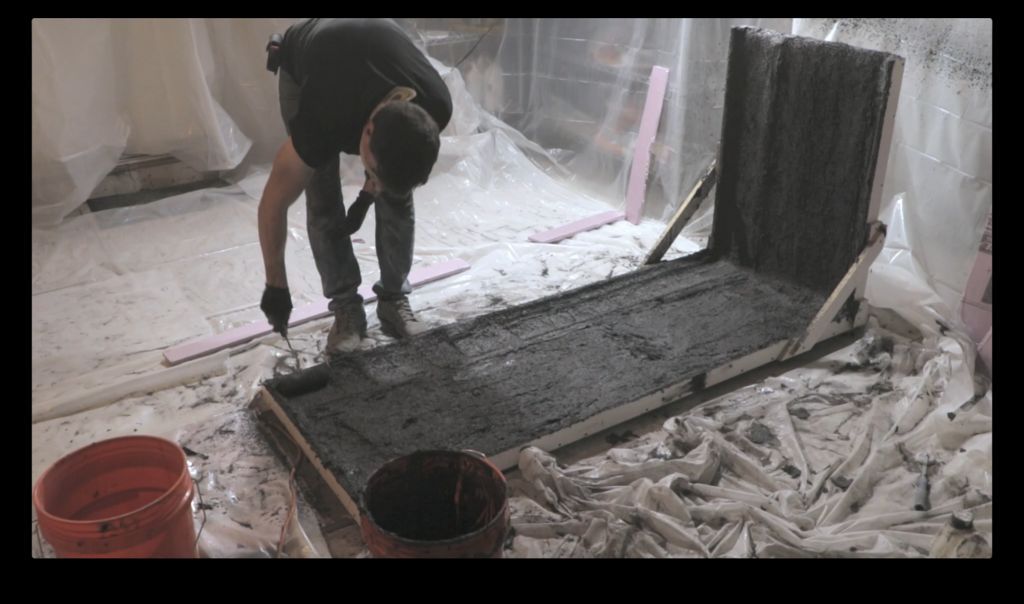
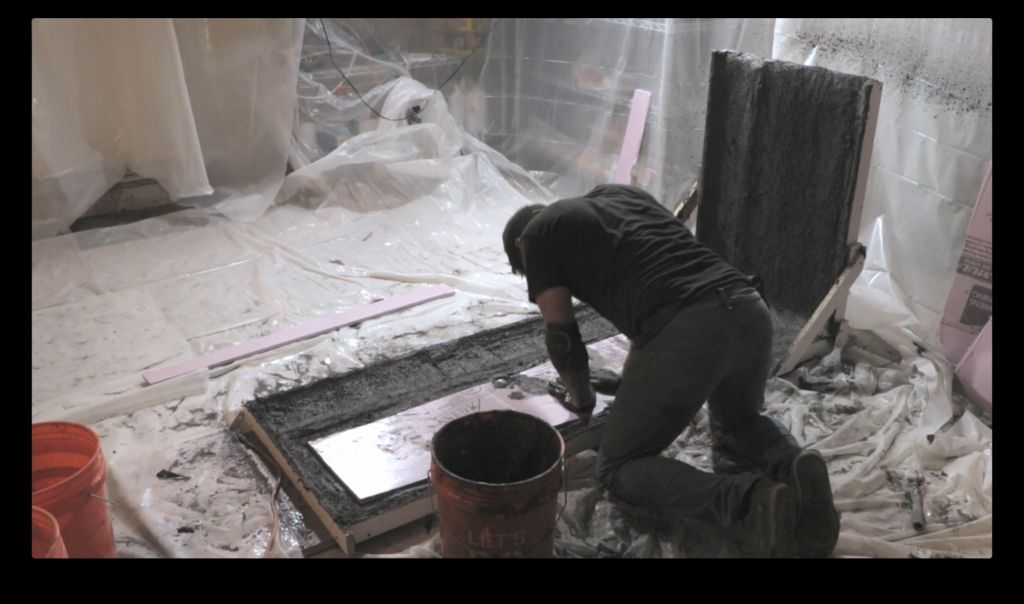
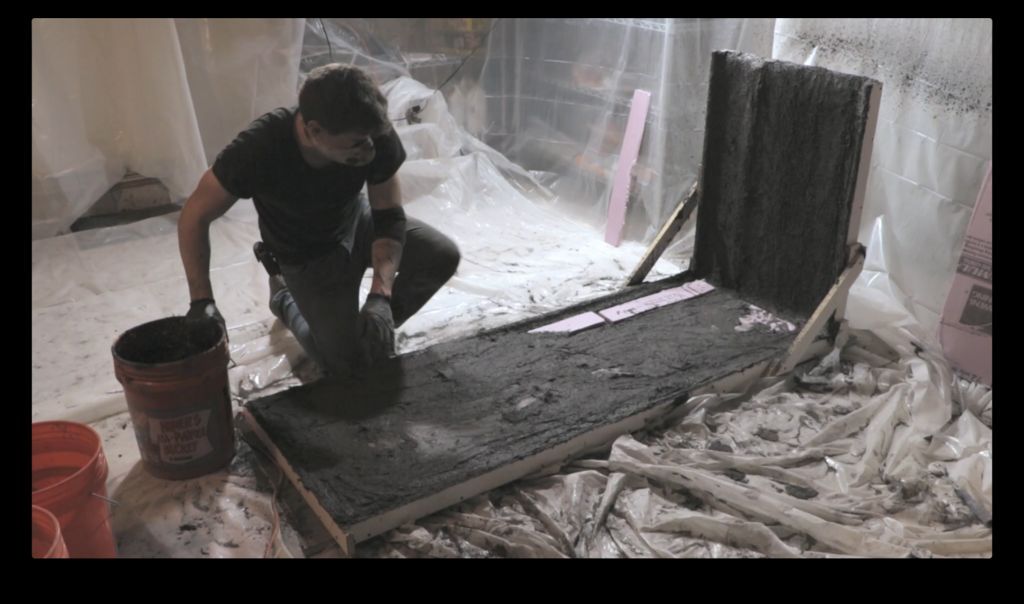
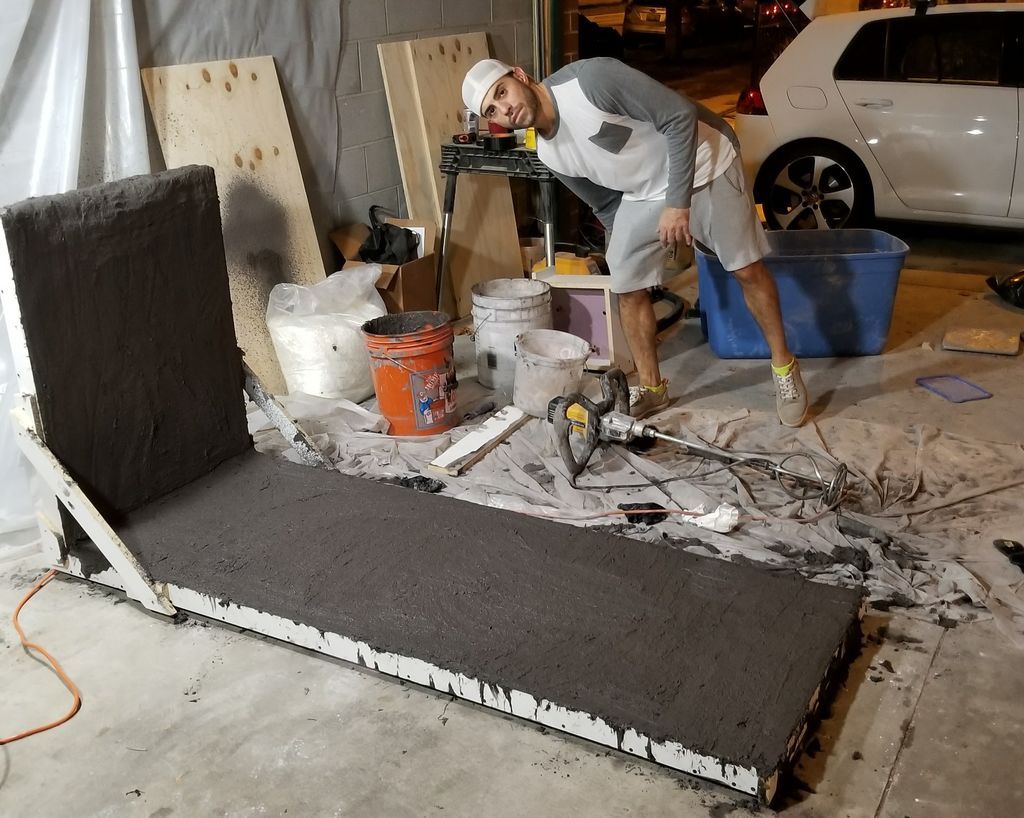
The timing of the back coat is important, so make sure your face coat has hardened enough (but not completely dry), before you start the back coat.back. This usually only takes 30-60 minutes,
You can wait until the face coat is ready to start mixing the back coat, as long as you have everything measured out in buckets (so mixing only takes a few minutes). The process is similar to mixing the face coat, except fiberglass is added at the end.
Please note that for this build, you need to be careful with the super laminator, don't use too much. You want a moist but playful consistency that allows you to pack the back layer against the waterfall's vertical face layer.
After packing the GFRC(GRC) to 3/4″(approx), place your 1/2″ foam inserts. Then cover the foam with another 3/8″ of GFRC (or a little more, better a little too much than too little).
Step 6: Grind the bottom of the shape
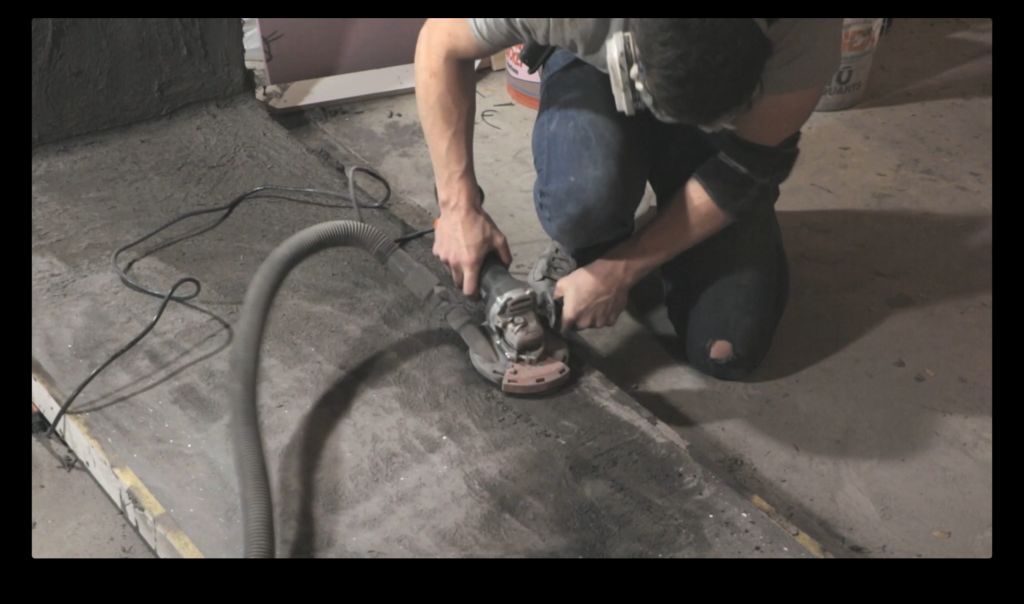
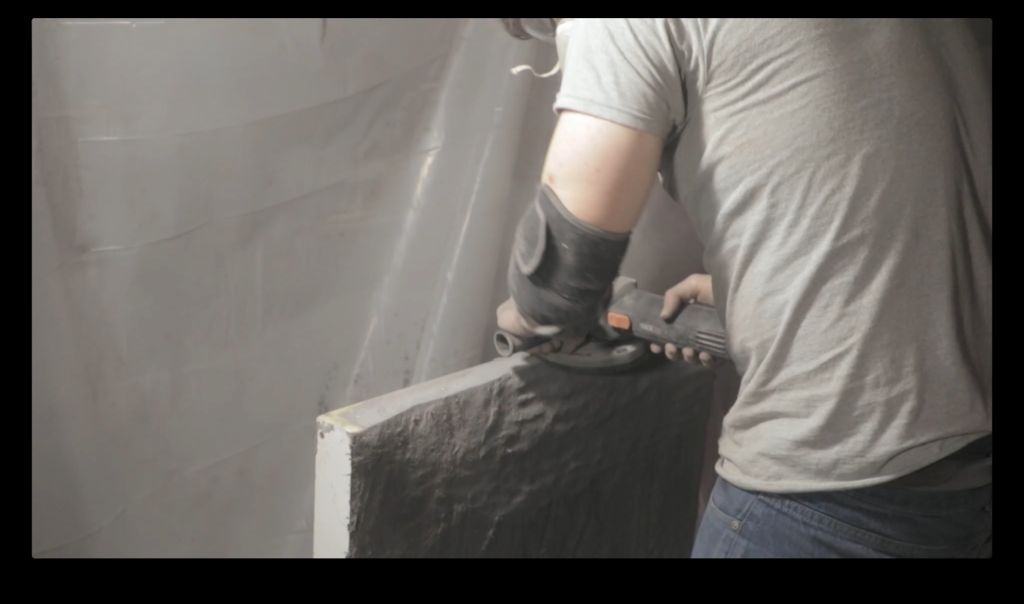
Let it sit for at least 24 hours (36 hours if below 70 degrees). Next, if your concrete has gone beyond the edges of the form, you will want to use an angle grinder with a diamond cup to polish the underside, before removing it from the form. It's important to do this before removing the top of the form, so you can use the sides of the form as a guide to grind the bottom evenly around.
When grinding, make sure the bottom of the countertop and waterfall do not protrude at all, which would prevent them from sitting flush against the cabinets.
Also, grind down the bottom side of the waterfall section (which is at the top when in the form, since it is upside down). See Facebook video.
Step 7: Remove the mold, sand, and seal
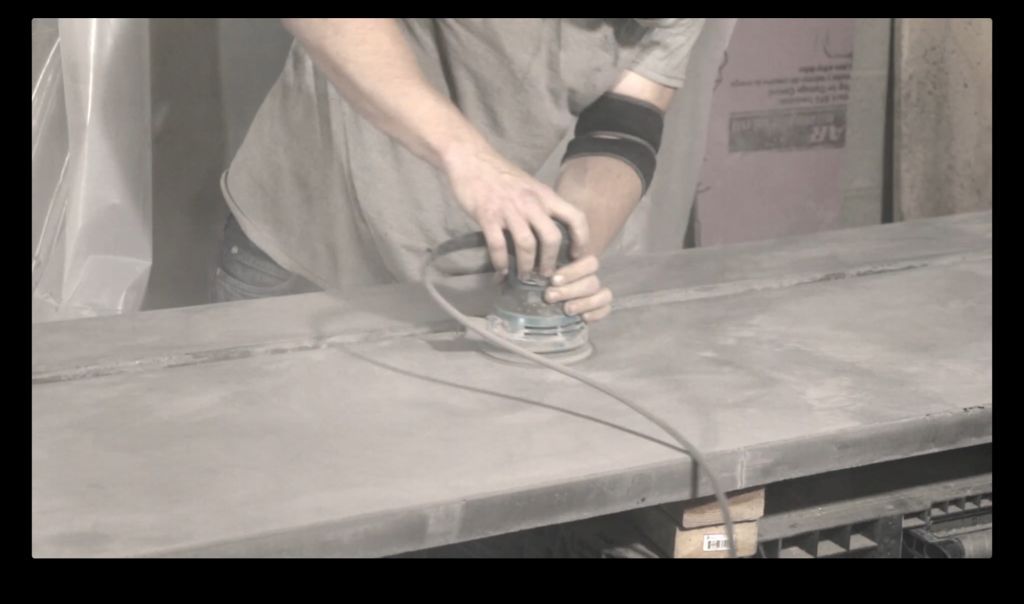
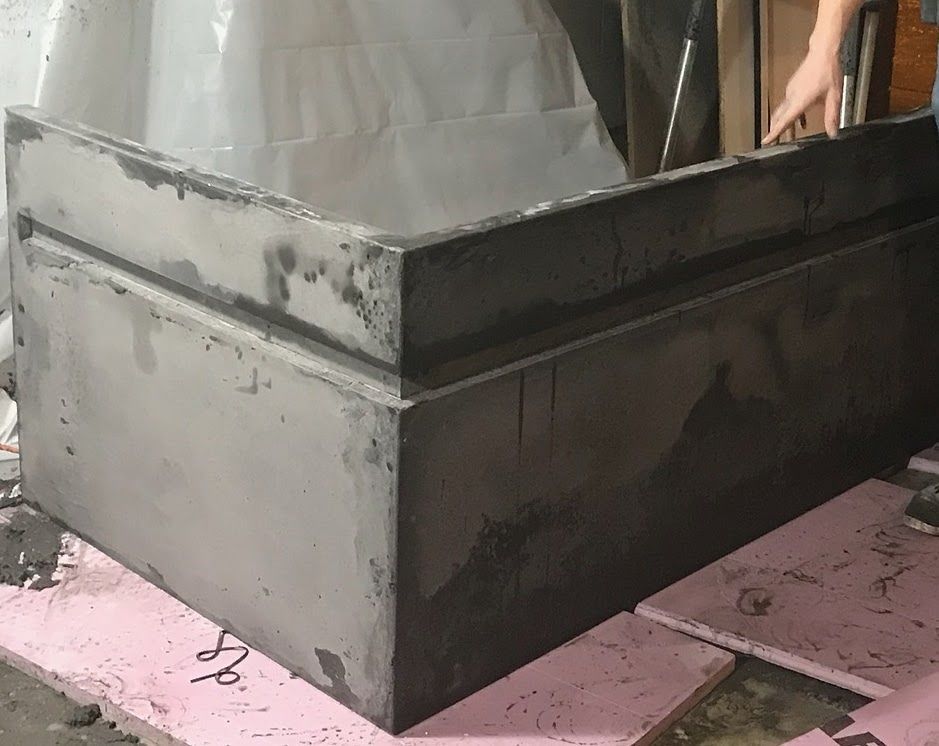
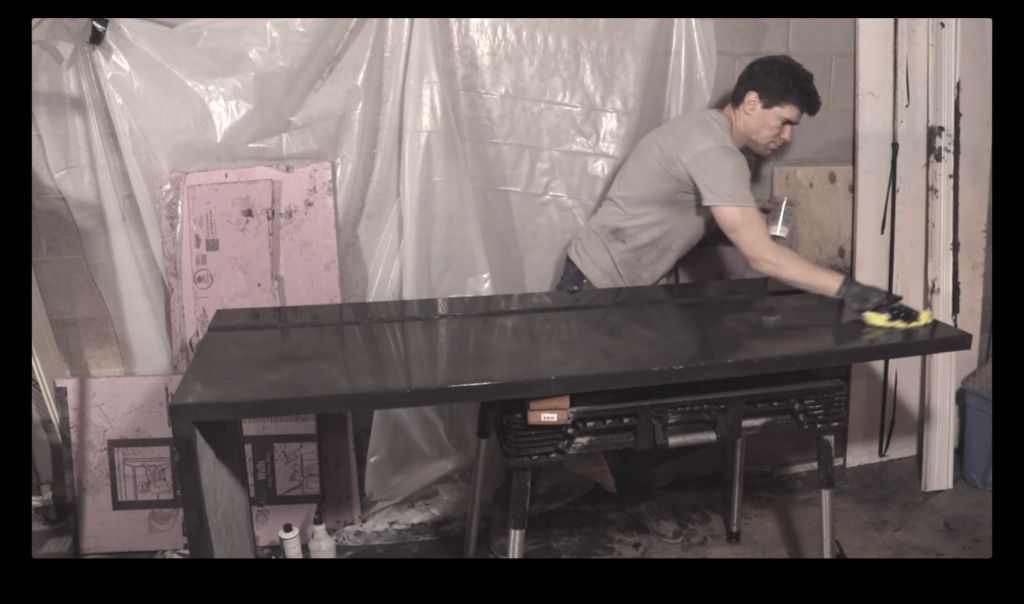
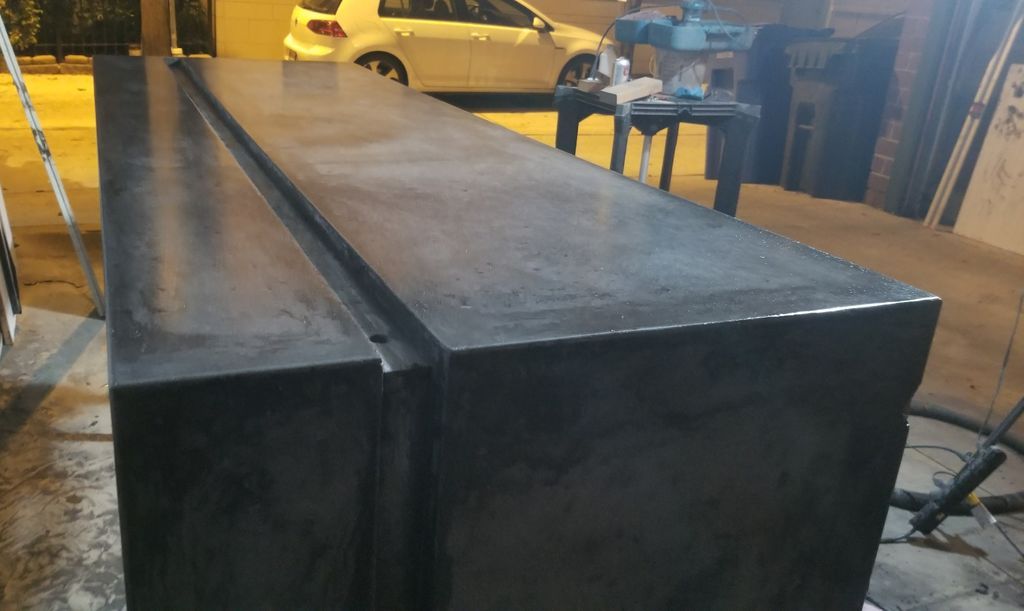
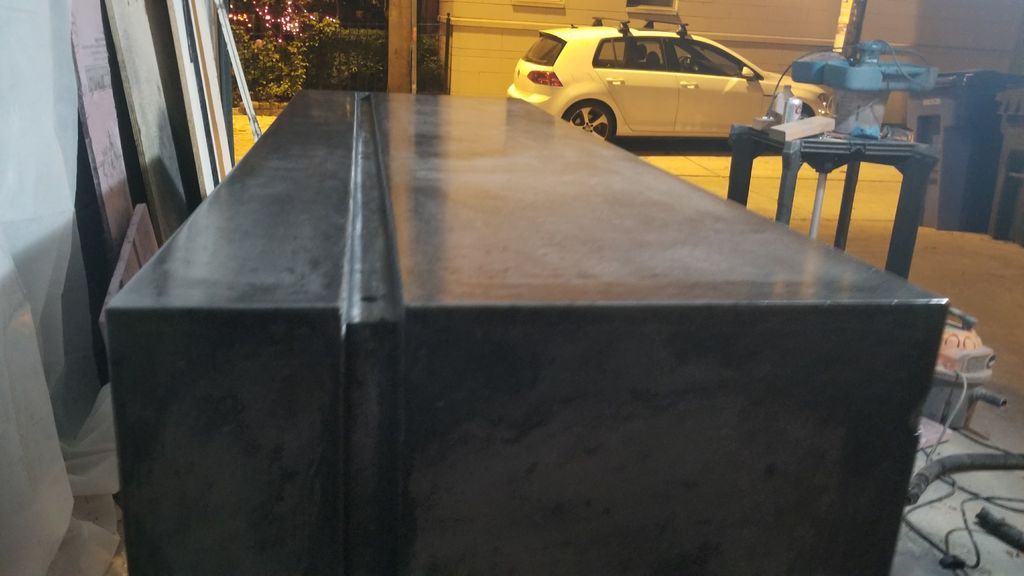
After polishing the bottom so that it is even with the edges of the form on all sides, it is time to undo the top of the table. Simply unscrew and separate from the form
If the side walls do not come off easily, use a rubber mallet to gently tap the sides of the form away from the concrete. If you turned the piece over before demolding, it should be fairly easy to remove the bottom part of the form (which is now on top). Then, given all the service, a quick wet sand, by hand, with 400 grit sandpaper. Just sand until it feels smooth a little. You will feel it when you have removed the texture of the melamine, which is all you need to do. Next, apply a concrete sealer of your choice. Simply follow the instructions that come with your sealant.
OPTIONAL: Before sealing, apply a coat of grout (or two) to fill any gaps and obtain a perfectly smooth surface, and then sand the coat(s) to obtain a hole-free surface.
Step 8: Install the countertop
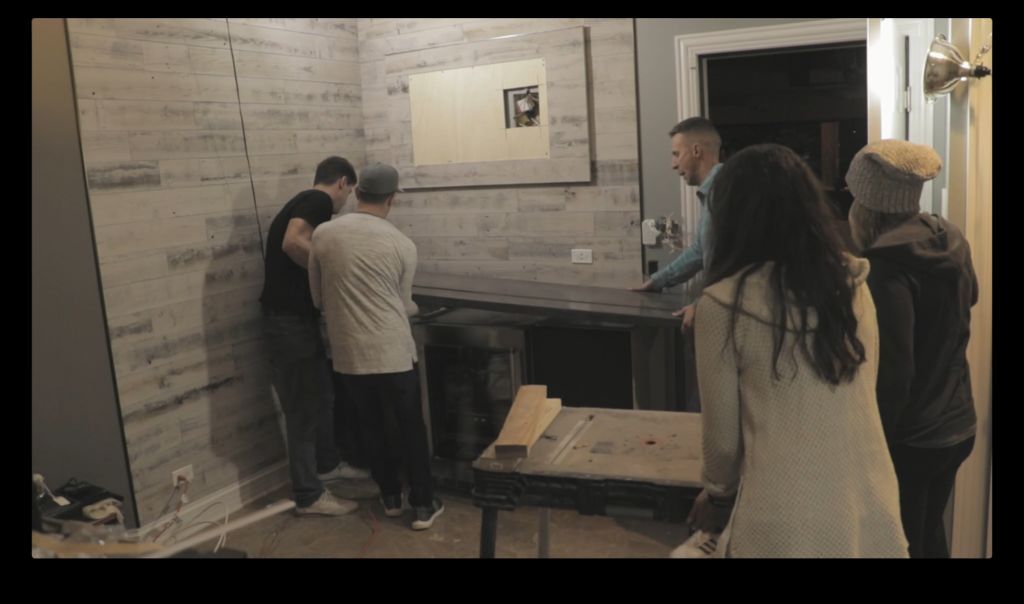
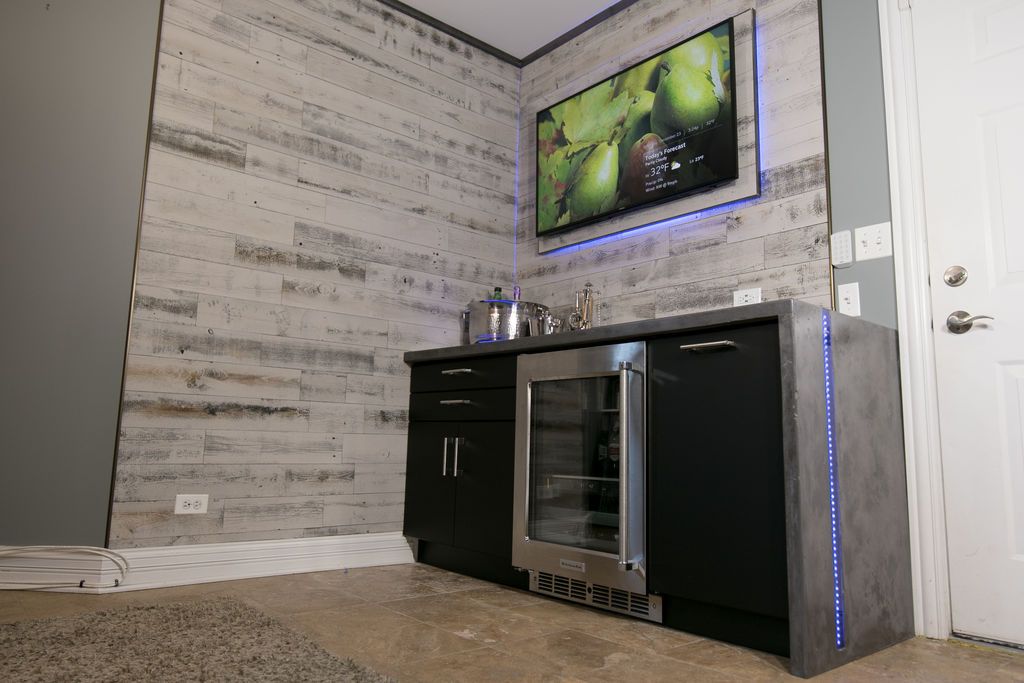
My countertop was approximately 275 lbs. So enlist the help of some friends to set it in place. The counter can rest on one end of the waterfall section, so it doesn't need as much support underneath as it would otherwise. However, additional reinforcement is not a bad idea. I installed a pair of these counter support clamps on the other end, securing them to the studs on the wall, rather than placing the counter directly on our Ikea cabinets.
Step 9: Cut the acrylic diffusers
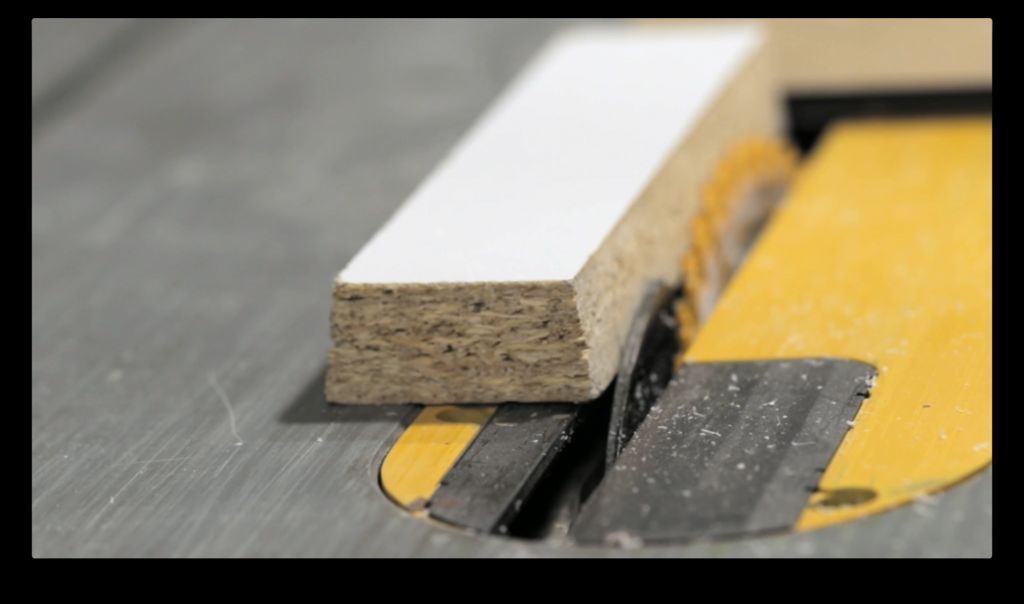
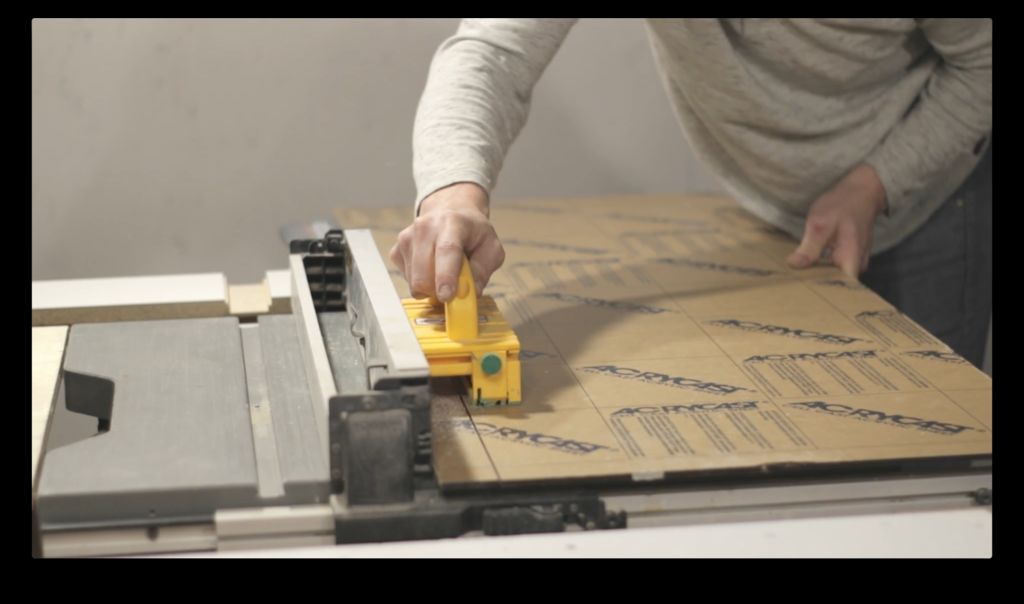
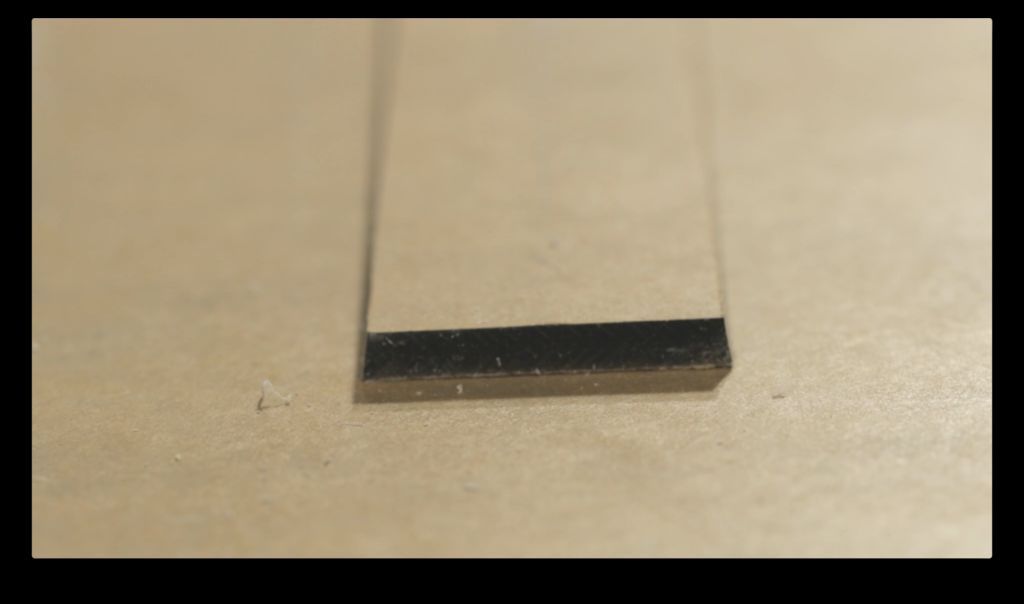
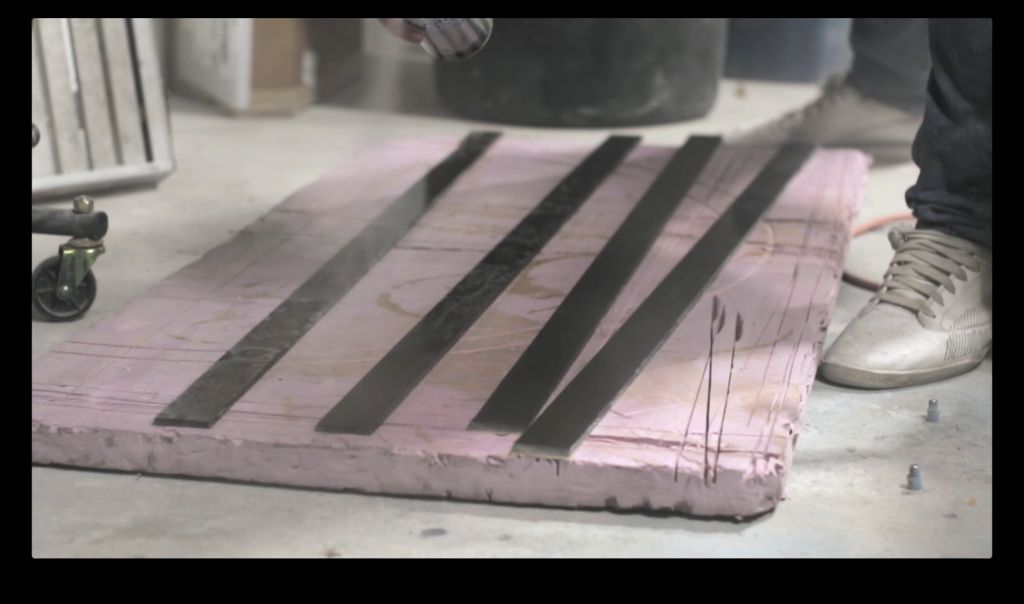
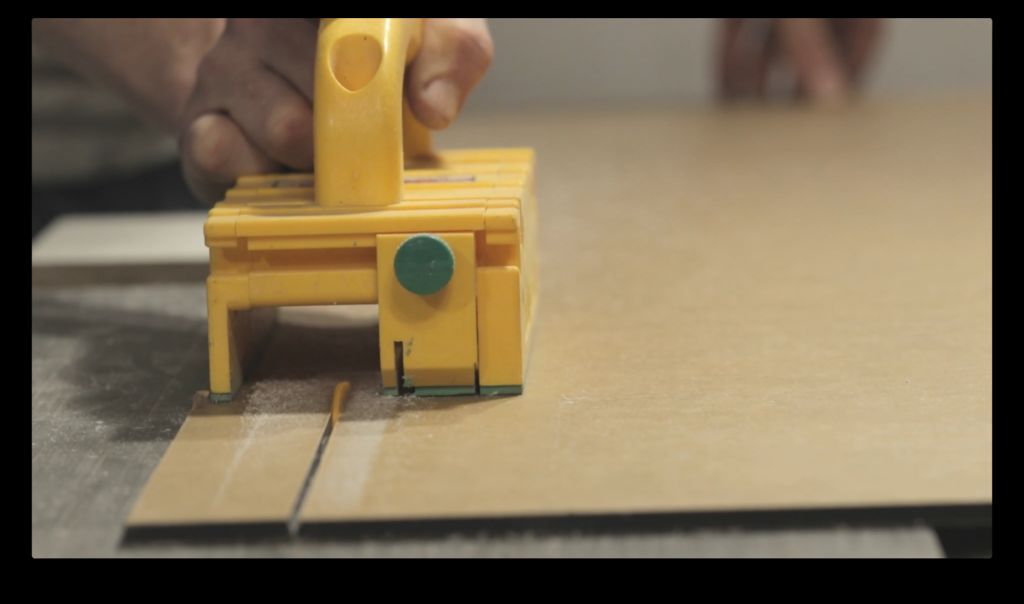
I used a sheet of smoke gray clear acrylic to make the diffuser strips and cut them on the table saw.
I took the part of the form I had used to make the LED channels, and reused it to make sure I set my table saw at exactly the same angle (15 degrees). This way, when I cut the acrylic diffuser strips, they have the exact same width and bevel angle as the channel in the countertop, and can sit flush against the top of the countertop without any other support from below.
Before installing the diffusers, I sprayed the bottom of them with frosted glass spray. This gives it a slightly more diffused look and, more importantly, makes it so you can't see the LEDs through the diffusers when the LEDs are off.
Step 10: Install LEDs and acrylic diffusers
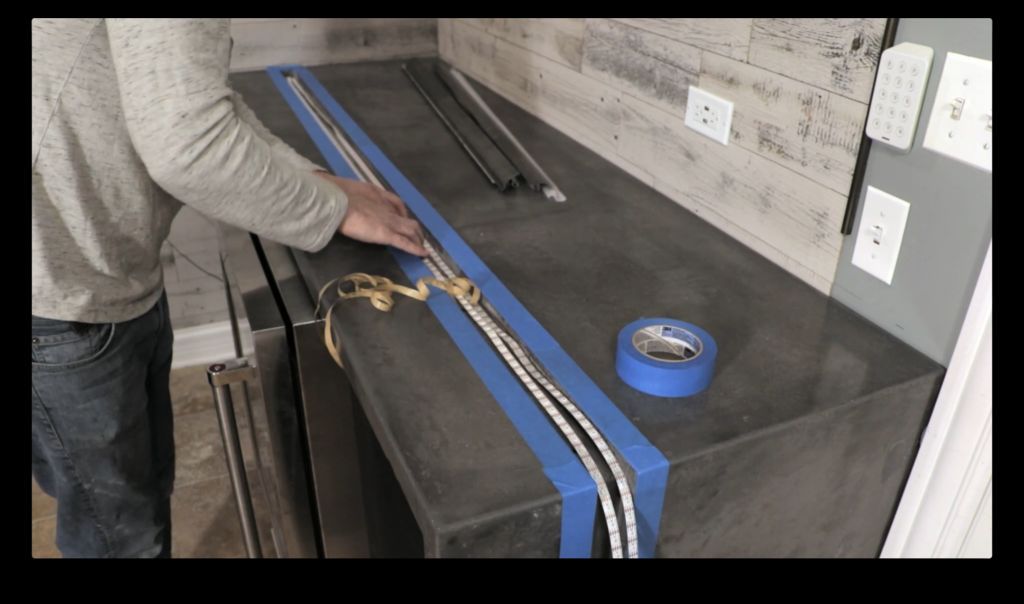
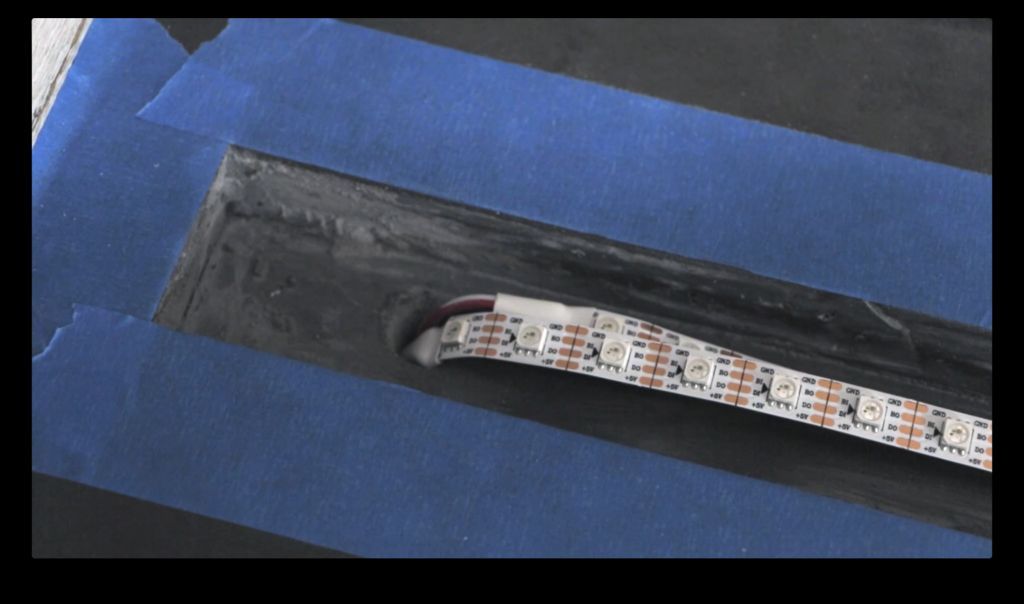
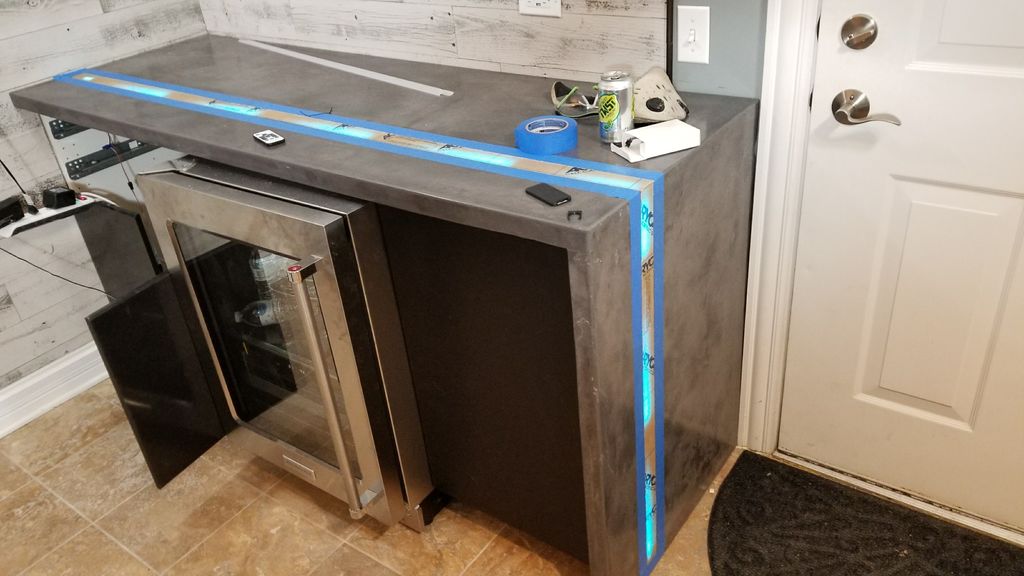
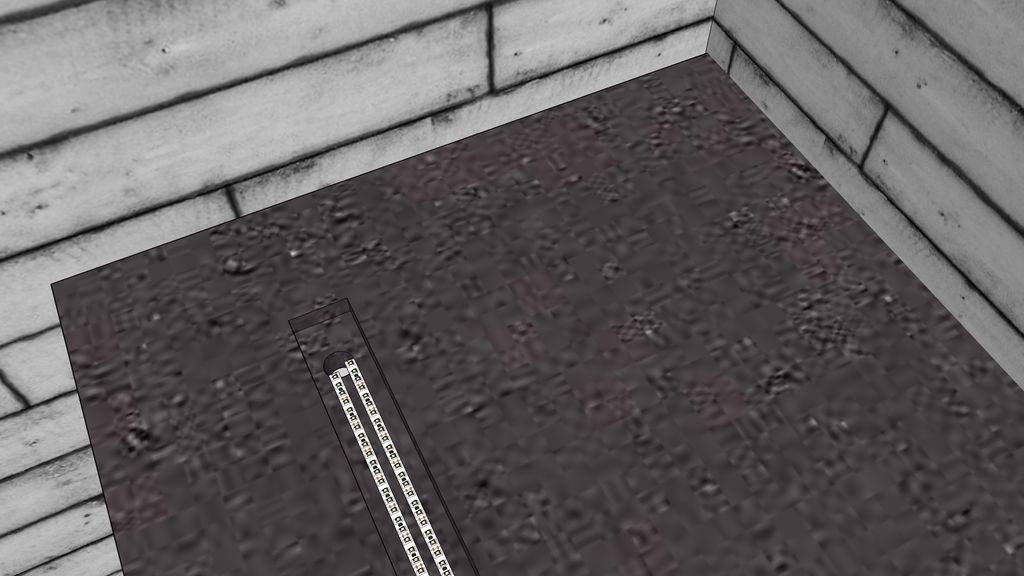
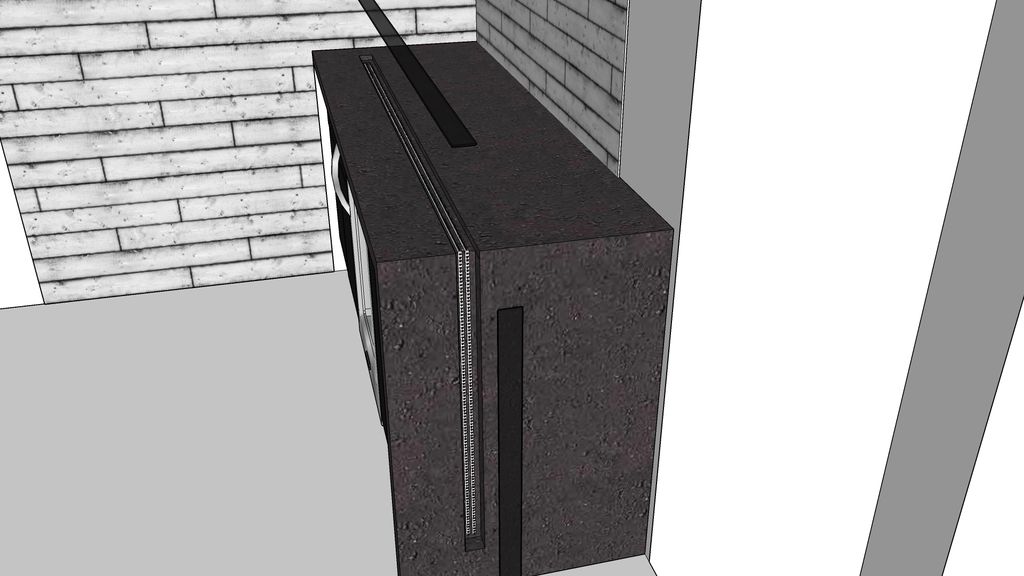
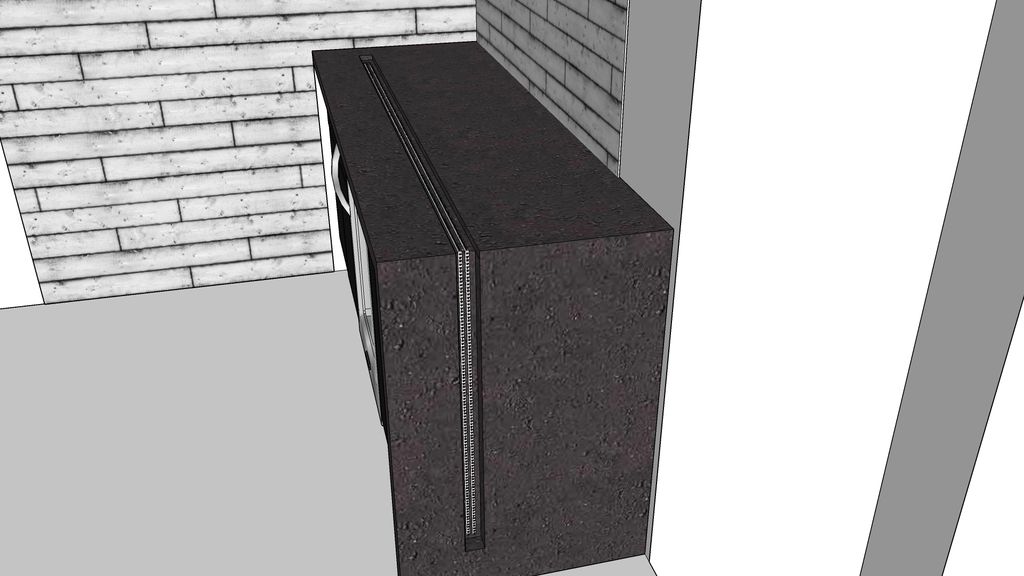
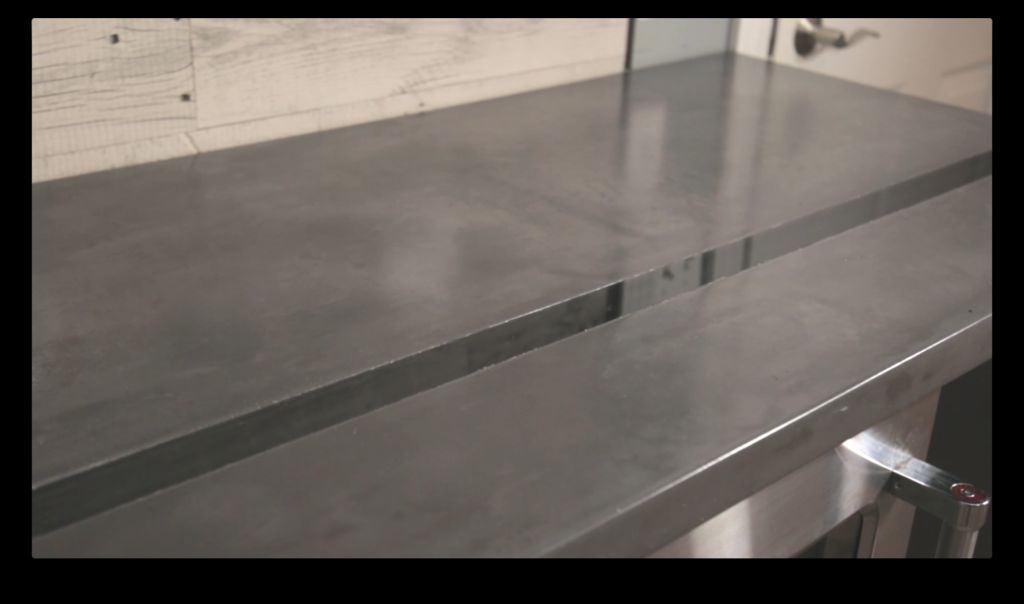 Make a hole in the bottom of the concrete channel to hide the cables of your LEDs by passing them through the hole. Use the tape on the back of the LEDs to stick them into the concrete channel and if they come loose, you can also use a clear silicone caulk to adhere them to the bottom of the channel in the concrete.
Then set up the acrylic diffusers on the channels. Optionally, you can place clear silicone caulk on the side walls of the concrete channels and press the acrylic diffuser strips into them, so the diffusers are secure. If you do this, I recommend using painter's tape to protect the top of the concrete from silicone leakage, and spending more for the WS2813 LEDs (you won't be able to access the strips easily, and the WS2813 strips have redundant data lines, so they continue to work if individual LEDs go out, while the older WS2812 strips will short out completely when one LED goes out).
For this build, I used a standard LED music sync controller. This store-bought controller includes an RF remote control, music sync, chase modes, and solid color modes.
To connect dual LED strips like I did, simply plug the JST connector into both LEDs to mate the JST connectors, and connect the same color wires from the matching JST connectors. Next, connect the output of your LED driver so that the signal from the driver goes to both LED strips in parallel. Then, connect the 5V power adapter to your LED driver and turn it on.
Step 11: Sit and watch the flashing lights
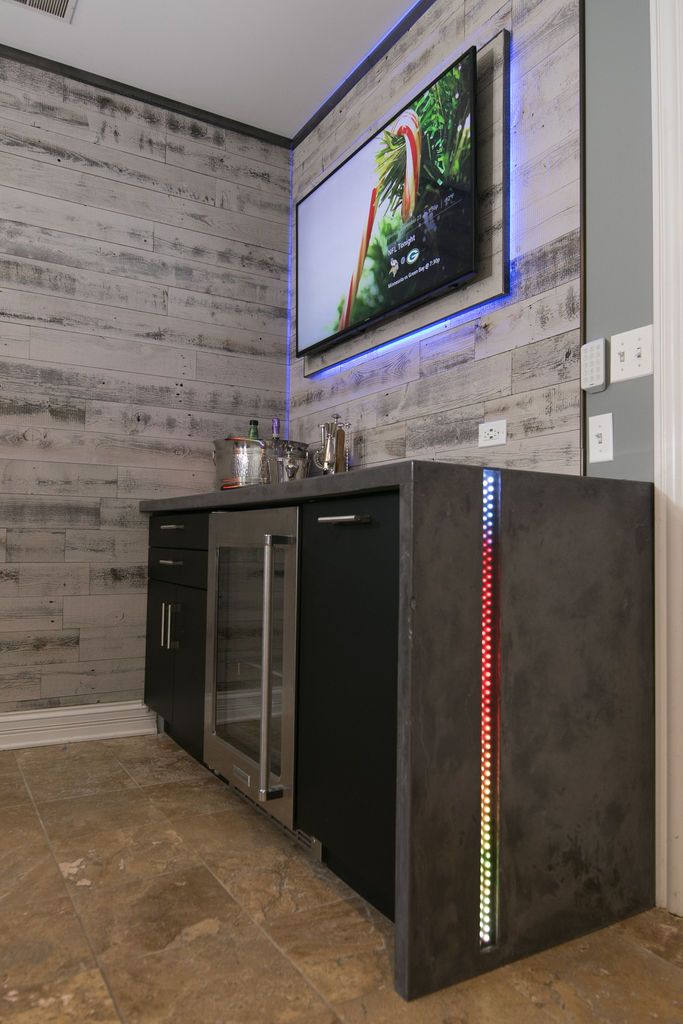

Thank you for your visit!
Get more information at perfectionidea.com and on our Facebook for more Waterfall Type Concrete Countertop with LED Light Installation.
- Tags
- Guide
Popular Content
How to make a rocket stove for outdoors
Cardboard Drawers Lined with Jeans
Ideas and Advantages of Window Grilles for the Home!
Latest Articles
How to make a refrigerator out of insulating material: Practical step-by-step guide
How to make a Kilim for the Home: Complete Step by Step Guide
How to protect ourselves from accidents in our workplace: Complete prevention and safety guide
Related Content
Ideas to Eliminate Unpleasant Odors Inside the Home!
Great Ideas for Small Balconies!
Corner Shelves That Help Save Space
Modern Slat Bench for your Shoes
Creative Home Decor Ideas to Transform Every Space
Refreshing your home starts with smart design choices that combine comfort, personality, and functionality. Whether you want to modernize a small apartment, upgrade outdoor areas, or create cozy rustic interiors, these trending ideas can completely change the atmosphere of your space.
Outdoor Spaces That Increase Style and Functionality
Outdoor living continues to dominate modern home trends. Homeowners are increasingly investing in practical entertainment zones inspired by these BBQ shed ideas, which create the perfect setup for gatherings and weekend cooking sessions.
First impressions also matter when designing exteriors. Elegant farm entrance gates design ideas help properties stand out while improving privacy and curb appeal.
Compact living solutions are also gaining popularity. These inspiring 16x40 shed house interior design ideas show how smaller spaces can still feel luxurious and functional.
To enhance patios and entryways, homeowners are adding stylish protection with these creative porch awning exterior DIY ideas that blend aesthetics with practicality.

Rustic and Cozy Interior Design Trends
Warm and natural interiors remain timeless. These charming rustic decor ideas combine wood textures, vintage accents, and earthy tones to create welcoming spaces.
Bedrooms are becoming more personalized with curated wall arrangements. Many homeowners use these stylish picture wall ideas for bedroom spaces to display memories and artwork creatively.
Textured wall treatments are another major trend. Installing a board and batten wall adds architectural character while keeping interiors elegant and modern.
Similarly, bold accent wall ideas can instantly transform plain rooms into eye-catching focal points without requiring a full renovation.
Smart Kitchen and Organization Inspiration
Functional kitchens are essential for modern homes. These practical kitchen wall cabinet ideas maximize storage while maintaining a clean and stylish appearance.
Organization also starts at the entrance. Well-designed mud room ideas help families keep shoes, coats, and daily essentials neatly arranged.
Colorful and Personalized Home Styling
Vibrant interiors are becoming increasingly popular thanks to playful dopamine decor ideas that use bright colors and joyful accessories to improve mood and energy.
Gallery walls also continue to evolve as a major decorative feature. These trendy gallery wall inspiration ideas offer creative ways to combine prints, photos, and statement art.
Young renters and new homeowners are especially embracing these stylish first apartment aesthetic ideas to create sophisticated interiors on a budget.
Finally, selecting the right shades can dramatically influence any room’s atmosphere. These modern trendy color ideas help homeowners choose palettes that feel fresh, elegant, and timeless.
Final Thoughts
From rustic charm and colorful interiors to outdoor entertaining areas and functional storage solutions, today’s home decor trends focus on creating spaces that feel both beautiful and livable. By combining smart layouts, modern textures, and personalized decorative elements, any home can become more stylish, comfortable, and inspiring.
Browse the Shop
 Acacia frida deluxe solid wood bed frame |
Bedroom bench |
Bed chest drawers |
Lingerie dresser |
Frame base |
Mirror with jewelry storage |
30 Bathroom Vanity |
Memory foam queen mattress |
Mattresses for back pain |
Nightstand set of 2 |
Grand Goldman Shop |
Civil Lawyer
Deutschland Trikot WM 2026
Acacia frida deluxe solid wood bed frame |
Bedroom bench |
Bed chest drawers |
Lingerie dresser |
Frame base |
Mirror with jewelry storage |
30 Bathroom Vanity |
Memory foam queen mattress |
Mattresses for back pain |
Nightstand set of 2 |
Grand Goldman Shop |
Civil Lawyer
Deutschland Trikot WM 2026







