A charging station for tablets and mobile phones is undoubtedly one of the best ideas you can do to keep everything organized, if you are a person who loves Nintendo DS, tablets, among other things, this wooden station is perfect for you.
How to build a charging station for tablets and mobiles

Find Original Home Decor sparking conversation at Grand Goldman Shop.

The goal is to keep them off the floor making mom and dad happy, while the kids always have a charged device easy to find. I designed this in such a way that it could be done with typical tools someone might have at home.
Materials:
- 3/4 wood or plywood
- Circular saw or table saw
- Drill with a bit that matches its screws
- Screws (1 1/4″)
- Squads
- Tape measure
- Pencil
- 11/16″ paddle bit or something close (should be larger than the end of a USB cable)
- A 1 1/4 paddle bit (should be larger than the socket end of your power strip)
- As you also need another sink bit (#10)
- Socket cutter (3/8″)
- Lid hinges (optional)
- Sandpaper (150 and 220 grit)
- Extra nice to have (Optional)
- Router with chamfer bit or 1/8″ bullnose bit (makes it look nice with clean edges)
- Clamps
- Finishing (optional)
- Sandpaper (400 grit)
- Top coat of choice (e.g. stain color of choice, polyurethane or paint color of choice)
Step 1: Select your material and start cutting

Choose the material that suits you best. For mine, I chose to go with cherry wood since I had a bit of a break and I wanted the finished product to look good. You can use any wood (pine, oak, walnut, etc.) or grab a sheet of plywood from the lumber yard. If using this type of wood, I would suggest grade paint. Whatever you choose, you will need a thickness of 3/4″.
Once you have decided on your stock, you will need to cut the following pieces
- 3 10 3/8″ x 18″ Boards – Bottom and both backs
- 2 Sides 10 1/2" x 11 1/4" –
- Measure 5 3/8″ from the edge on the 10 1/2″ side. Using a square, draw a 45 degree angle and cut the remaining 5″
- 1 Lid 19 3/16″ x 4 3/4″
- 7 Dividers 5 1/2″ x 8 3/4″
Same as the sides, except this time measure 2 1/4″ from the 5 1/2″ side and mitigate the remaining 2 1/4″
Recommendation: It would be a good time to sand before assembly. Give them one more time with 150 and then go to 220 grains
Step 2: Measuring all your guidelines


Now that all your pieces are cut, measure 4 1/8″ and 4 7/8″ from the back of the bottom piece and 2 side pieces. I suggest doing this on the inside and outside of the side pieces. These lines will be used to guide your assembly and where to place your pilot holes for the screws.
Tip: Make very light pencil lines in areas where you may have trouble sanding later.
Also measure the space for your dividers, mark it on the back and bottom pieces. For the length of this box, I went with 1 1/2″ spaces for the tablets and 1 7/8″ for the DS giving 3/4″ space for the dividers.
On the back of the back and the bottom of the bottom, measure the same 1 1/2″ space, but this time draw vertical lines from top to bottom. This will make it much easier to drill the pilot holes to secure the screws. Don't miss the dividers.
Note: If you are using a Router, go ahead and route the two side pieces, the front of the bottom piece, and the dividers. Be sure to stop on your inside line on the sides. If you don't have a router, you can take some sandpaper and go over the edges to round them slightly.
Step 3: Assemble the sides at the bottom

When assembling the sides at the bottom, you will notice that the bottom is 1/8″ shorter than the side. This is to account for the beveled edge I cut with my Router. Place the back of the side piece flush with the back of the bottom piece. If you have clamps, use them to hold your 3 pieces together while you drill.
Using the sink bit, drill a hole between 4 1/8″ and 4 7/8″ and screw side down. Then do the same on both ends securing the pieces together. Do this on both sides.
Tip: Run the counter bit part out at least 1/8″. This will give you enough room to glue a plug in and sand it flush.
Step 4: Assemble the middle vertical piece


Likewise, as in Step 3, we are going to screw the center piece to the sides. Place the middle piece between the 4 1/8″ and 4 7/8″ guidelines and only install the top screw. This will allow the bottom to move freely, ensuring we have a solid fit when installing the dividers.
Also look at the depth of the counter sink holes.
Step 5: Assemble the dividers


Drill holes to attach the dividers from the back of the center piece and the bottom between the guidelines you drew earlier. Place the dividers between each 3/4″ guide and screw them together.
After all the dividers are installed, go ahead and install the second screw on the side that secures the bottom of the center piece.
Step 6: Drill holes for the cables


Taking the 11/16 paddle bit, drill the holes for the cables centered above any other splitters. Then take the 1 1/4″ drill bit and drill the hole for the power cord somewhere inside the chamber designed to hide your cables. Take a small piece of sandpaper to clean the edges of your holes.
Tip: Popsicle pieces like to tear off or chip badly on the back. Drill slowly and hold a small piece of scrap wood over your back when the bit is about to come out. This will help minimize that tear.
Step 7: Attach the back

Next Install the final back piece flush on the back side. Use the sink bit to pre-drill the holes as before.
Step 8: Make the lid


If you have a table saw, you can use the method I have shown (be careful) to make the cover. If not, you can install a couple of cheap hinges from the hardware store and be done with this step.
Taking the 19 3/16″ x 4 3/4″ piece, set the table saw fence to 3/4″, including the saw blade. Set the blade height to 1/4″ and cut a grille on the back as shown in the picture making a cut on all 4 sides. Raise the saw blade less than 3/4″ and adjust the fence to aapproximately 1/2″ or 3/4″ less the depth of cut you made. Run the lid vertically along all four sides trimming the edge of the grid you just cut.
If you are using a Router, route the top of the lid.
Step 9: Make the plugs


Take some of the scrap wood you've used and drill down with the plug cutter and cut out some plugs. As you can see in my photo, my plug cutters are cheap and quite dull, which causes them to burn the wood a lot. If you used oak, you can buy oak plugs fairly cheap at craft stores.
Place a couple drops of glue in the holes you cut and place the plugs over your screws. Then take sandpaper and sand the plug flush with the workpiece.
I was quite disappointed with how mine turned out due to the burning which created a black circle. Also note the grain direction (it wasn't).
Step 10: Applying the desired finish

Finally, do a final sanding, making sure to remove any burrs or rough spots, including visible pencil lines, unless you are painting. Since I used cherry which has a nice natural color, I simply used polyurethane to coat mine. Apply a thin coat of polyurethane and once dry, take 400 grit sandpaper and very lightly sand your project. Repeat this 3 times and you will have a nice smooth finish. Whatever you use, I would suggest spraying it as getting a brush on the dividers would be quite difficult.
Step 11: Connecting the charging station for tablets and mobiles


Drop your power strip. I chose one that has USB ports and 110v outlets. This avoids having to fight with a bunch of plugs inside the box. Route the USB cables through the holes, plug it all in, and enjoy! Without a doubt, this charging station for tablets and mobile phones is very important to keep everything in order.
Don't forget to follow us on our social networks.
Popular Content
How to make a rocket stove for outdoors
Cardboard Drawers Lined with Jeans
Ideas and Advantages of Window Grilles for the Home!
Latest Articles
How to make a refrigerator out of insulating material: Practical step-by-step guide
How to make a Kilim for the Home: Complete Step by Step Guide
How to protect ourselves from accidents in our workplace: Complete prevention and safety guide
Related Content
Know How to Build this Great 16 Drawer Sideboard!
Tips when Decorating Children's Rooms!
Build Vinyl Frames to Decorate your Wall
Guide to Building Bookshelves for Tilt Storage Rooms!
Creative Home Decor Ideas to Transform Every Space
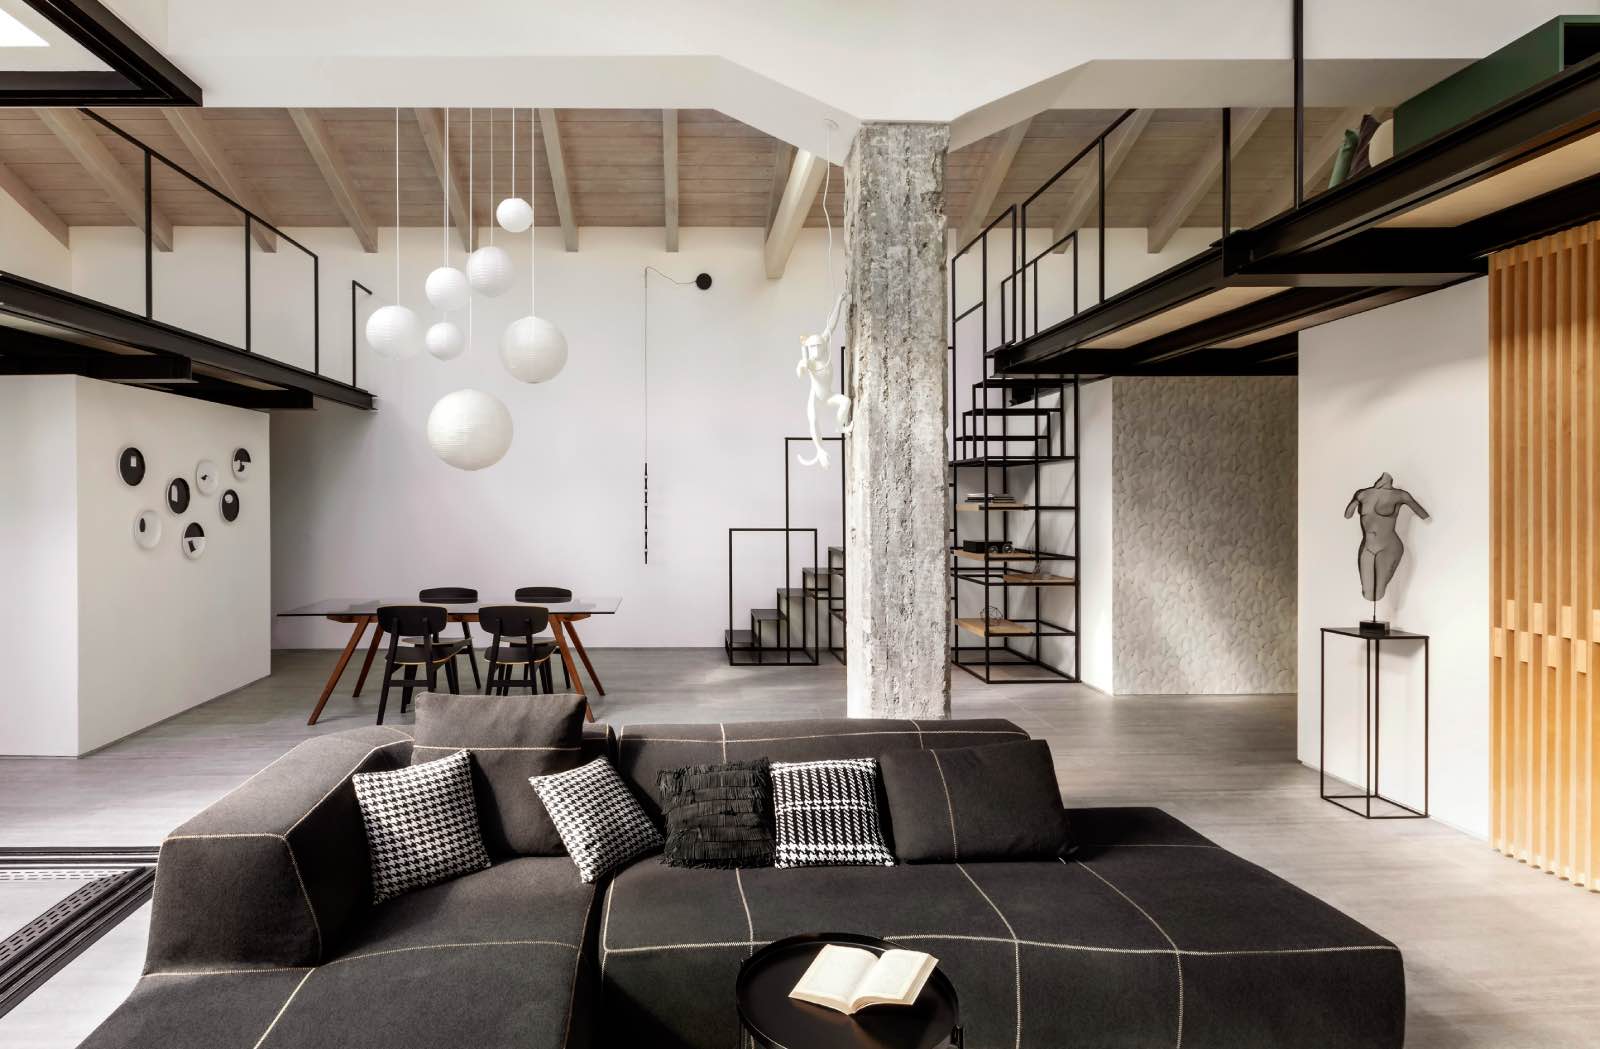
Refreshing your home starts with smart design choices that combine comfort, personality, and functionality. Whether you want to modernize a small apartment, upgrade outdoor areas, or create cozy rustic interiors, these trending ideas can completely change the atmosphere of your space.
Outdoor Spaces That Increase Style and Functionality
Outdoor living continues to dominate modern home trends. Homeowners are increasingly investing in practical entertainment zones inspired by these BBQ shed ideas, which create the perfect setup for gatherings and weekend cooking sessions.
First impressions also matter when designing exteriors. Elegant farm entrance gates design ideas help properties stand out while improving privacy and curb appeal.
Compact living solutions are also gaining popularity. These inspiring 16x40 shed house interior design ideas show how smaller spaces can still feel luxurious and functional.
To enhance patios and entryways, homeowners are adding stylish protection with these creative porch awning exterior DIY ideas that blend aesthetics with practicality.
Rustic and Cozy Interior Design Trends
Warm and natural interiors remain timeless. These charming rustic decor ideas combine wood textures, vintage accents, and earthy tones to create welcoming spaces.
Bedrooms are becoming more personalized with curated wall arrangements. Many homeowners use these stylish picture wall ideas for bedroom spaces to display memories and artwork creatively.
Textured wall treatments are another major trend. Installing a board and batten wall adds architectural character while keeping interiors elegant and modern.
Similarly, bold accent wall ideas can instantly transform plain rooms into eye-catching focal points without requiring a full renovation.
Smart Kitchen and Organization Inspiration
Functional kitchens are essential for modern homes. These practical kitchen wall cabinet ideas maximize storage while maintaining a clean and stylish appearance.
Organization also starts at the entrance. Well-designed mud room ideas help families keep shoes, coats, and daily essentials neatly arranged.
Colorful and Personalized Home Styling
Vibrant interiors are becoming increasingly popular thanks to playful dopamine decor ideas that use bright colors and joyful accessories to improve mood and energy.
Gallery walls also continue to evolve as a major decorative feature. These trendy gallery wall inspiration ideas offer creative ways to combine prints, photos, and statement art.
Young renters and new homeowners are especially embracing these stylish first apartment aesthetic ideas to create sophisticated interiors on a budget.
Finally, selecting the right shades can dramatically influence any room’s atmosphere. These modern trendy color ideas help homeowners choose palettes that feel fresh, elegant, and timeless.
Final Thoughts
From rustic charm and colorful interiors to outdoor entertaining areas and functional storage solutions, today’s home decor trends focus on creating spaces that feel both beautiful and livable. By combining smart layouts, modern textures, and personalized decorative elements, any home can become more stylish, comfortable, and inspiring.
Browse the Shop
 Acacia frida deluxe solid wood bed frame |
Bedroom bench |
Bed chest drawers |
Lingerie dresser |
Frame base |
Mirror with jewelry storage |
30 Bathroom Vanity |
Memory foam queen mattress |
Mattresses for back pain |
Nightstand set of 2 |
Grand Goldman Shop |
Civil Lawyer
Deutschland Trikot WM 2026