Simple furniture that you can make to store firewood, learn how to make a concrete organizer to store firewood cleanly next to the fireplace. This concrete and wood design is very clean, minimalist and modern. The entire project doesn't take long and can be done on a small budget.

Find Original, High-end Home Decor that spark conversation at Grand Goldman Shop.
Necessary tools
- Miter Saw – I would like to recommend a 12 inch sliding miter saw
- Circular saw
- Drill – I use Yobi R exercises.
- Clamps – Clamps are useful for any project.
- Kreg Jig
- Squads
- Orbital Sander – Ryobi is a good option.
- Tape measure, ruler, pencil.
Necessary Supplies
- Melamine for Shape
- 2.5 Bags of Quikrete Mix – Quikrete 5000 – $5 per bag (Mortar Bags)
- 5 Minute Epoxy by Gorilla Glue
- Construction Grade Adhesive
- Concrete sealer
- Sandpaper
- 1 ¼ « Kreg Screws 1 ½ » Wood Screws
Cut the wood
We will begin this project by marking and making cuts in the melamine sheet for the concrete shape. The melamine form has two parts, an outer box and an inner box which we will refer to throughout these plans. Marking and cutting with a circular saw or table saw is recommended.

Assemble the external box
We will assemble the melamine boxes with screws, making sure to pre-drill the pilot holes for the screws. Align the outer box pieces and start pre-drilling and screwing it together. Make sure everything is level and level with the form.
Assemble the internal box
The inner box will be screwed together with pocket holes made on a Kreg jig. Please refer to the video for more information on how to screw and assemble the inner box. Set your Kreg Jig and Bit to the ¾" setting and the box will go along with the 1 ¼" Kreg screws. Again, make sure everything is level and flush.
Connect the boxes together
Once you have built both the inner and outer melamine boxes, we will need to screw them together to make the melamine ready for the concrete! Now would be a good time to spray everything with 100% alcohol and clean it well, before pouring the cement.
Mark and measure 1 ½" from either side of the outer box and place the inner box inside, screwing it down. in place (be sure to flush the inner box to the top of the outer box to leave space underneath for the cement to flow in).
Our gap for the concrete should be 1 ½" all the way and at the bottom.
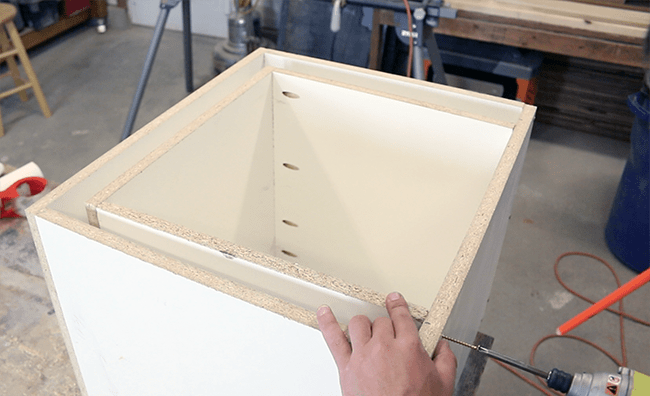
Mix the cement and pour into the form
Once your form is completely built and attached, we will mix the cement that will be poured into the melamine form. I used Quikrete’s Countertop Mix(Mortar Bags) for this project. Countertop Mix is about $25 per bag and 5000 Mix is about $5 per bag. This project takes 2 ½ bags. Mix your cement until it reaches a good consistency, add more water or cement mix if necessary, and then begin filling the melamine form.

Pack the cement into the form and reinforce
We want to make sure that the cement mixture fills any and all voids in the form, so fill it in the form with a piece of wood or something similar. Once it has been packed and vibrated, we can add rebar. Scrape, level and plan the top and make sure the form is completely filled with the cement mixture.

Let the concrete dry, then remove the form
Allow the cement mixture to harden and set into the concrete for the time recommended by the product manufacturer. Once it has driedado completely, we can eliminate the melamine form. Unscrew everything and carefully remove the parts. Now let's move on to some light carpentry for the removable shelf/shelf.
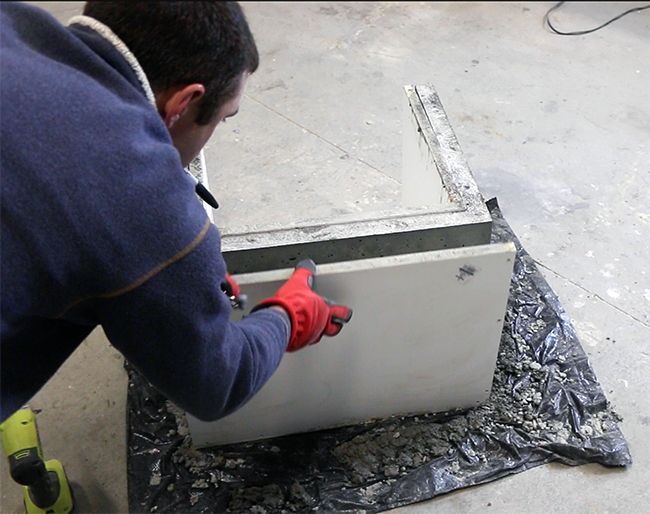
Cut and assemble the wooden lid
Now we are ready to make the top wooden platform/shelf for the top of the concrete organizer stand. Cut your pieces to size and then prepare to assemble. Turn the top of the wood upside down, grab your Jackclamps, line everything up at once, and hold it in place. Next, glue and screw the bottom brackets, pre-drill all the holes and be careful not to pre-drill the top shelf.

Sand and finish the concrete
Now we will want to sand the entire concrete shape, smoothing out the edges, smoothing all surfaces and preparing them for the sealer. Grab your orbital sander, 220 grit sandpaper and get to work! Take your time to make sure you sand all surfaces, progressing to finer grit sandpaper. If necessary, you can fill the gaps and empty spaces with a mortar mixture. Then finish your concrete with a sealer, covering it two to three times.

Put your lower feet together and enjoy!
Next we'll use Gorilla Glue's 5-minute epoxy and some construction adhesive to attach the bottom wooden feet. Add the epoxy adhesive and, place the feet in place about 1″ on each side and then tighten. Once dry, do the same with the other two feet. Let everything dry and you're done! Enjoy your work.


Project video:
Thank you for visiting perfect ideas 😉
Get more information at perfectionidea.com and on our Facebook for more Simple furniture that you can make to store firewood.
Popular Content
How to make a rocket stove for outdoors
Cardboard Drawers Lined with Jeans
Ideas and Advantages of Window Grilles for the Home!
Latest Articles
How to make a refrigerator out of insulating material: Practical step-by-step guide
How to make a Kilim for the Home: Complete Step by Step Guide
How to protect ourselves from accidents in our workplace: Complete prevention and safety guide
Related Content
Learn how to install your own wall with drywall!
Excellent trick to protect your bricks from salt and fungi!
12 Incrediblesflower pot ideas that you can integrate into your home
Look at the following roof designs for your home
Creative Home Decor Ideas to Transform Every Space
Refreshing your home starts with smart design choices that combine comfort, personality, and functionality. Whether you want to modernize a small apartment, upgrade outdoor areas, or create cozy rustic interiors, these trending ideas can completely change the atmosphere of your space.
Outdoor Spaces That Increase Style and Functionality
Outdoor living continues to dominate modern home trends. Homeowners are increasingly investing in practical entertainment zones inspired by these BBQ shed ideas, which create the perfect setup for gatherings and weekend cooking sessions.
First impressions also matter when designing exteriors. Elegant farm entrance gates design ideas help properties stand out while improving privacy and curb appeal.
Compact living solutions are also gaining popularity. These inspiring 16x40 shed house interior design ideas show how smaller spaces can still feel luxurious and functional.
To enhance patios and entryways, homeowners are adding stylish protection with these creative porch awning exterior DIY ideas that blend aesthetics with practicality.
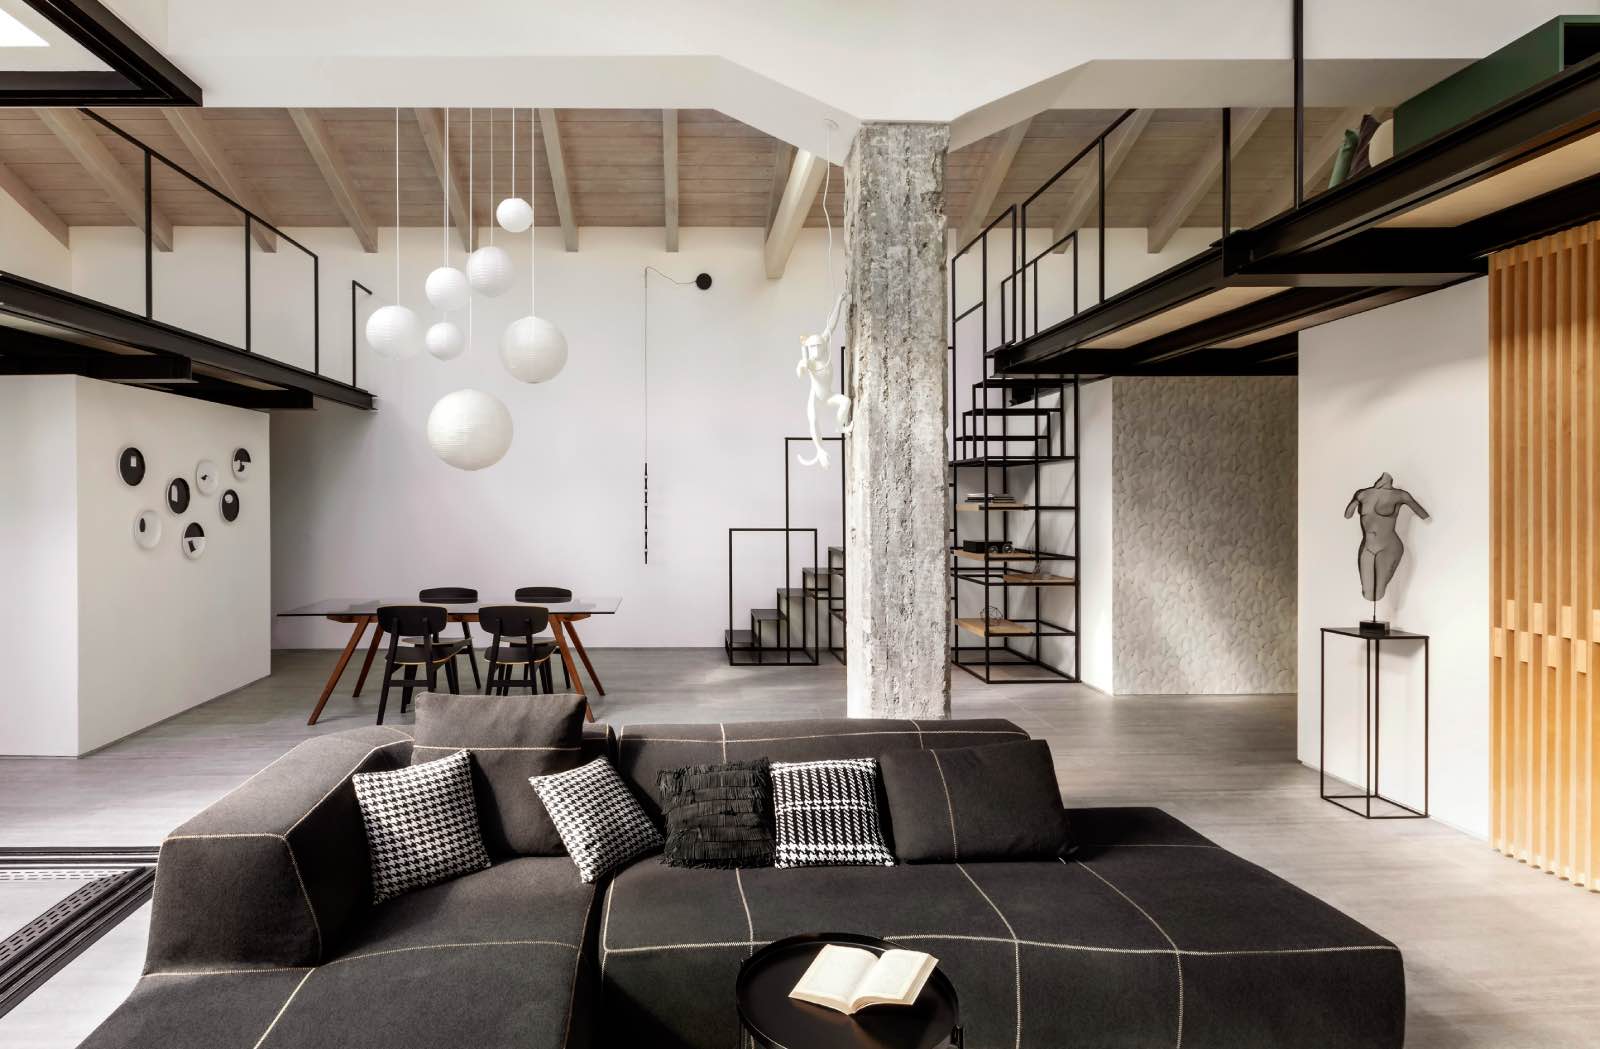
Rustic and Cozy Interior Design Trends
Warm and natural interiors remain timeless. These charming rustic decor ideas combine wood textures, vintage accents, and earthy tones to create welcoming spaces.
Bedrooms are becoming more personalized with curated wall arrangements. Many homeowners use these stylish picture wall ideas for bedroom spaces to display memories and artwork creatively.
Textured wall treatments are another major trend. Installing a board and batten wall adds architectural character while keeping interiors elegant and modern.
Similarly, bold accent wall ideas can instantly transform plain rooms into eye-catching focal points without requiring a full renovation.
Smart Kitchen and Organization Inspiration
Functional kitchens are essential for modern homes. These practical kitchen wall cabinet ideas maximize storage while maintaining a clean and stylish appearance.
Organization also starts at the entrance. Well-designed mud room ideas help families keep shoes, coats, and daily essentials neatly arranged.
Colorful and Personalized Home Styling
Vibrant interiors are becoming increasingly popular thanks to playful dopamine decor ideas that use bright colors and joyful accessories to improve mood and energy.
Gallery walls also continue to evolve as a major decorative feature. These trendy gallery wall inspiration ideas offer creative ways to combine prints, photos, and statement art.
Young renters and new homeowners are especially embracing these stylish first apartment aesthetic ideas to create sophisticated interiors on a budget.
Finally, selecting the right shades can dramatically influence any room’s atmosphere. These modern trendy color ideas help homeowners choose palettes that feel fresh, elegant, and timeless.
Final Thoughts
From rustic charm and colorful interiors to outdoor entertaining areas and functional storage solutions, today’s home decor trends focus on creating spaces that feel both beautiful and livable. By combining smart layouts, modern textures, and personalized decorative elements, any home can become more stylish, comfortable, and inspiring.
Browse Grand Goldman Shop
Bean Bag & Lazy Sofa
Cabinets
Chairs & Accent
Coat Racks
Display & Etageres
Fireplaces & Acc.
Living Room Sets
Loveseats
Ottomans
Recliners & Massage
Browse the Shop
 Acacia frida deluxe solid wood bed frame |
Bedroom bench |
Bed chest drawers |
Lingerie dresser |
Frame base |
Mirror with jewelry storage |
30 Bathroom Vanity |
Memory foam queen mattress |
Mattresses for back pain |
Nightstand set of 2 |
Grand Goldman Shop |
Civil Lawyer
Deutschland Trikot WM 2026