
Drawer that Replaces the Computer Case and Stores All its Hardware Components, the drawer must be able to be completely removed so that you can easily access any of the components.
Another important feature would be that the front should be low enough for my legs to fit under the desk without touching anything.

Step 1: Planning
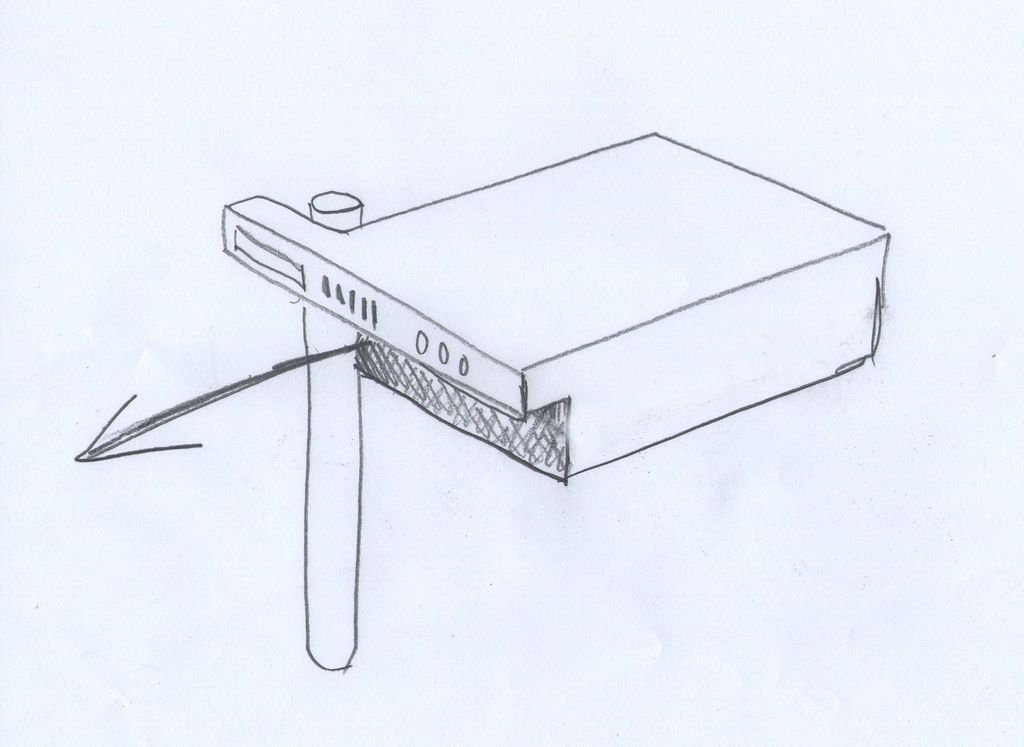

I made some sketches and then used TinkerCad to create a detailed scale model. The weird way on the front was to cover the leg of the desk.
Update: Here is a link to the TinkerCad file: https://www.tinkercad.com/things/kBV9ZaNtN4F
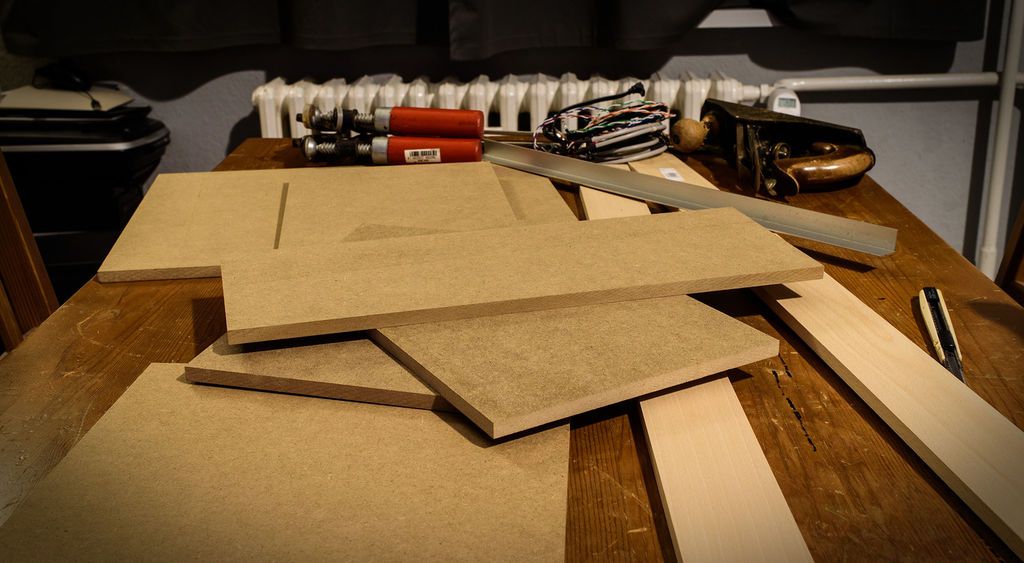
The main material would be 10mm MDF as it is quite easy to work with. I don't have a table saw, so I had to cut all the boards to size.
In the image above, the dark brown sections are MDF and the light brown sections are 10mm birch wood.
I had to use real wood here, as opposed to MDF, because the store didn't cut anything less than 10cm wide, and I needed 6cm, and real wood was available in this width available on the market.
I planned space for 5 hard drives: 2 SSDs (operating system and scratch disk) and 3 hard drives for storage. The main expenses were drawer runners and fan filters.
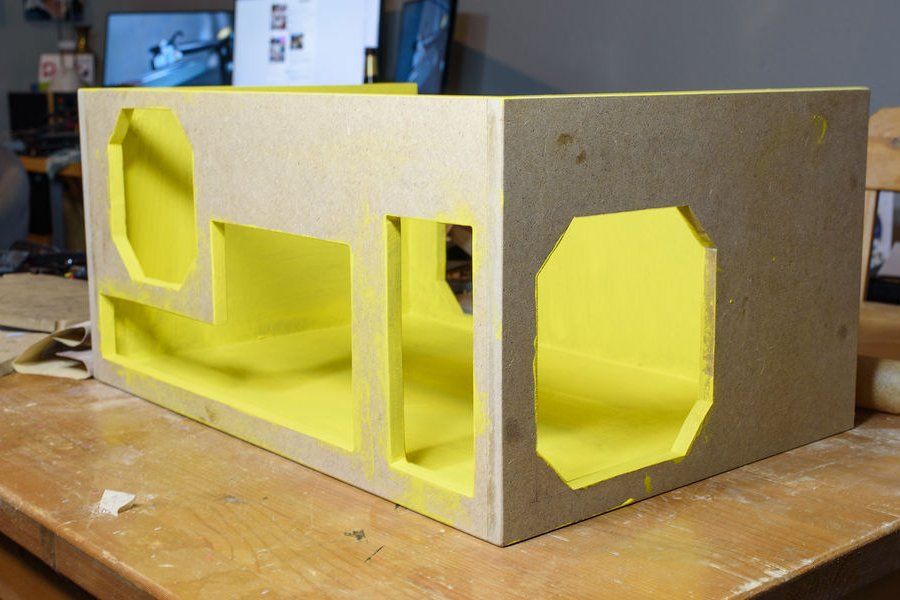
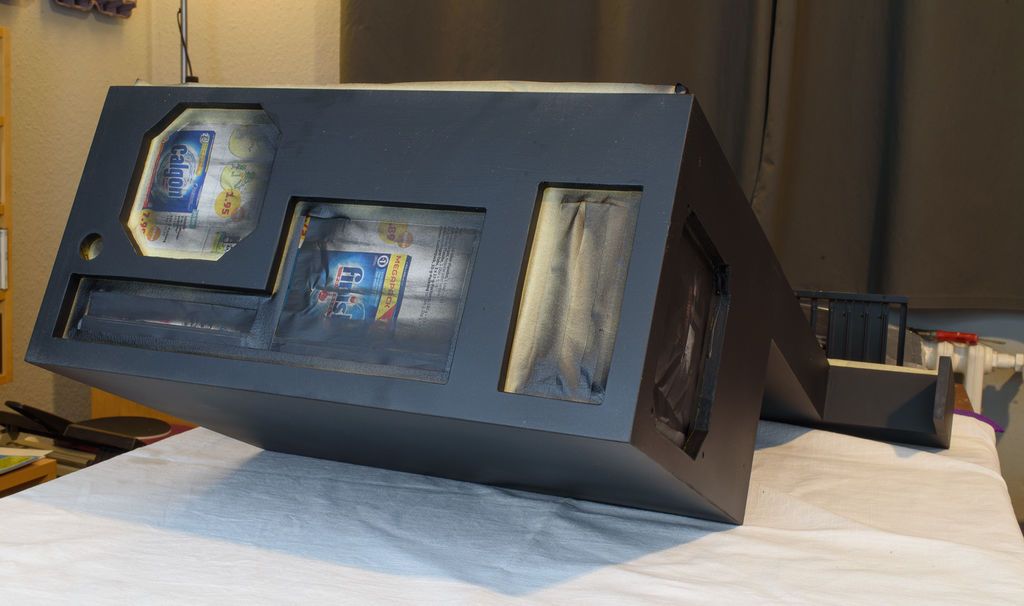
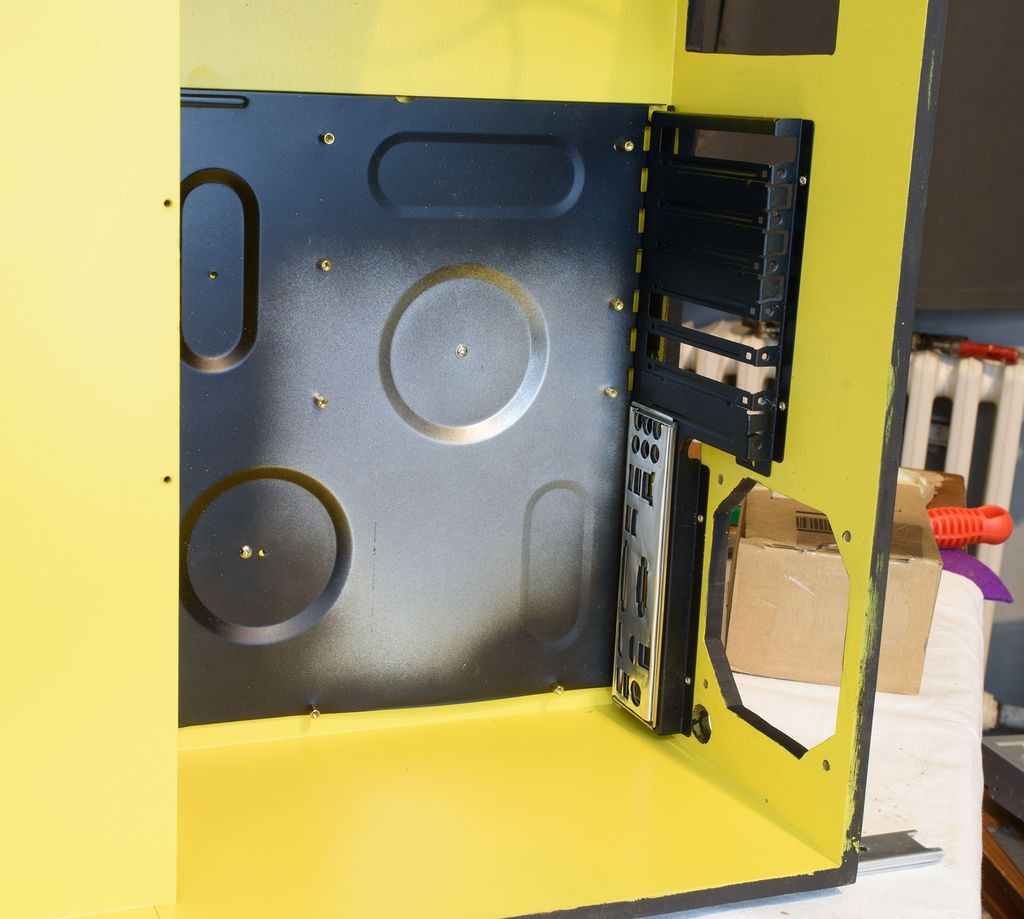
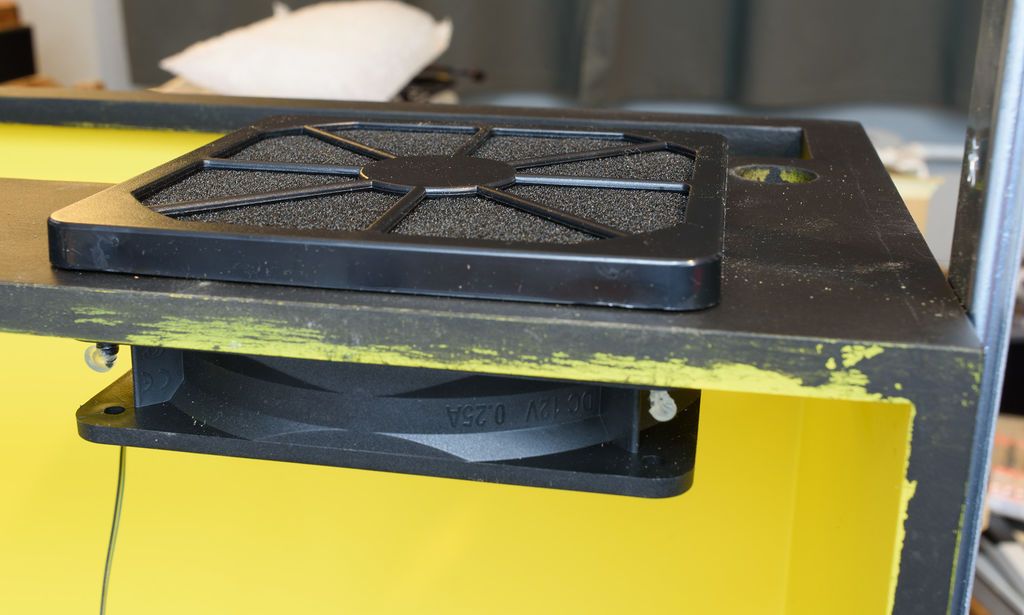
Step 2: Cut the holes
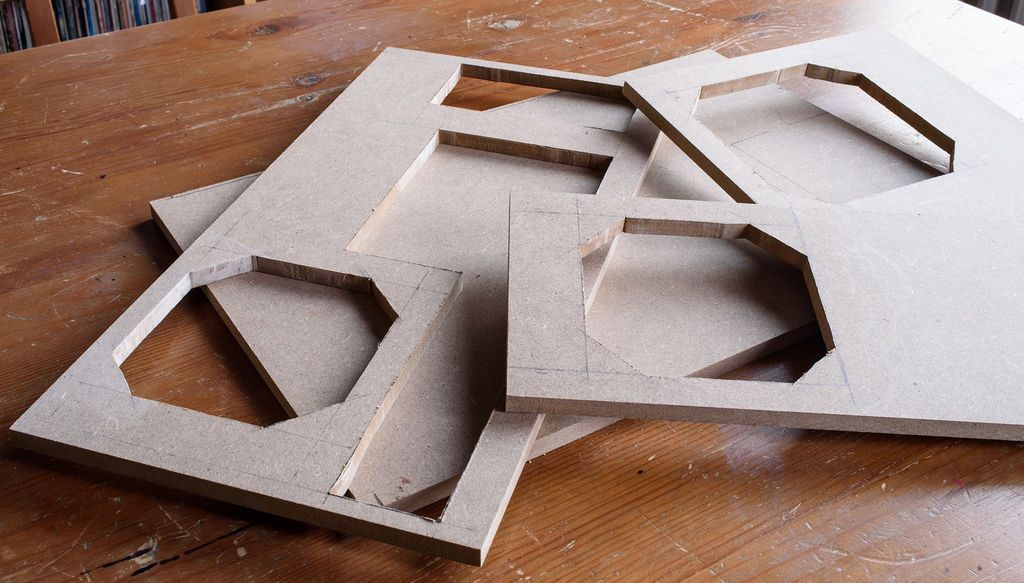
The next step was to cut the holes for the fans, components and the I/O panel of the motherboard.
Using the old rule of "measure twice, cut once," I carefully cut everything with a chainsaw and then tidied it all up with a file and sandpaper.
Precision and smoothness were not as important to amateurs as they would be hidden with a filter.
However, precision was absolutely essential for the front panel, with no room for error: the components had to fit together perfectly.
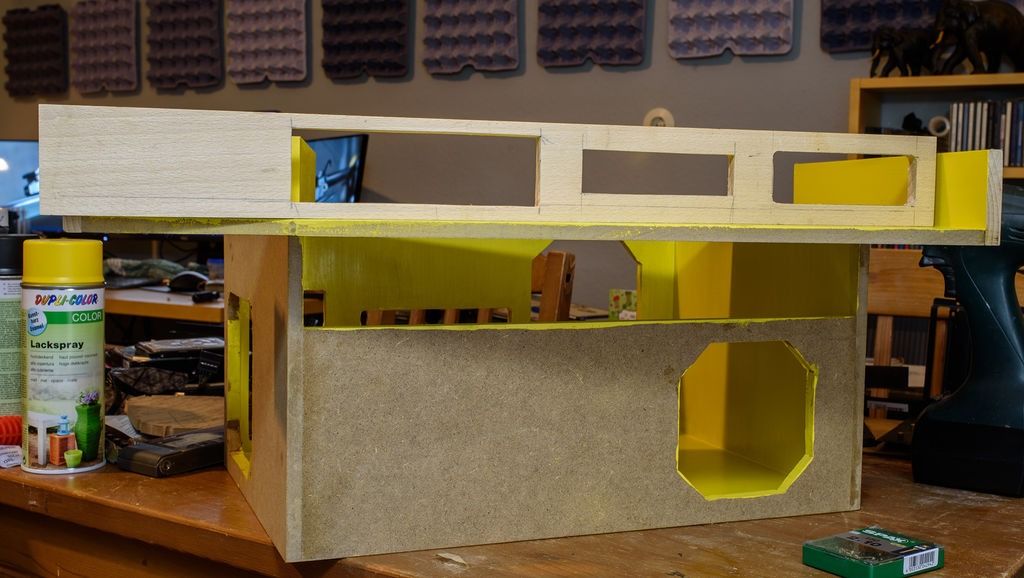
Step 3: Assembly
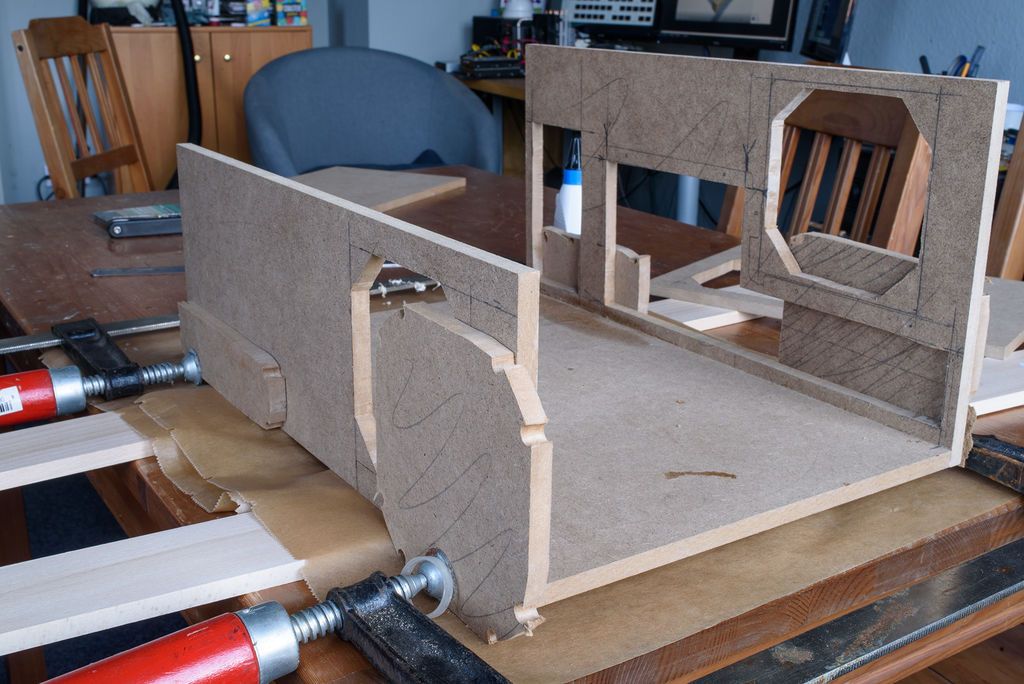
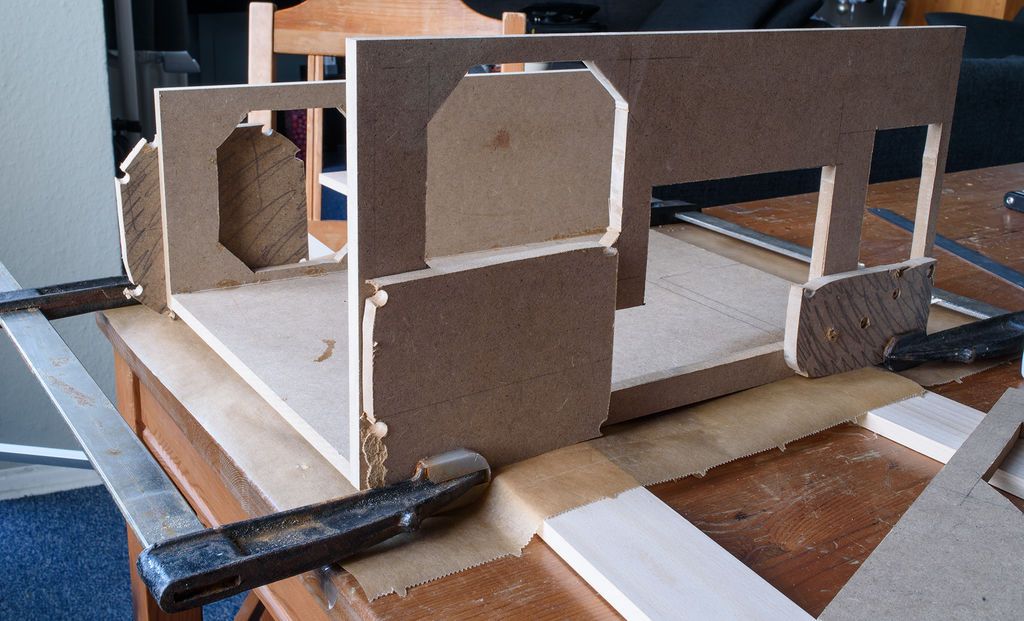
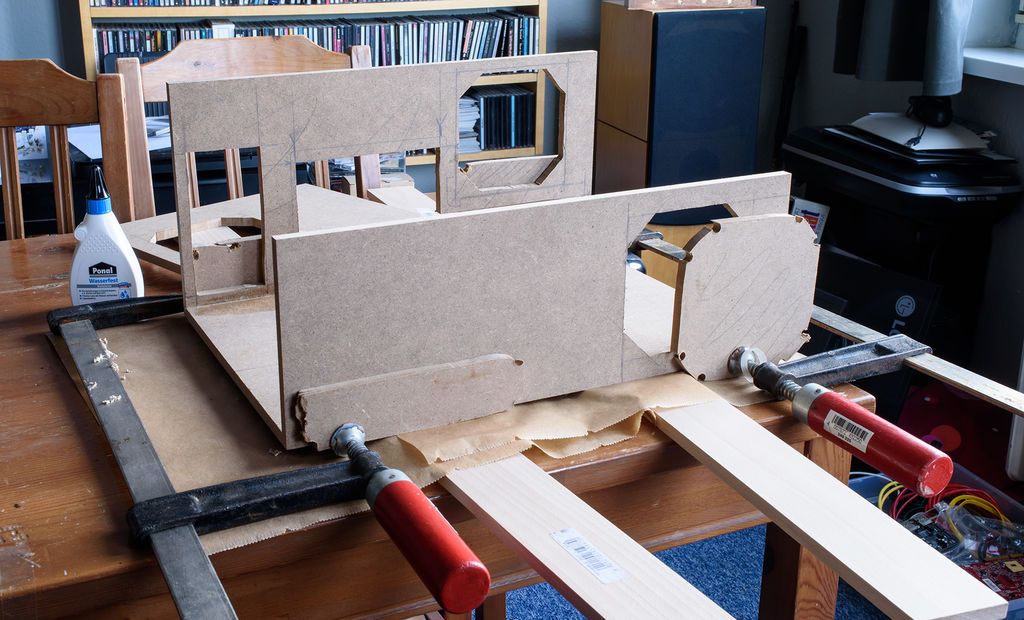
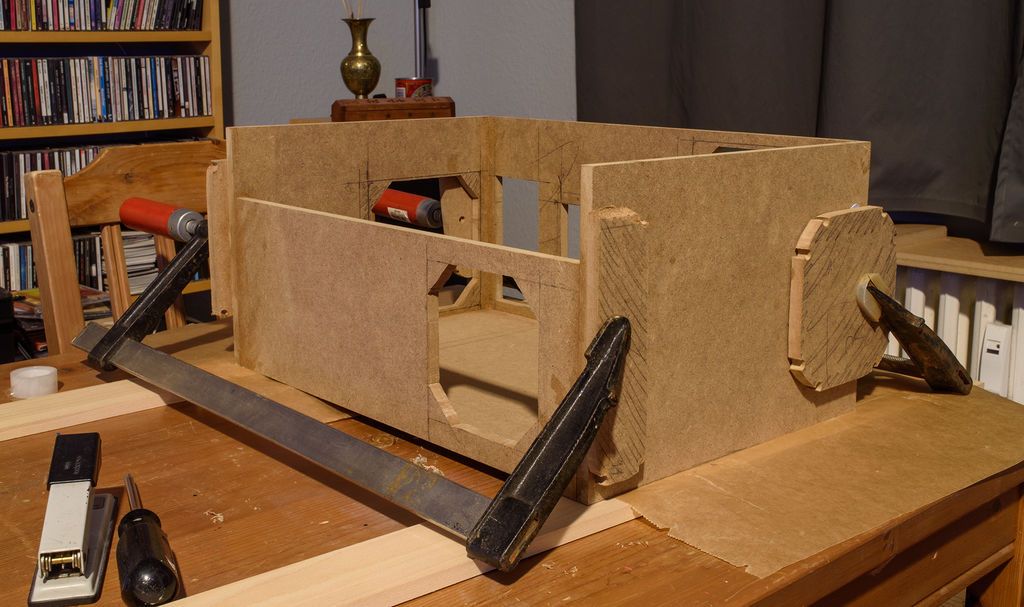

Then I glued the sections together, piece by piece. I made the front and back sections separately and glued them together later. A lot of sanding was required to smooth the edges.
I don't have any power tools to do this, so it was all done by hand!
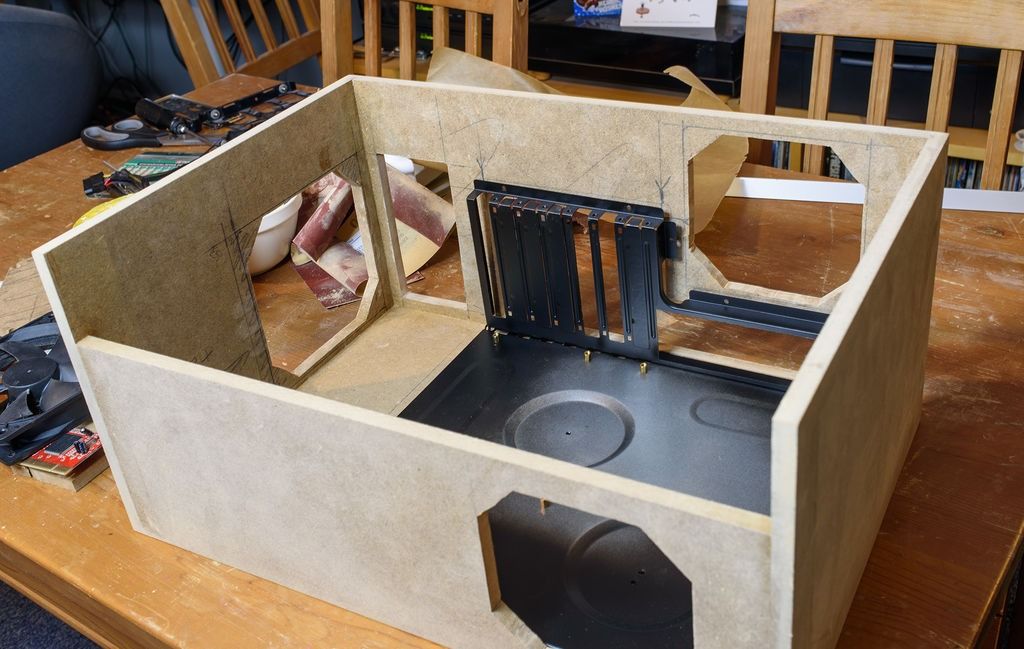
The metal mounting plates for the motherboard were taken from an old computer case I had at work that was destined for the scrapyard.
They are a standard size, I just sprayed them black to match the new color scheme.
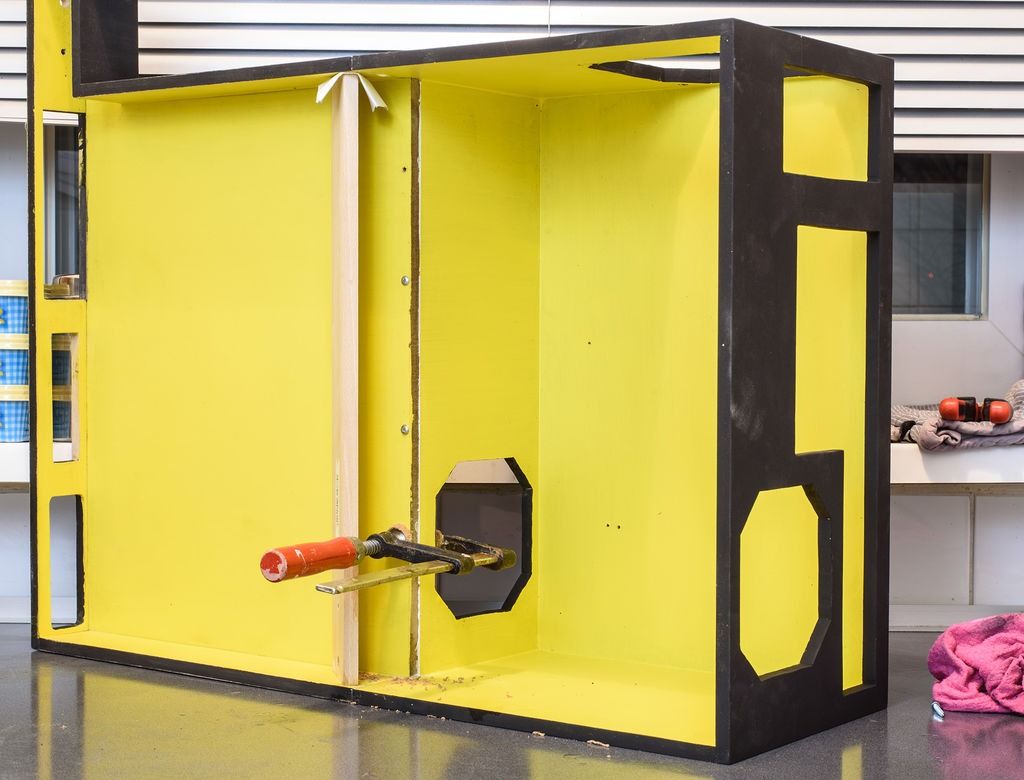
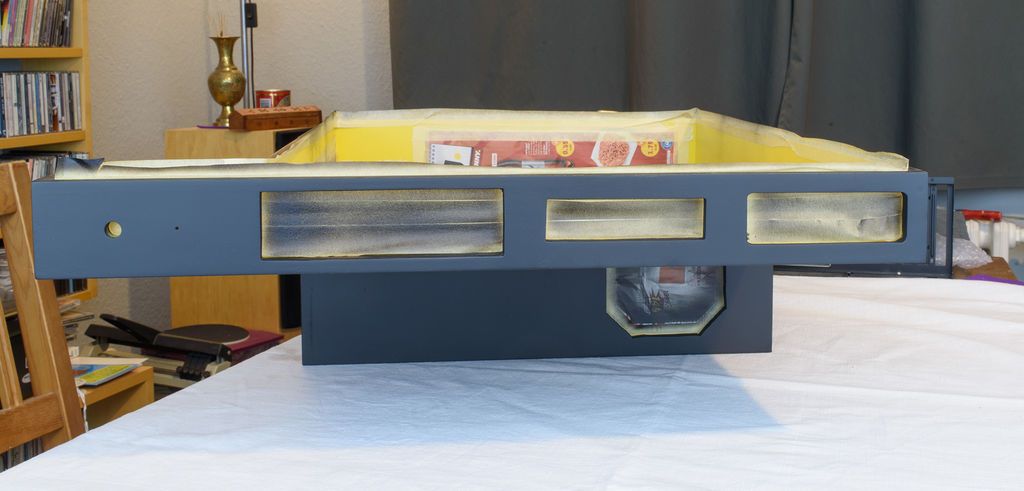
Step 4: First coat of paint
The inside of the drawer was painted yellow. Two coats of brushed acrylic, followed by light sanding and a sprayed top coat.
Step 5: Front Panel

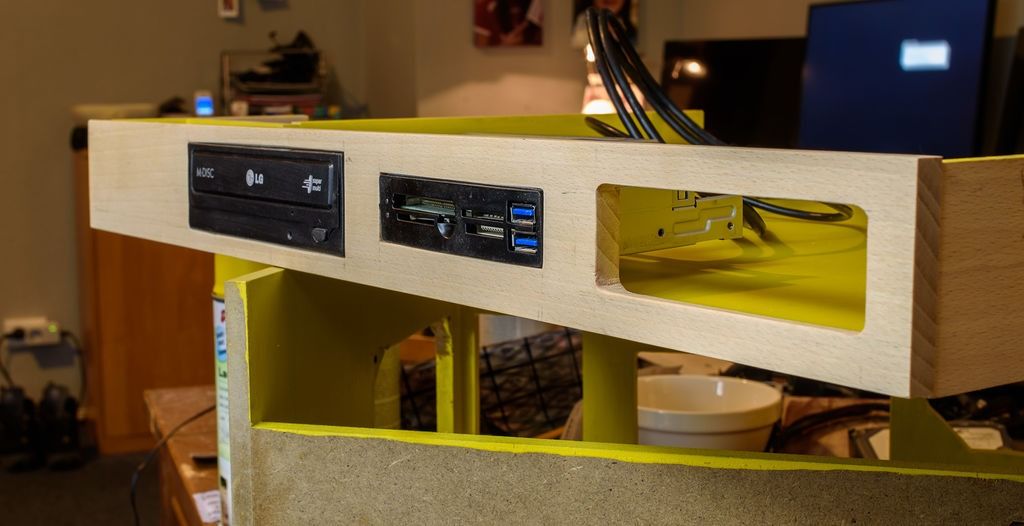
As I mentioned before, the front panel was the most important, as it would be the only thing visible.
I had to cCarefully cut out the holes for a DVD drive, a card reader (which I later replaced with a 4-port USB hub), an external amplifier (Amptastic Mini 1), a power button, and an LED light.
The power button was a challenge as I had to drill a 10mm hole and then carefully sand a 10mm wooden dowel so it could move freely within the hole.
My first attempt at the LED hole was off center, so I had to fill it, sand it and start again.
The LED and power switch were also taken from the old abandoned computer.
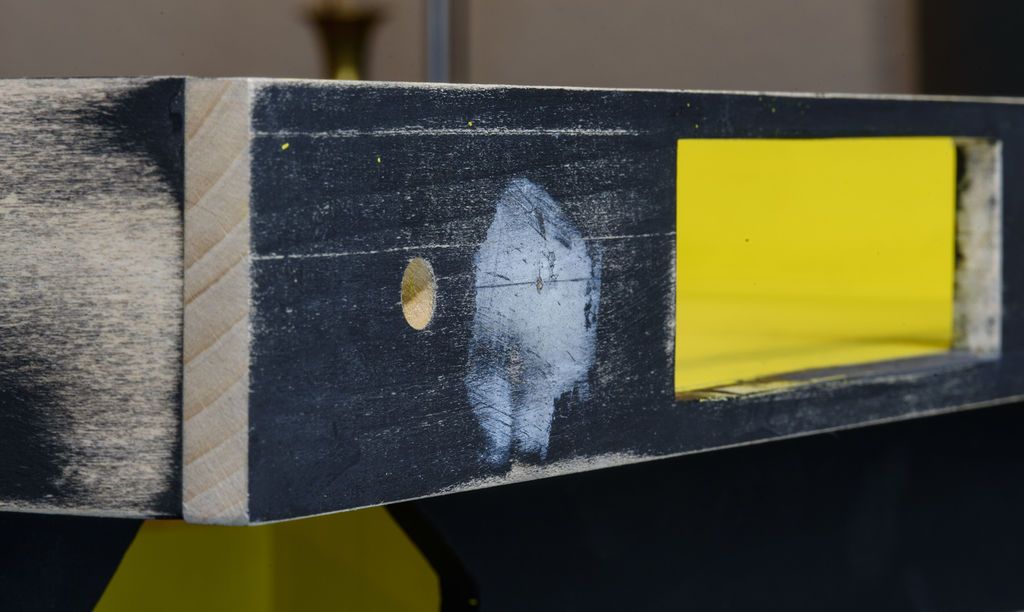
Step 6: Join sections

The outside of the drawer was painted with a few thin coats of black acrylic paint.
The final layer would be added later.
Both sections were glued and screwed together and reinforced with an L-shaped piece of plastic.
Step 7: Final Coats of Paint
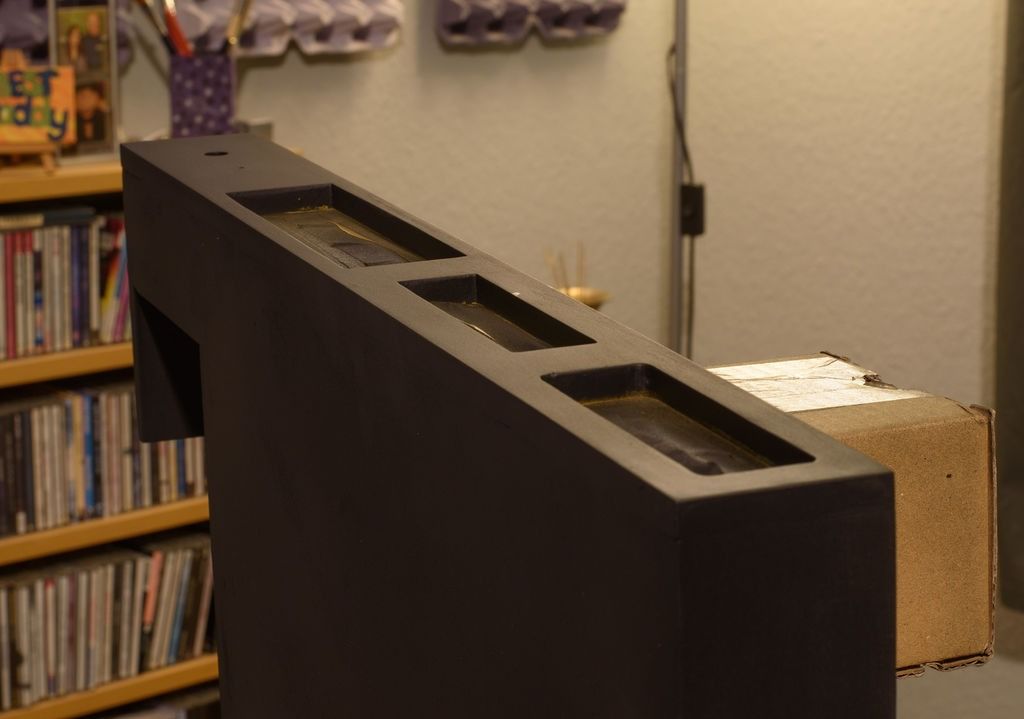
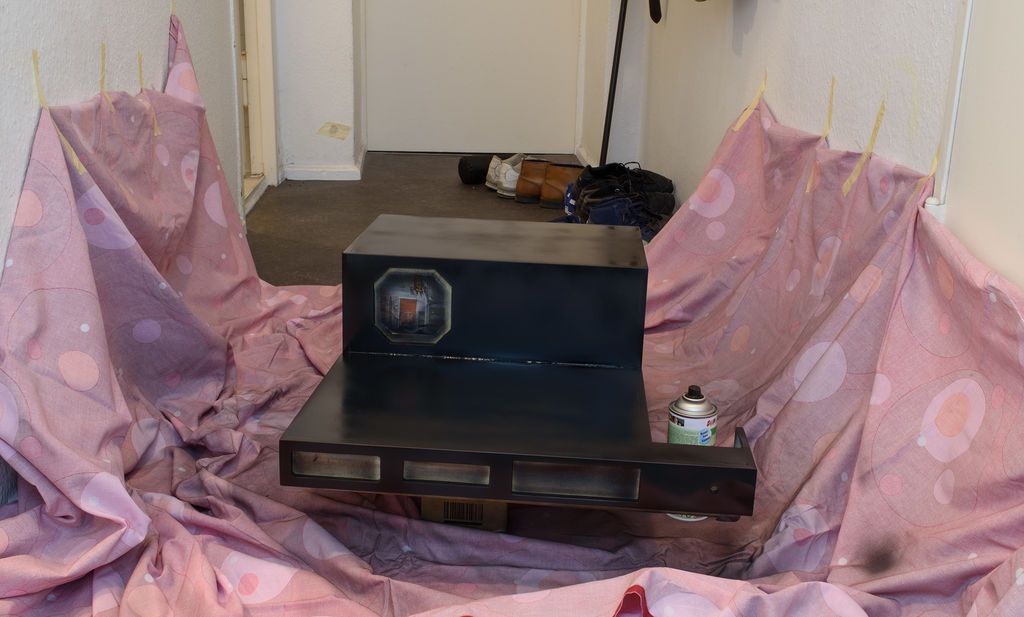
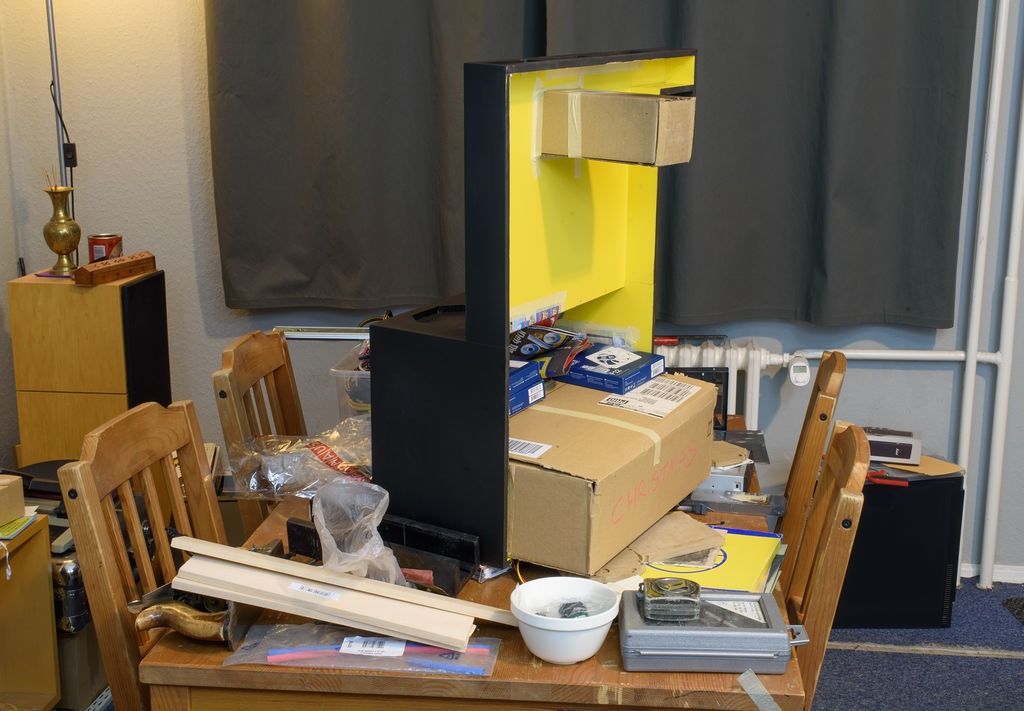
Now that the piece was complete, I sprayed the last 2 coats of black paint, after carefully masking the interior to avoid spraying over the yellow interior.
You will notice that the top is a little ugly, this was not important as I added a strip of black draft excluder to fill the space between the drawer and the bottom of the desk.
Step 8: Drawer Runners
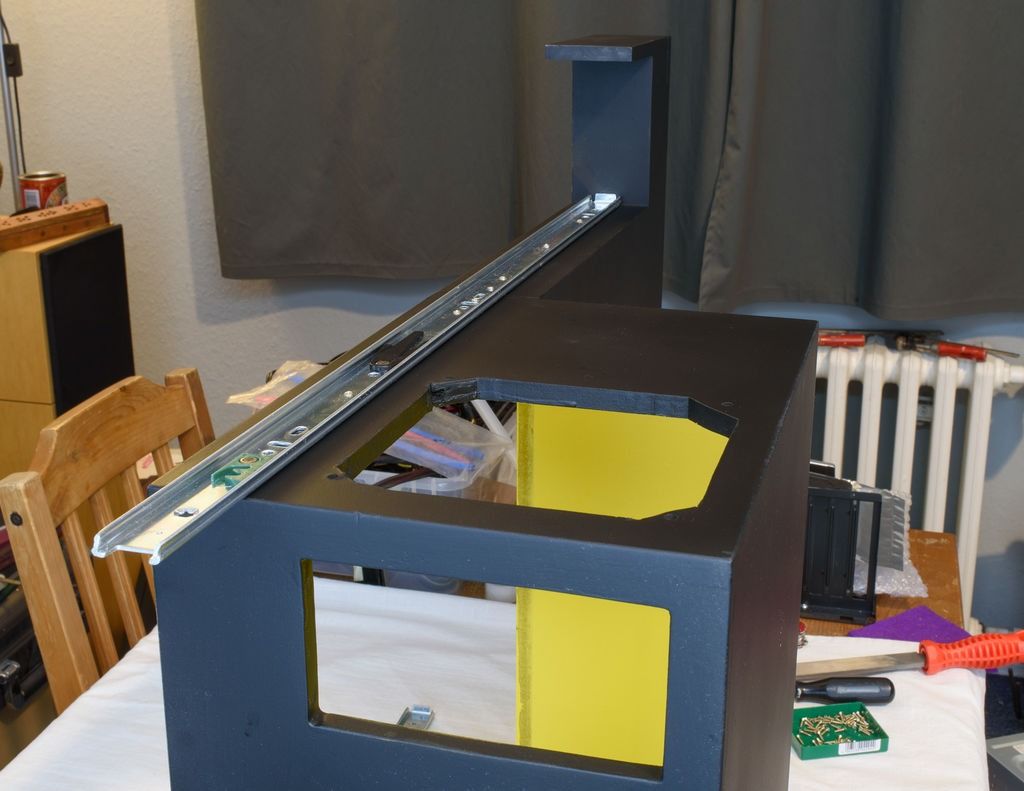
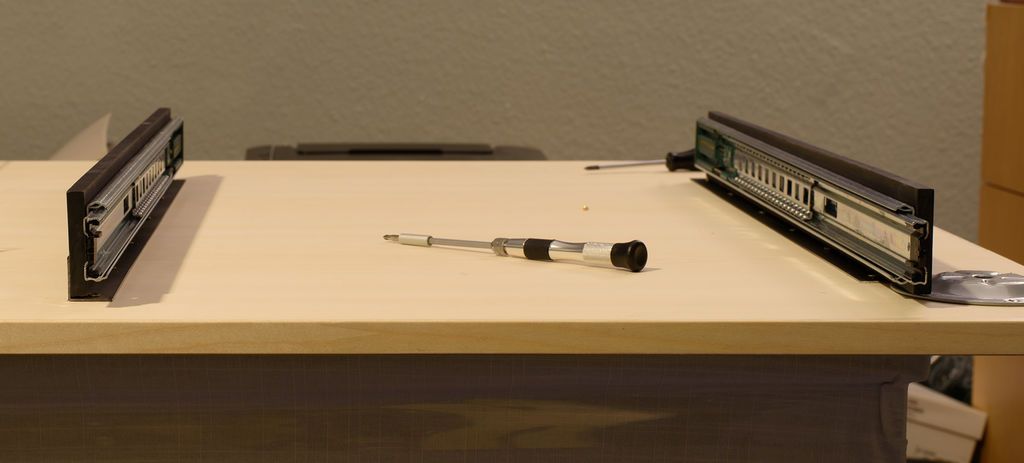
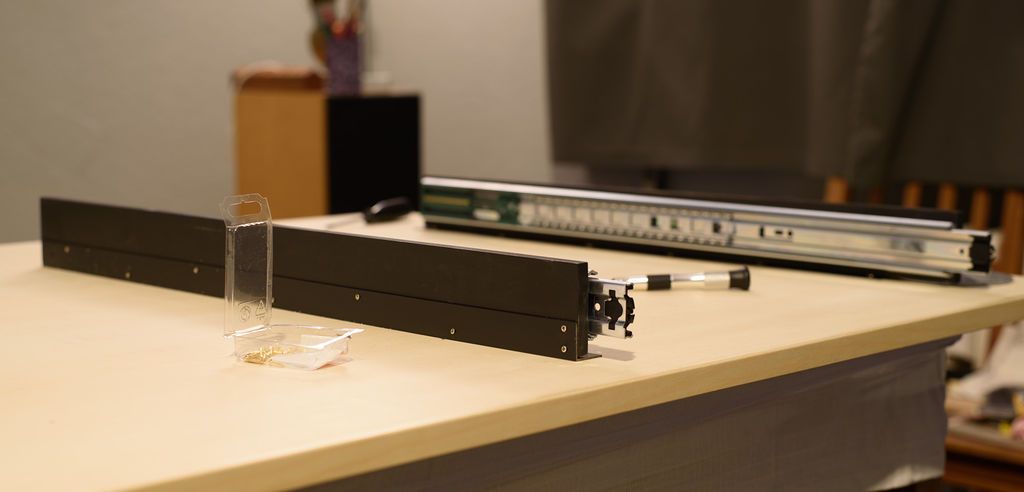
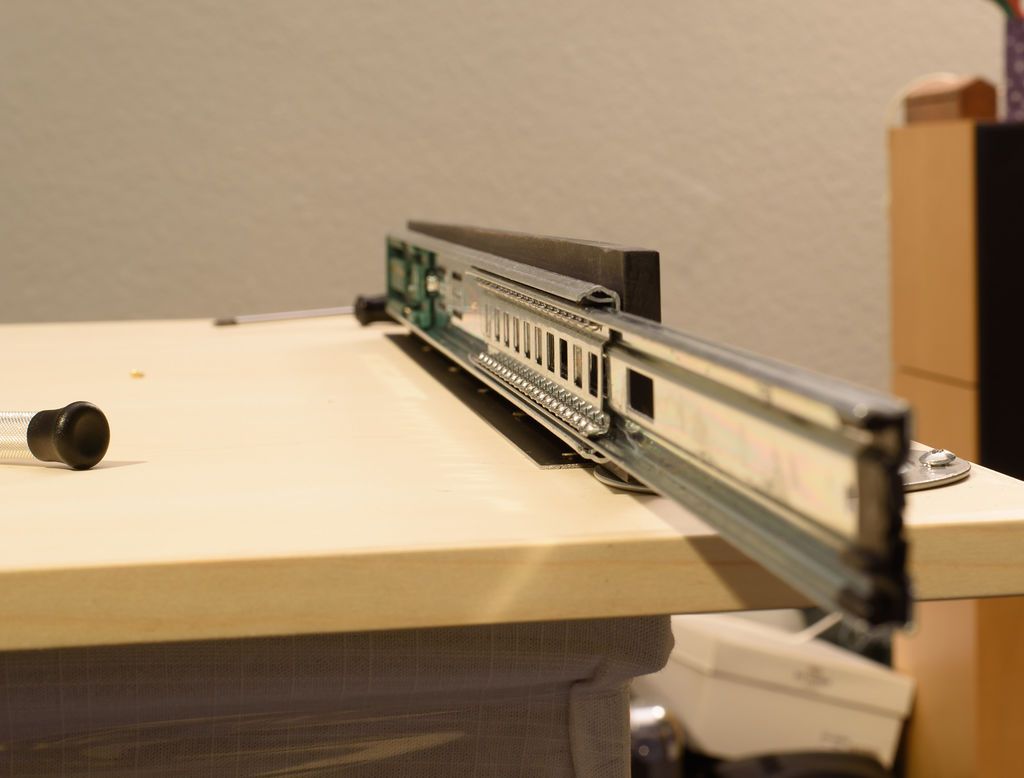
Next was to add the drawer runners.
I was able to do a "Test" with this, as the current desktop was later replaced with a larger one.
This turned out to be important as I made some minor improvements in the final version.
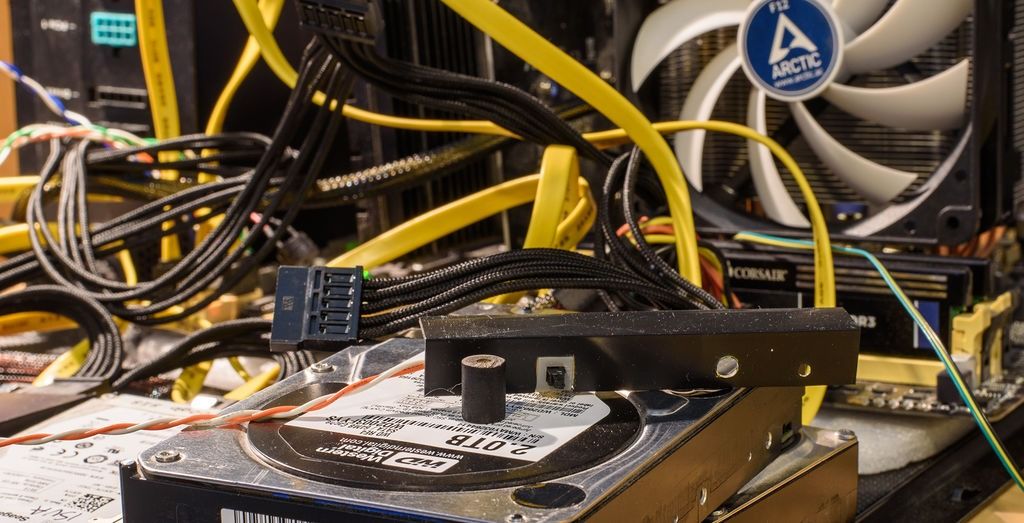
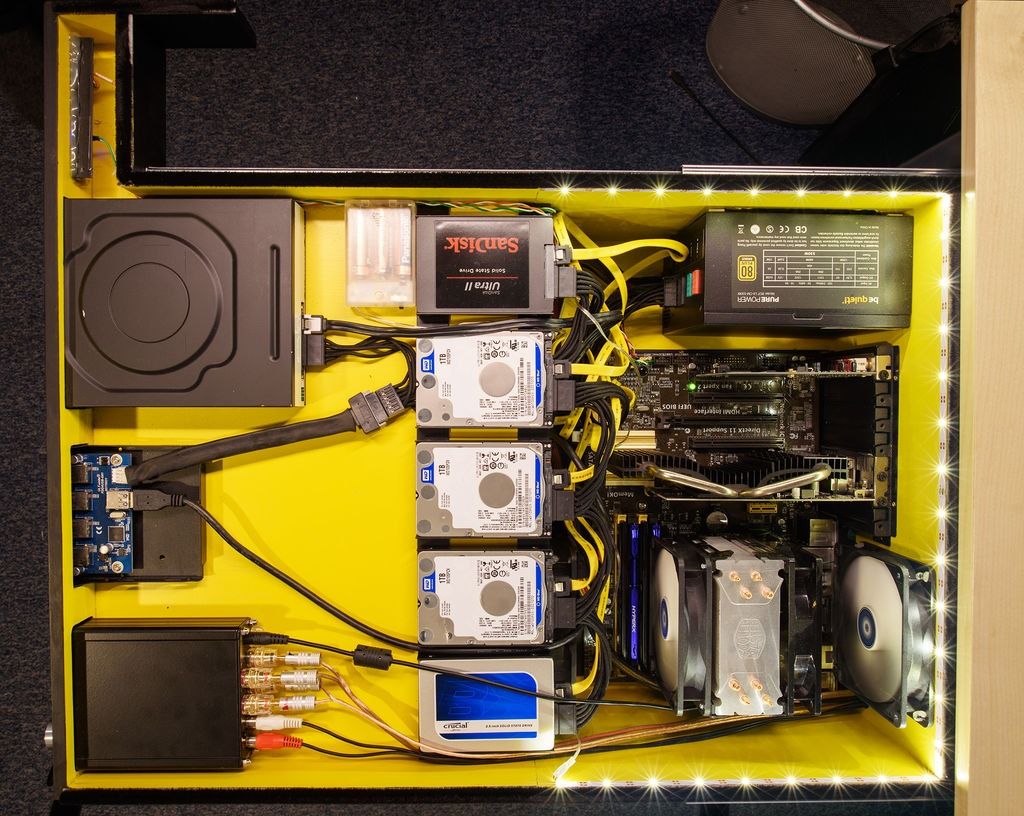
Step 9: Add the components
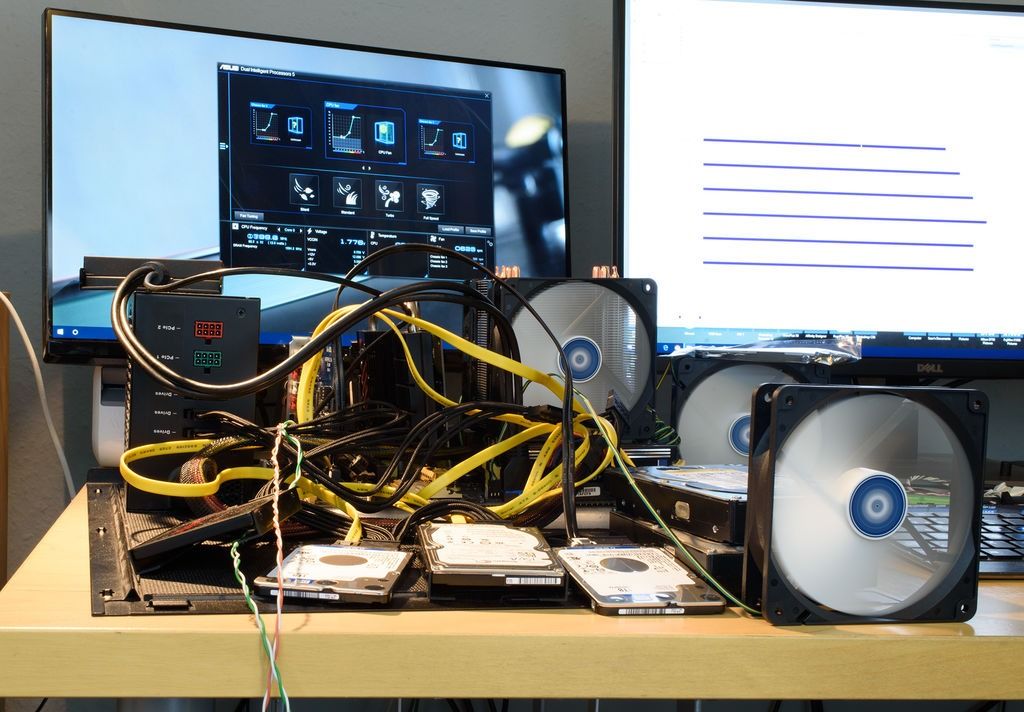

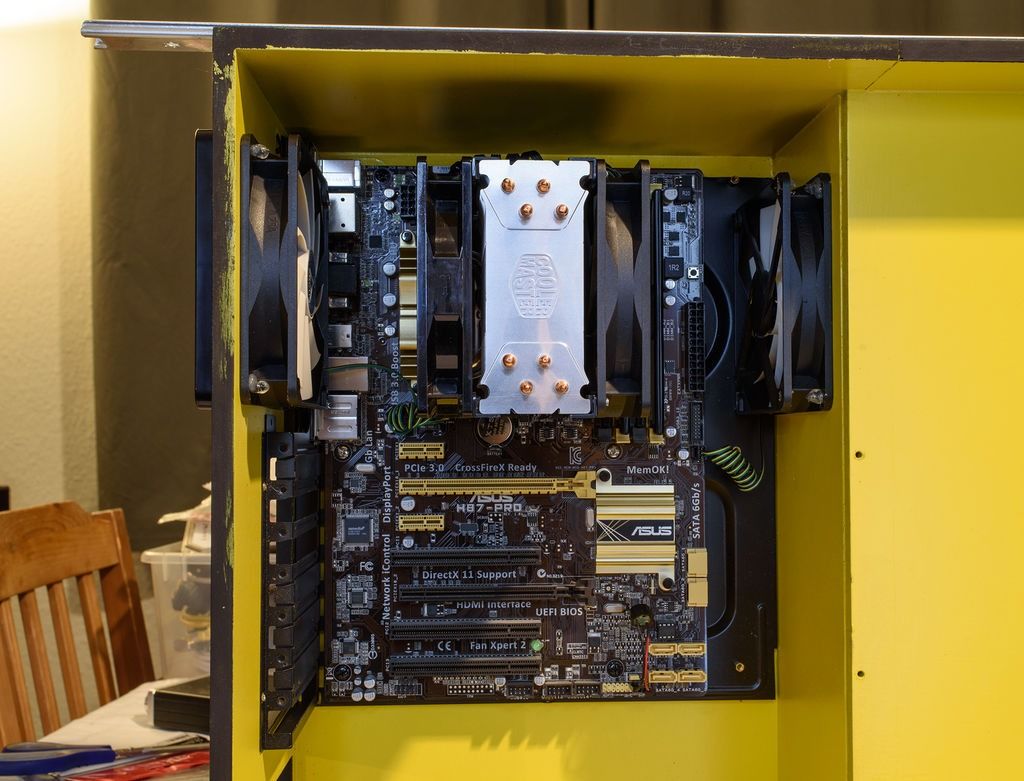
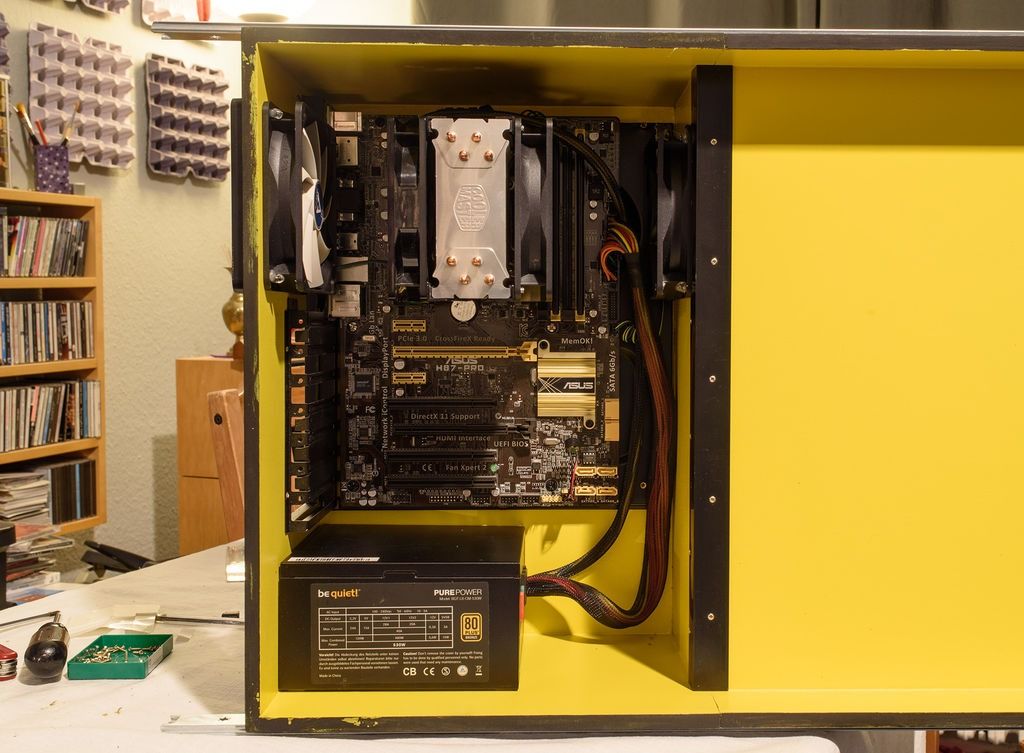
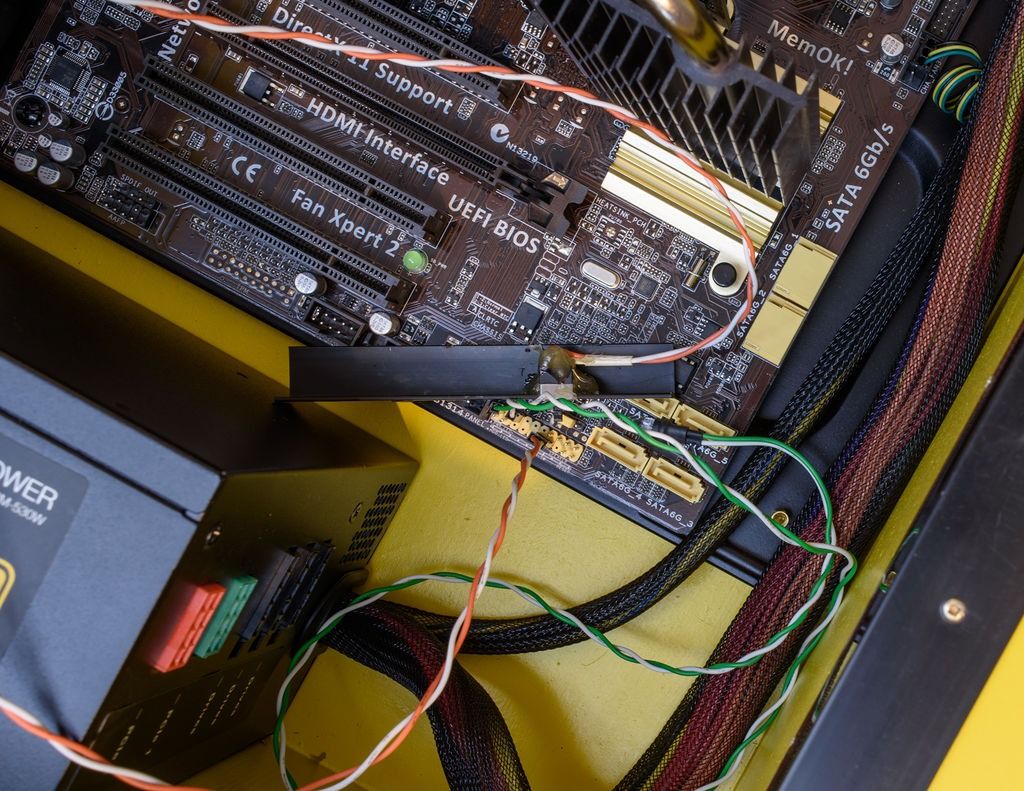
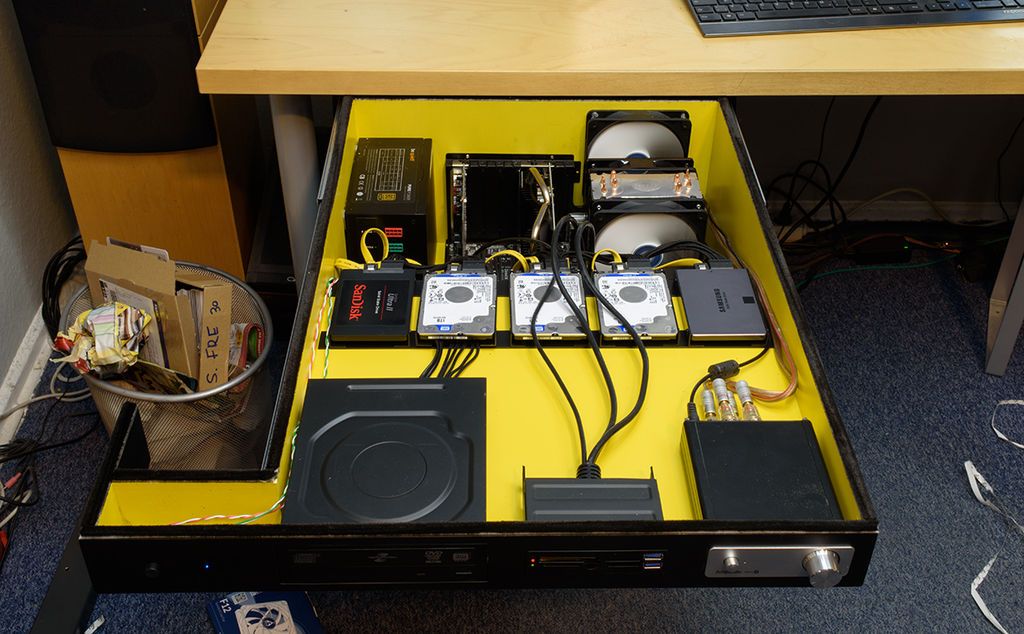
The drawer was finished. I tested everything worked correctly before adding it. Then I simply screwed all the components into place, thankful that my careful measurement was accurate. Everything fit and worked perfectly.
As requested, here is a list of the computer components:
- Intel Core i7 4770
- Cooler Master RR-212E-16PK-R1
- 4x ARCTIC F12 – 120mm Low Noise Case Fan
- ASUS H87-PRO motherboard
- 4 8GB Corsair DDR3 1600 Mhz RAMs
- L8 530W PSU Power Supply
- Asus Nvidia GeForce GT 640 2GB GDDR3
- SanDisk Ultra II 250GB SSD (boot drive)
- 3 WD Blue 1TB HDD Disks (storage drives)
Still to come: I'm going to take a closer look at how the hard drives are installed.
Step 10: Final Steps
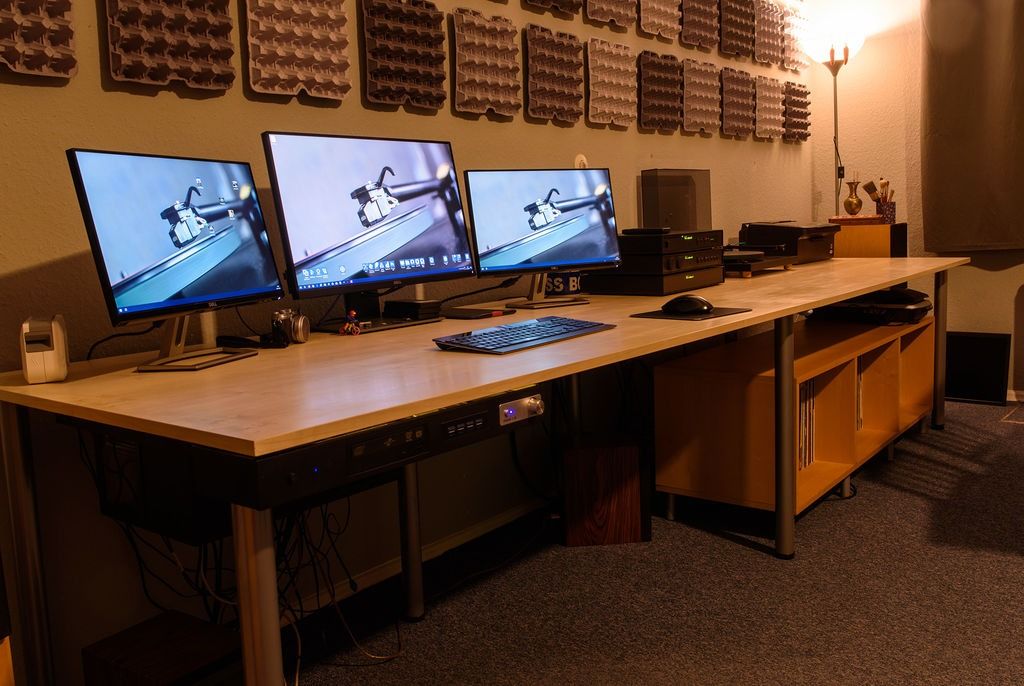
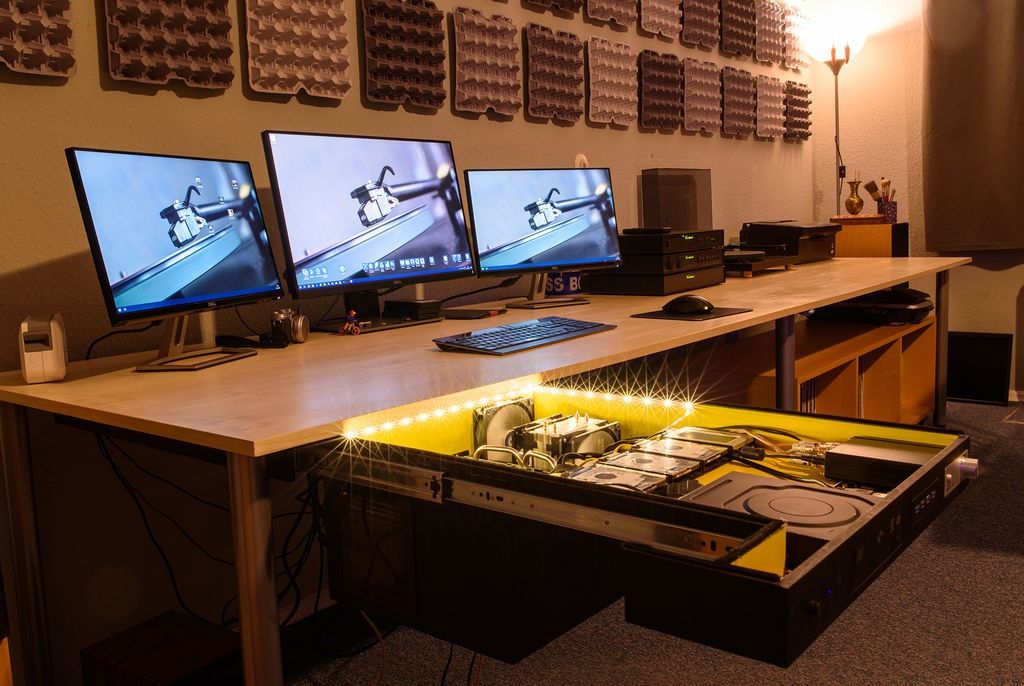
I eventually built a new desk to hold the drawer; A beautiful piece of maple veneer board measuring 360cm x 90cm. More than enough space to house my toys.
I am very happy with the result, it fulfilled all my wishes. It is very discreet and allows me to access the computer parts by simply pulling out the drawer. I also added a battery operated LED lighting strip to illuminate the interior.
In case you were wondering, the main monitor is a Dell UP2716D 27″ QHD (2560×1440) (a beautiful piece of kit) and the side monitors are Dell S2218M 22″ HD (1920×1080).
Get more information at Perfectidea.com and on our Facebook for more Drawer that Replaces the Computer Case and Stores All Your Hardware Components.
Popular Content
How to make a rocket stove for outdoors
Cardboard Drawers Lined with Jeans
Change the facade of your home with simple steps!
Latest Articles
How to make a refrigerator out of insulating material: Practical step-by-step guide
How to make a Kilim for the Home: Complete Step by Step Guide
How to protect ourselves from accidents in our workplace: Complete prevention and safety guide
Related Content
Bathroom Shelves You Can Make Yourself
Paint your Kitchen and Make It Look Bigger!
30 Ideas You Can Use to Decorate the Walls of Your Home!
Funny Toilet Paper Holders
Creative Home Decor Ideas to Transform Every Space
Refreshing your home starts with smart design choices that combine comfort, personality, and functionality. Whether you want to modernize a small apartment, upgrade outdoor areas, or create cozy rustic interiors, these trending ideas can completely change the atmosphere of your space.
Outdoor Spaces That Increase Style and Functionality
Outdoor living continues to dominate modern home trends. Homeowners are increasingly investing in practical entertainment zones inspired by these BBQ shed ideas, which create the perfect setup for gatherings and weekend cooking sessions.
First impressions also matter when designing exteriors. Elegant farm entrance gates design ideas help properties stand out while improving privacy and curb appeal.
Compact living solutions are also gaining popularity. These inspiring 16x40 shed house interior design ideas show how smaller spaces can still feel luxurious and functional.
To enhance patios and entryways, homeowners are adding stylish protection with these creative porch awning exterior DIY ideas that blend aesthetics with practicality.

Rustic and Cozy Interior Design Trends
Warm and natural interiors remain timeless. These charming rustic decor ideas combine wood textures, vintage accents, and earthy tones to create welcoming spaces.
Bedrooms are becoming more personalized with curated wall arrangements. Many homeowners use these stylish picture wall ideas for bedroom spaces to display memories and artwork creatively.
Textured wall treatments are another major trend. Installing a board and batten wall adds architectural character while keeping interiors elegant and modern.
Similarly, bold accent wall ideas can instantly transform plain rooms into eye-catching focal points without requiring a full renovation.
Smart Kitchen and Organization Inspiration
Functional kitchens are essential for modern homes. These practical kitchen wall cabinet ideas maximize storage while maintaining a clean and stylish appearance.
Organization also starts at the entrance. Well-designed mud room ideas help families keep shoes, coats, and daily essentials neatly arranged.
Colorful and Personalized Home Styling
Vibrant interiors are becoming increasingly popular thanks to playful dopamine decor ideas that use bright colors and joyful accessories to improve mood and energy.
Gallery walls also continue to evolve as a major decorative feature. These trendy gallery wall inspiration ideas offer creative ways to combine prints, photos, and statement art.
Young renters and new homeowners are especially embracing these stylish first apartment aesthetic ideas to create sophisticated interiors on a budget.
Finally, selecting the right shades can dramatically influence any room’s atmosphere. These modern trendy color ideas help homeowners choose palettes that feel fresh, elegant, and timeless.
Final Thoughts
From rustic charm and colorful interiors to outdoor entertaining areas and functional storage solutions, today’s home decor trends focus on creating spaces that feel both beautiful and livable. By combining smart layouts, modern textures, and personalized decorative elements, any home can become more stylish, comfortable, and inspiring.


