
How to Make a Skirt with LED Lights, the diffusion is not perfect, but it is pretty good and I have some learnings in the last step that might alleviate some of the problems I encountered.
You can also speed up this project by purchasing a black and white skirt and jumping right into a tutu. However, in the next steps I will show you how I made my skirt.


Step 1: Supplies + Pattern
Tools:
- Sewing machine
- Cutting and sewing basics: rotary cutter, ruler, scissors, pins, etc.
- Iron and ironing board
Supplies:
- Black and white fabric. I used Spandex because I don't mind zippers, but if you want to do this with a fabric and integrate a zipper that looks pretty stylish 🙂
- Tutu. Mine is from Amazon and although it is too long, it is a good tutu with a layer of lining that worked well for placing the lights. A shorter tutu could have skipped the trimming step, but most shorter ones are super short, and this skirt required at least a 12″ tutu.
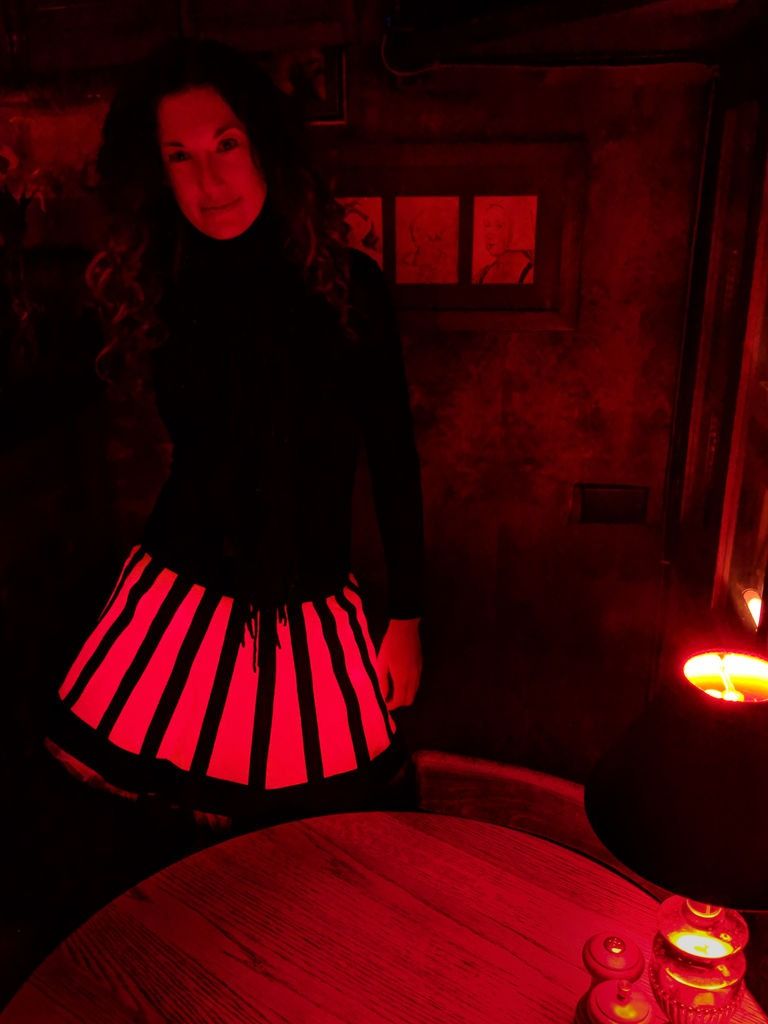
- Battery/Christmas lights. I had this one on hand that can cycle through multiple colors. The longer the better (this one is 100 LEDs), and the type of cable is good for being low profile, although they do deform.
- One of the faults I had with using a long string was that the beginning of a string is always brighter than the noticeable end. If you are somewhat comfortable with electronics, I recommend purchasing two 50 LED strips and running them on a 9 volt battery, so you can add them symmetrically to either skirt. More on that in the last step.
- Pattern: I'm at the point where I use it to make patterns when using stretch fabrics, but attached is a pattern of what I used for this skirt for reference on the overall shape.
Download
Step 2: Cut the skirt pieces

I'm at the point where I use it to make patterns when using stretch fabrics, but attached is a pattern of what I used for this skirt for reference on the overall fit.
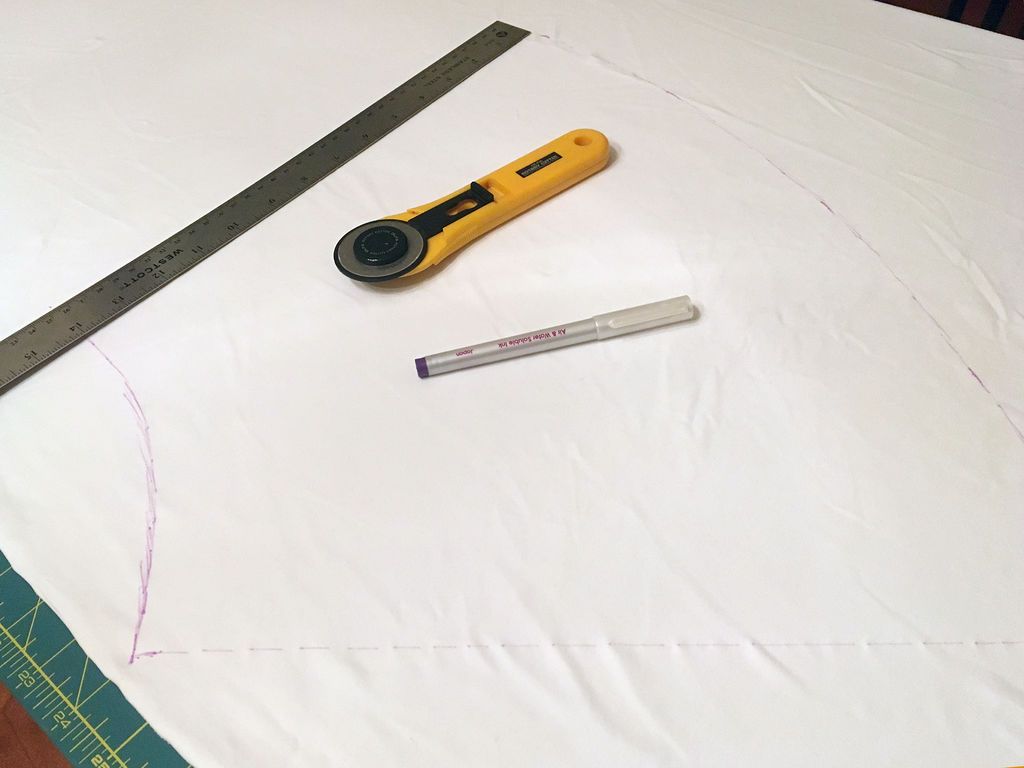
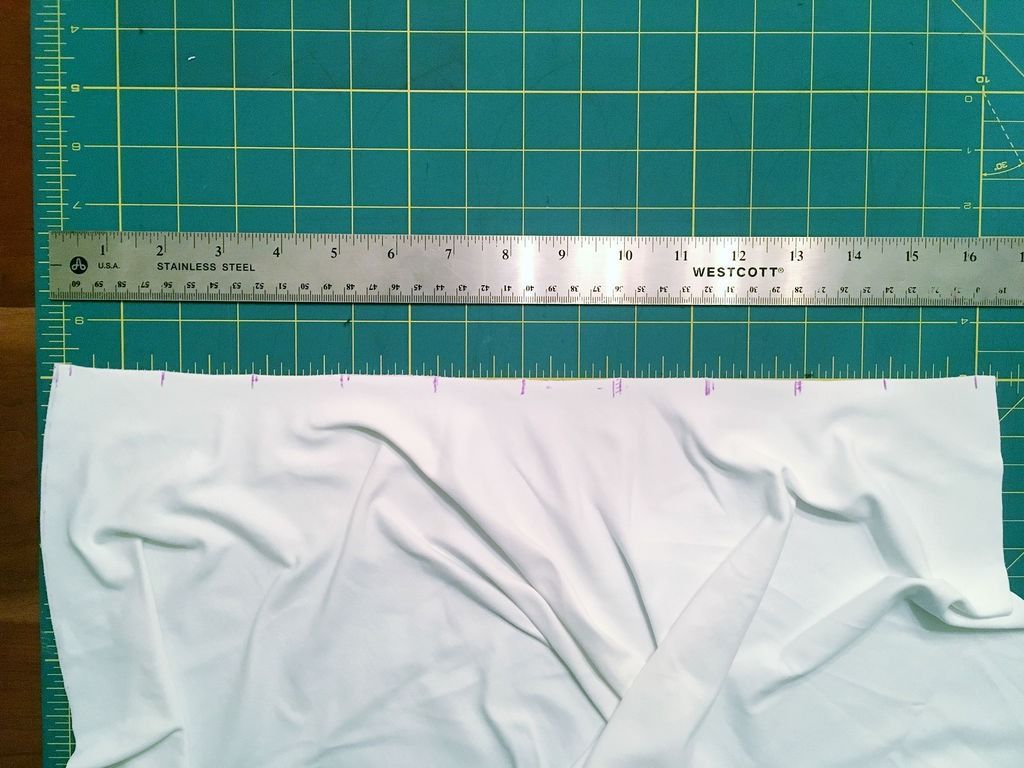
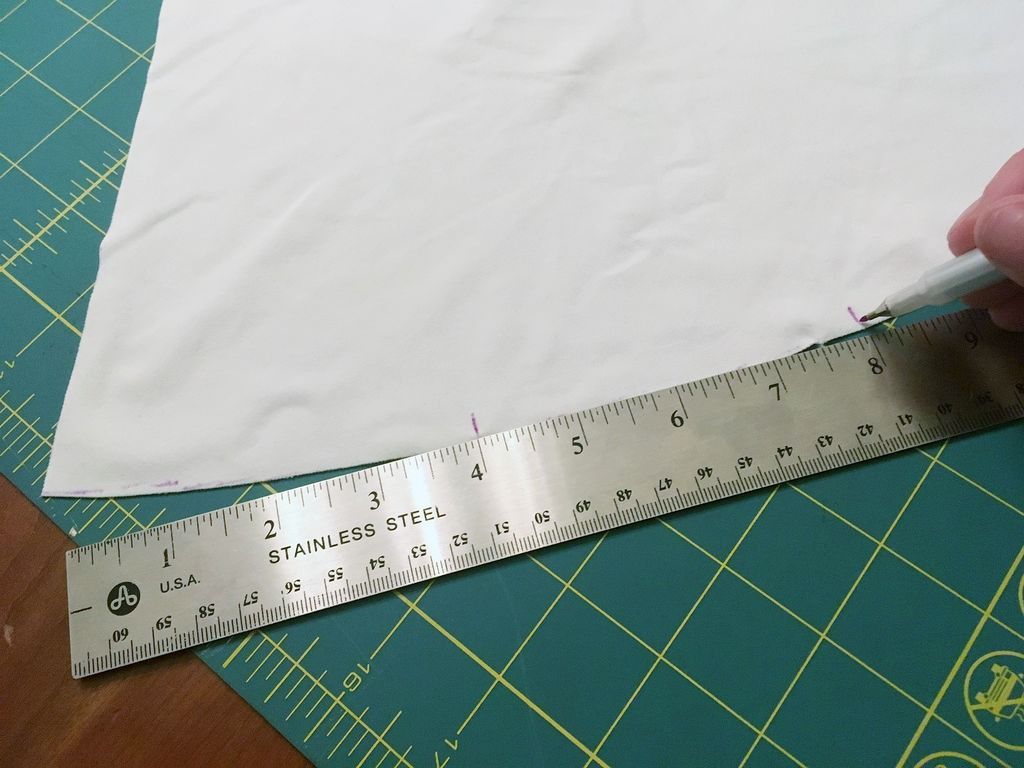
- I started by roughing out the pattern for my skirt. As I mentioned in the last step, this is something I'm comfortable doing on the fly, but you can also reference the pattern in the last step to determine the shape.
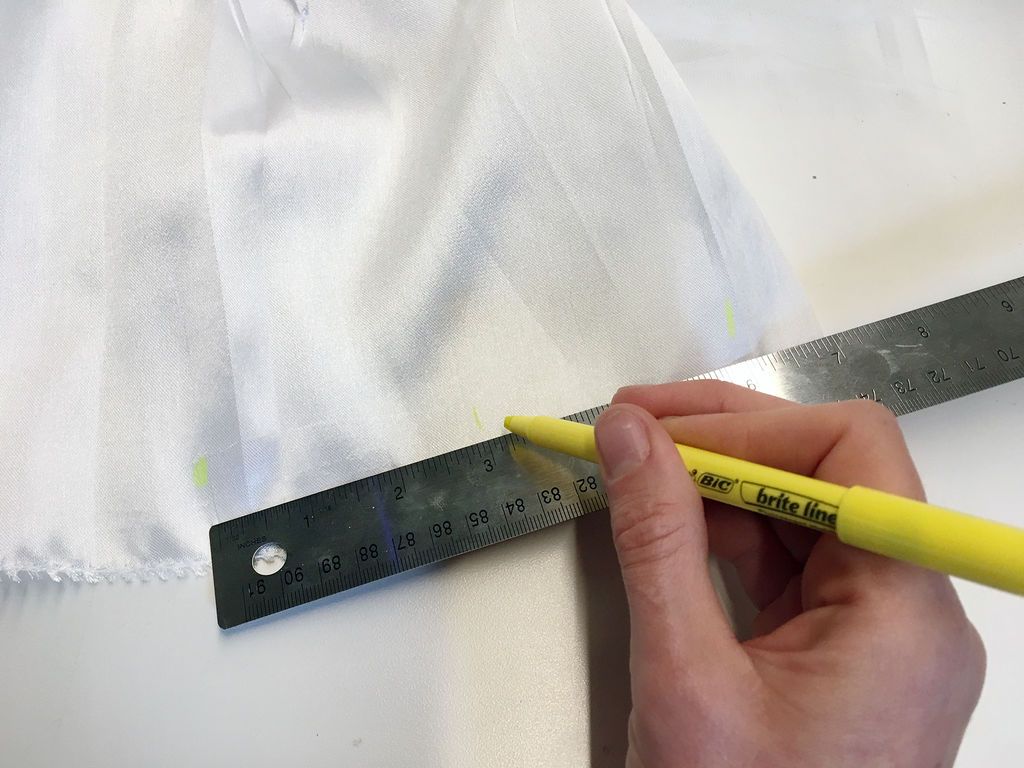
- To determine the waist length, I measured where I wanted the waist to sit and divided it by two.
- Then I roughly placed a tape measure of that length with a gentle arc and drew a waist curve that looked appropriate. This comes with experience, but for a totally full circle skirt, this would be a perfect semi-circle.
- For this amount of A-line fullness, it is a flattened semicircle (for reference this scoop was 11 3/4″ wide by 2 1/8″ deep).
- Once it was drawn, I used a ruler to measure the hem. My finished skirt was 12″, so an extra inch is good here for wiggle room.
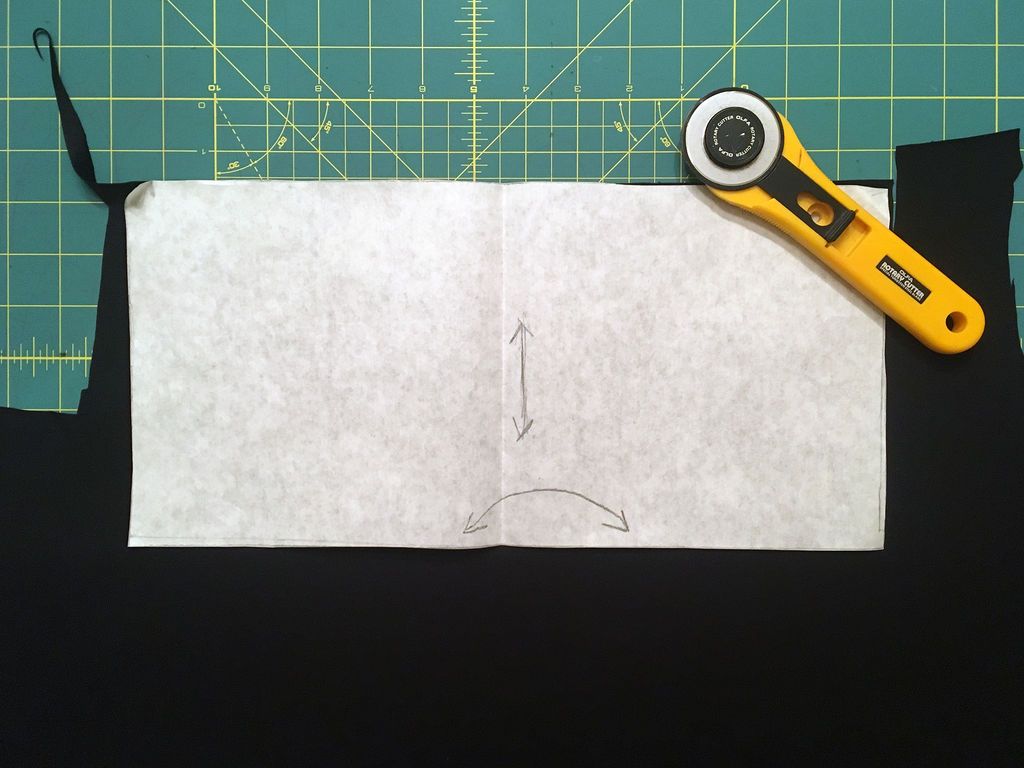
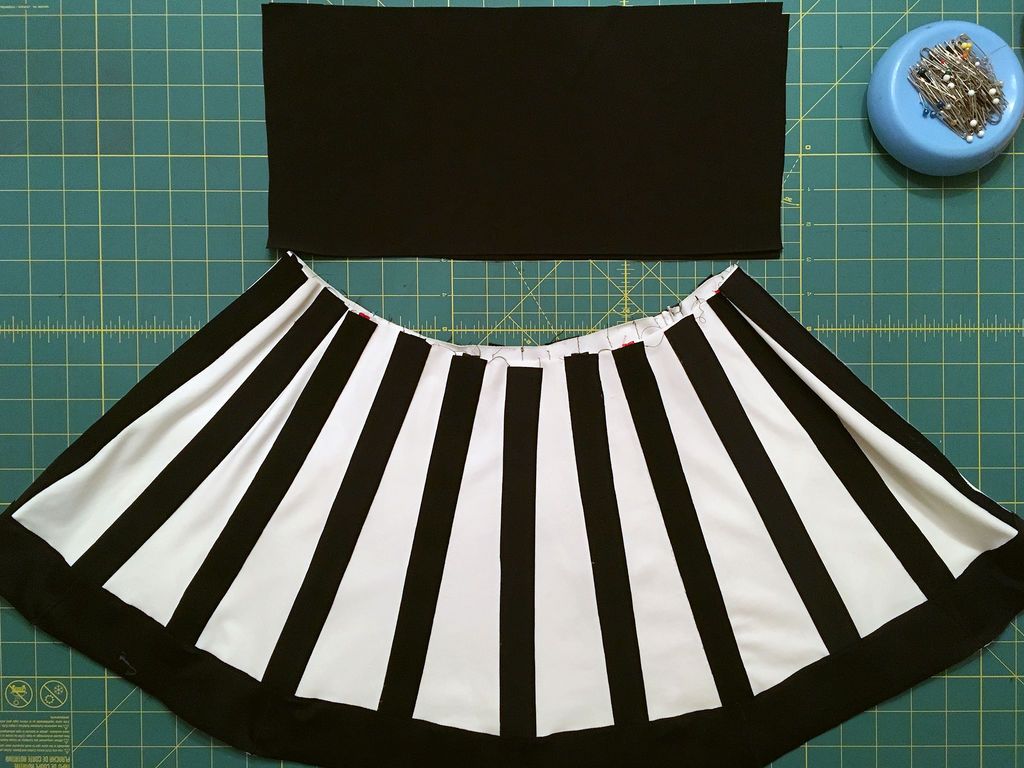
- Next I cut out the waist section which is a simple rectangle. I had a pattern on hand for this, but to create it, wrap your stretch fabric around your waist and determine how long the fit lasts. Then, cut two rectangles half this width times twice the height of your desired waist, as it will fold. You'll end up with two rectangles, or one long rectangle if you prefer.
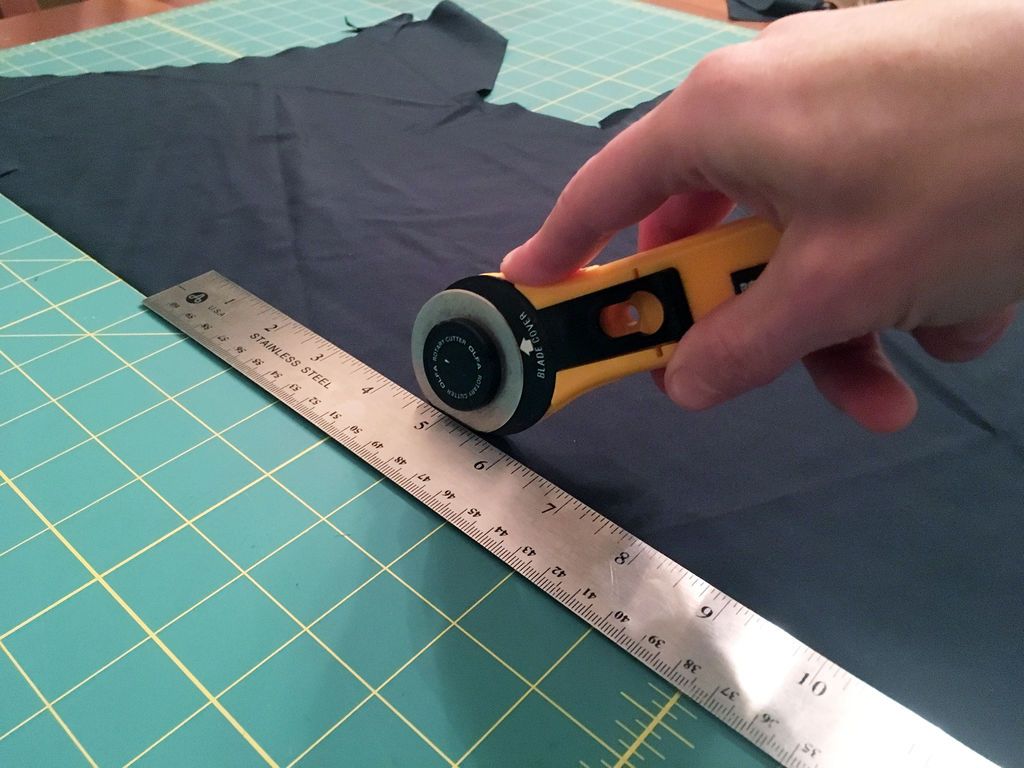
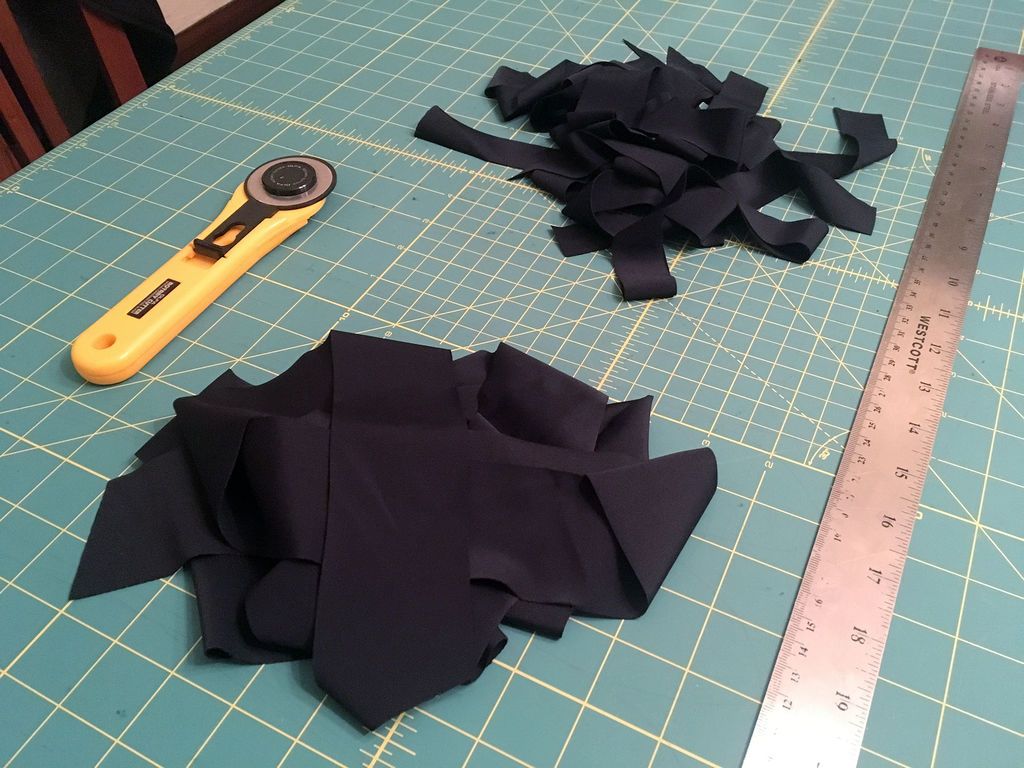
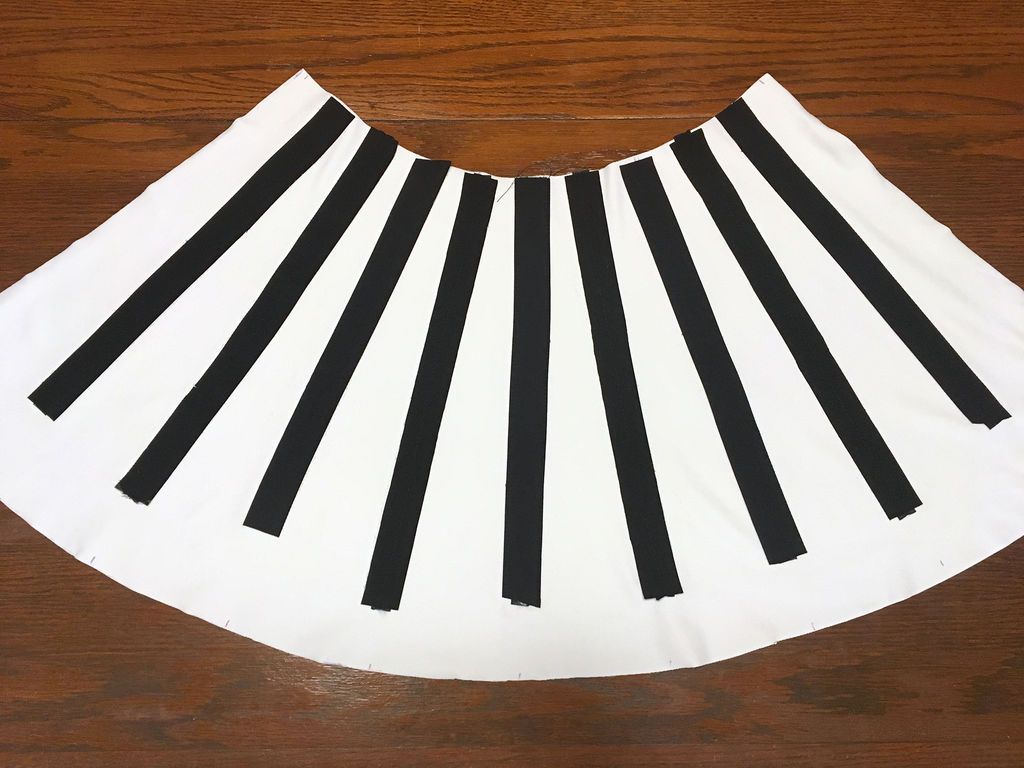
- Lastly I cut all the strips for my stripes. You can have fun with this part and make any design you like!
- But after sketching out some ideas, I liked the simple black vertical stripes for a sort of circus.
- I cut enough 1″ wide strips for 20 stripes, and enough 2″ strips for the hem.
Step 3: Mark the placement of the stripe
Then I marked my skirt for stripe placement. I did this by straightening the curved waist and marking it up to a tenth, then doing the same for the hem.
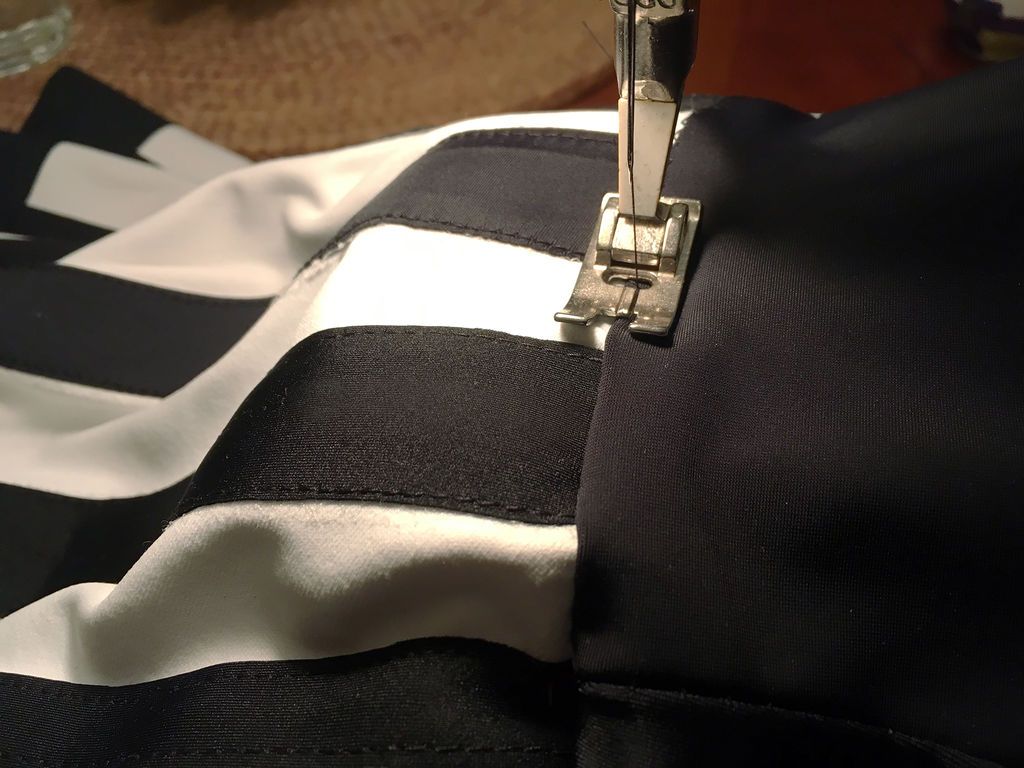
Step 4: Sew stripes
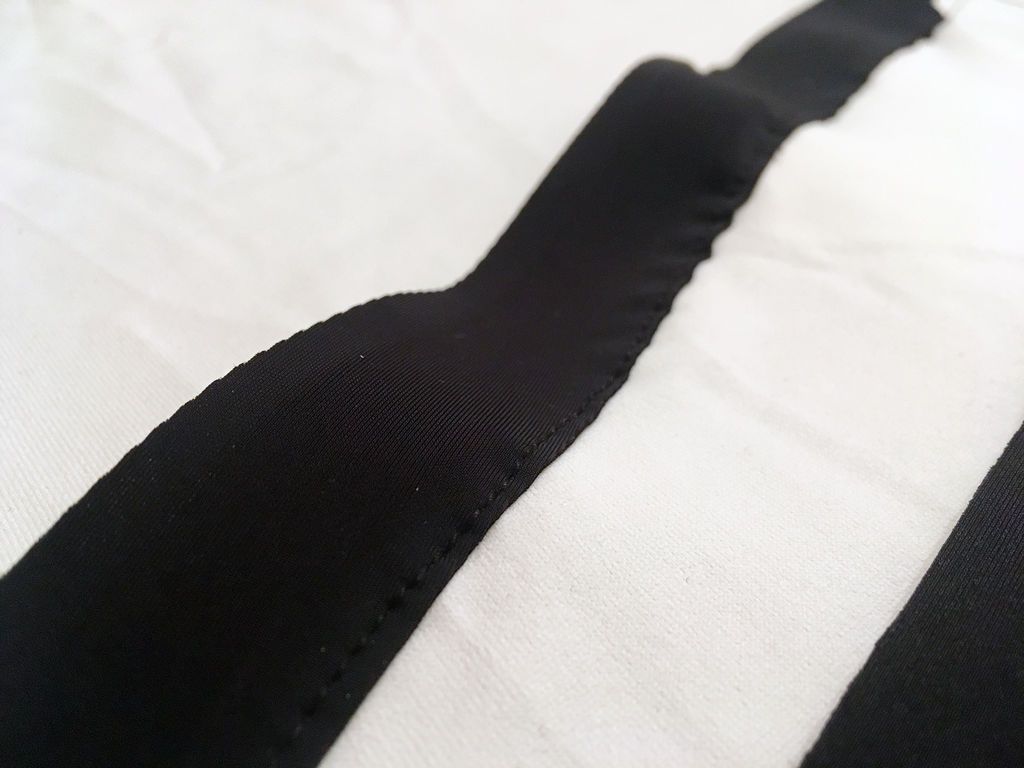
Although I knew that sewing a spandex fringe to a spandex base was a recipe for sagging and lack of beauty, I tried it anyway.
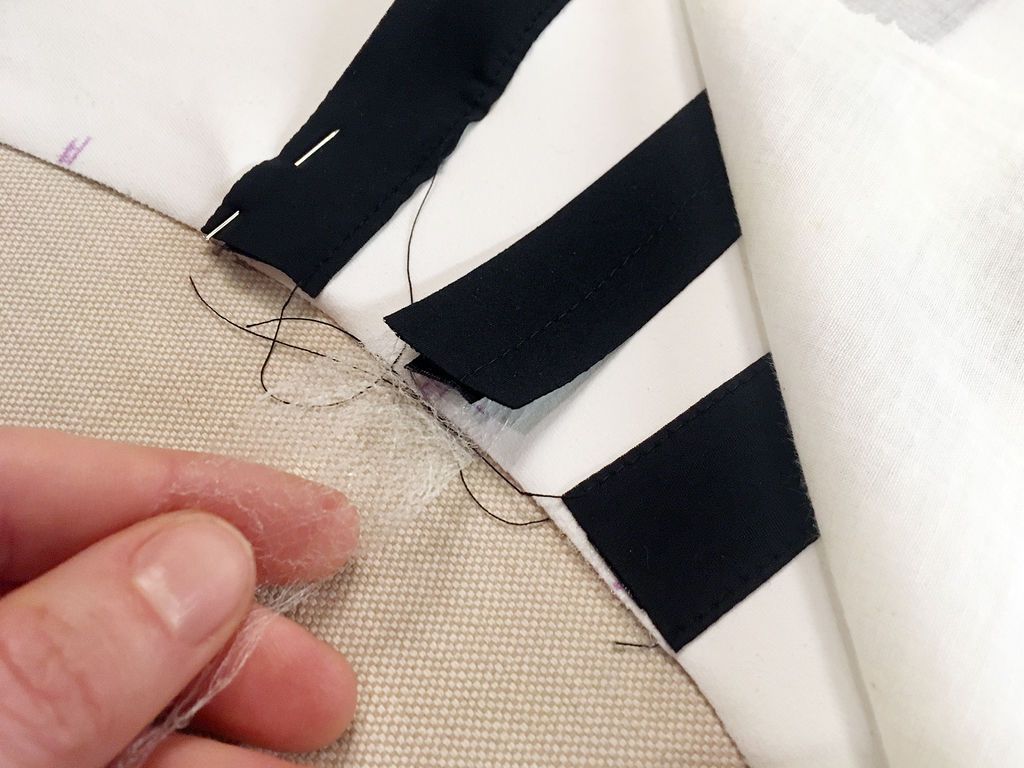
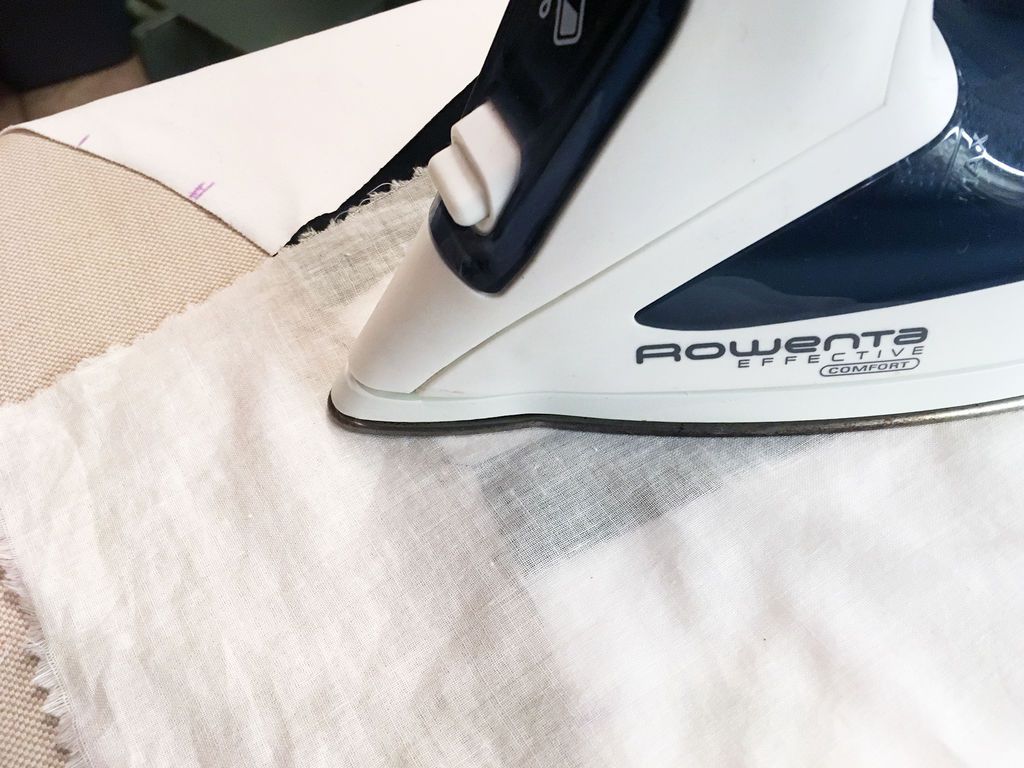
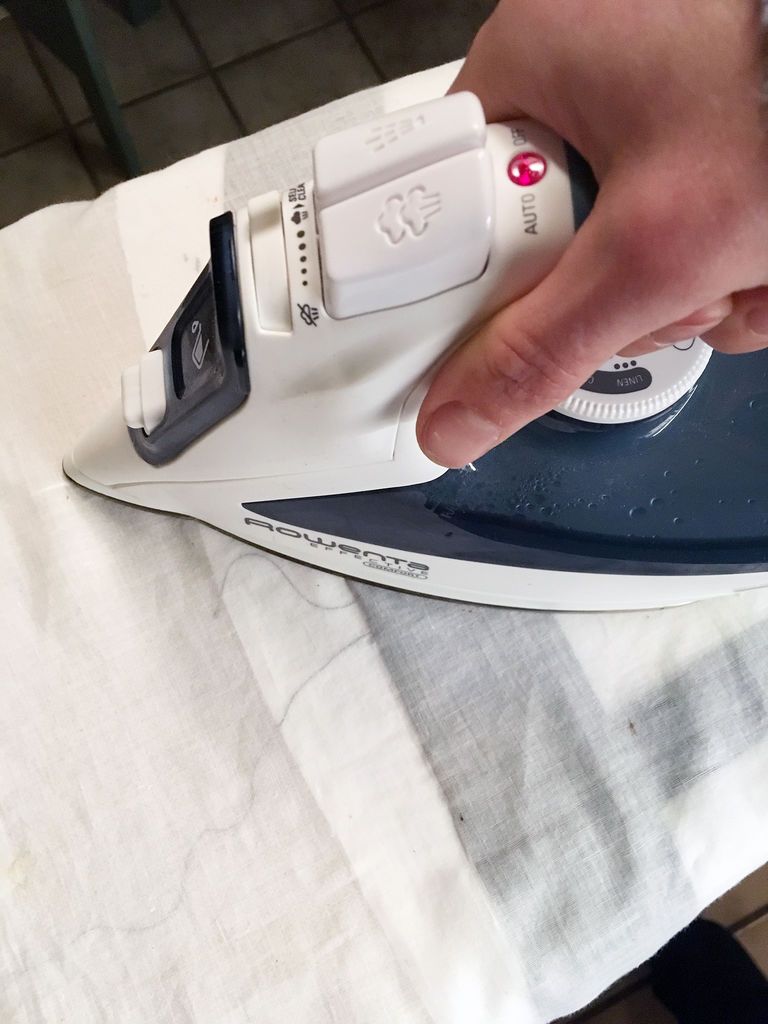
And I learned the lesson I knew I would learn, don't do that. To attach the stripes flat and polished, I used fusible interfacing and ironed them first to act as stabilizers before sewing.
This worked very well. You may be able to get good results with a roller foot and no interfacing, but I would still recommend this technique.
Just be careful to use a press cloth as it's easy to get fusible interfacing all over your iron 🙂
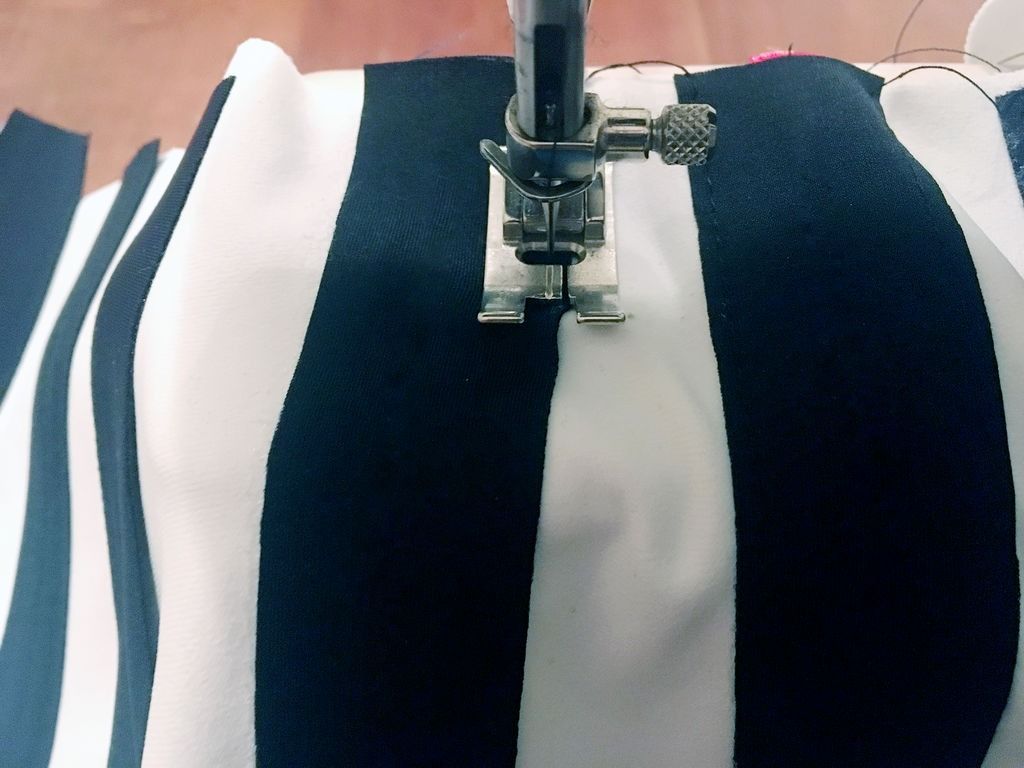
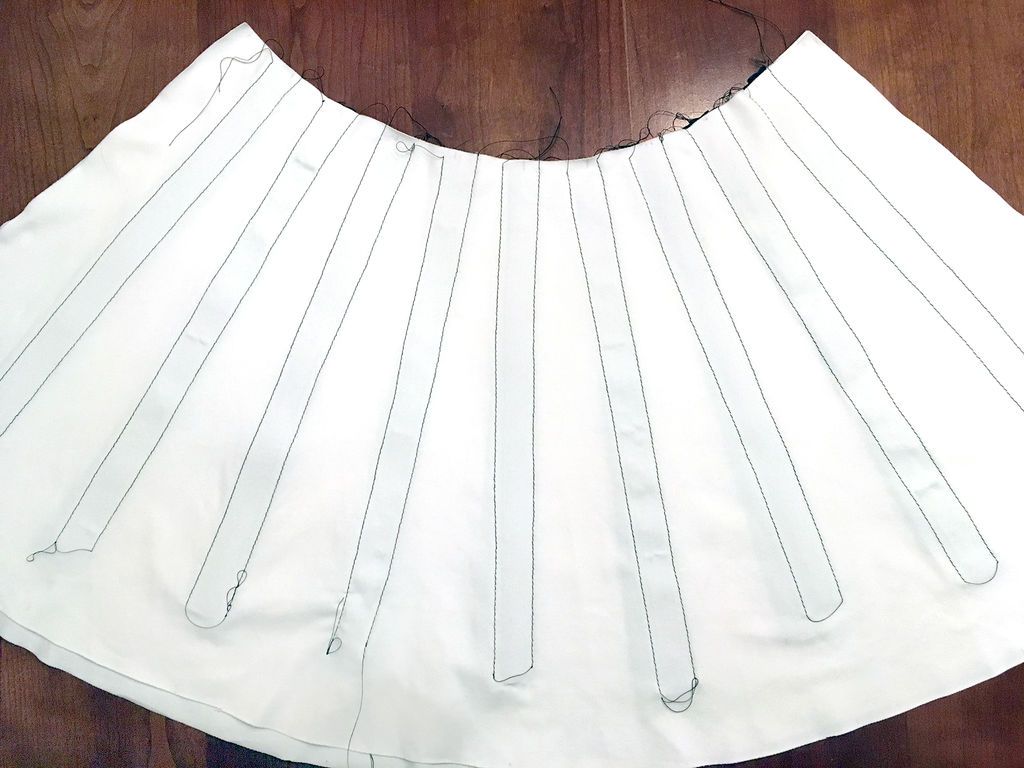
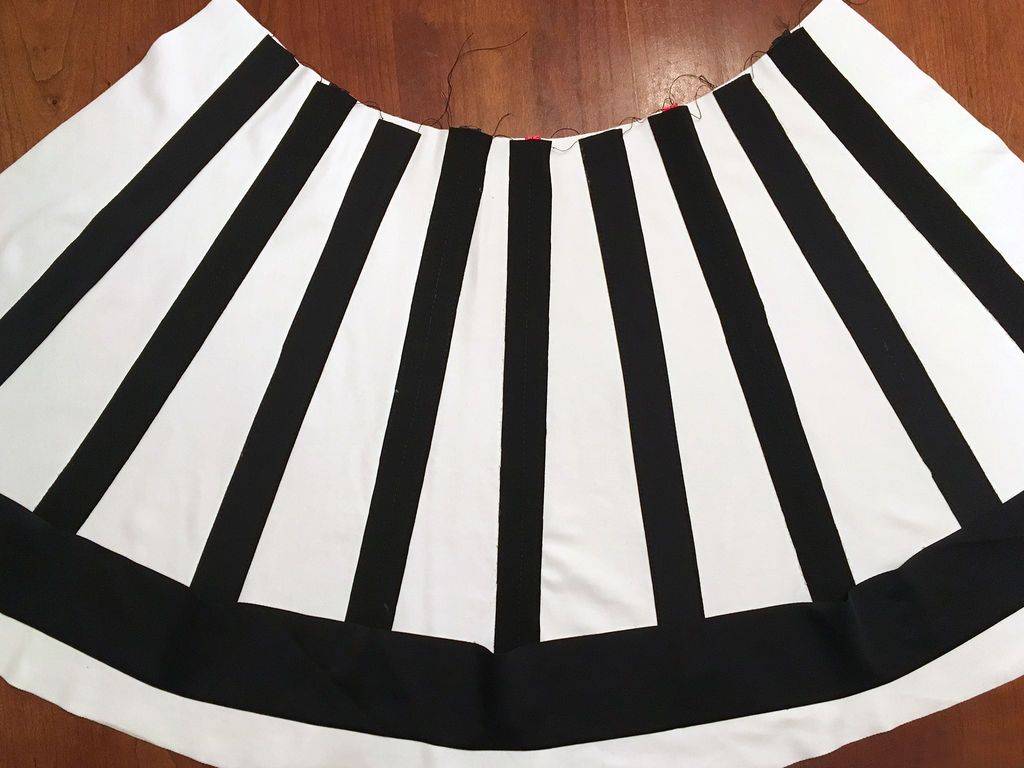
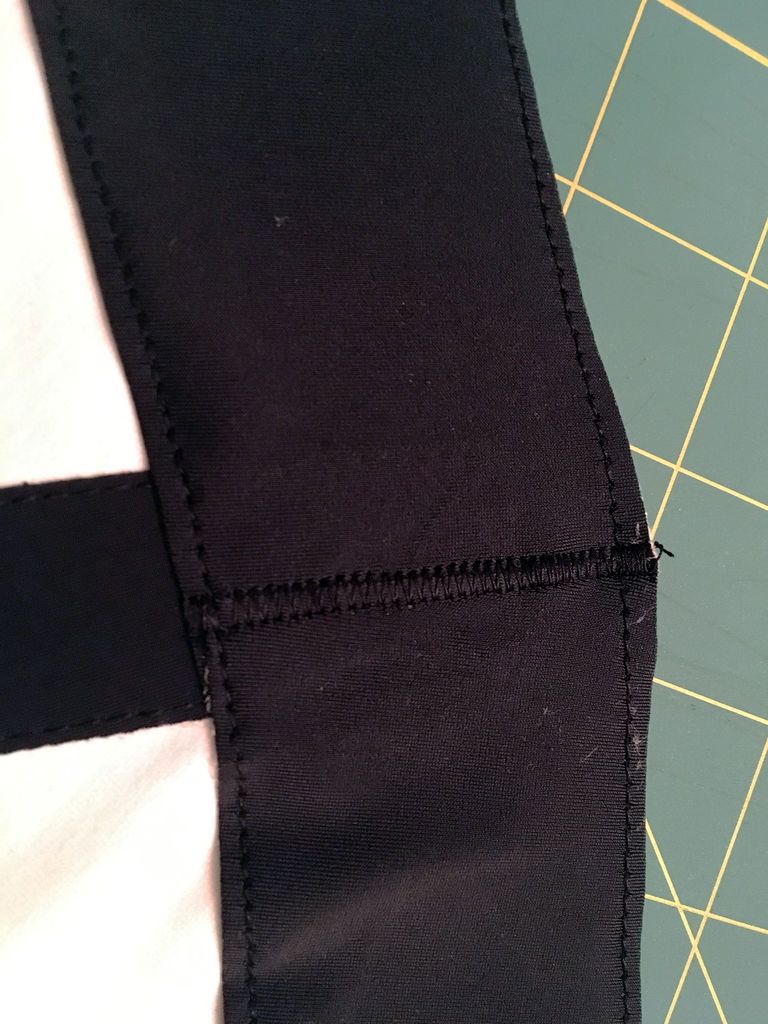
After fusing and sewing all the stripes, I sewed the skirt and joined the last two along the seam lines. Full stripes.
Step 5: Gather and sew the hem
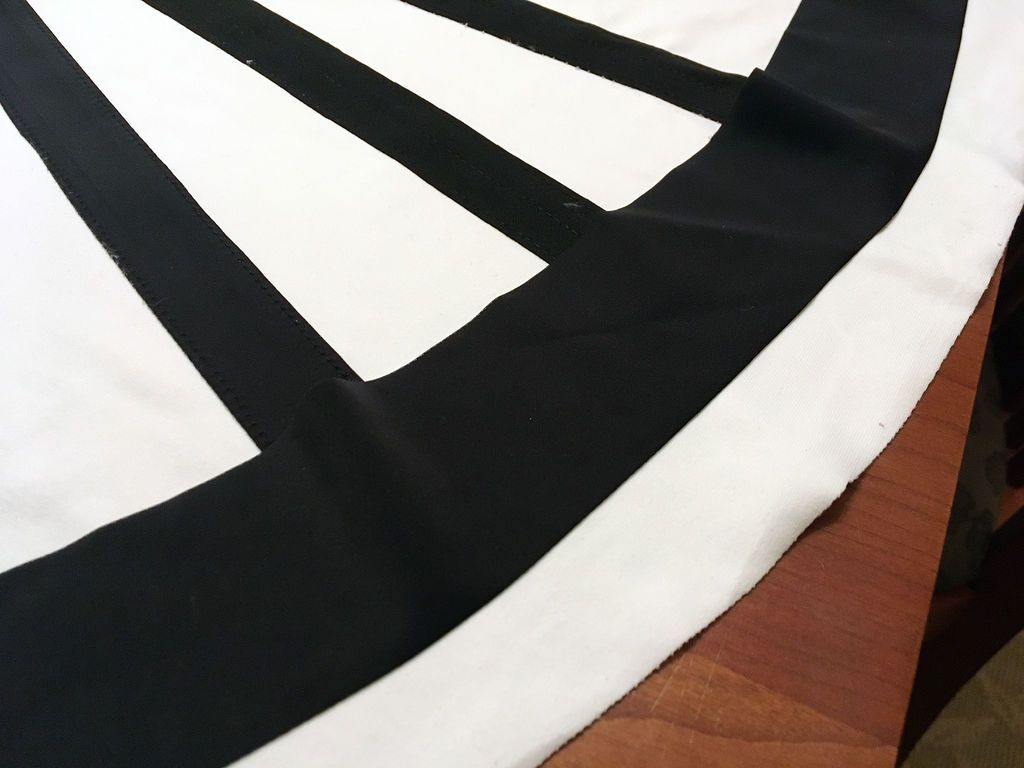

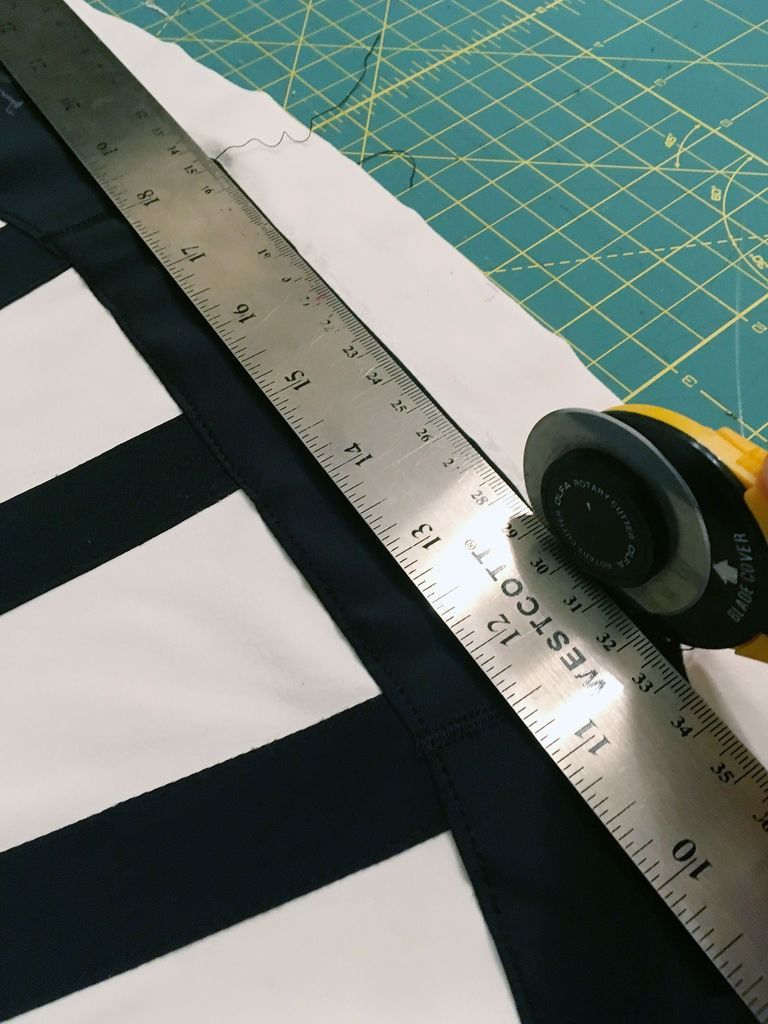
Continue with a similar technique for the hem.
If I didn't care about wasted fabric, this strip of fabric would be curved to fit the pattern.
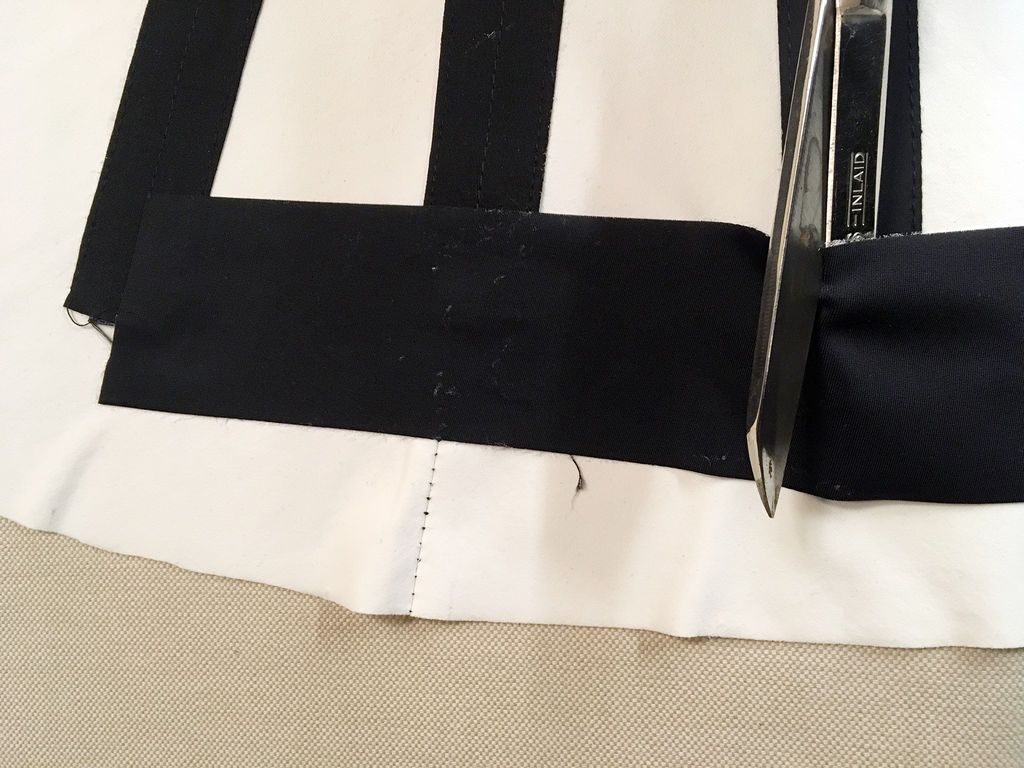
However, it's much more efficient to go with a straight strap, meaning I had to adjust it as I worked my way around the hem to be flat. I did this by going straight to two stripes, then cutting and overlapping it to get a flat edge.
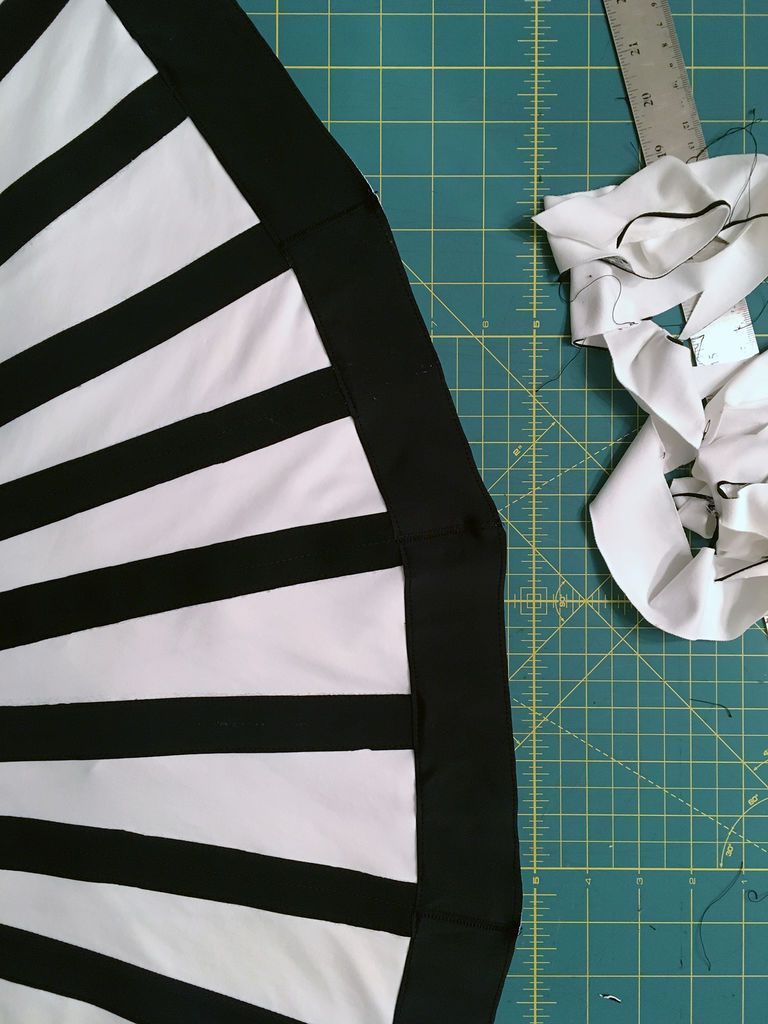
Once everything was fused together, I sewed it in place and trimmed the excess for a clean hem.
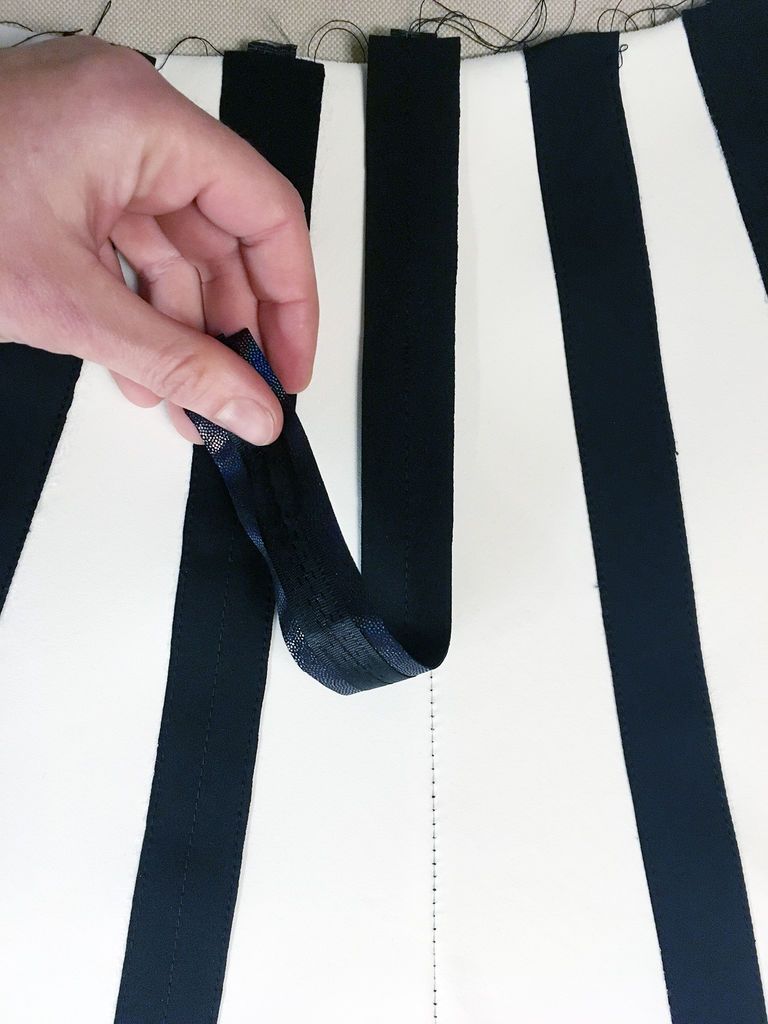
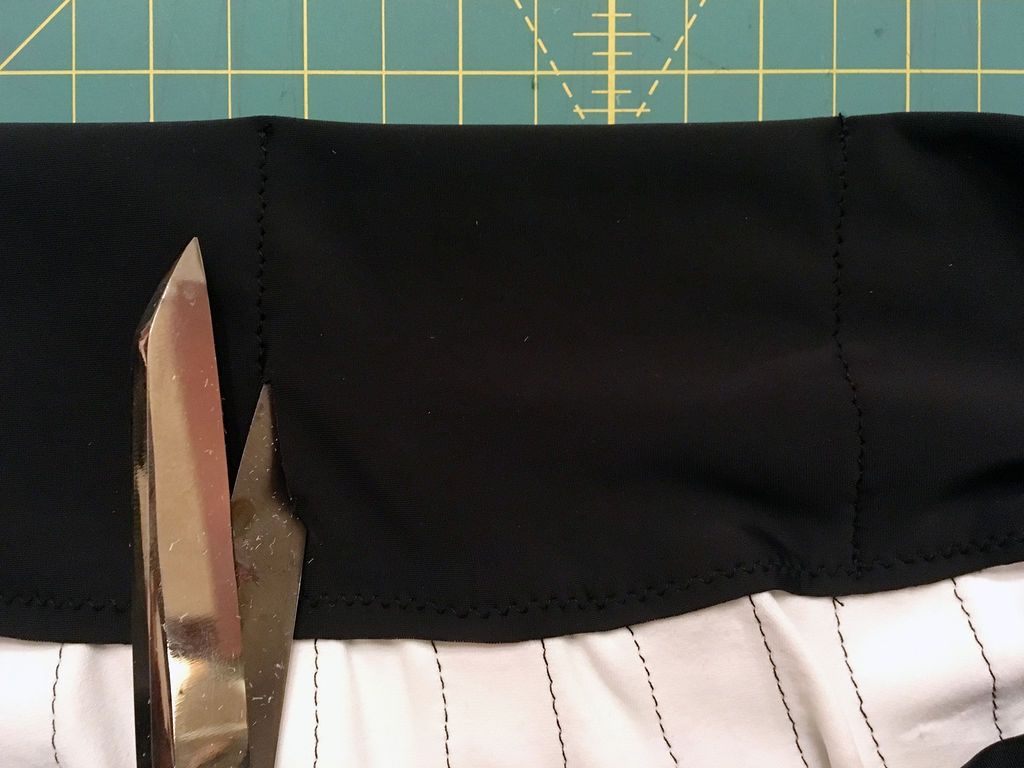
Step 6: Waist
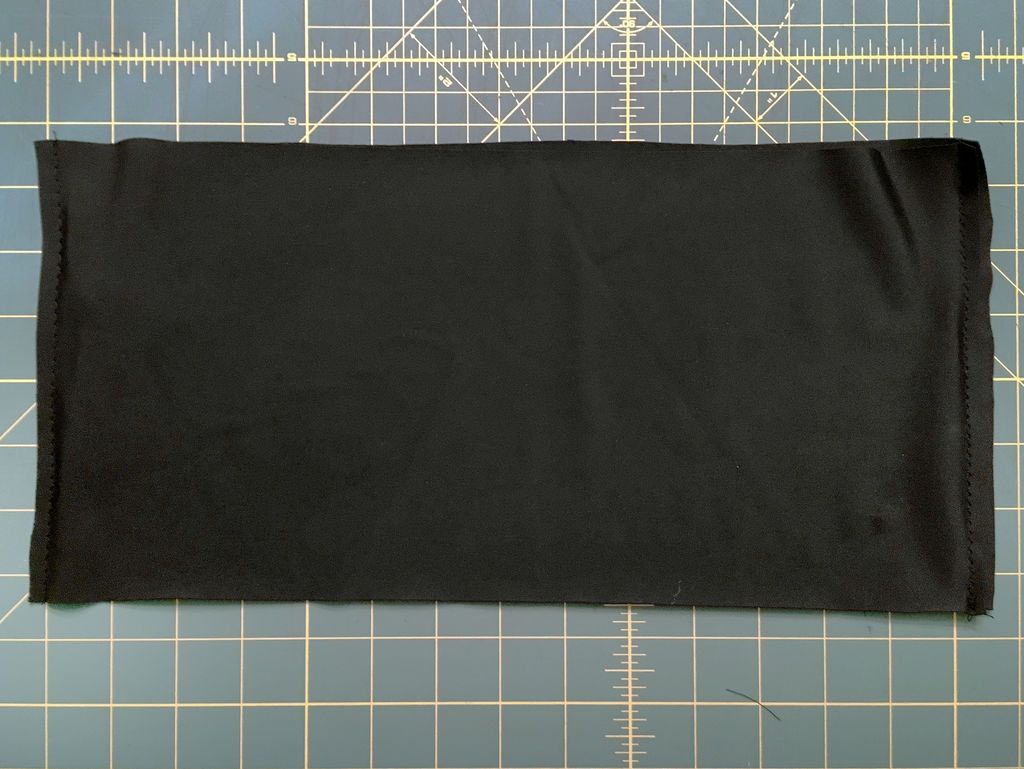

For the waist, I started by sewing the two sides together.
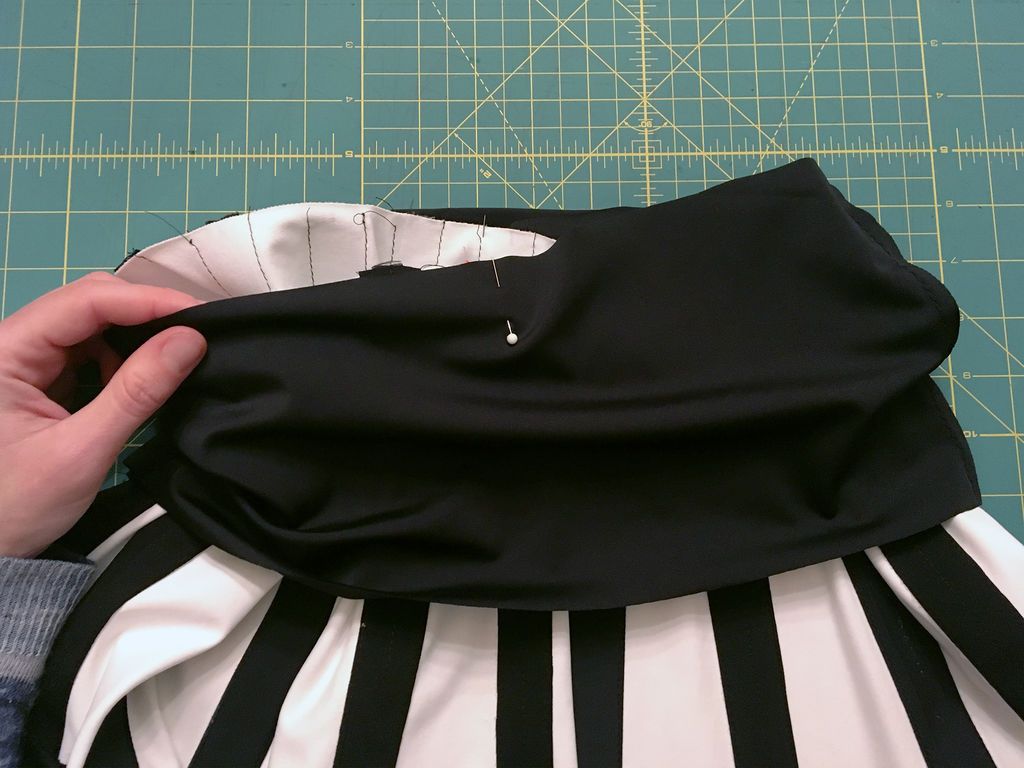
I then attached it to the skirt and sides of the waist, and sewed the front of the waist to the skirt.
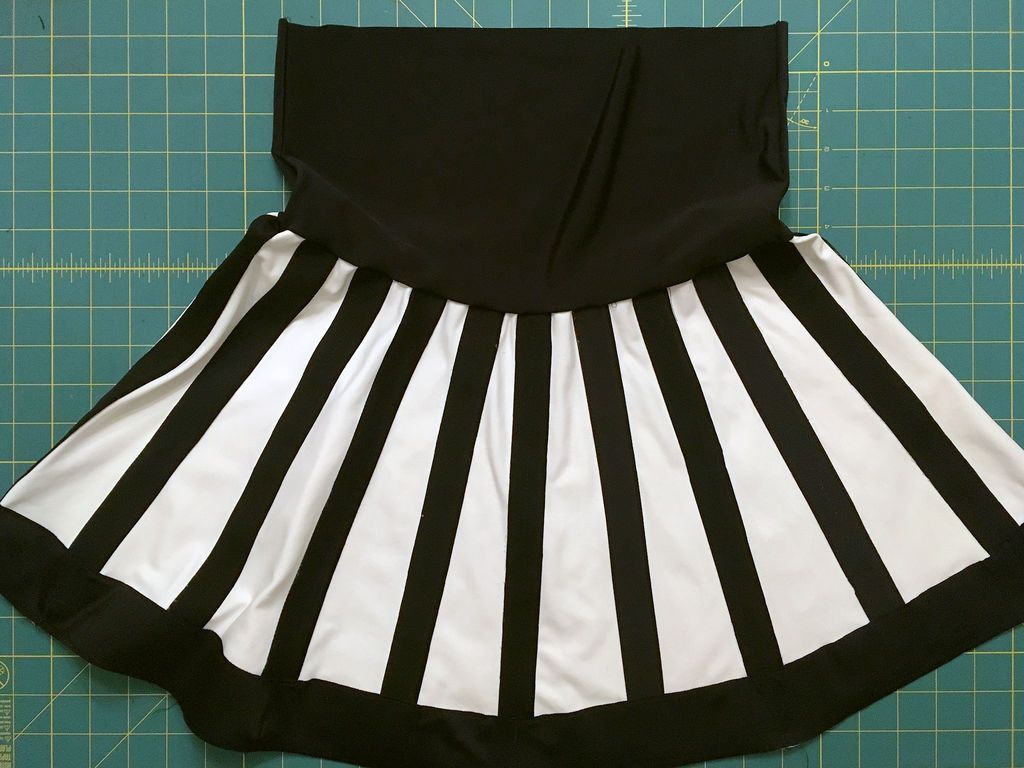
Then I folded the waistband in half toward the inside of the skirt, pinned it into place with a slight bottom overlap to the first waistband seam line, and sewed along the top of the waist band at the seam line to secure the back in place.
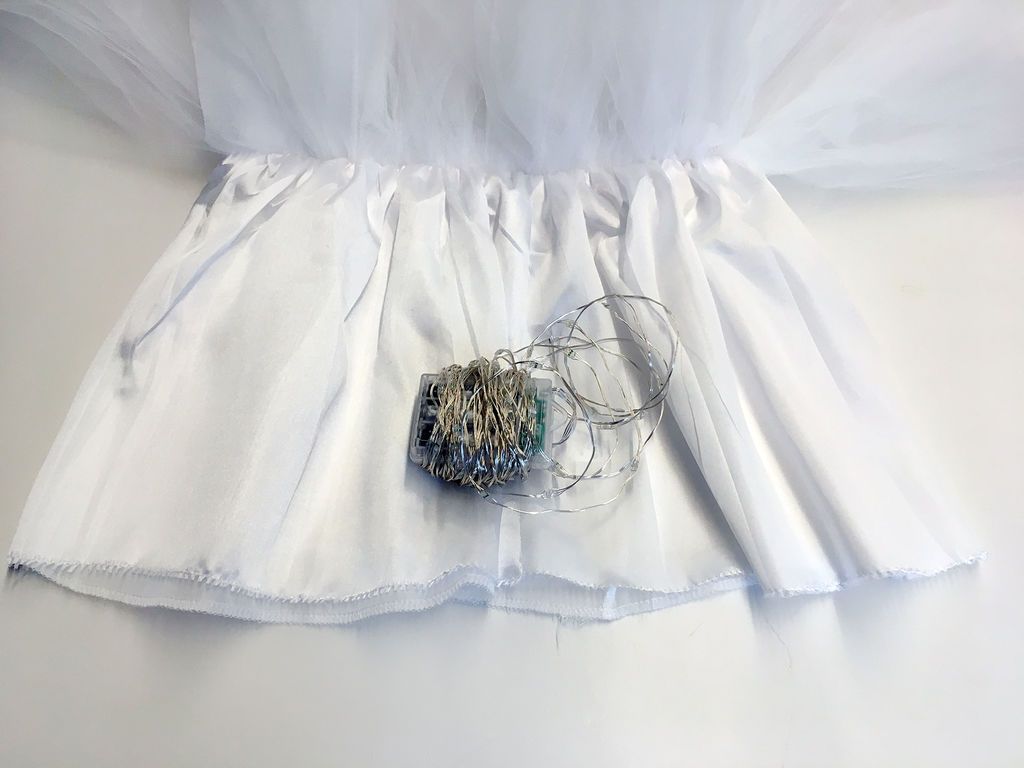
Step 7: Battery
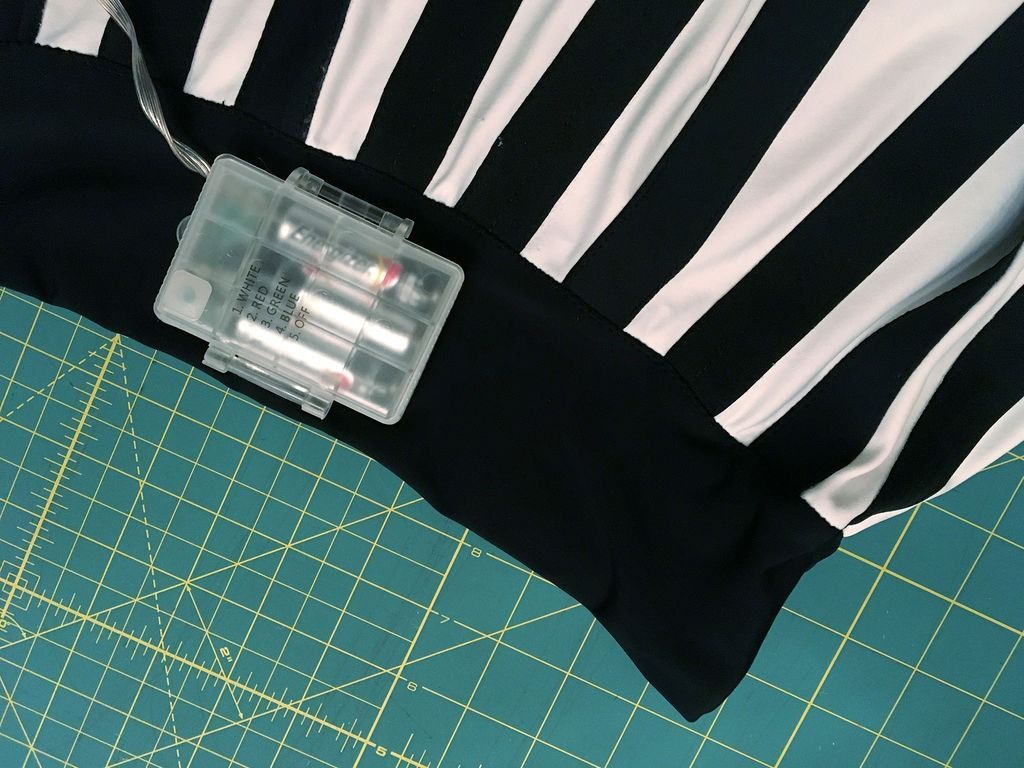

Or, almost done, that is. While the most elegant thing would be to hide the batteries in the tutu, I wanted to be able to change the colors easily, which meant easy access to the battery button.
I created a compartment for the battery pack by sewing two linesperpendicular to the waist in the back wide enough to fit the battery pack, and I cut an opening on the inside large enough to stretch over the battery pack.
Now the skirt was made 🙂
Step 8: Prepare the Tutu
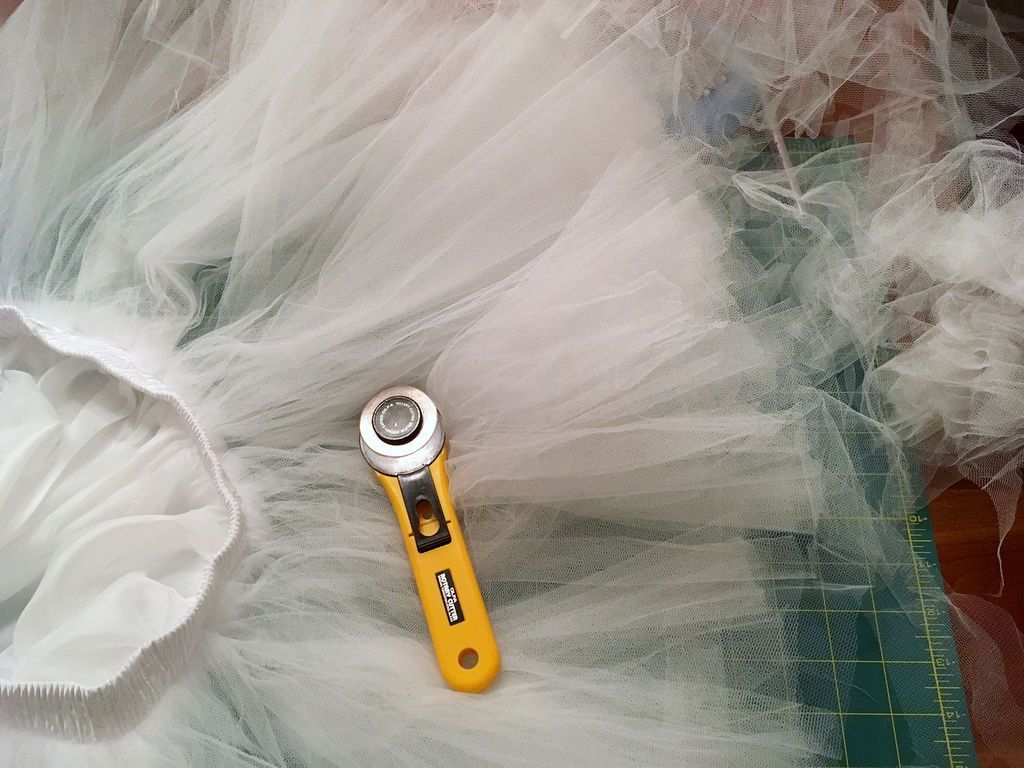
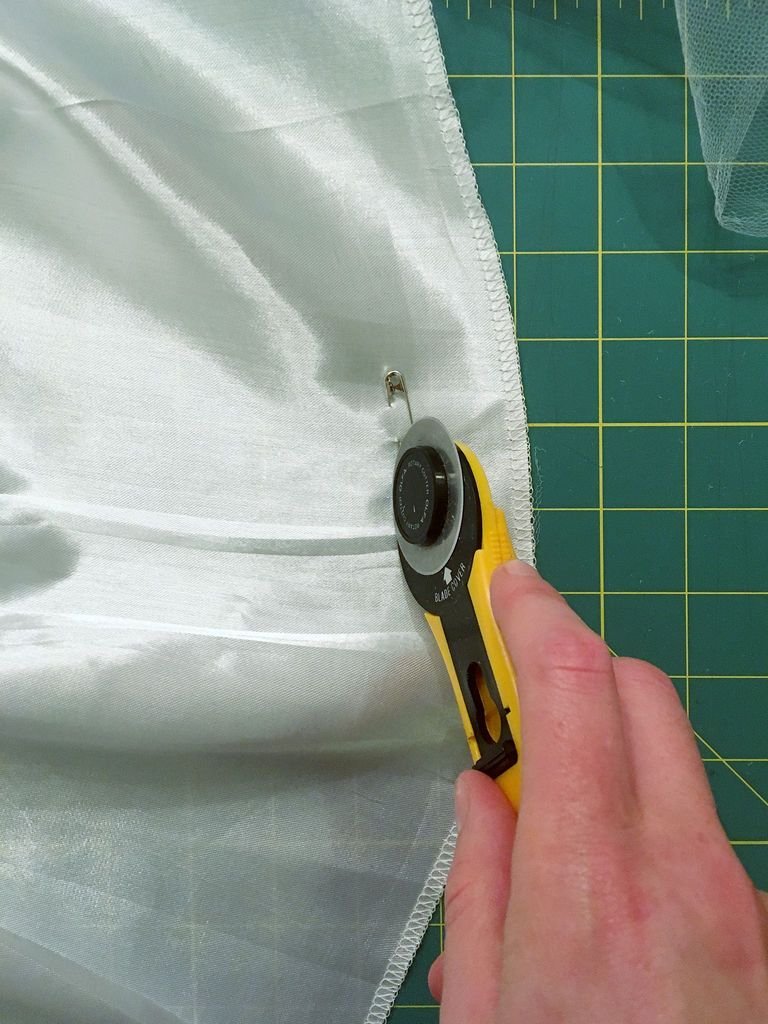
While I actually liked the variegated hem of this tutu, unfortunately it was too short for this purpose.
I trimmed the tulle until I had a uniform 12″ tutu and shortened the inner lining to match.
Step 9: Add lights to the Tutu


Last step! I thought this would be a nice, relaxing and relatively short step.
As it turned out, this was the slowest step! However, although it was not short, it was relaxing.
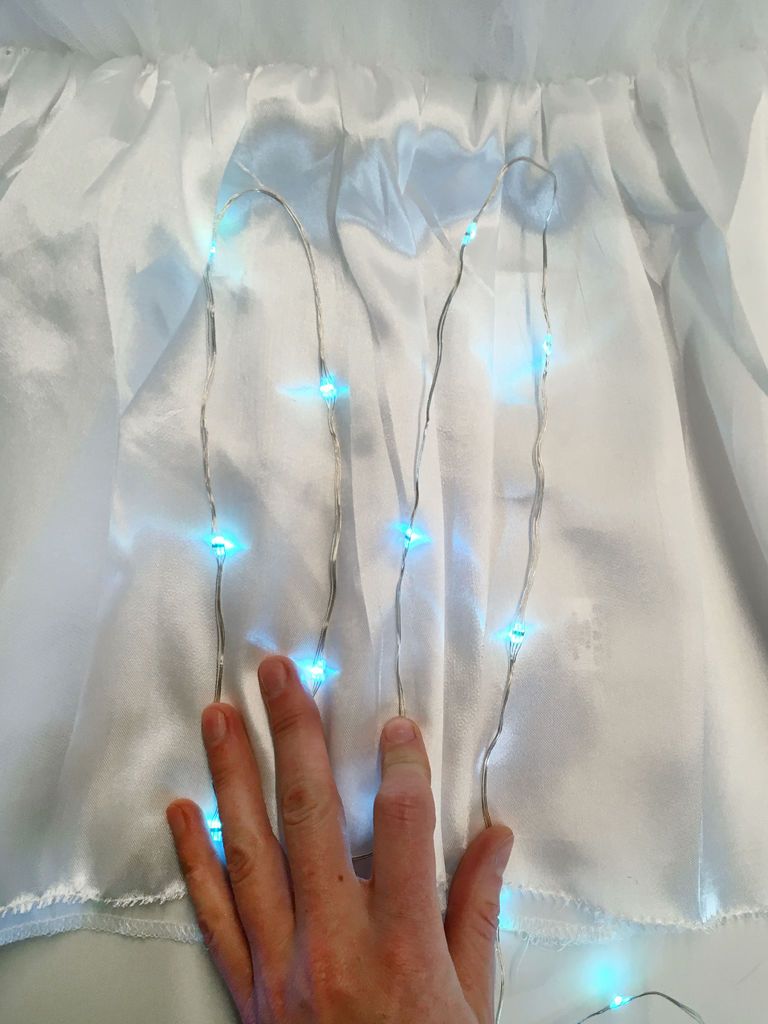
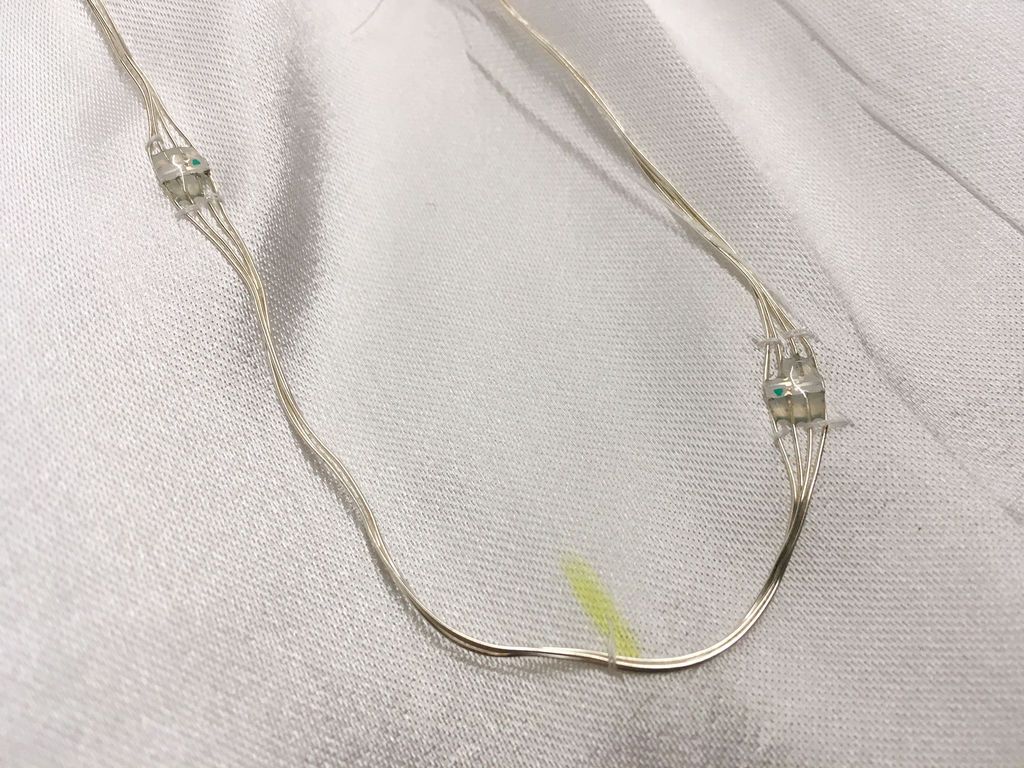
I started by planning my lighting design. I had 100 LEDs, and after placing them I discovered that alternating rows of 2 and 3 LEDs is what worked as a loop from the hem to the waist and back with the length of the skirt I had.
With some quick math I made 20 paths of lights up and down, just like my stripes. I measured the hem of the tutu and divided it by 20, then marked it accordingly.
I put on some podcasts and got to work sewing by hand. It took me about 4 hours. You could probably do it faster and more sloppily, but this only gently attacked them every couple of inches.
Make sure the back of your rope tail is placed on the waist side of the skirt so that the end with the battery pack easily reaches the waist pocket.
Also be sure to sew the LEDs facing outward for maximum light.
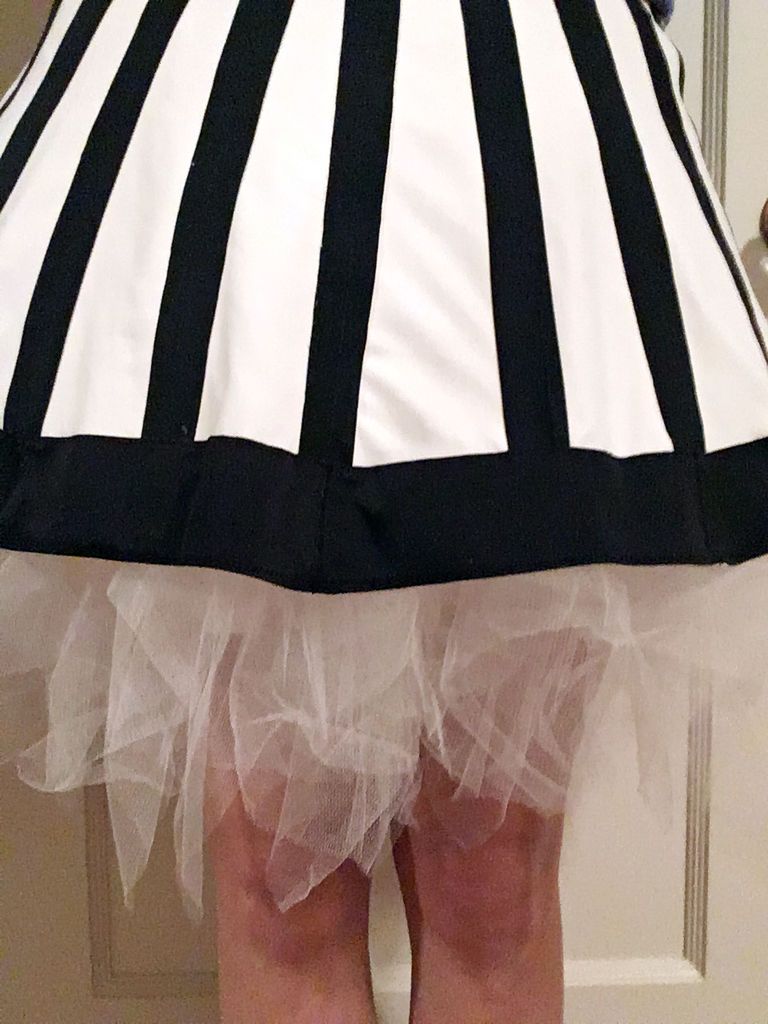
Step 10: Finished
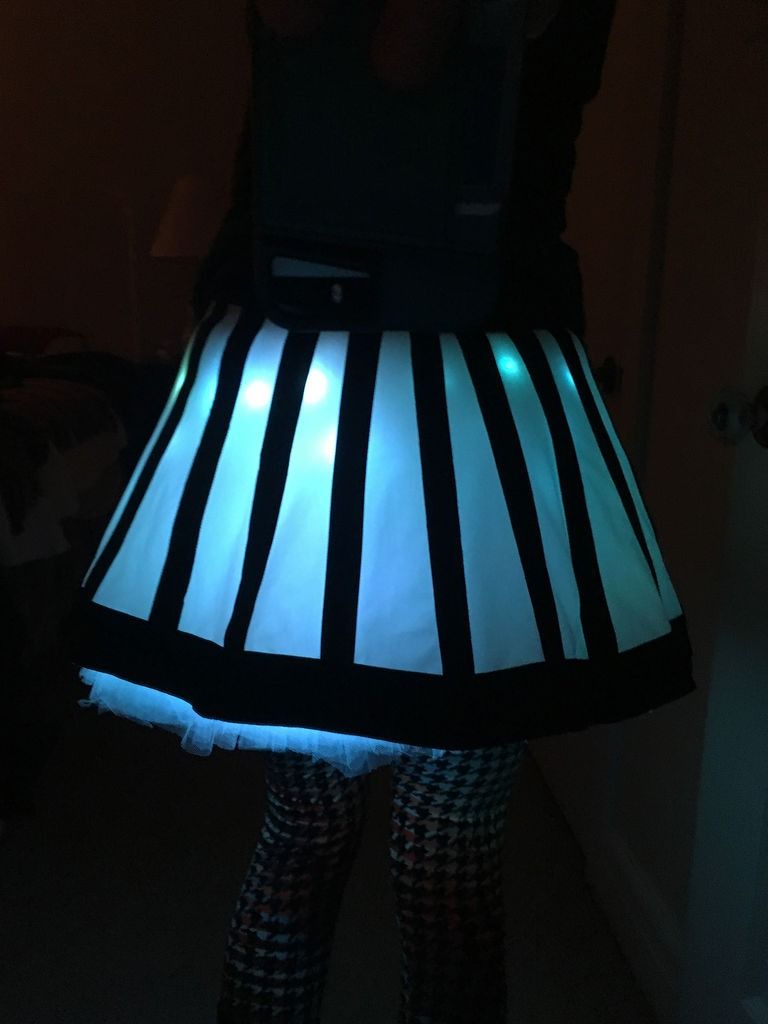
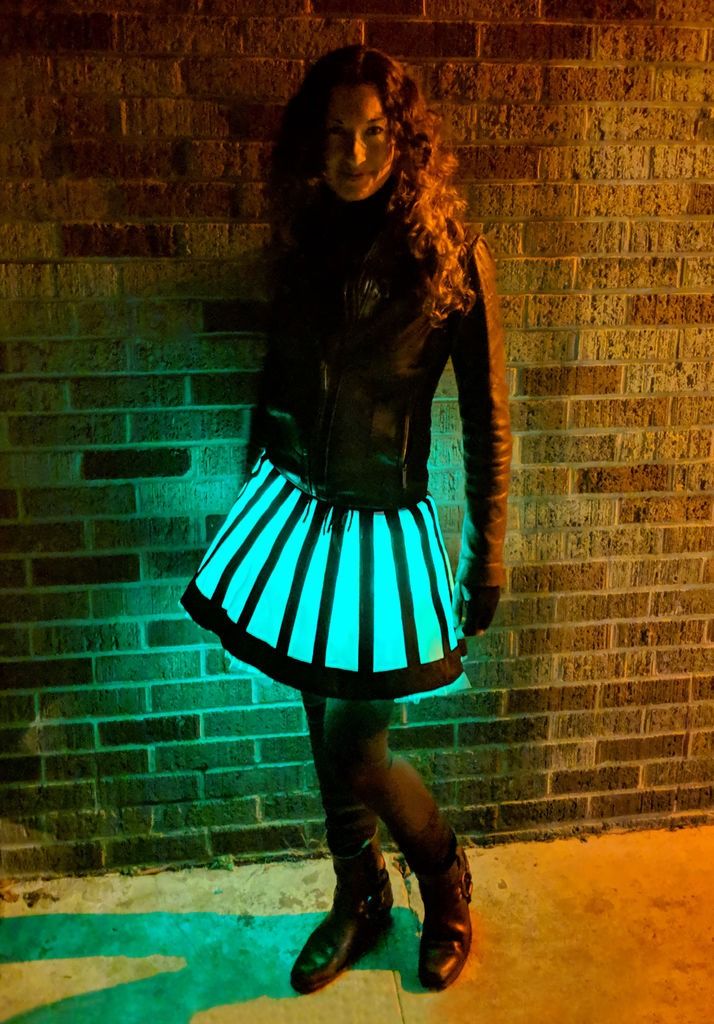
Once you're done hand sewing, it's time for the moment of truth! Overall, I was pretty happy with the result, but there are a few things I would do differently if I did it again.
Learning 1:
Despite being very well stitched on the lights, the rear showed many light spots, while the front showed almost none. I think this is probably because there is more diffusion space in the front and less in the back, since the rear is somewhat in the way 🙂 As you can see, the rear is still well diffused under those few top lights, so next time, focus the lights on the lower two-thirds of the skirt. It would probably still diffuse very well with the tutu.
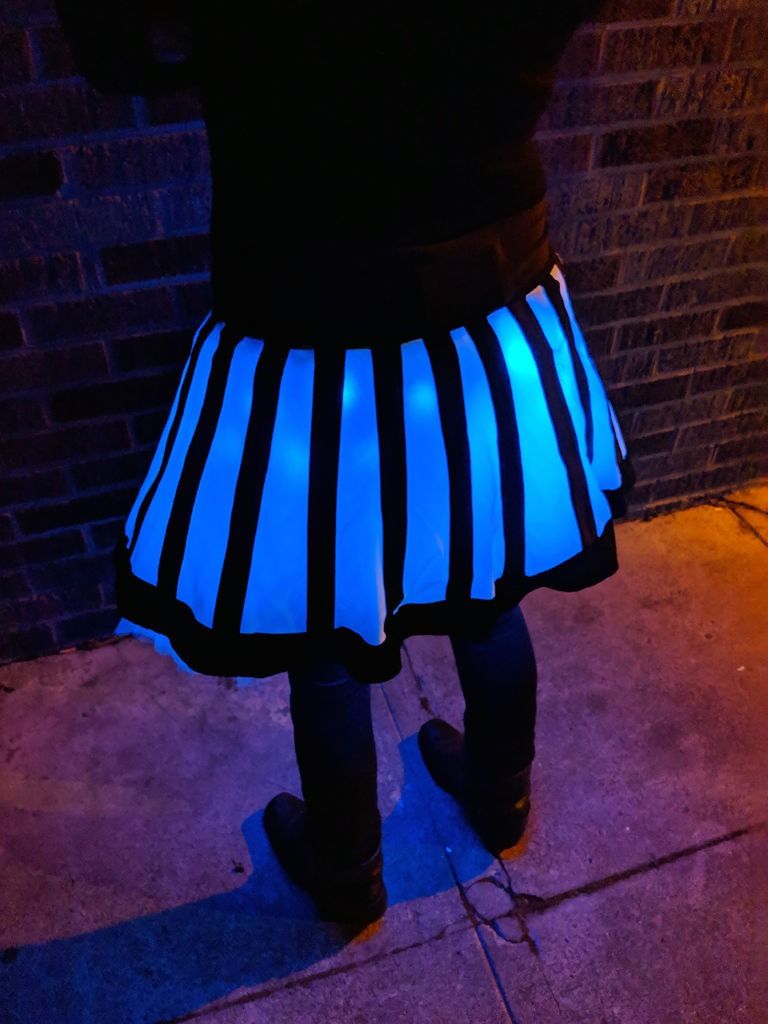
Learning 2: Uneven Brightness
I hadn't thought about string lights being brighter at the beginning of a string than at the end when I started this project, and I remembered this fact once I was done.
The variation in brightness is difficult to see in these photos, but it was quite pronounced.
Luckily, the transition was at the back, but it's worth exploring solutions for this.
As I mentioned in the supplies step, I might recommend purchasing two strings of 50, and putting them together on a 9V battery to avoid double bulky battery packs.
This would allow one to work brbright to dim and then dimmed to bright for less of a jarring transition.
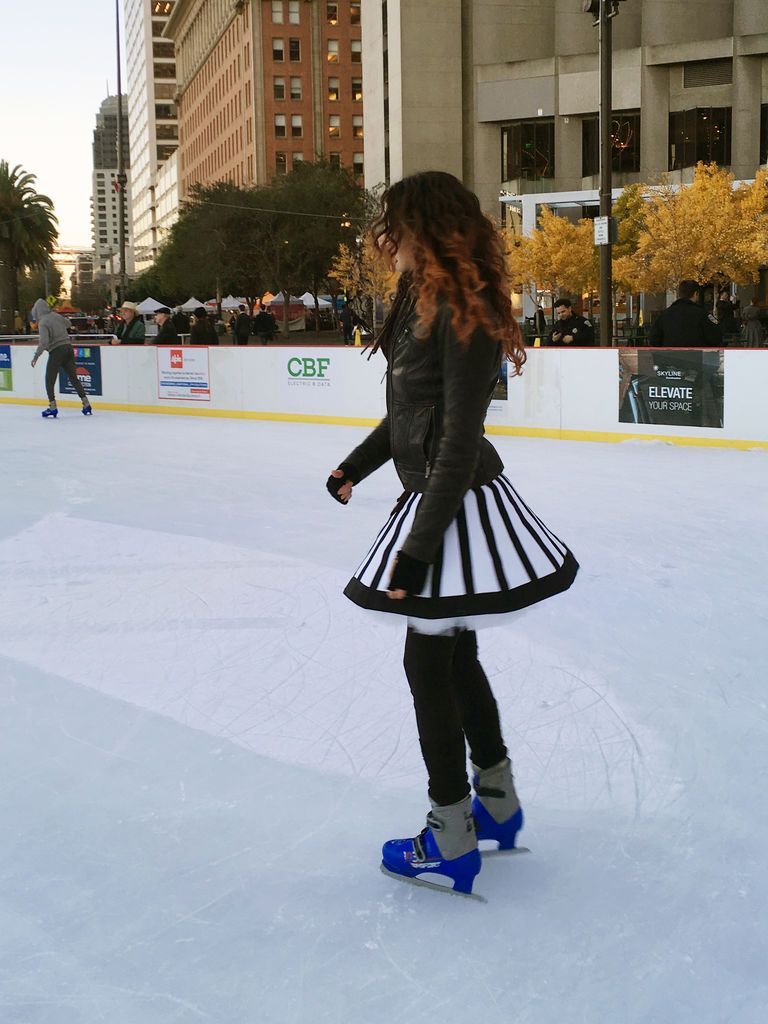
I am happy with the result. There are plenty of variations on this effect possible with different skirt designs or lighting methods.
It also looks great without the tutu as a normal everyday skirt. Greetings!
Get more information at perfectionidea.com and on our Facebook for more How to Make a Skirt with LED Lights.
Popular Content
How to make a rocket stove for outdoors
Cardboard Drawers Lined with Jeans
How to Create a Fairy Garden: Magic, Creativity and Nature in One Place
Latest Articles
How to make a refrigerator out of insulating material: Practical step-by-step guide
How to make a Kilim for the Home: Complete Step by Step Guide
How to protect ourselves from accidents in our workplace: Complete prevention and safety guide
Related Content
Dinosaur Shaped Bed Designs
30 Closet Ideas You Can Make Yourself with Recycled Wood!
Learn to Reinvent your Terracotta Pots
Rustic Trunk Shaped Card Storage Box!
Creative Home Decor Ideas to Transform Every Space
Refreshing your home starts with smart design choices that combine comfort, personality, and functionality. Whether you want to modernize a small apartment, upgrade outdoor areas, or create cozy rustic interiors, these trending ideas can completely change the atmosphere of your space.
Outdoor Spaces That Increase Style and Functionality
Outdoor living continues to dominate modern home trends. Homeowners are increasingly investing in practical entertainment zones inspired by these BBQ shed ideas, which create the perfect setup for gatherings and weekend cooking sessions.
First impressions also matter when designing exteriors. Elegant farm entrance gates design ideas help properties stand out while improving privacy and curb appeal.
Compact living solutions are also gaining popularity. These inspiring 16x40 shed house interior design ideas show how smaller spaces can still feel luxurious and functional.
To enhance patios and entryways, homeowners are adding stylish protection with these creative porch awning exterior DIY ideas that blend aesthetics with practicality.

Rustic and Cozy Interior Design Trends
Warm and natural interiors remain timeless. These charming rustic decor ideas combine wood textures, vintage accents, and earthy tones to create welcoming spaces.
Bedrooms are becoming more personalized with curated wall arrangements. Many homeowners use these stylish picture wall ideas for bedroom spaces to display memories and artwork creatively.
Textured wall treatments are another major trend. Installing a board and batten wall adds architectural character while keeping interiors elegant and modern.
Similarly, bold accent wall ideas can instantly transform plain rooms into eye-catching focal points without requiring a full renovation.
Smart Kitchen and Organization Inspiration
Functional kitchens are essential for modern homes. These practical kitchen wall cabinet ideas maximize storage while maintaining a clean and stylish appearance.
Organization also starts at the entrance. Well-designed mud room ideas help families keep shoes, coats, and daily essentials neatly arranged.
Colorful and Personalized Home Styling
Vibrant interiors are becoming increasingly popular thanks to playful dopamine decor ideas that use bright colors and joyful accessories to improve mood and energy.
Gallery walls also continue to evolve as a major decorative feature. These trendy gallery wall inspiration ideas offer creative ways to combine prints, photos, and statement art.
Young renters and new homeowners are especially embracing these stylish first apartment aesthetic ideas to create sophisticated interiors on a budget.
Finally, selecting the right shades can dramatically influence any room’s atmosphere. These modern trendy color ideas help homeowners choose palettes that feel fresh, elegant, and timeless.
Final Thoughts
From rustic charm and colorful interiors to outdoor entertaining areas and functional storage solutions, today’s home decor trends focus on creating spaces that feel both beautiful and livable. By combining smart layouts, modern textures, and personalized decorative elements, any home can become more stylish, comfortable, and inspiring.


