
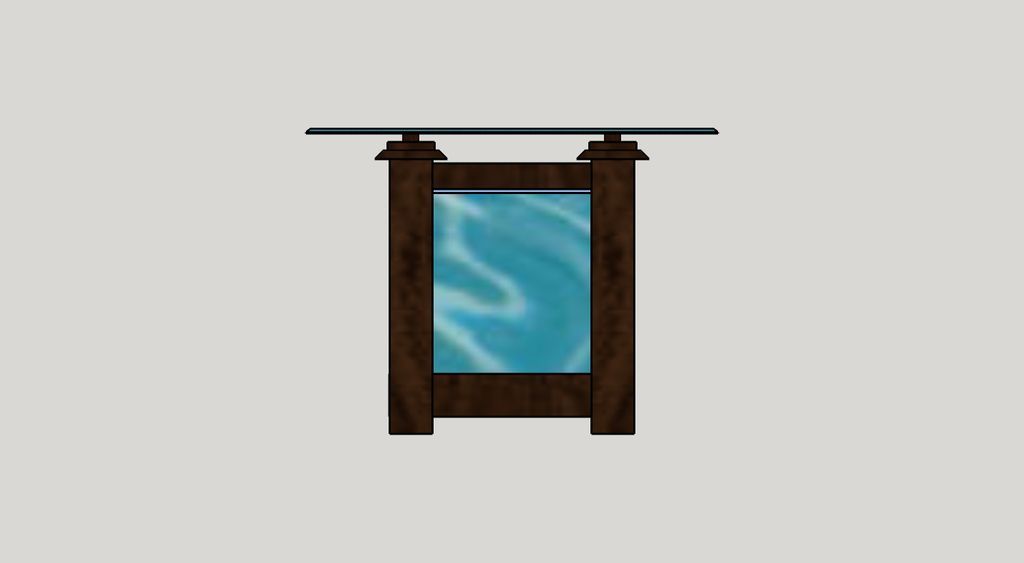
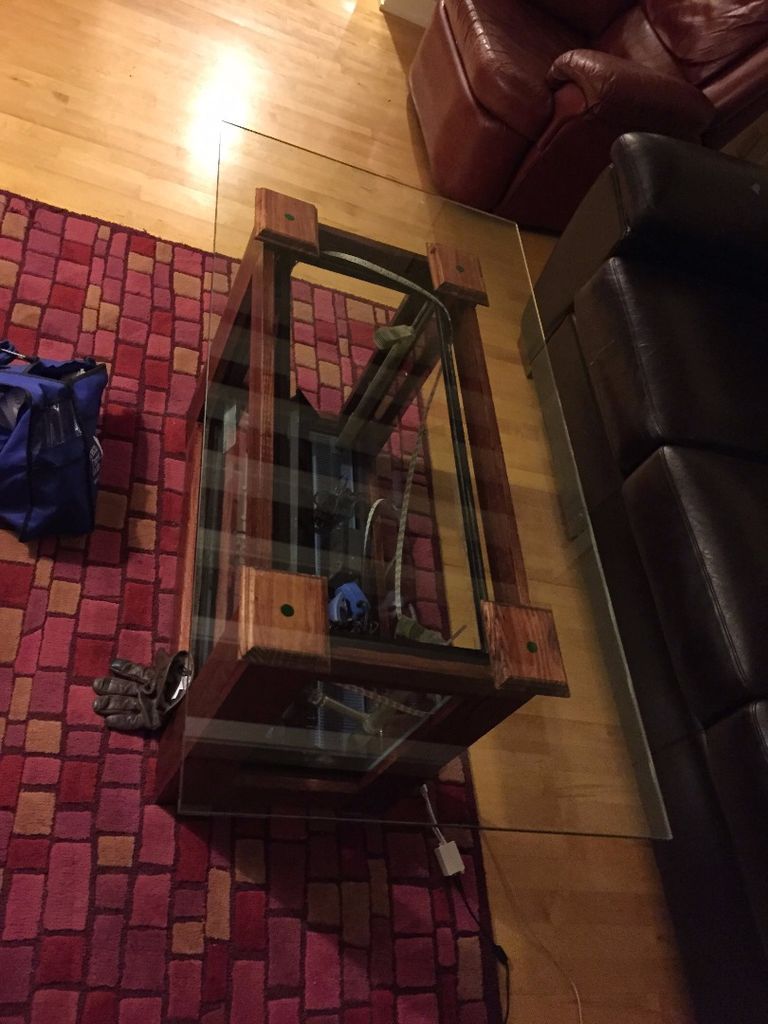
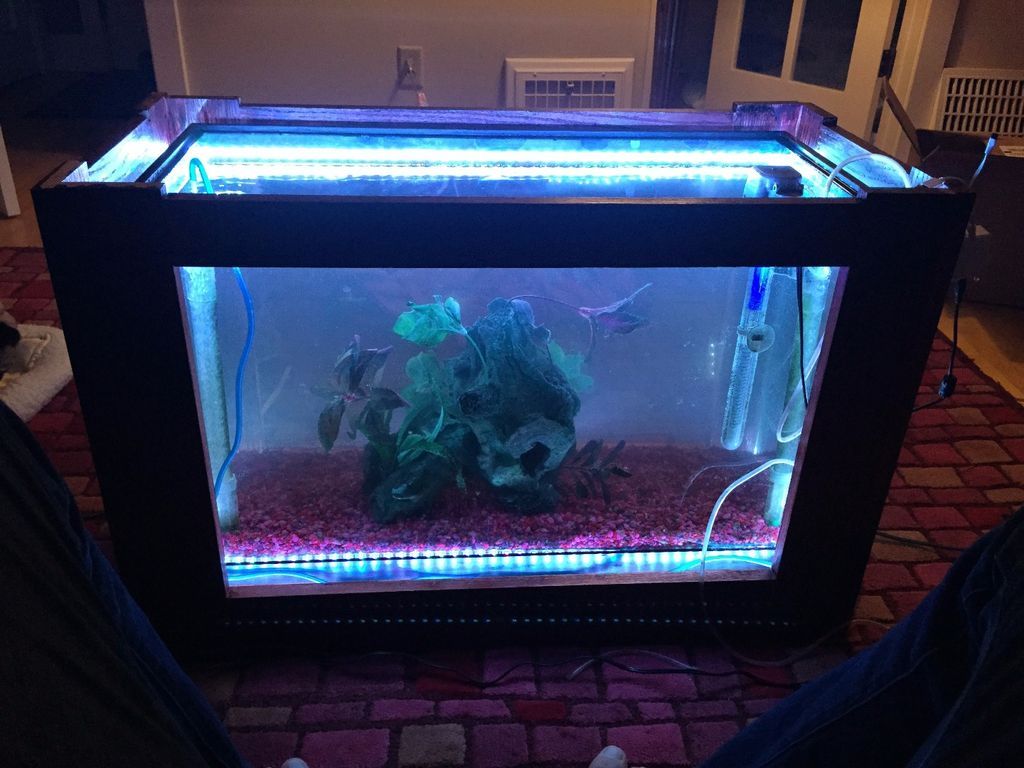
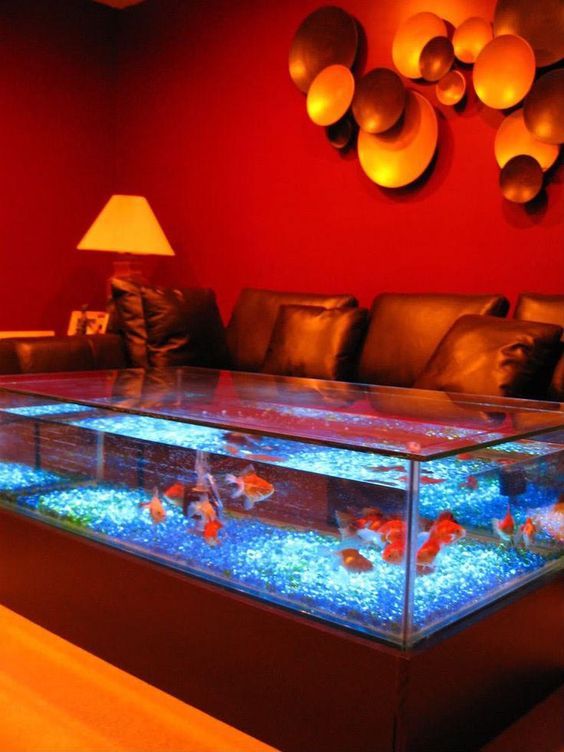
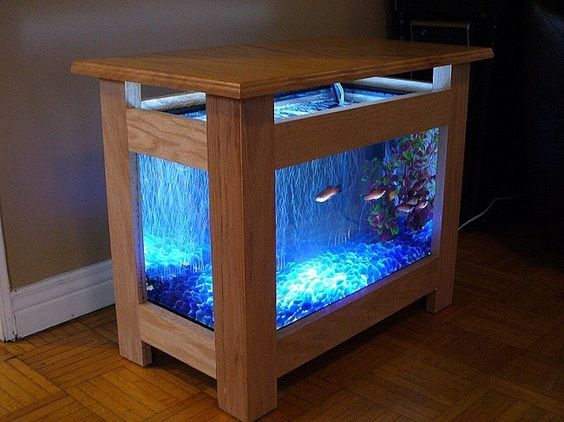
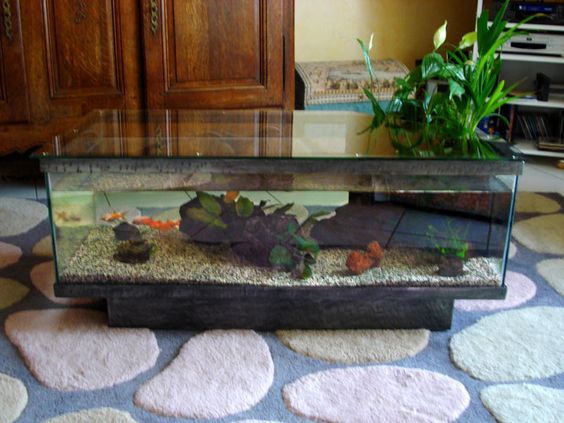
Guide to Building an Amazing Fish Tank Coffee Table, from supplies mostly found at your local store. 10 gallon and 20 gallon models are easily possible. I wanted to make something affordable and I already had a 30 gallon. (32×12.5×18)
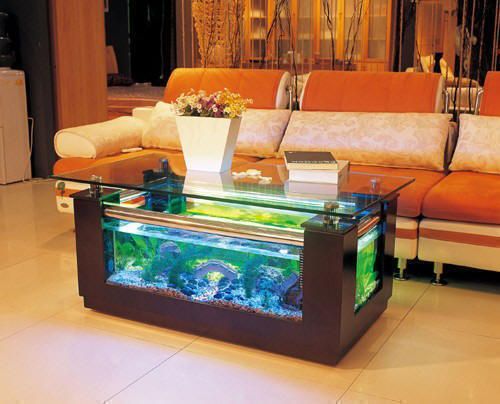
This aquarium coffee table is just a fabulous piece for your home! It does not require extra space as it works as a perfect coffee table as well. Really great at adding the light around the table and above all you can do it by following the tutorial below:

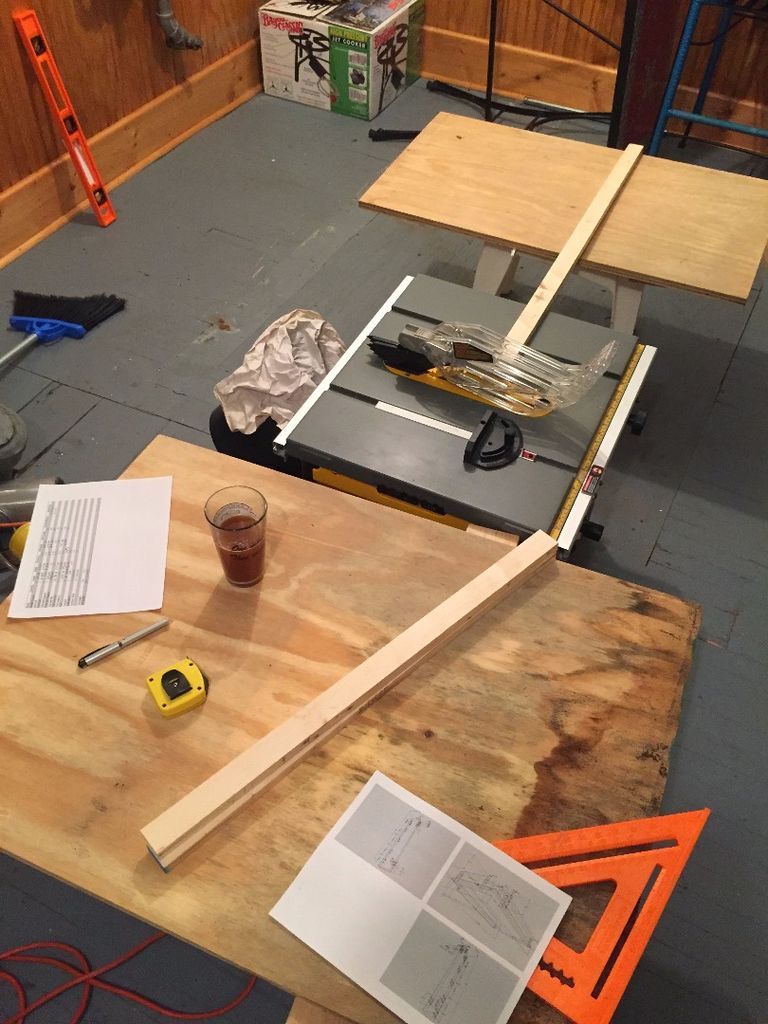
Step 1: Materials and tools


- Sides, bottom rails: 1″ x 4″ x 23′ oak planks (2X 10″ and 1X 4″)
- Top Rails: 1″ x 3″ x 8′ Oak Planks
- 1.5" knurled pins. X 3/8 inches.
- Wood glue
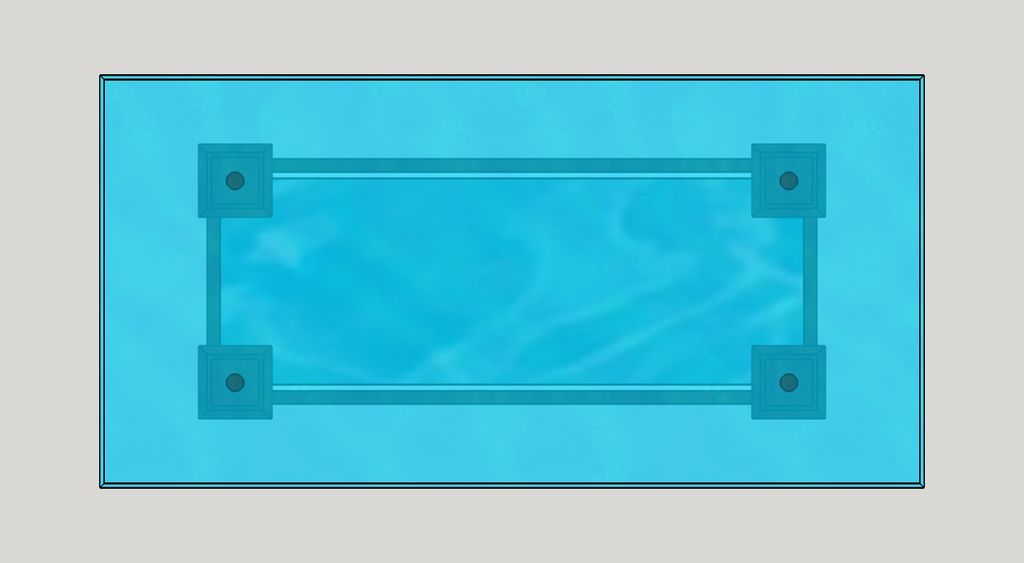
- Tank Base: 1/2" 32.25" x 12.75" Plywood
- Tank support: 1 x 2 x 8′
- Lids: 4 X 5″ x 4.25″ (cut from base)
- Wood finishes
- 24 x 48 x 3/8″ crystals with polished edge
- 5M SMD LED Strip Lights Waterproof RGB 5050 – 300 & 44 IR remote and 12V power key
- 32 x 12 x 18 fish tank
- Undergravel filter
- Air pump
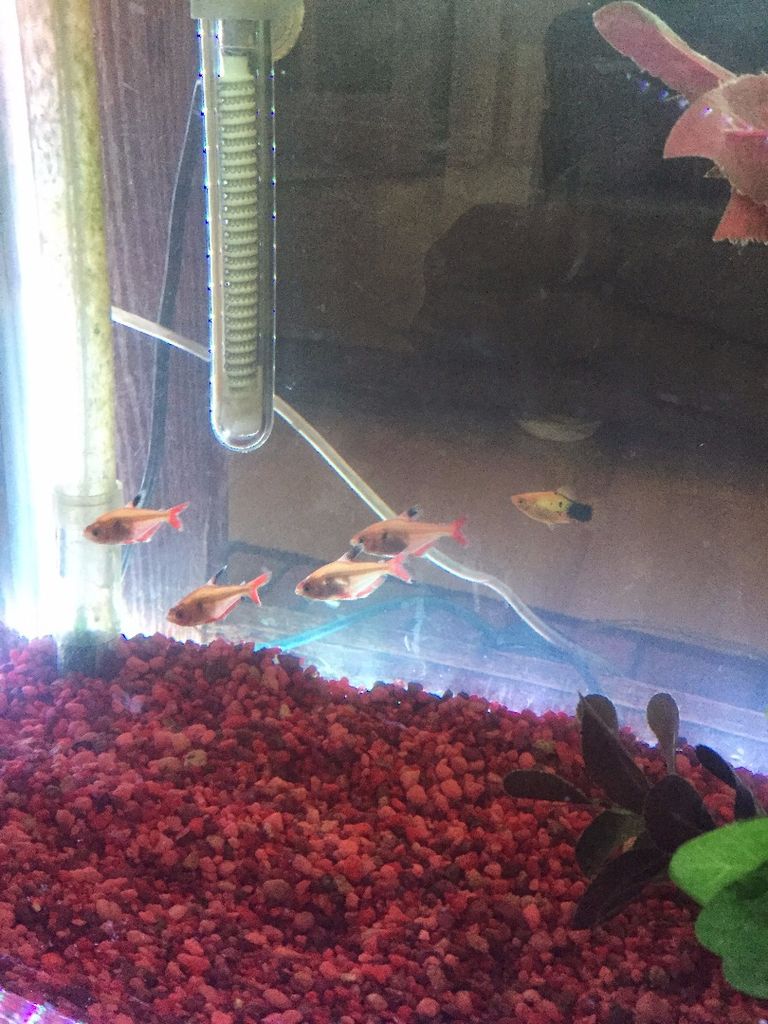
- Gravel, decorations, heater, etc.
Tools:
- Table saw
- Router with 1/2″ collar
- 1/2-Inch Large Shank 3-Bit Edge Router Bit Set (Yonico 13322)
- Drill
- Drilling bits (Brad Point)
- Dowel Jig (Amazon: Wolfcraft 3751405 Dowel Pro) ($29)
- Tape measure
- 36″ C Clamps
Step 2: Preparation of the wood
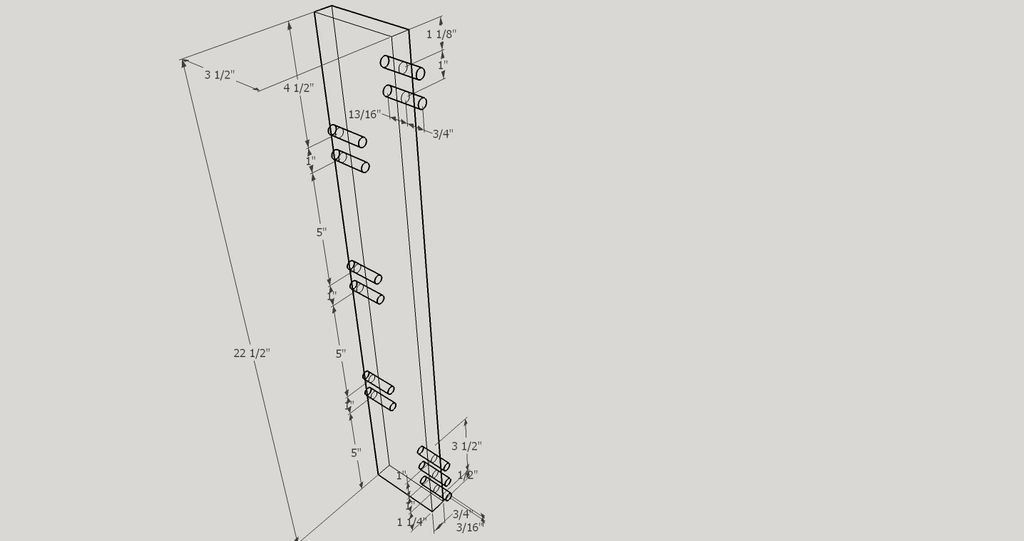
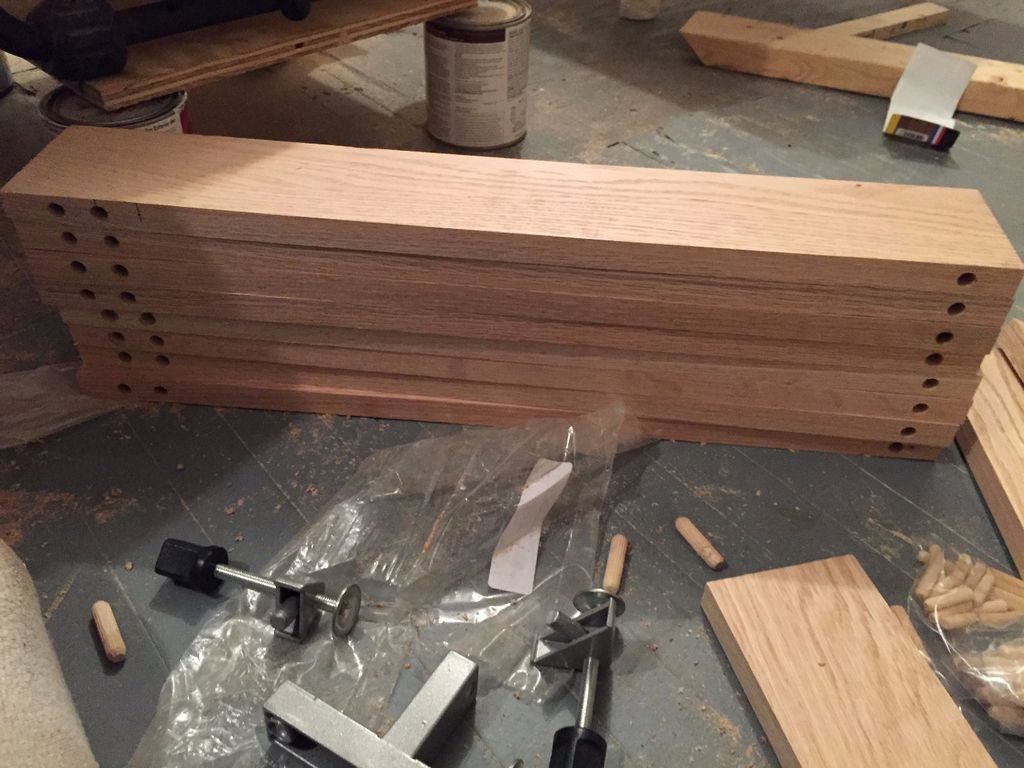
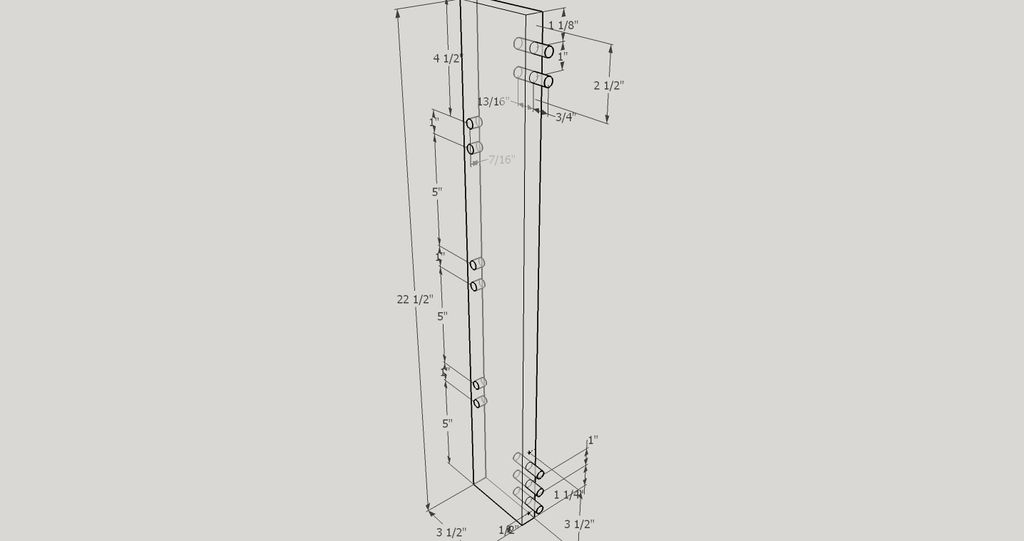

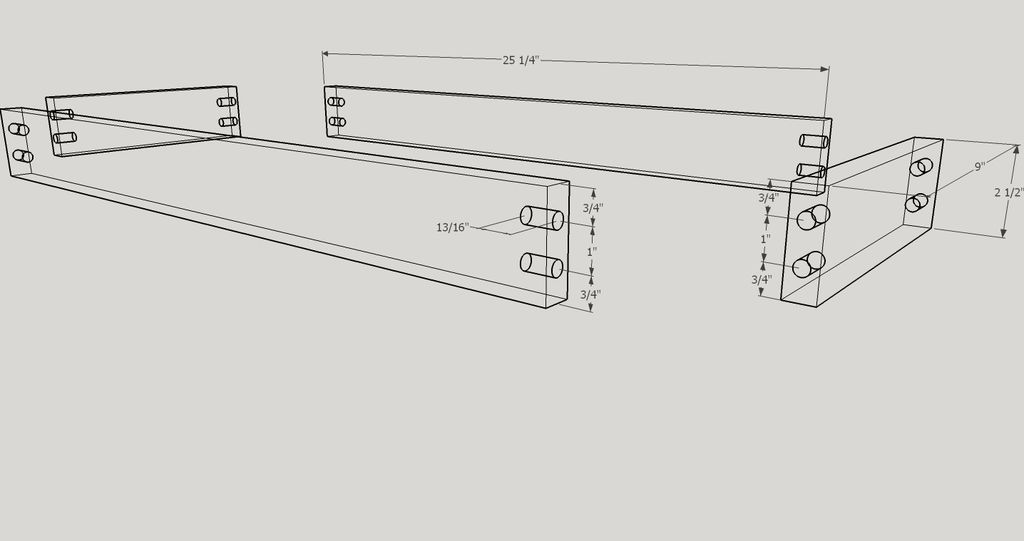
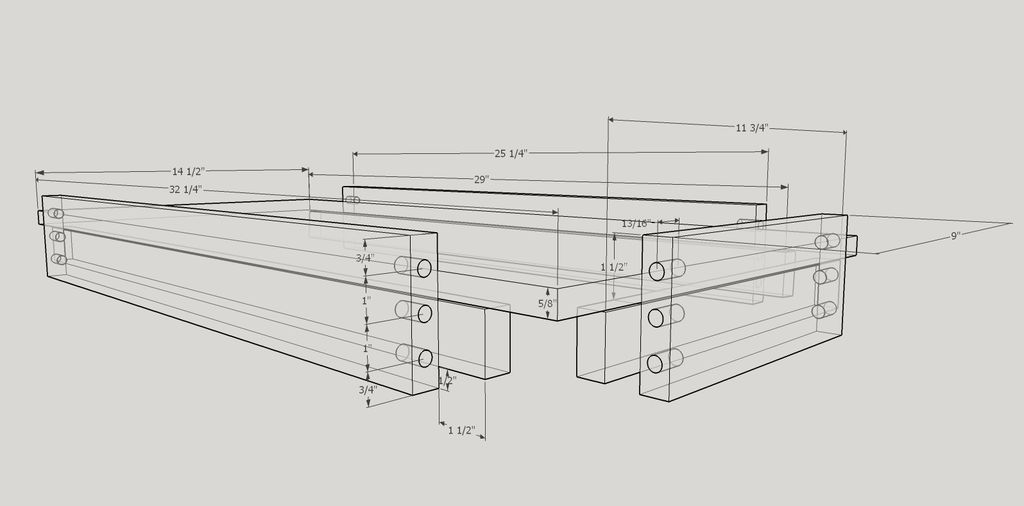
- Cut the 1x4 oak boards into 8 22.5″ long pieces for the vertical supports.
- Cut the 1x4 oak board into 2 pieces 25 1/4″ long for the bottom length support
- Cut the 1x4 oak board into 2 9″ long pieces for the bottom width bracket
- Cut the 1x3 oak board into 2 25 1/4″ long pieces for the top support
- Cut the 1x3 oak board into 2 9″ long pieces for the top width bracket
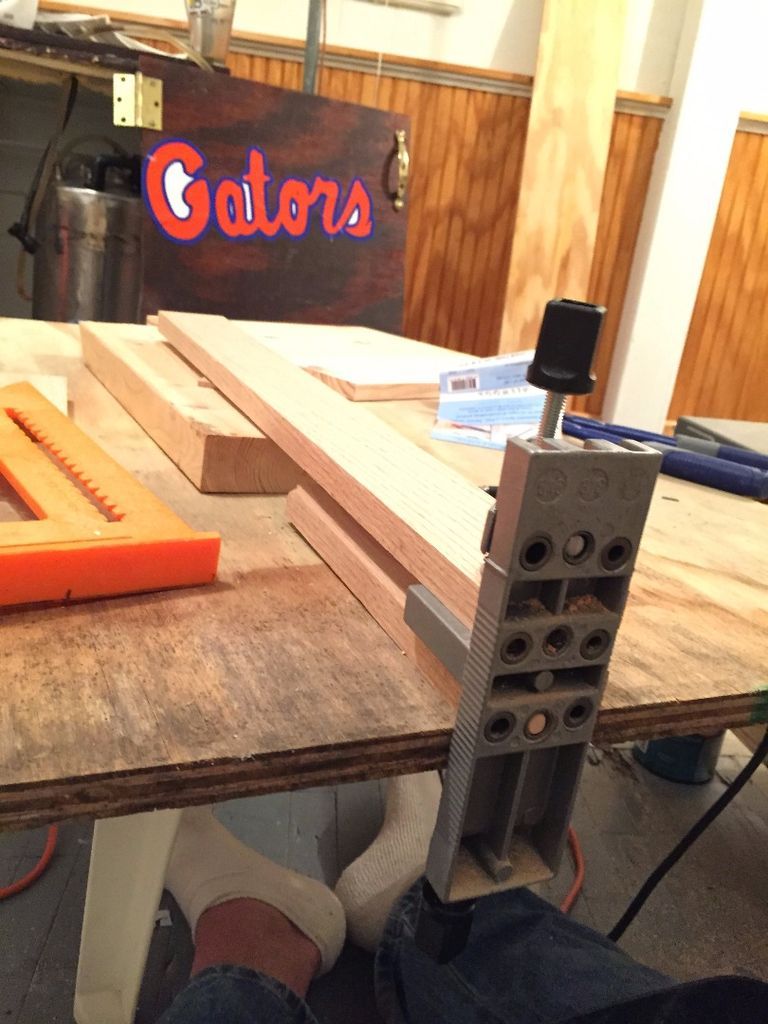
- Cut the tank support wood pieces into 2 pieces of 1x2x32″ and 1x2x11″
Pin:
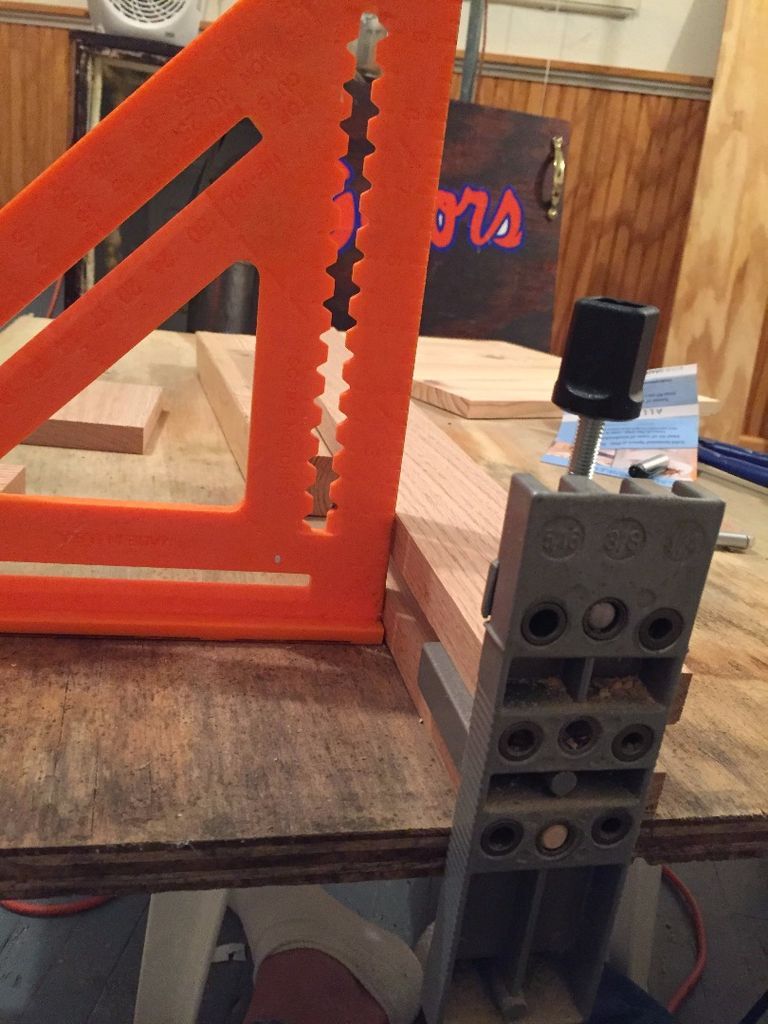
- The dowels I purchased are 1.5″ long so the holes should be 3/4″ + 1/16″ to allow for glue on the length and width brackets.
- Obviously, for vertical support to the tenon, the thickness of the board is only 3/4″, so the depth must be less than the support depth of the length and width. I used 7/16″ for the shortest side and 1 3/16″ for the bottom.
- Pause to measure the depth of the hole to avoid drilling too deep.
- Use the template or a drill for the initial holes, ensuring a perfectly straight drilling hole.
Length and width ofthe vertical support pins
- Measure the location of the cleats on the upright. The bottom stud was drilled (13/16″ deep) with the center 1 1/2″ from the bottom of the upright. The top stud hole (13/16″) was drilled 1 1/2″ above the center of the bottom stud
- The top peg bracket was drilled 1 1/8″ from the top of the upright.
- Refer to the third and fourth images in this step.
- Use the template to align the boards and match the ends and template over the hole to match the top plate. Repeat with the remaining 7 vertical support boards.
Length and width of supports
- Measure 1″ from the bottom of the 1x4 pieces to insert the first dowel.
- Measure 1 1/2″ above the center of the bottom pin and use it as the second pin position.
- Measure 3/4″ from the top side of the 1x3 pieces for the top positions of the support pins.
- Use the template to align the boards and match the ends and template over the hole so that it matches the top plate.
Vertical support pegs
- Measure up 6″ from the base of the vertical support plate where the deep dowel hole will be inserted (1 3/16″).
- Measure up 18″ from the base for pin #2
- Measure 24″ from the base for pin #3
- Arrange the boards as seen in the images to drill the shallow (7/16″) bar hole for the 7 boards and for the 3 holes.
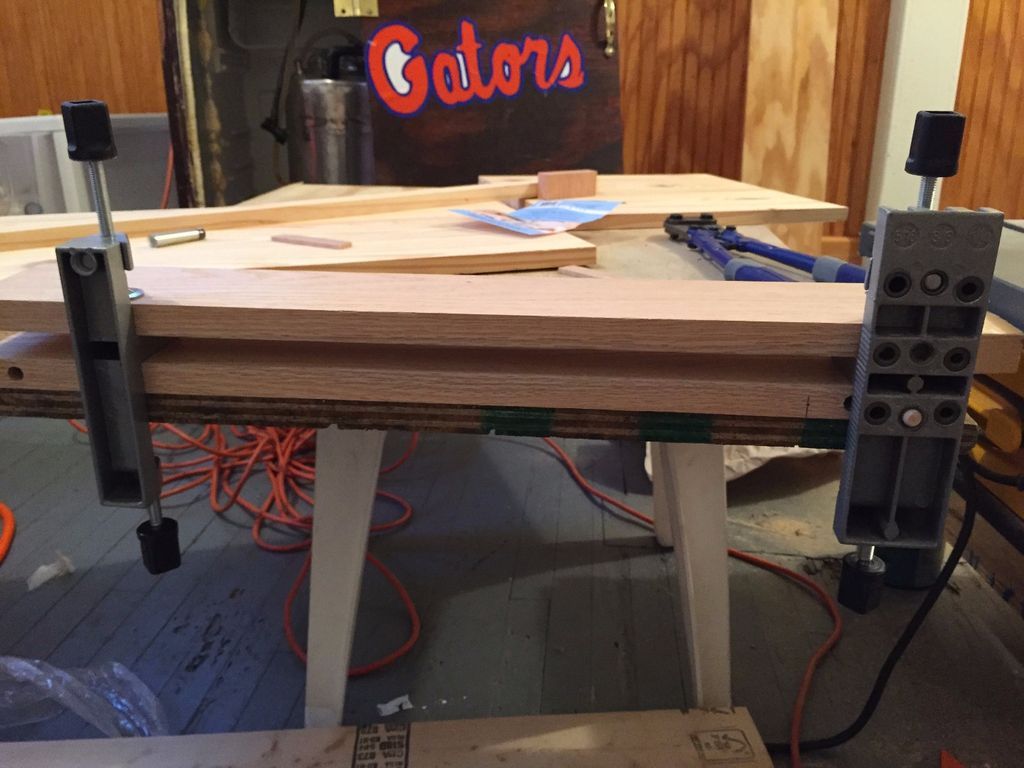
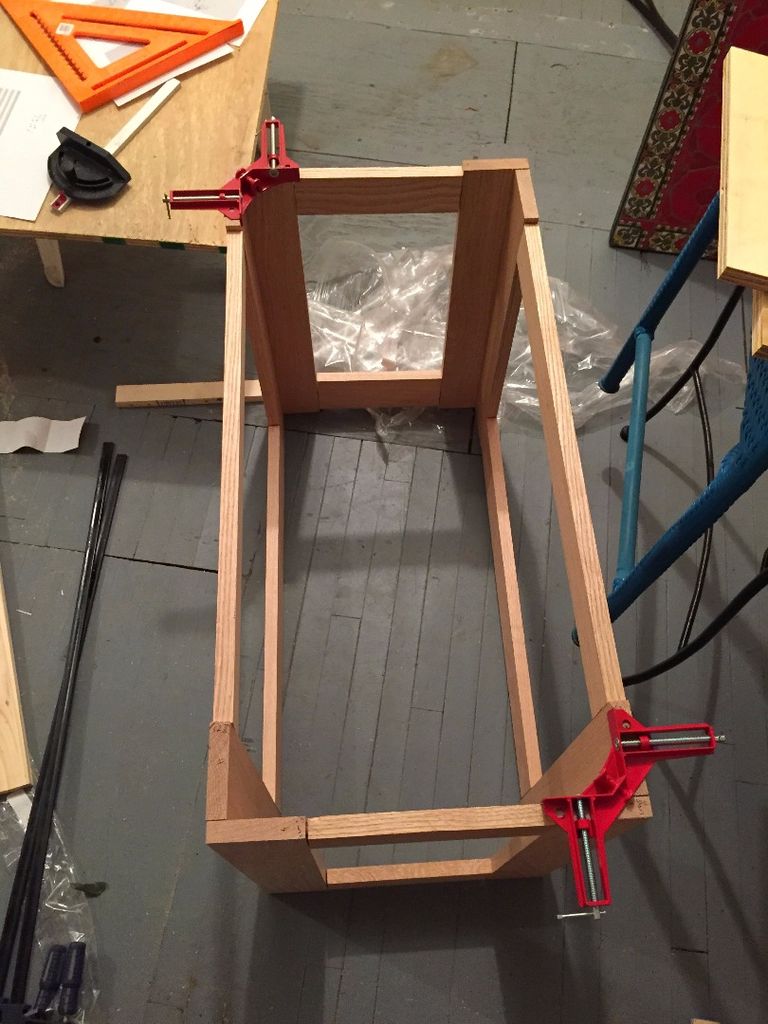
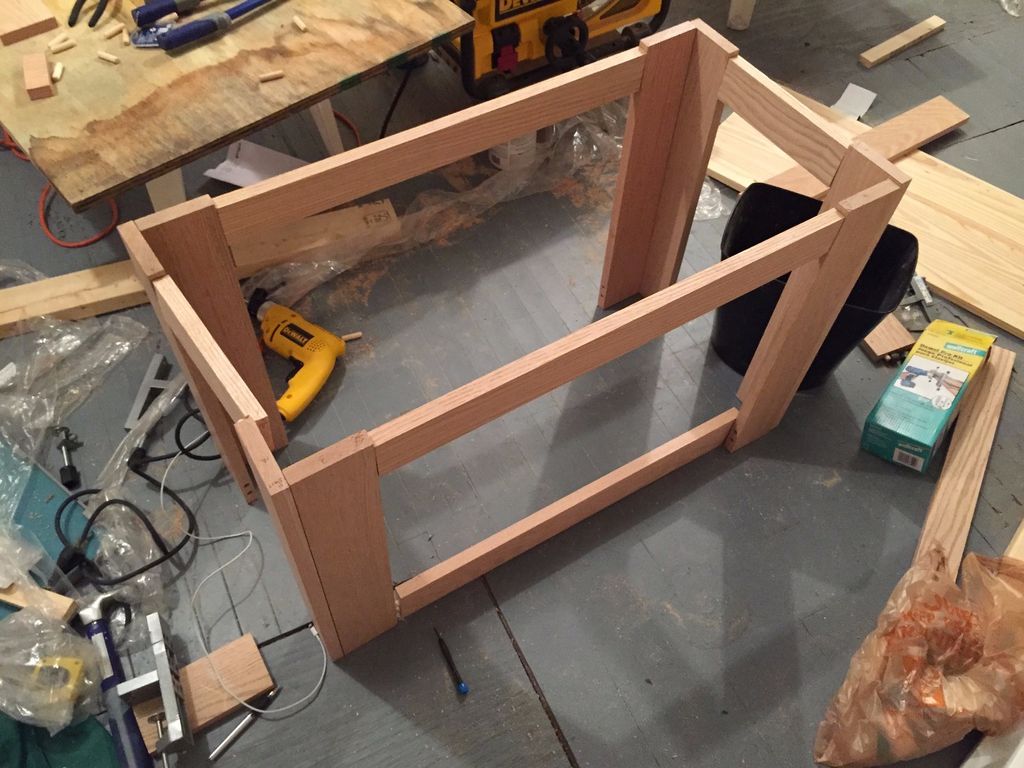
Step 3: Pasting
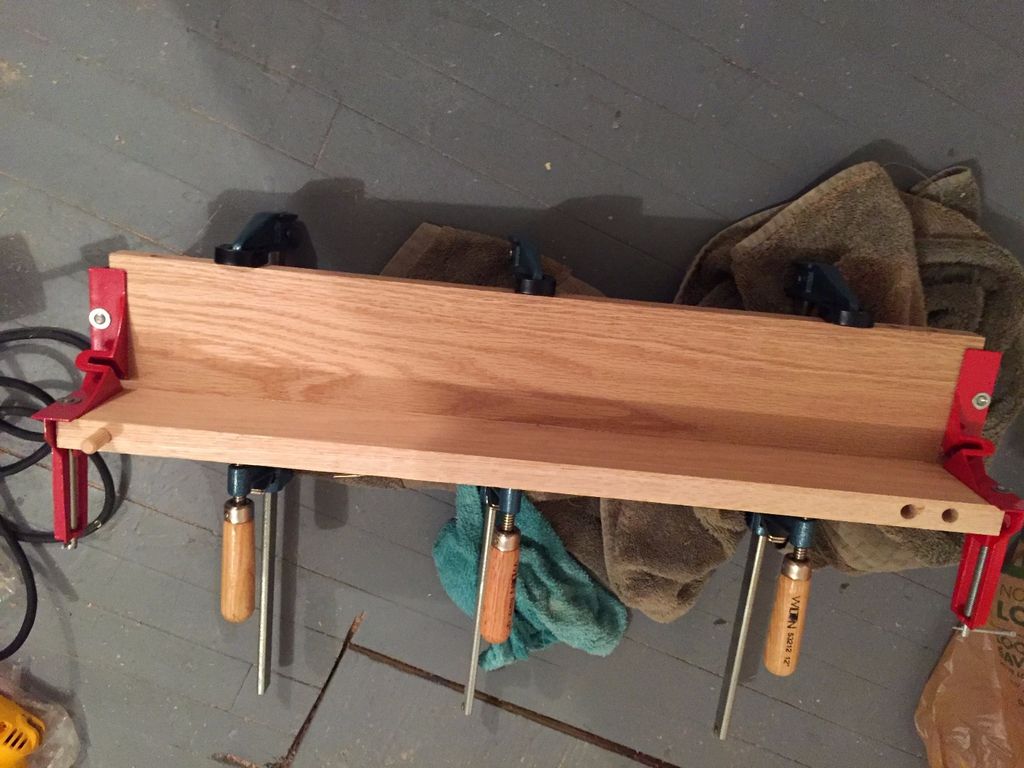
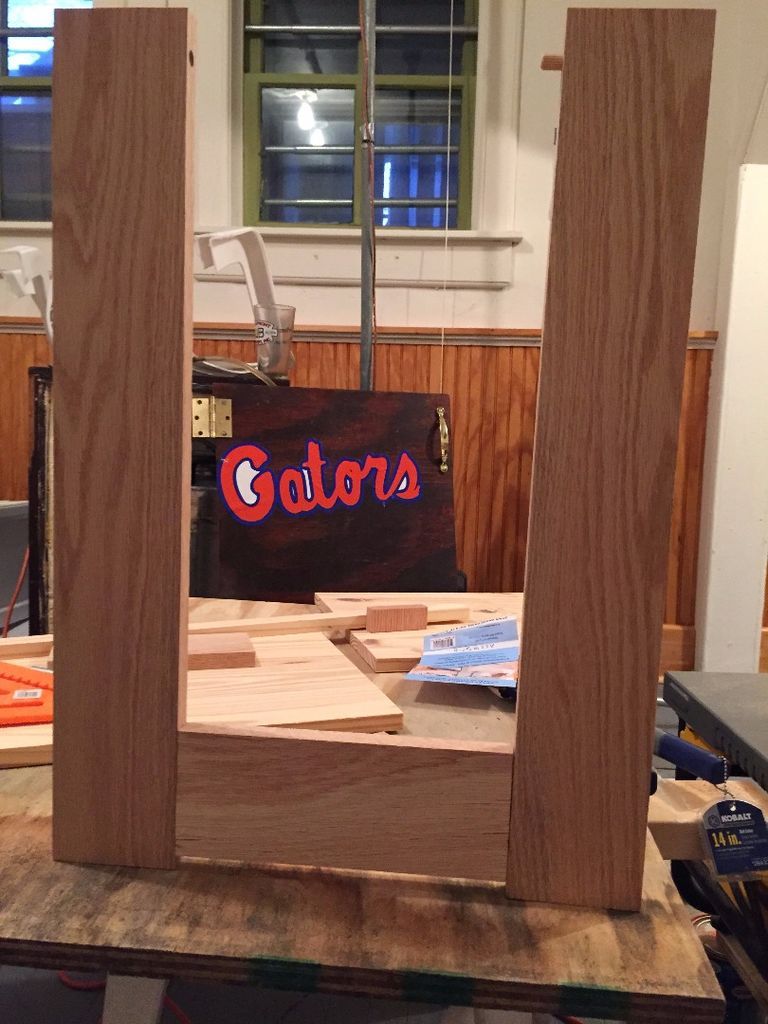
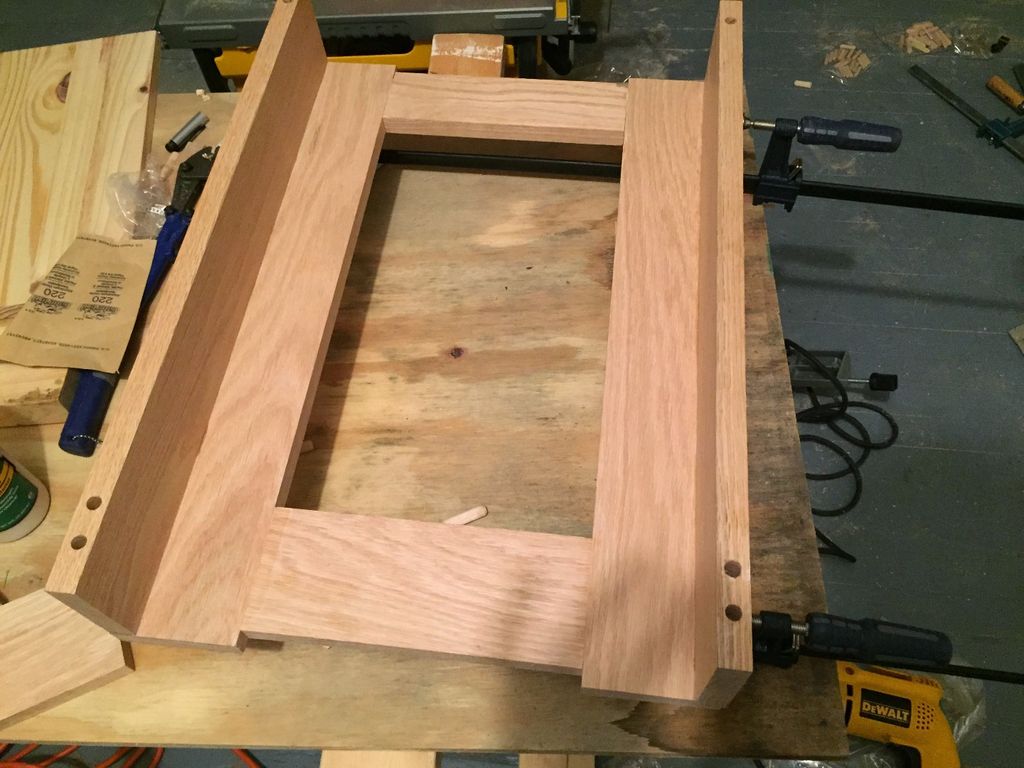
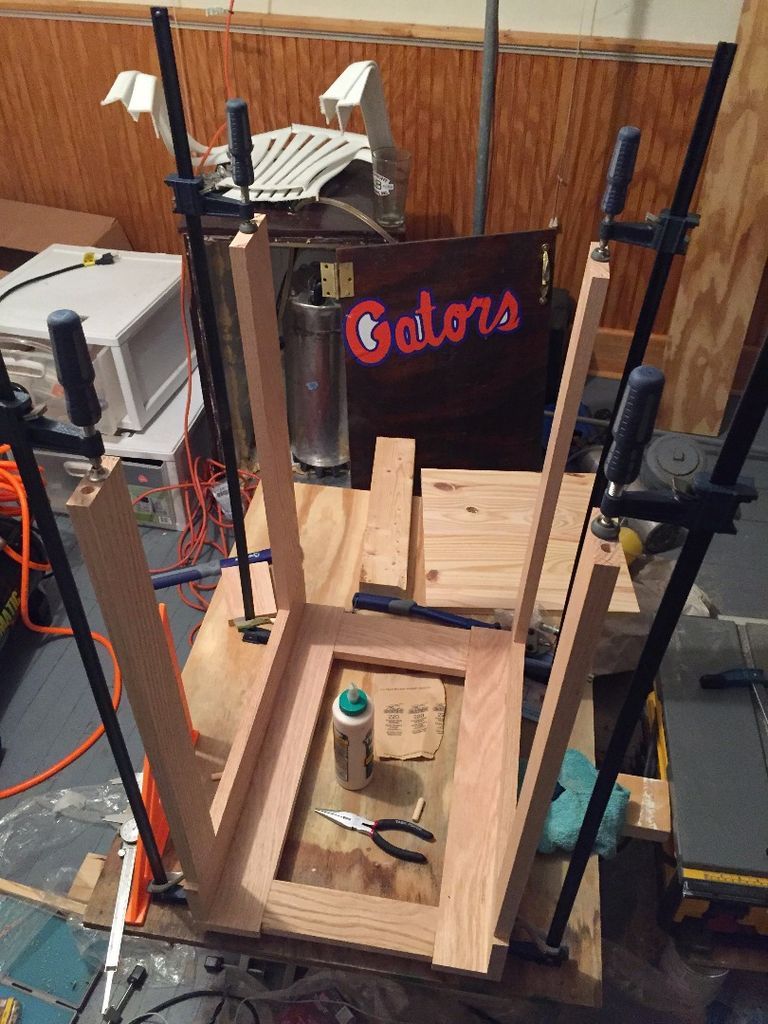
Add a bead of glue to each end of the sealed area. In the tang and in the holes of the tang.
Squeeze well and clean the glue with a damp cloth
- First I started with the vertical corners
- Then I made both wide ends of the vertical support
- I added the length brackets to one end of the upright
- Add the other end of the width of the upright.
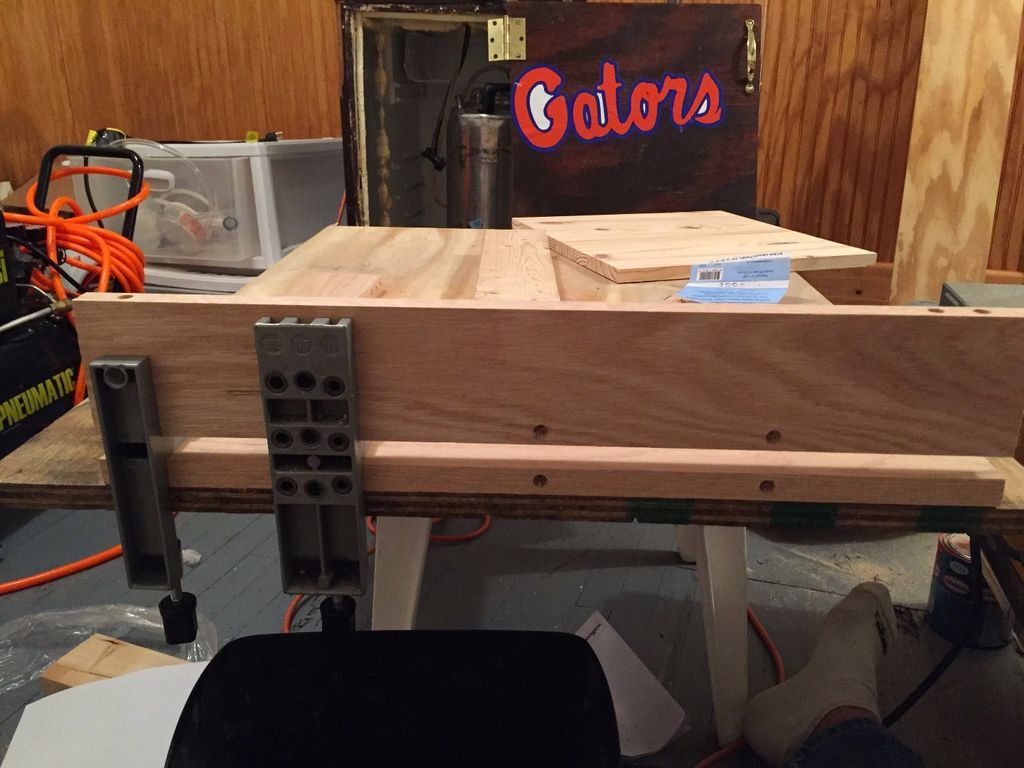
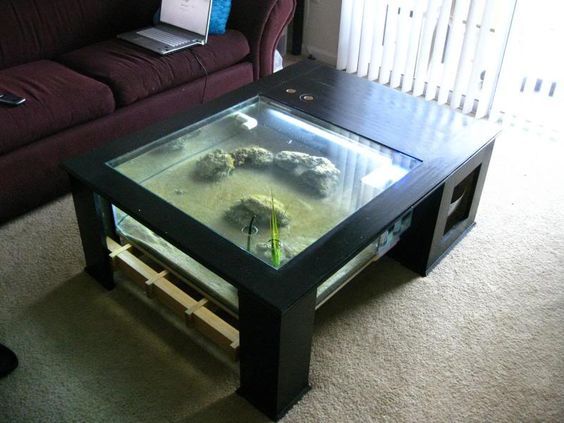
Step 4: Preparation for the fish tank
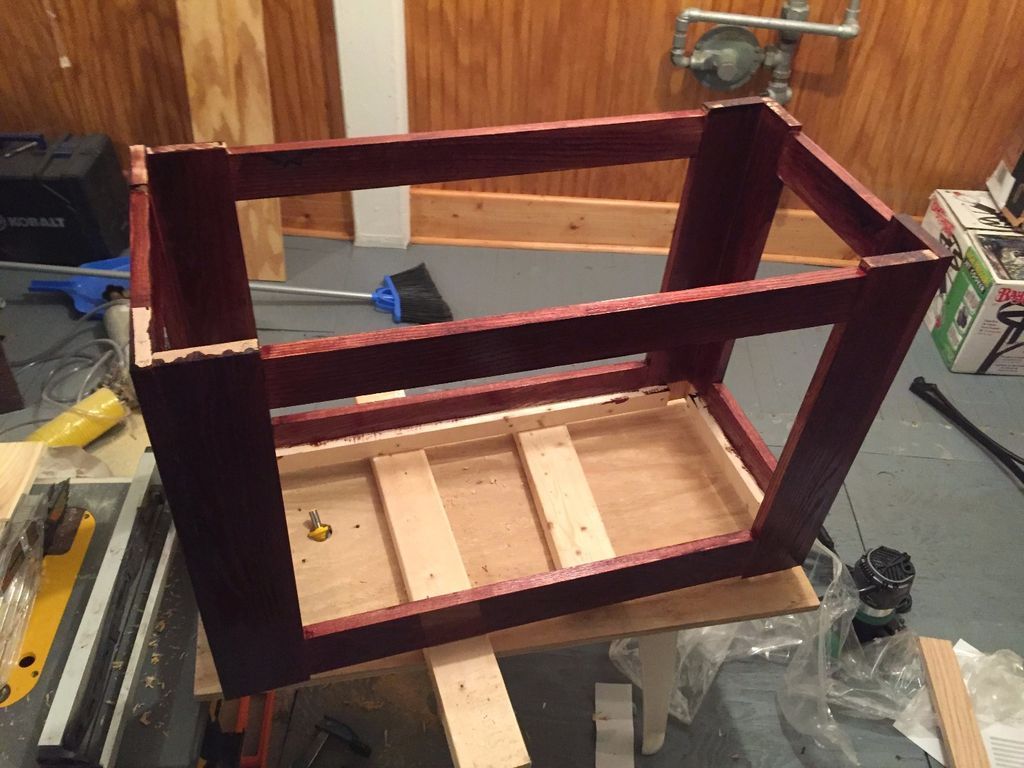
- Glue and screw the 1x2″ horizontal supports for the fish tank base. I chose one 1/2″ from the bottom of the horizontal rail; However, I later realized that this is too low for most fish tank pumps to easily adjust without vibration.
- Cut a corner of the 32 1/4 x 12 3/4″ for the fish tank wire to feed into. The 1-2″ hole should be sufficient.
- Sand with 150-300 grit sandpaper
- Apply 1 coat of finish to seal the tank
- Before adding my fish tank, I used 3/8″ thick window sealing foam around the horizontal mounts to cushion the fish tank from floor vibrations.
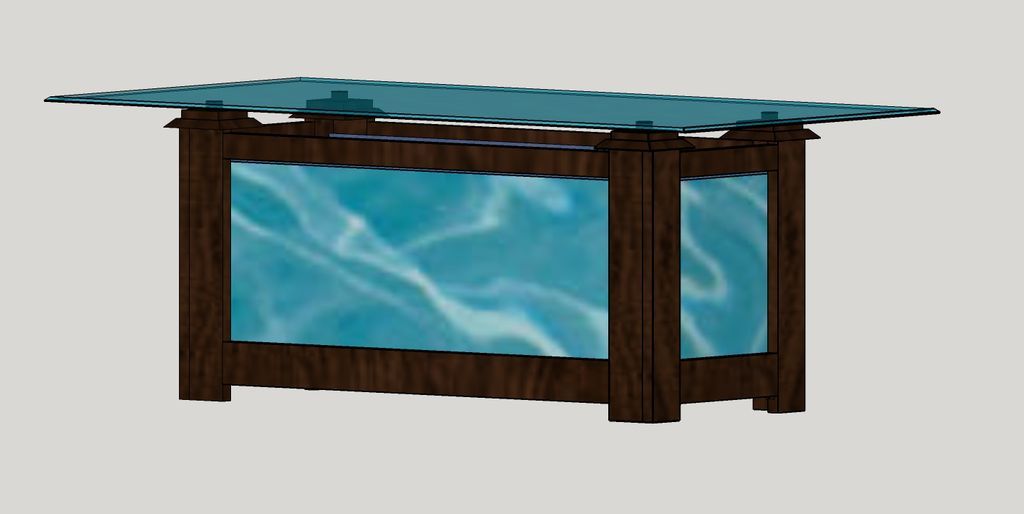
Step 5: Final Touches
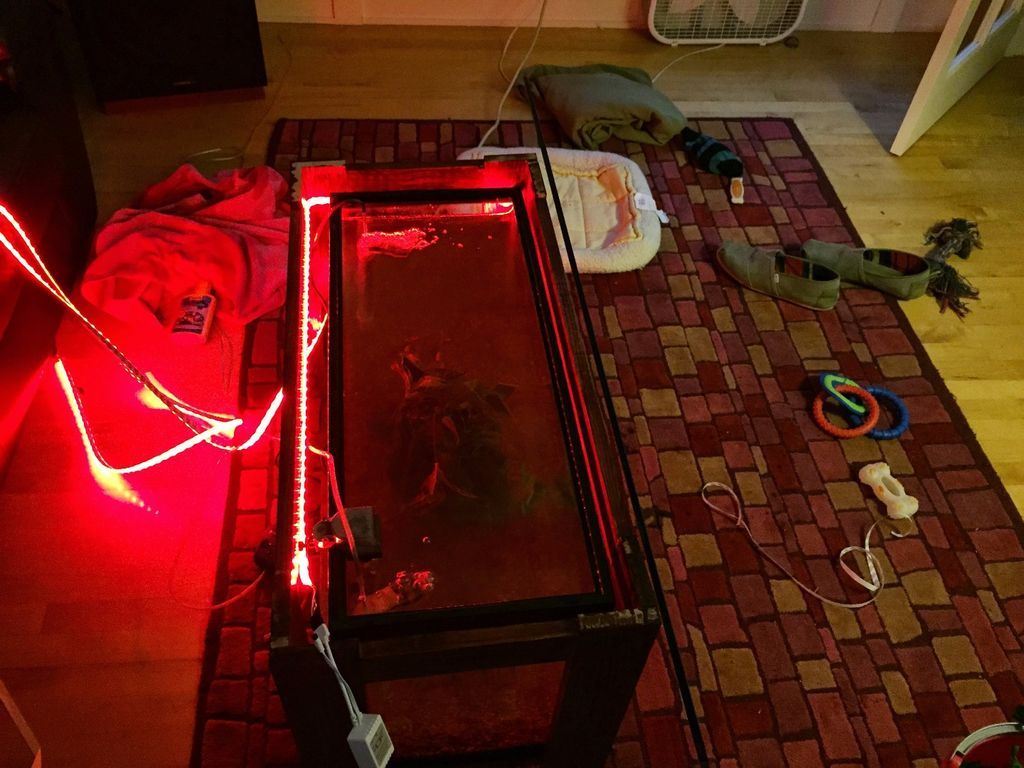
LED lighting
The LED lights I purchased have double-sided tape on the back that allows it to adhere to the top and bottom horizontal supports without any additional effort.
- Start with the corner of the tank where the corner was cut for wiring.
- Attach lighting around the top of the tank about 1″ below the top of the fish tank.
- Fold the lighting down and add the same 5M string of lights around the bottom of the tank.
- Connect the IR and electrical connections to the end of the LED light strip.
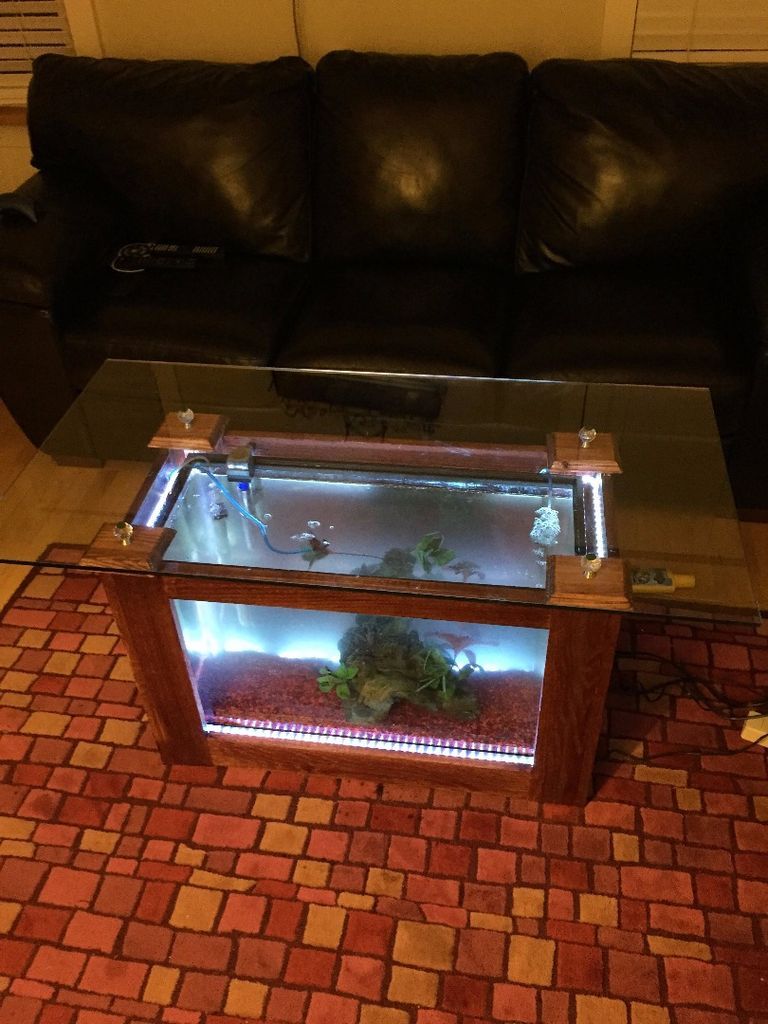
Top covers
- I used a table and a Router to create a borfinish on the top covers for the fish tank.
- I also used some glass drawer pulls I found on eBay to lift the glass on the top lids.
- I have not secured these to the table in case I need to remove the fish tank. I will eventually do it with glue so they can be removed quite easily and without any damage.
Tank Configuration
The goal here is to have all the wiring, accessories and pumps under the base of the fish tank with only one wire power extending outside the tank; However, in my original design, it was a little too low and caused loud rattling noises.
I suggest raising the tank support rails 1/2 to 1″ to avoid this problem.
- I used a 40 gallon air pump with two outlets to connect to the low level filter for my 30 gallon tank.
- Place the pump towards the corner of the tank where the corner is cut. Add all the other pumps and protector in the middle of the tank. Pull the pipe so that the air hoses come out of the corner.
- Add the tank support plywood.
- Add the fish tank
- Follow the appropriate steps to set up a fish tank.
- Add the top corner caps
Step 6: Ready!
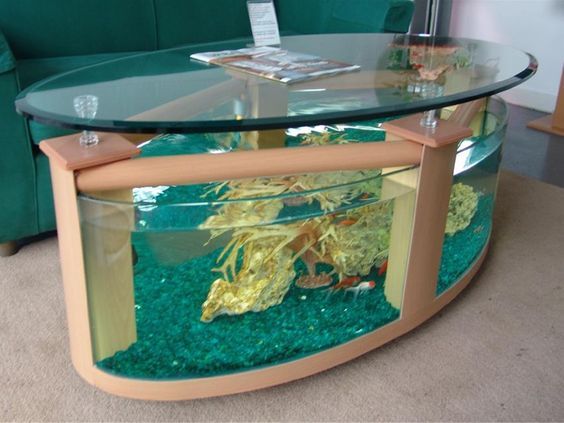
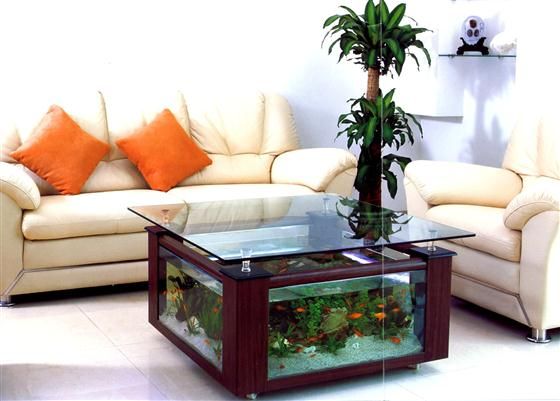
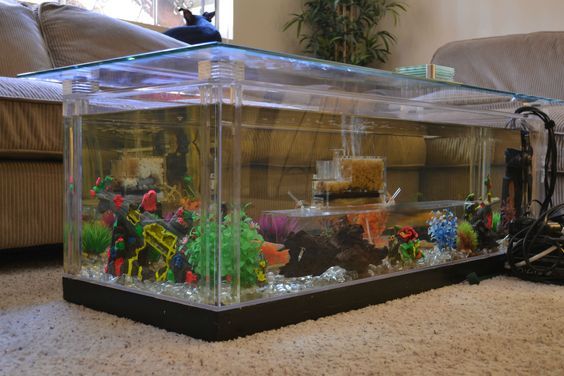
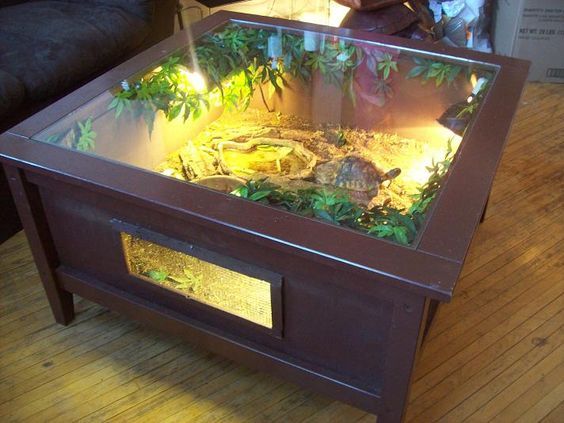
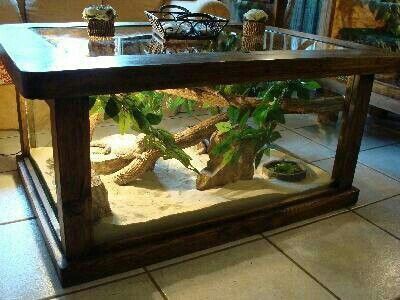
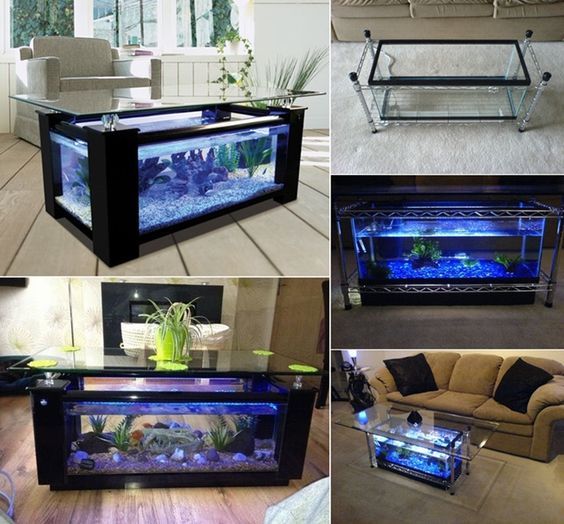
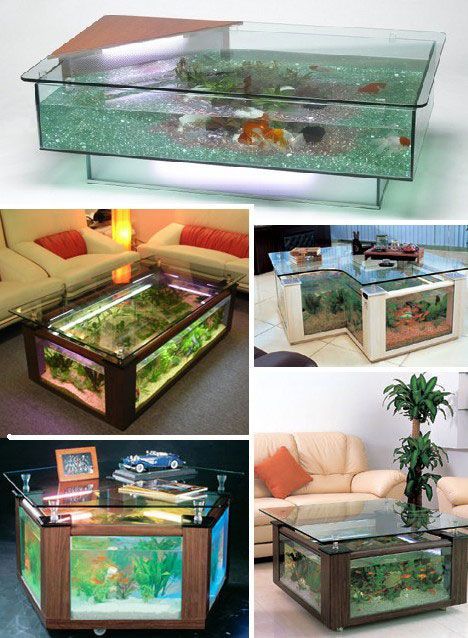
Similar Ideas:

I hope you liked it! See you soon!
Get more information at perfectionidea.com and on our Facebook for more Guide to Build an Amazing Coffee Table with a Fish Tank.
Popular Content
How to make a rocket stove for outdoors
Cardboard Drawers Lined with Jeans
Change the facade of your home with simple steps!
Latest Articles
How to make a refrigerator out of insulating material: Practical step-by-step guide
How to make a Kilim for the Home: Complete Step by Step Guide
How to protect ourselves from accidents in our workplace: Complete prevention and safety guide
Related Content
Charging Station for Tablets and Mobile Phones
Perforated Board Ideas for your Tools
Wood and Epoxy Hanging Table for a Living Room!
Arc Lamps, Stylish Light for the Home!
Creative Home Decor Ideas to Transform Every Space
Refreshing your home starts with smart design choices that combine comfort, personality, and functionality. Whether you want to modernize a small apartment, upgrade outdoor areas, or create cozy rustic interiors, these trending ideas can completely change the atmosphere of your space.
Outdoor Spaces That Increase Style and Functionality
Outdoor living continues to dominate modern home trends. Homeowners are increasingly investing in practical entertainment zones inspired by these BBQ shed ideas, which create the perfect setup for gatherings and weekend cooking sessions.
First impressions also matter when designing exteriors. Elegant farm entrance gates design ideas help properties stand out while improving privacy and curb appeal.
Compact living solutions are also gaining popularity. These inspiring 16x40 shed house interior design ideas show how smaller spaces can still feel luxurious and functional.
To enhance patios and entryways, homeowners are adding stylish protection with these creative porch awning exterior DIY ideas that blend aesthetics with practicality.

Rustic and Cozy Interior Design Trends
Warm and natural interiors remain timeless. These charming rustic decor ideas combine wood textures, vintage accents, and earthy tones to create welcoming spaces.
Bedrooms are becoming more personalized with curated wall arrangements. Many homeowners use these stylish picture wall ideas for bedroom spaces to display memories and artwork creatively.
Textured wall treatments are another major trend. Installing a board and batten wall adds architectural character while keeping interiors elegant and modern.
Similarly, bold accent wall ideas can instantly transform plain rooms into eye-catching focal points without requiring a full renovation.
Smart Kitchen and Organization Inspiration
Functional kitchens are essential for modern homes. These practical kitchen wall cabinet ideas maximize storage while maintaining a clean and stylish appearance.
Organization also starts at the entrance. Well-designed mud room ideas help families keep shoes, coats, and daily essentials neatly arranged.
Colorful and Personalized Home Styling
Vibrant interiors are becoming increasingly popular thanks to playful dopamine decor ideas that use bright colors and joyful accessories to improve mood and energy.
Gallery walls also continue to evolve as a major decorative feature. These trendy gallery wall inspiration ideas offer creative ways to combine prints, photos, and statement art.
Young renters and new homeowners are especially embracing these stylish first apartment aesthetic ideas to create sophisticated interiors on a budget.
Finally, selecting the right shades can dramatically influence any room’s atmosphere. These modern trendy color ideas help homeowners choose palettes that feel fresh, elegant, and timeless.
Final Thoughts
From rustic charm and colorful interiors to outdoor entertaining areas and functional storage solutions, today’s home decor trends focus on creating spaces that feel both beautiful and livable. By combining smart layouts, modern textures, and personalized decorative elements, any home can become more stylish, comfortable, and inspiring.


