
How to Make a Sofa that Converts into a Bed, this attractive sofa bed is ideal for everyday use and convenient for any time you have an overnight guest.
Exposed Southern Yellow Pine arms provide a charming rustic feel and sturdy frame. One of the many great features of this multifunctional piece is that it can accommodate both a double and full-size mattress. Another desirable element is the shelf integrated into the arm of the sofa, which can act as a bedside table.

Step 1: What you need/wood cutting


Materials used:
- (6) 2×12 Yellow Pines
- (5) 2×3 Woods
- (6) 1×4 Lumber
- 1/2 inch Dowels
- Screws
- Wood glue
- Danish wood oil
For the cushions:
- Futon mattress
- Full size mattress
- Double mattress
Tools used:
- Miter Saw
- Pocket hole template
- 1/2 Dowel Template
- Sander
- Belt sander
- Drill
- Countersunk bit
I started by using a miter saw to cut the wood to the desired lengths. These cuts can also be achieved with a circular saw.
Dimensions:
- Length: 88 inches (2235.2mm)
- Height: 22 1/4 inches. (565.15)
- Depth: 34 in. (863.6)
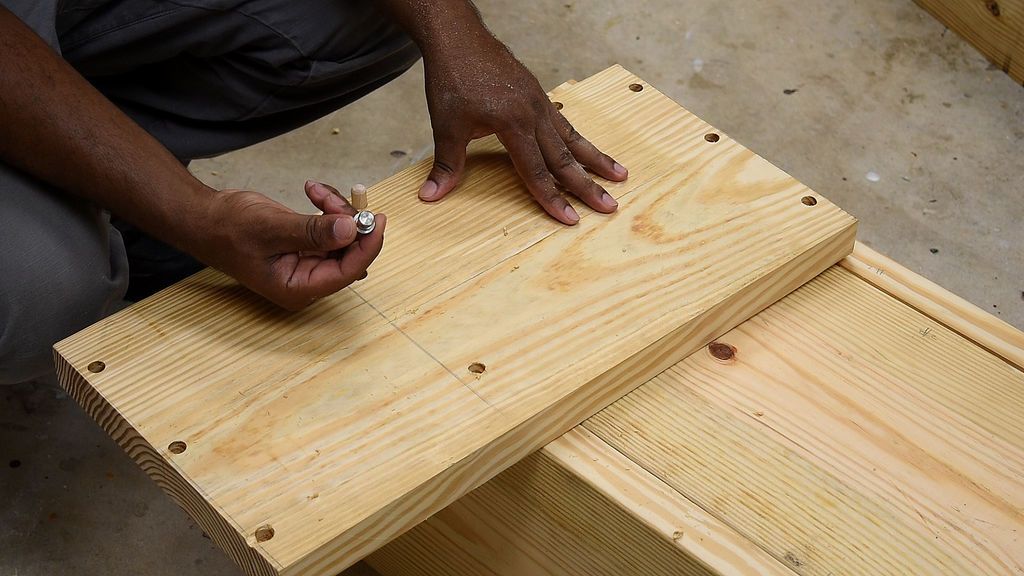
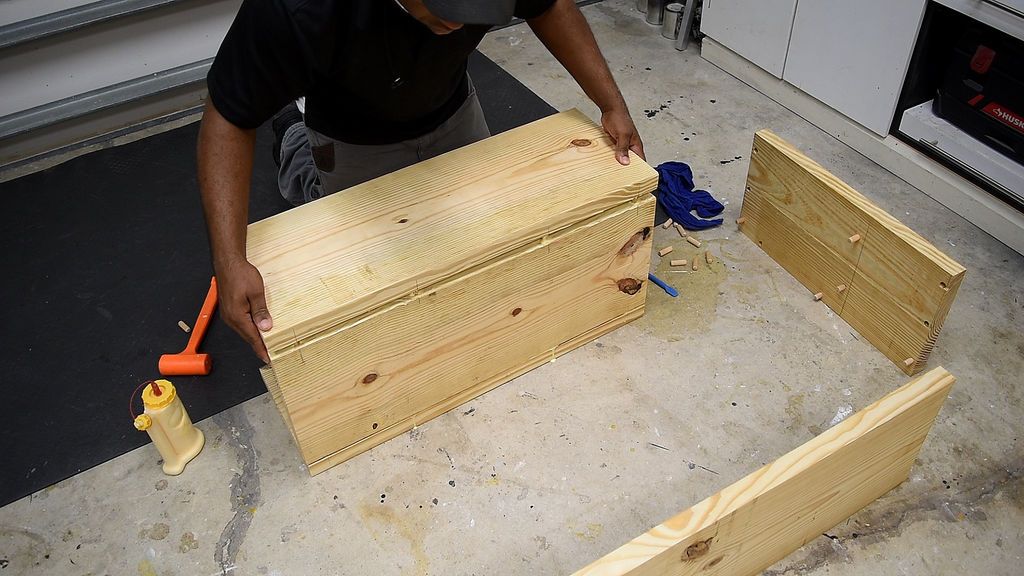
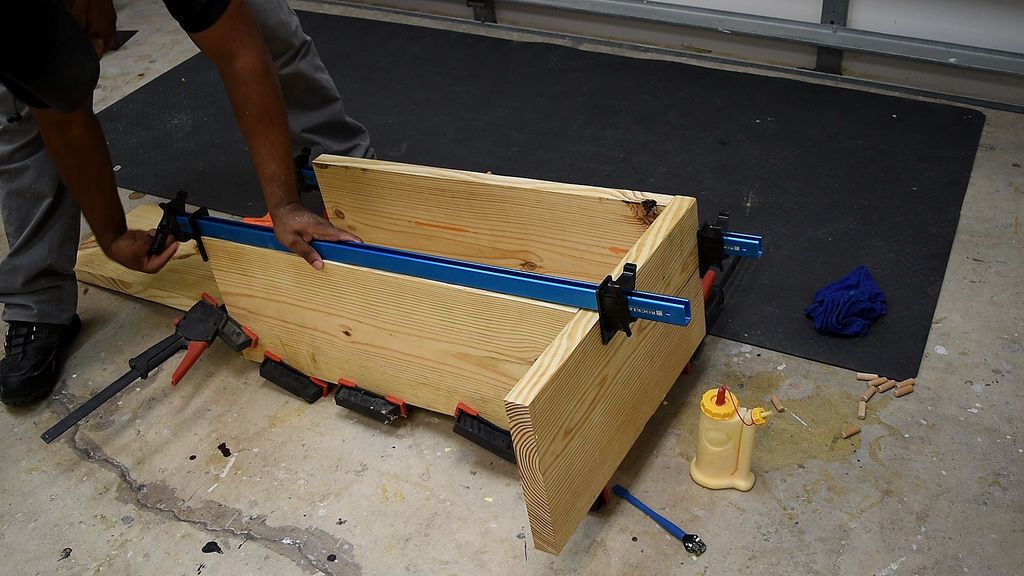
Step 2: Making the back and side panel
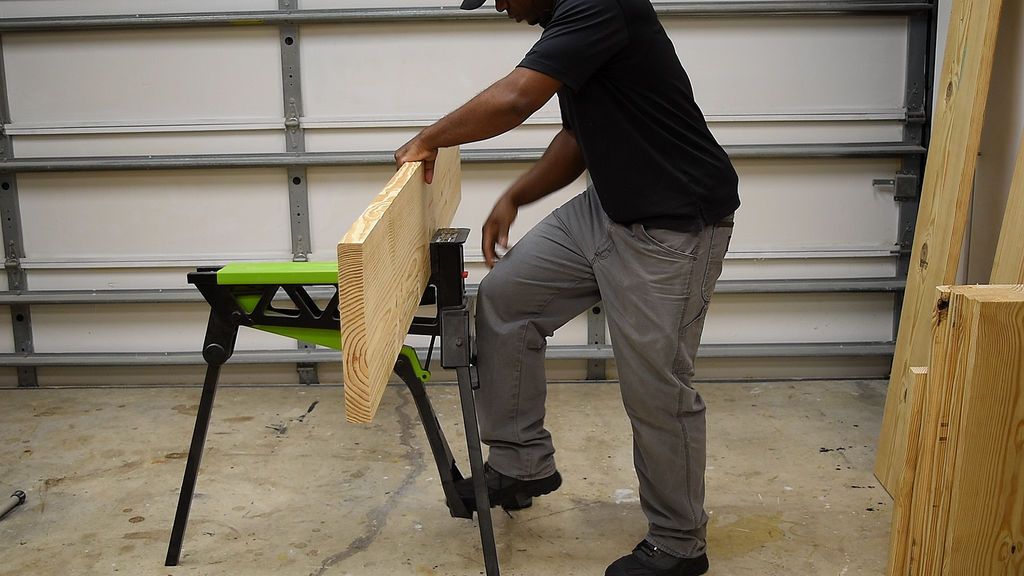
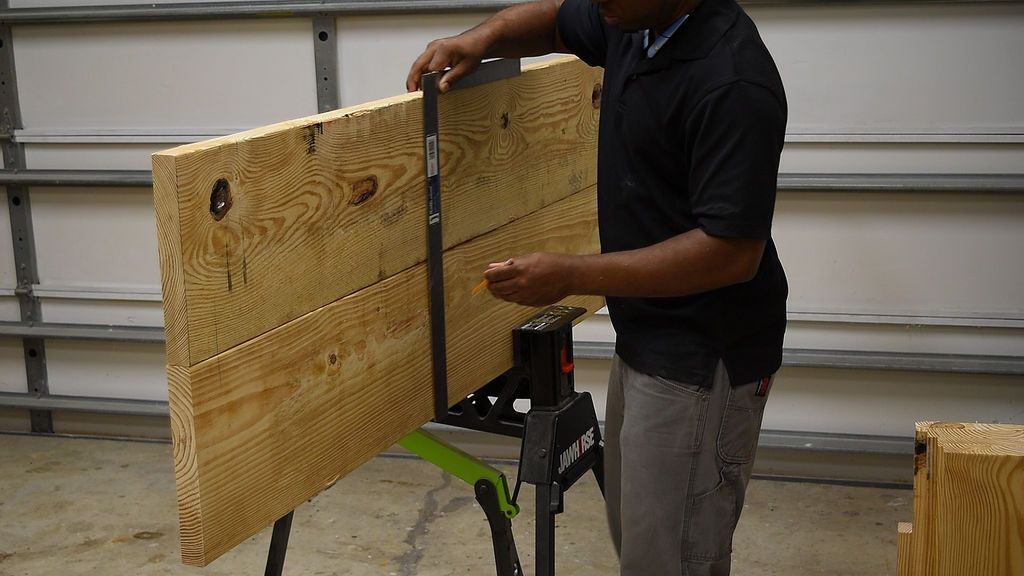


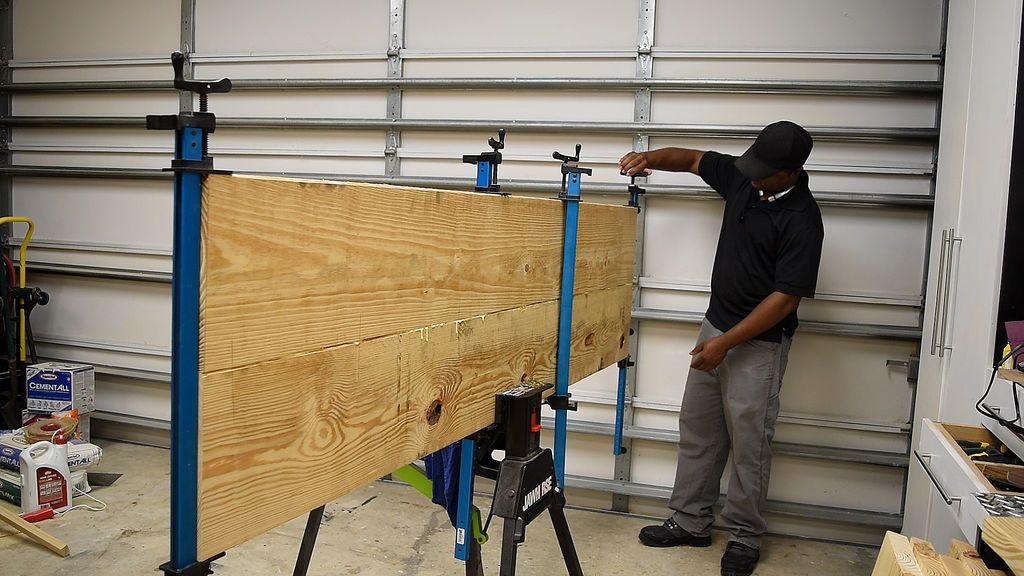
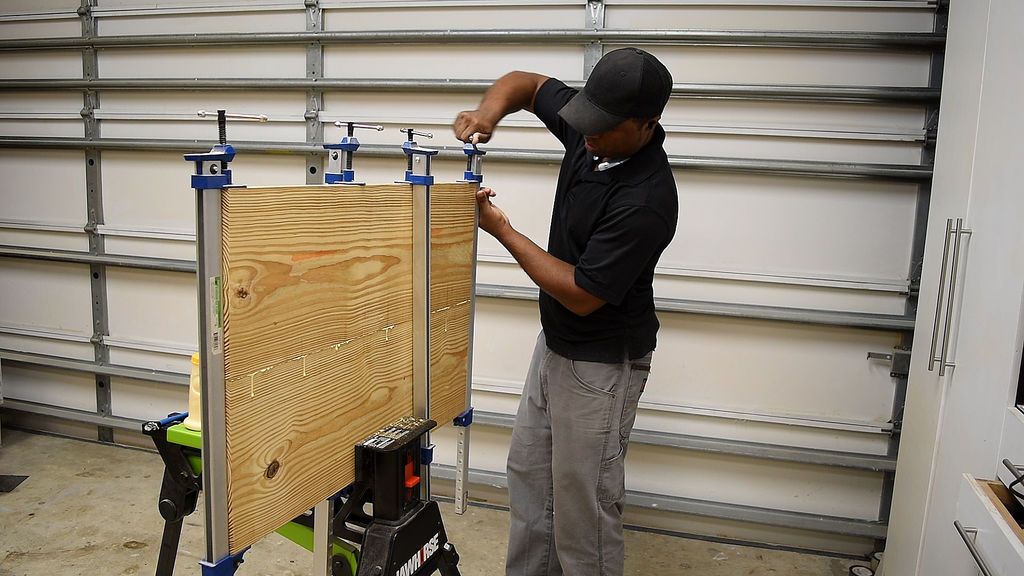
For the back of the sofa, laminate 2 pieces of wood. If you have a jointer or planer, you can use them on these parts to clean them. After stacking the wood, I marked both pieces at the same time to indicate where to drill the holes. I drilled holes in both pieces of wood and did a dry fit to make sure the holes are deep enough and that the dowels will line up well. Next, I added glue to the dowels and placed them in the holes I made, and then added glue to where the wood would be attached. Use a rubber mallet to join the pieces together and clamps to hold the pieces together while they dry. To make the arm, I used the same process I used to make the back of the sofa.
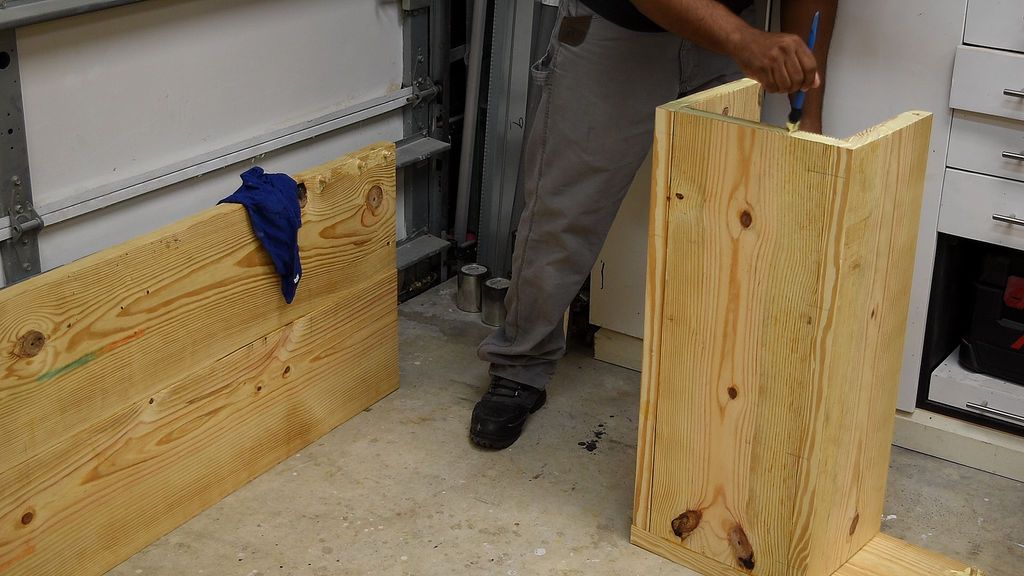
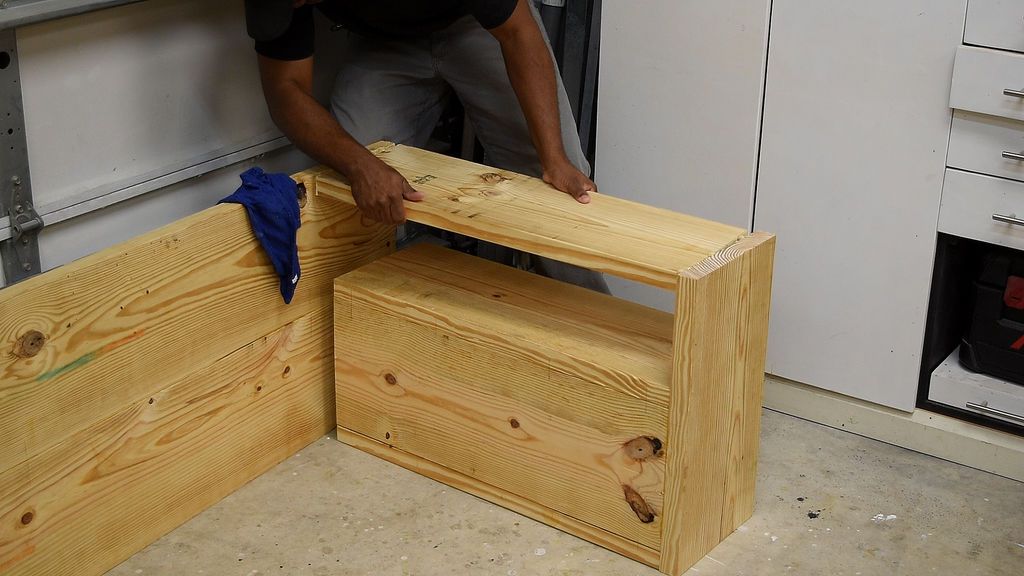
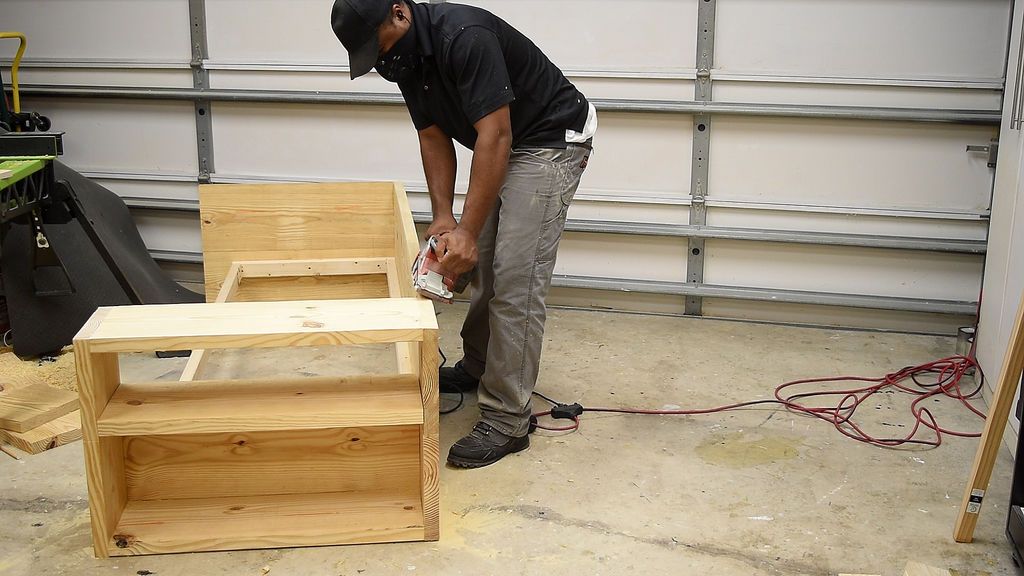
Step 3: Building the arm with storage
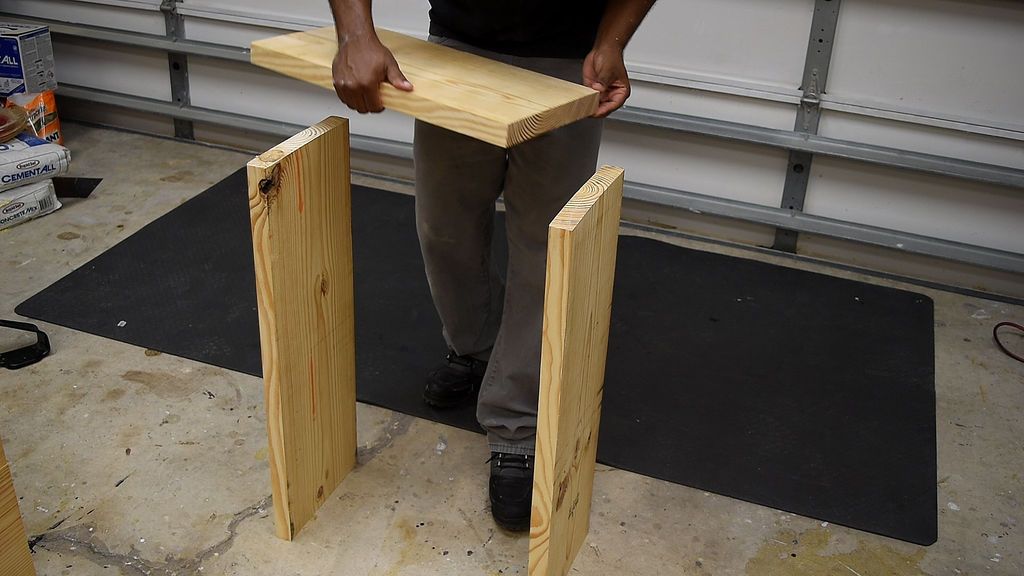
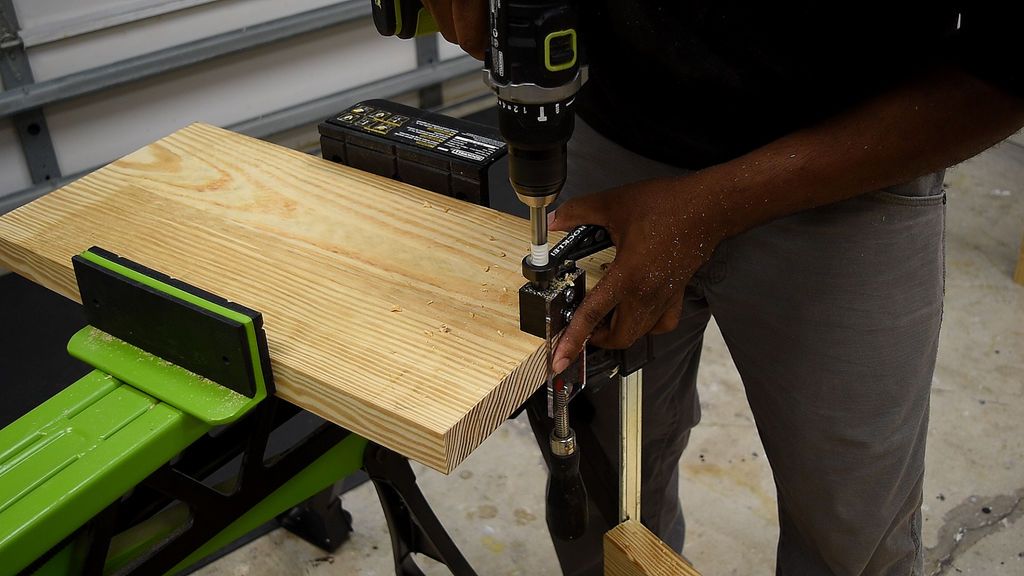
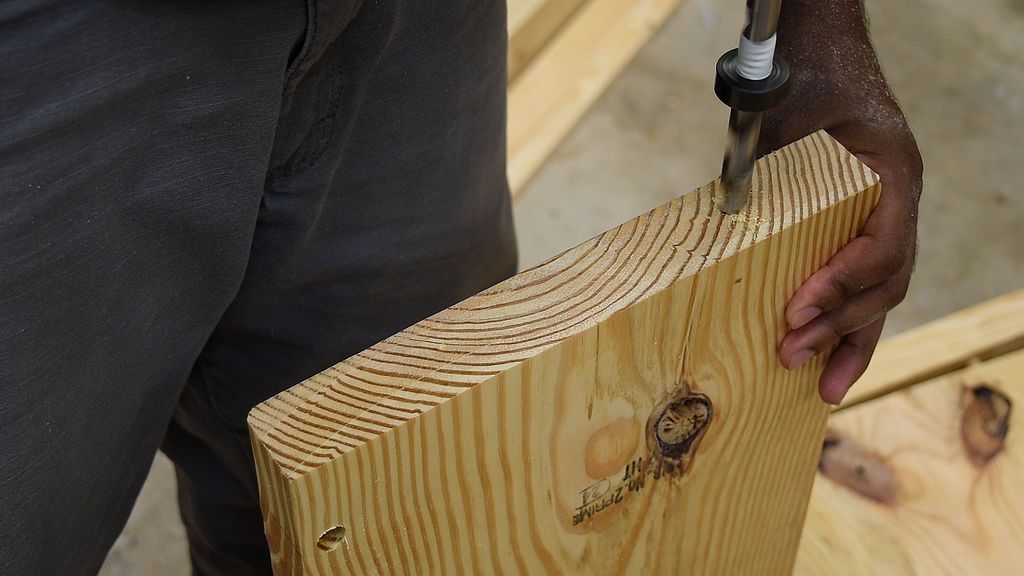
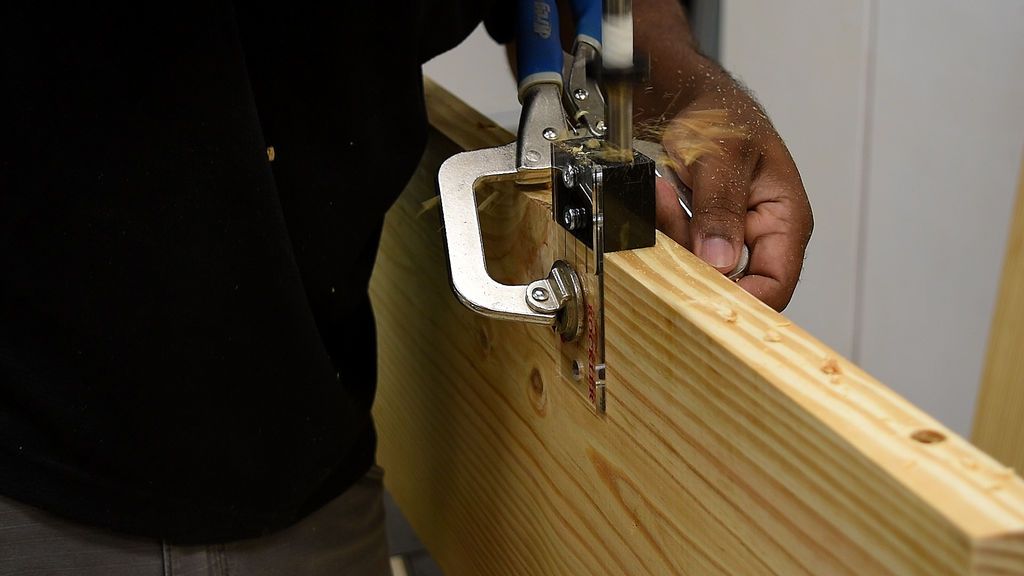
Set up the wood as shown. I marked on both pieces of wood where the pegs would go and used a template to make the holes.
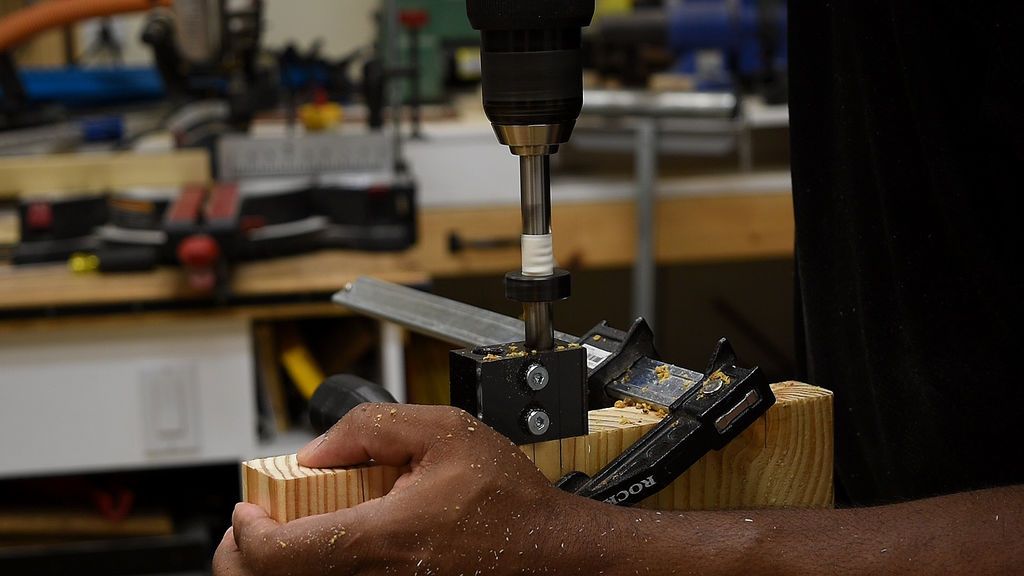
When drilling, I recommend holding your dowel jig to make sure your holes line up. For the middle shelf section, I freed up some dowel holes and used a dowel centeras to mark where the peg would fall.
Do a dry fit first. Then assemble the arm, start with the bottom and attach the side with glue. Next, install the shelf followed by the front of the arm. Hold the pieces together and allow the glue to dry.
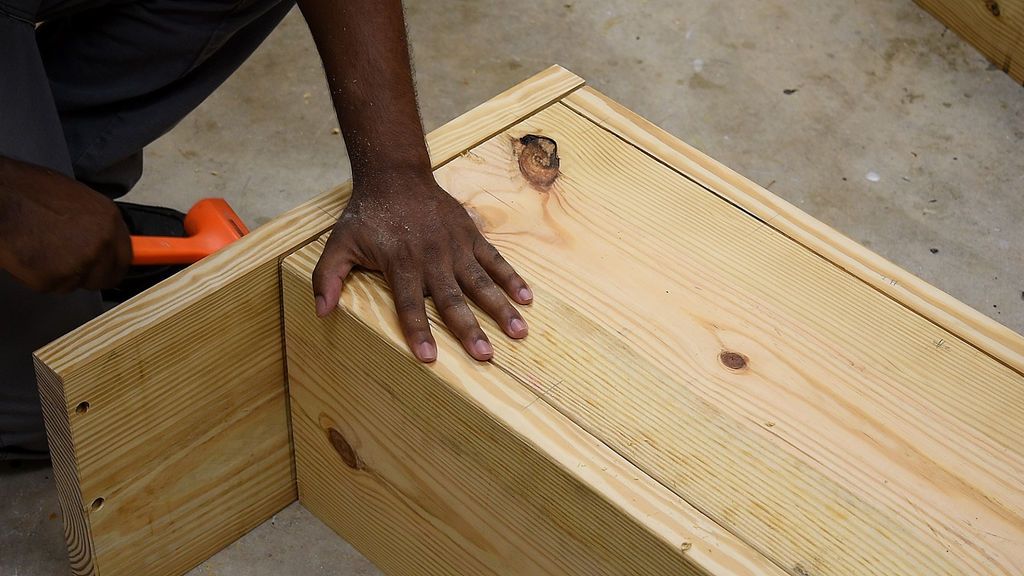
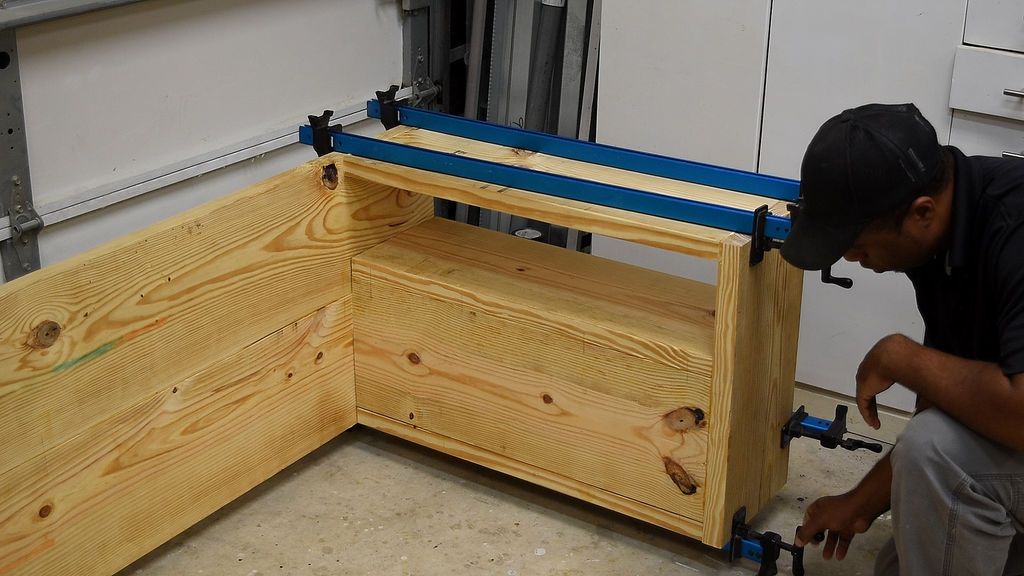
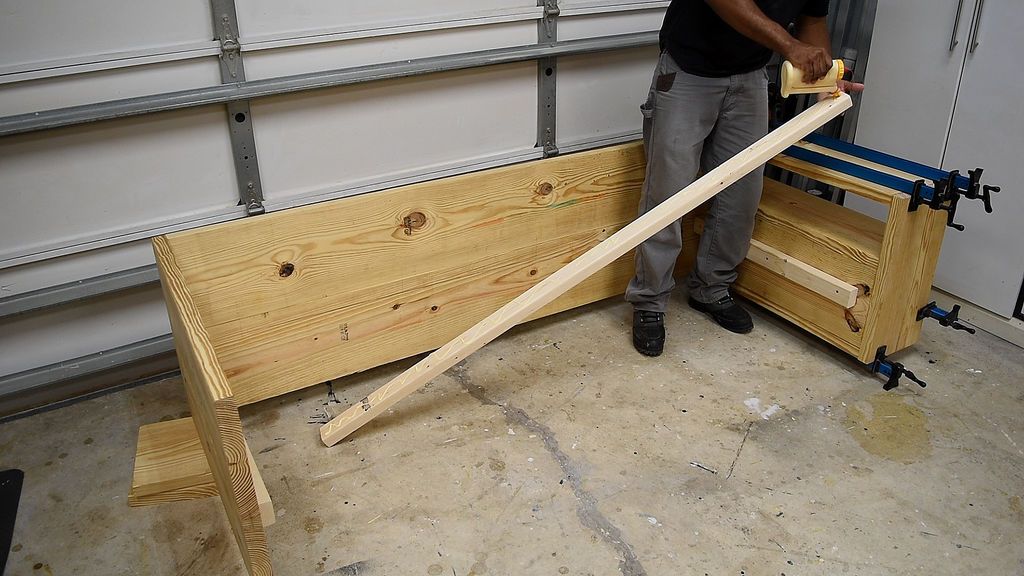
Step 4: Attaching the arms to the back
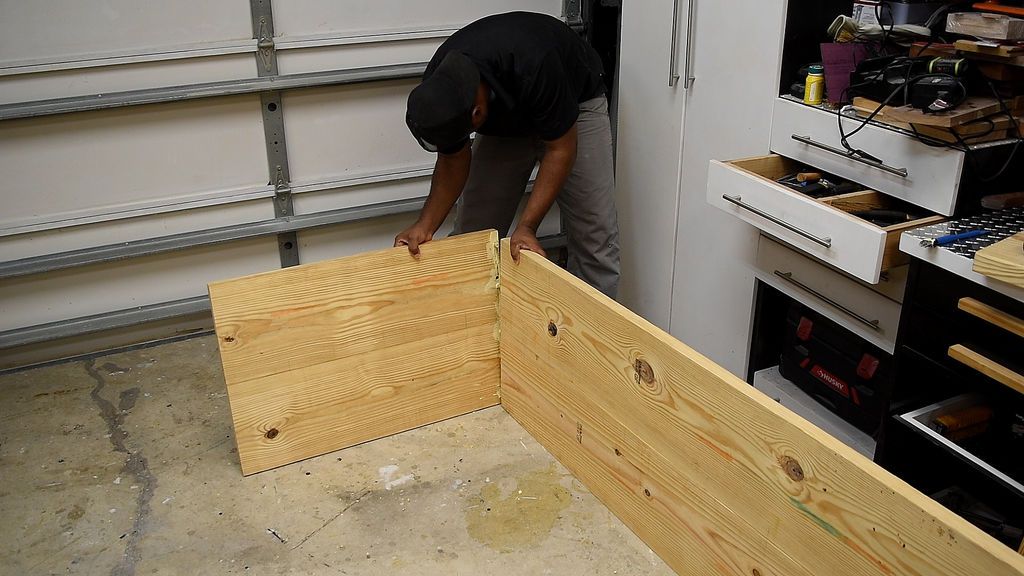
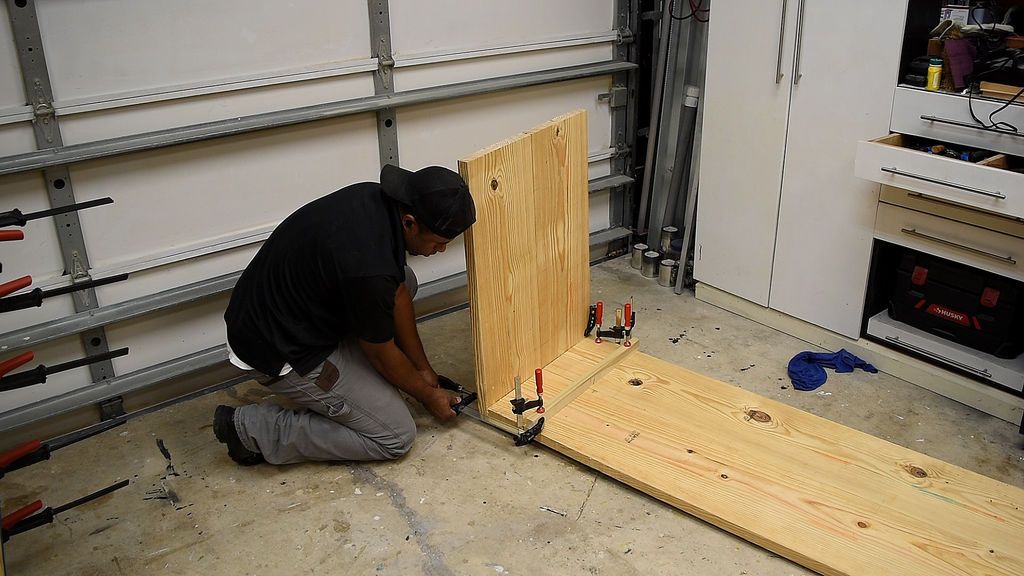
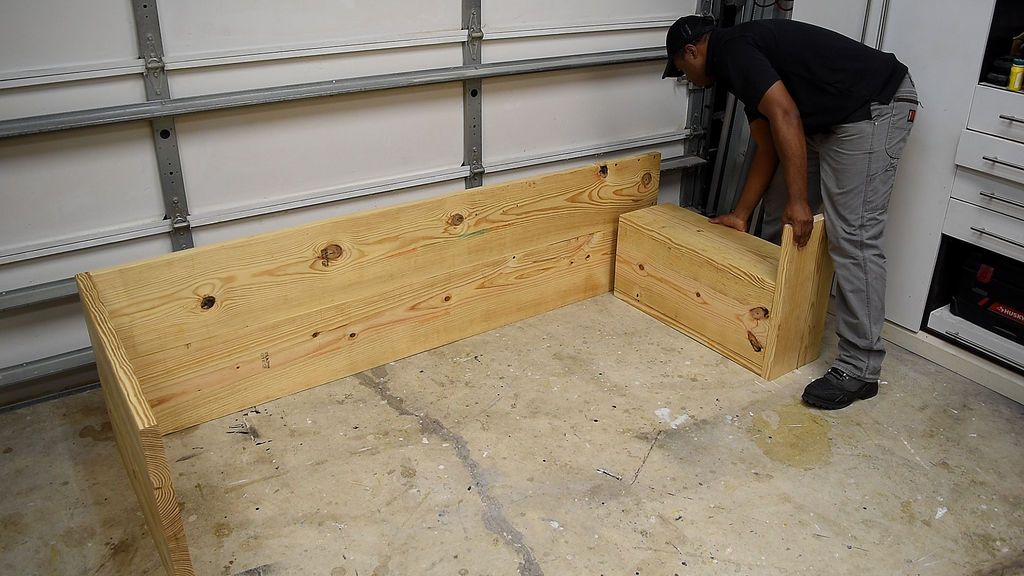
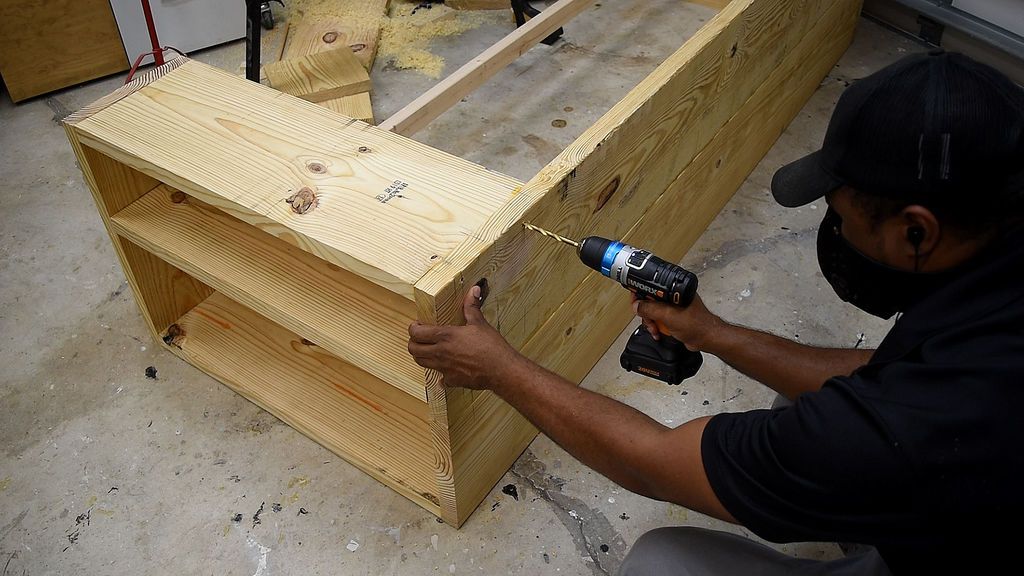
For the first arm, I used dowels and wood glue to attach the arm to the back of the couch. By holding a piece of wood with the back of it, I was able to use it as a way to apply pressure to the arm. You can use a piece of sandpaper to prevent the piece of wood from slipping when tightening the clamps.
The other arm is attached with wood glue and dowels. Since I had the other side dry and didn't want to move it before it was completely dry, I just added dowels on top. After the glue dries, I'll use screws to finish securing the arm to the back. For now, clamp and let dry completely.
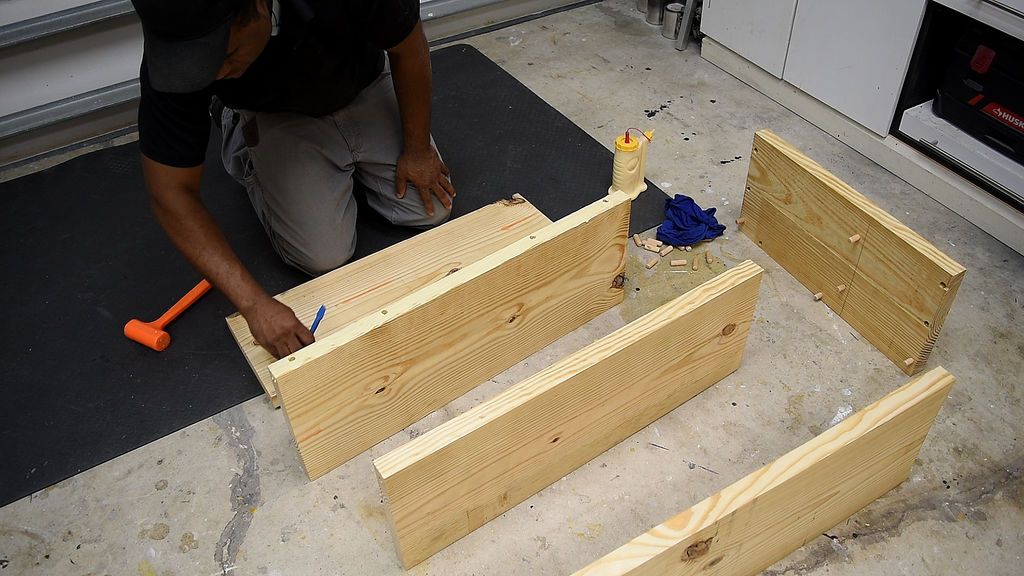
Step 5: Building the frame for the seat
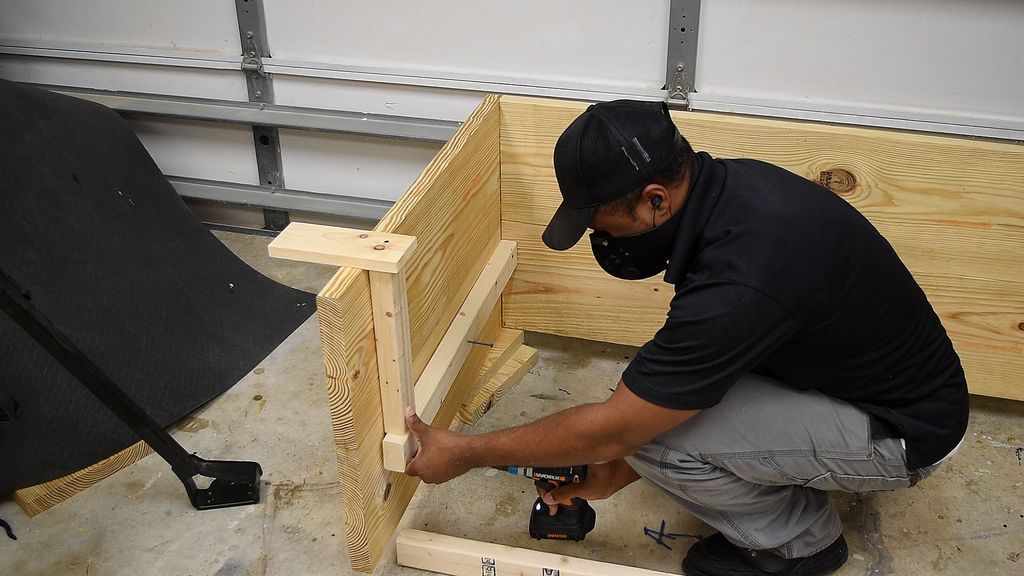

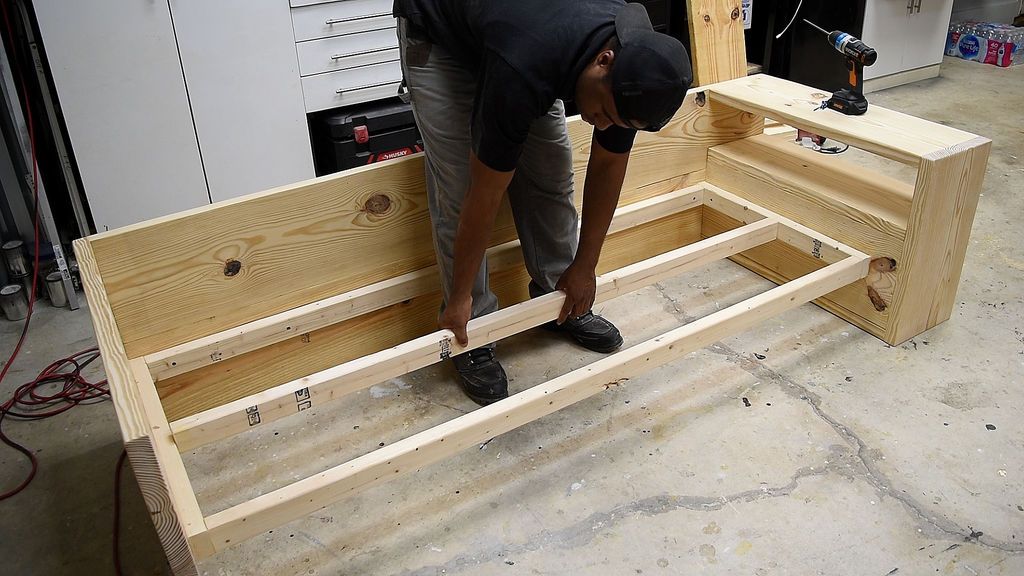
I used 2 pieces of wood to make a quick template. This will speed things up when setting the seat height.
Apply wood glue and then secure the wood in place creating a frame. For the front support, I secured the wood using glue and pocket hole screws. Also, install the middle bracket.
Step 6: Sanding
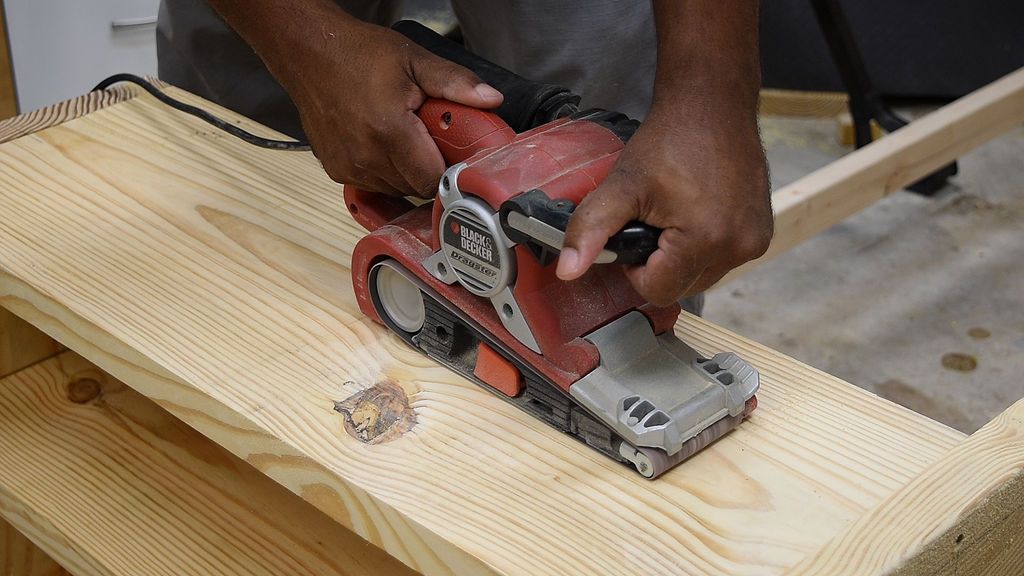
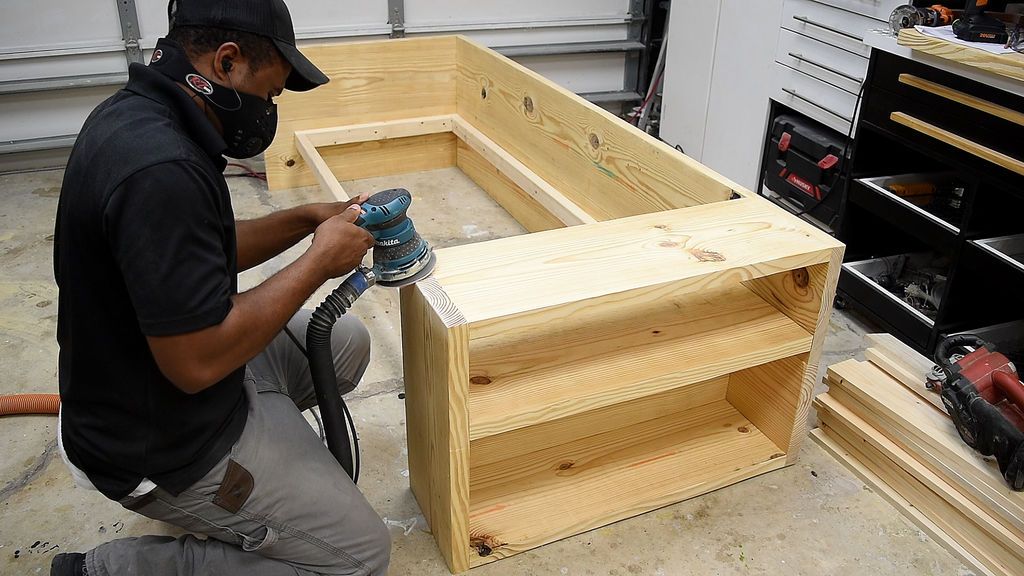
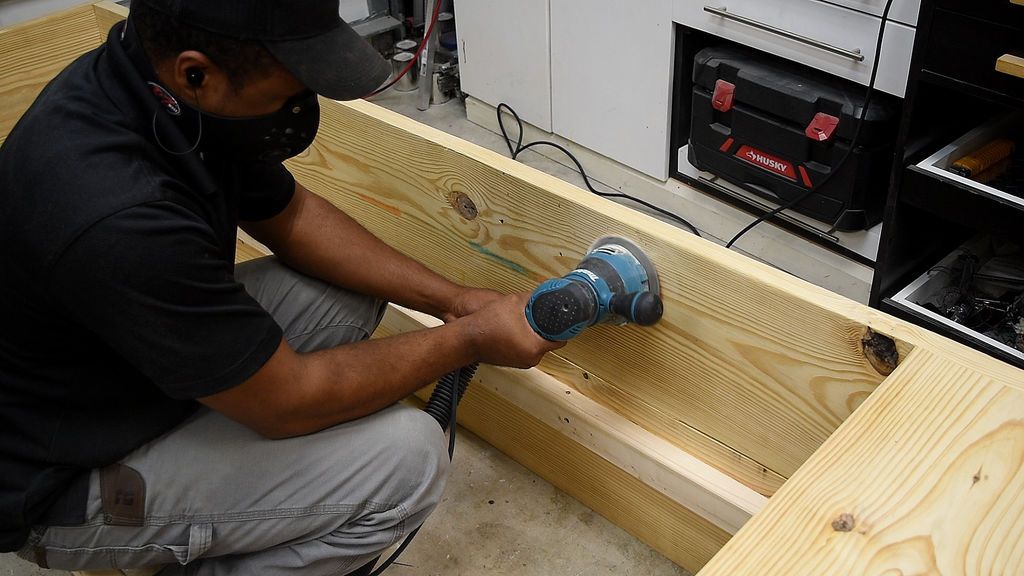

This was hard wood with knots, sap and irregularities. For these reasons, I sanded the sofa 4 times. First I used 80 grit sandpaper, then 120, followed by 220 and finally 400 grit.
If you haven't already, now is a good time to add more reinforcement from the back of the arm to the storage, using screws. I covered the holes with wood filler, but you can plug the holes with a rebar.
Step 7: Apply Finish
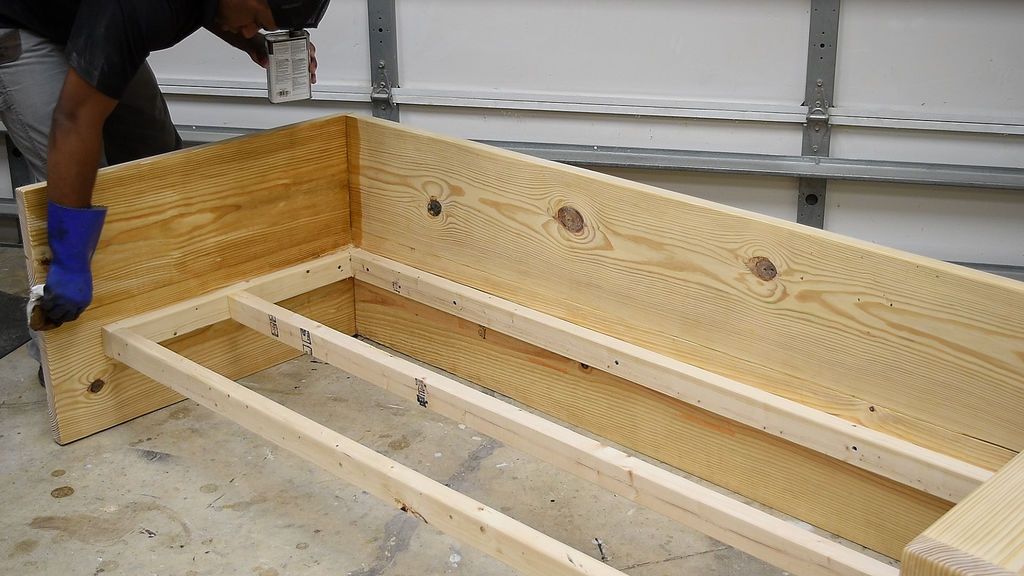

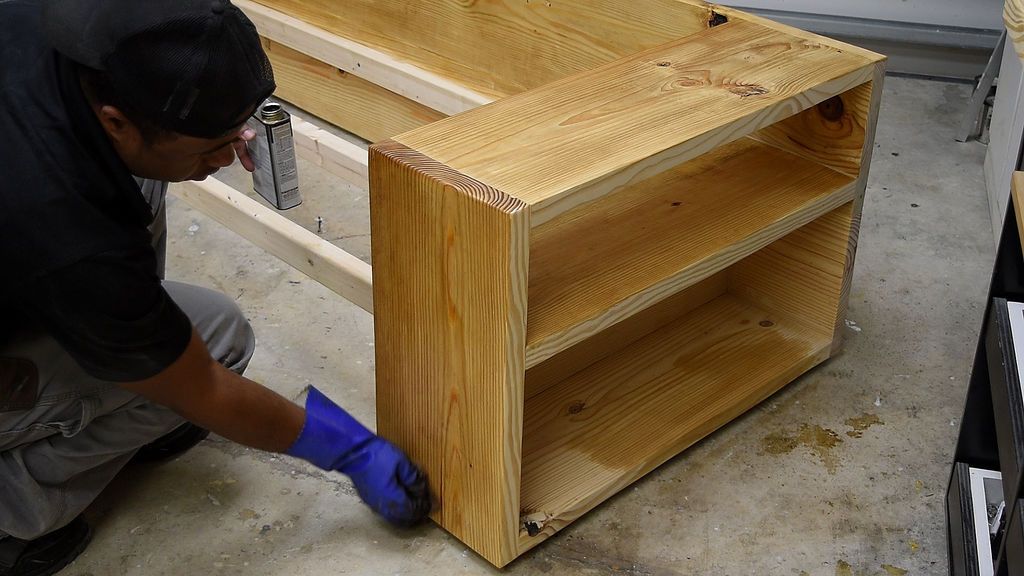
I used Danish oil to finish the sofa, but you can use any stain or finish that best suits your space.
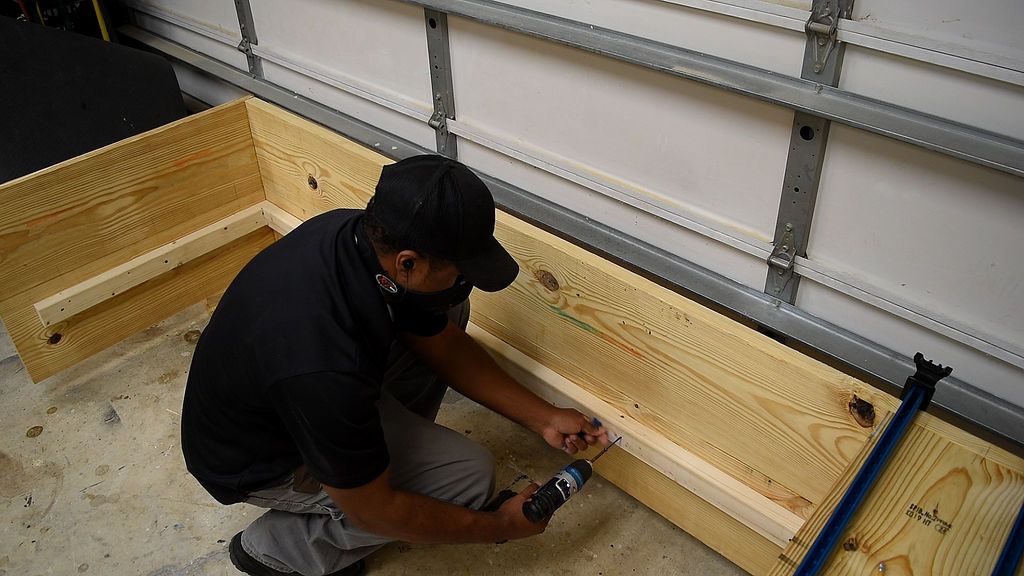
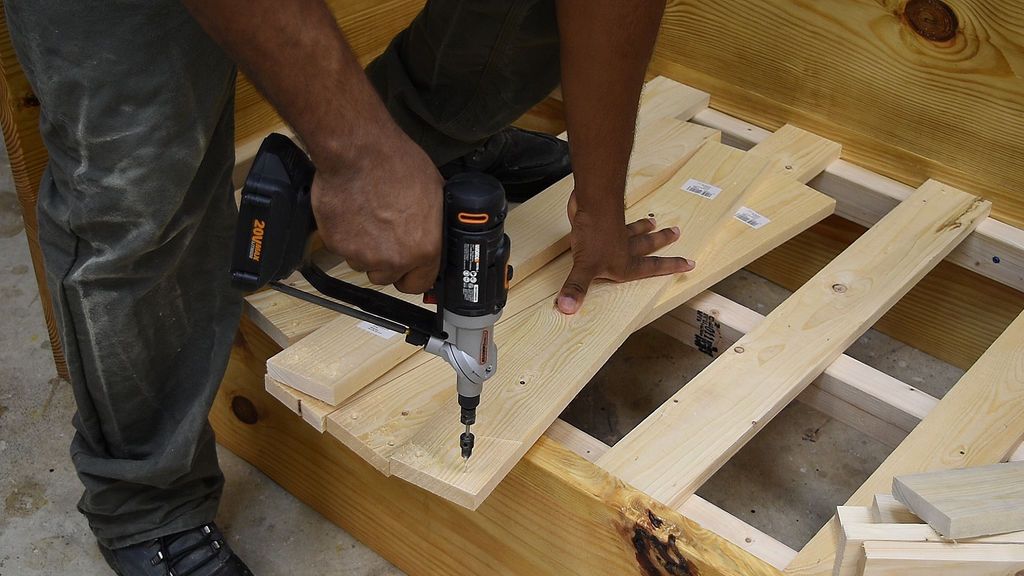
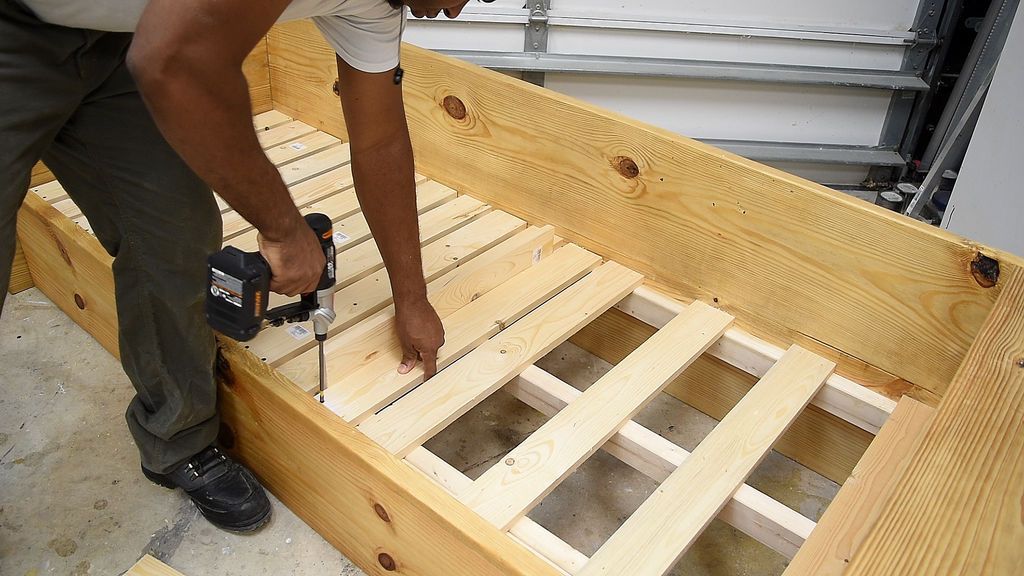
Step 8: Installing the slats and front
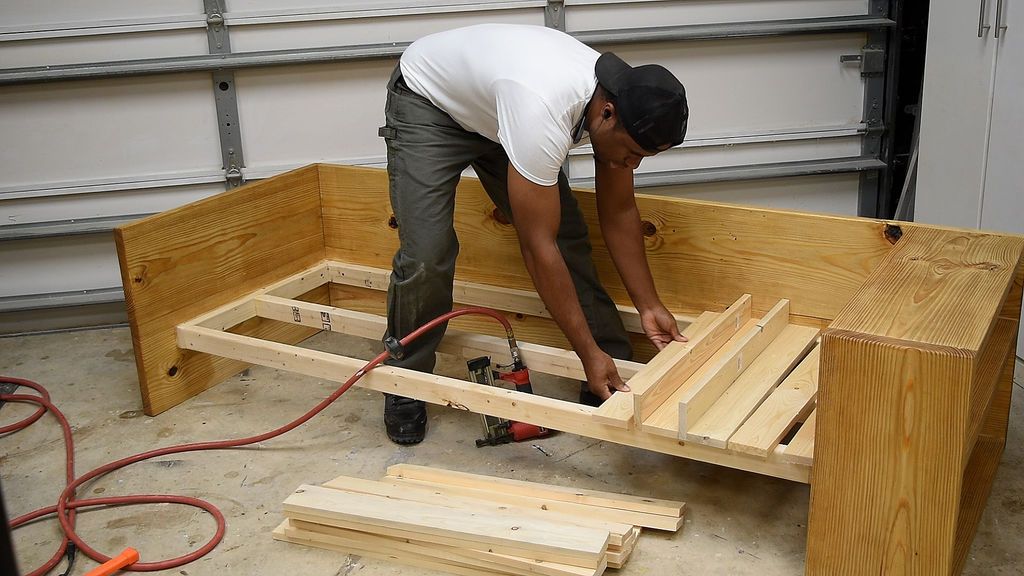
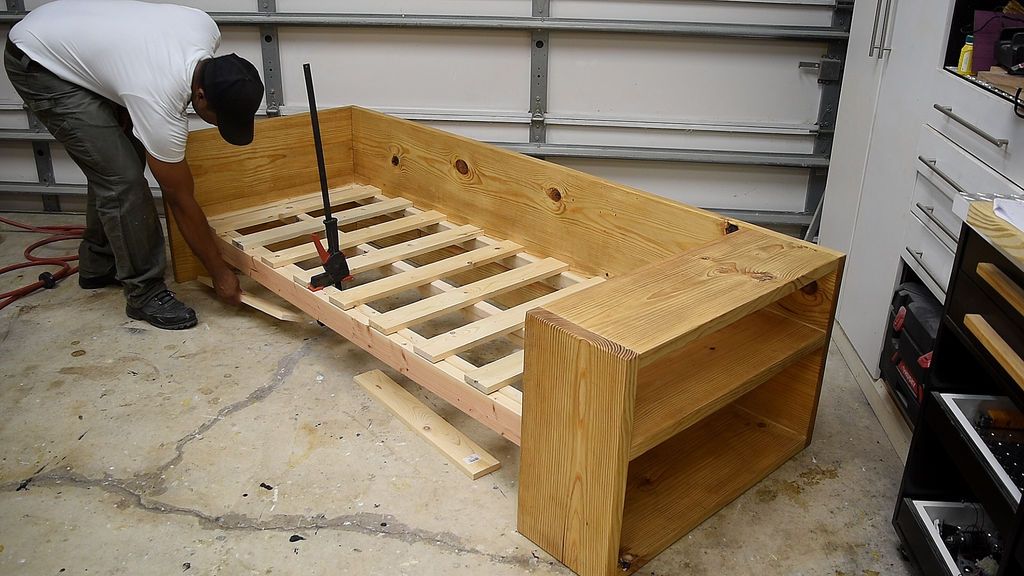
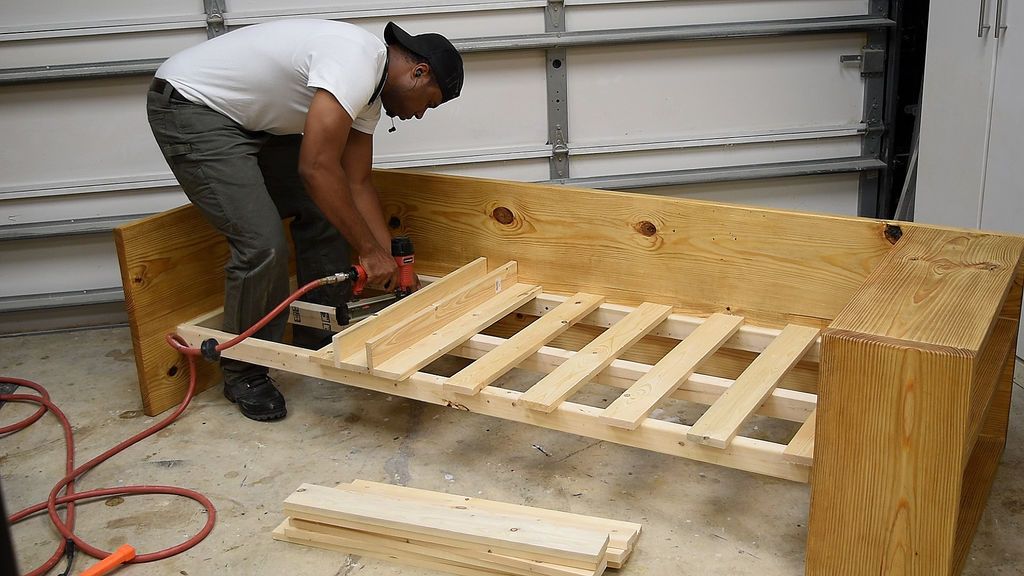
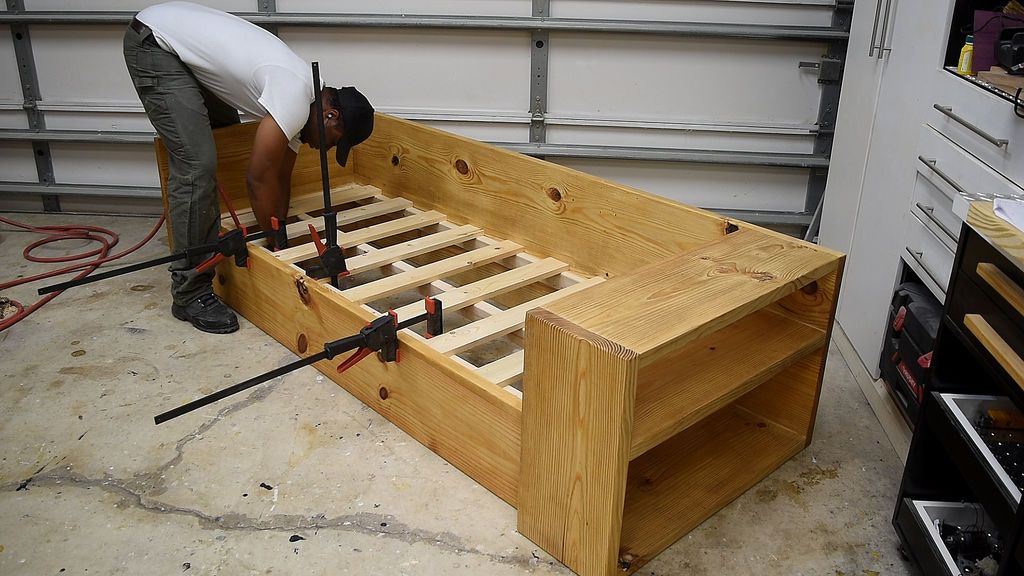
For the sliding feature of this sofa to work, you must secure each slat. To make sure I left adequate spacing, I placed 2 slatsat the same time and separated them with another piece of wood, as shown. I was then able to secure the correct lath with a nail gun. I recommend gluing and screwing the slats in place, especially if you anticipate moderate to heavy use of the sofa bed.
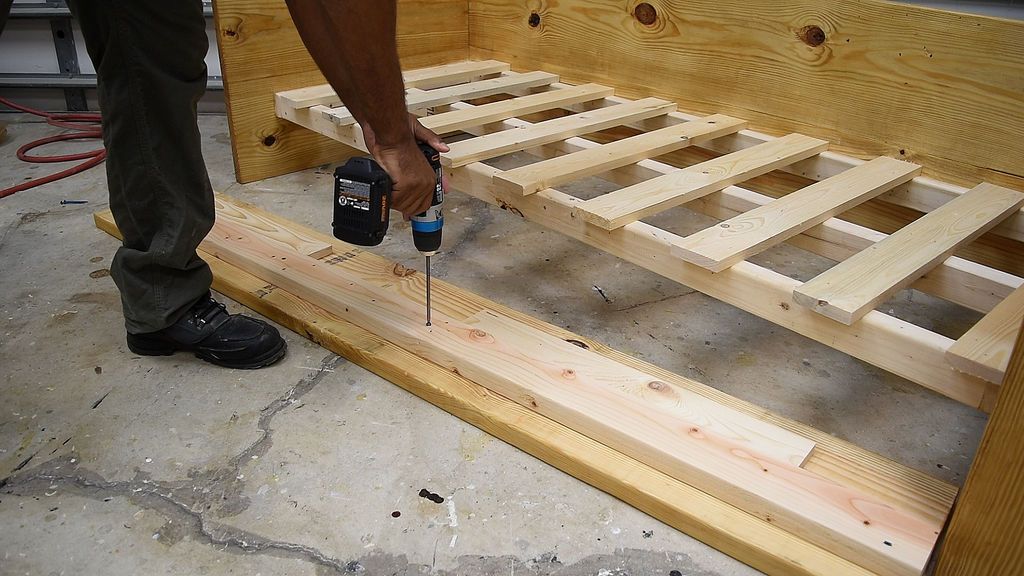
Front: I tie the wood that will be secured to the front of the panel.
Step 9: Final Touches
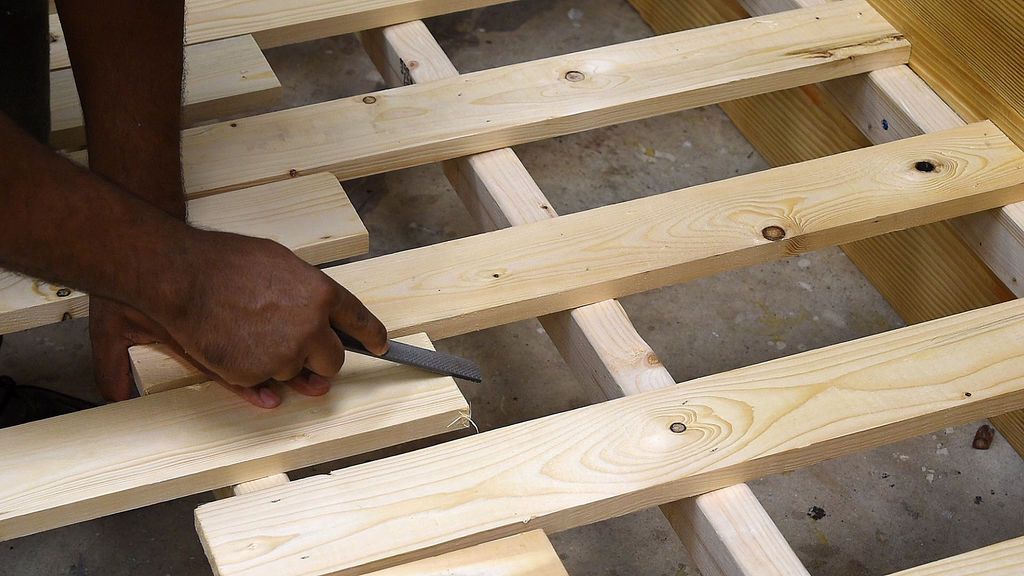

I pre-marked the slats that would attach to the front of the sofa to avoid any wood partitions. As I said before, I recommend gluing and screwing the slats if you are going to use the pull feature frequently.
I recommend rounding the edges of the slats with a router, a sander.
Although I don't think it will be a problem, there have been many suggestions to add a stop at the end of the slats that are connected to the front panel. Which would prevent it from being pulled out all the way.
Step 10: Photos
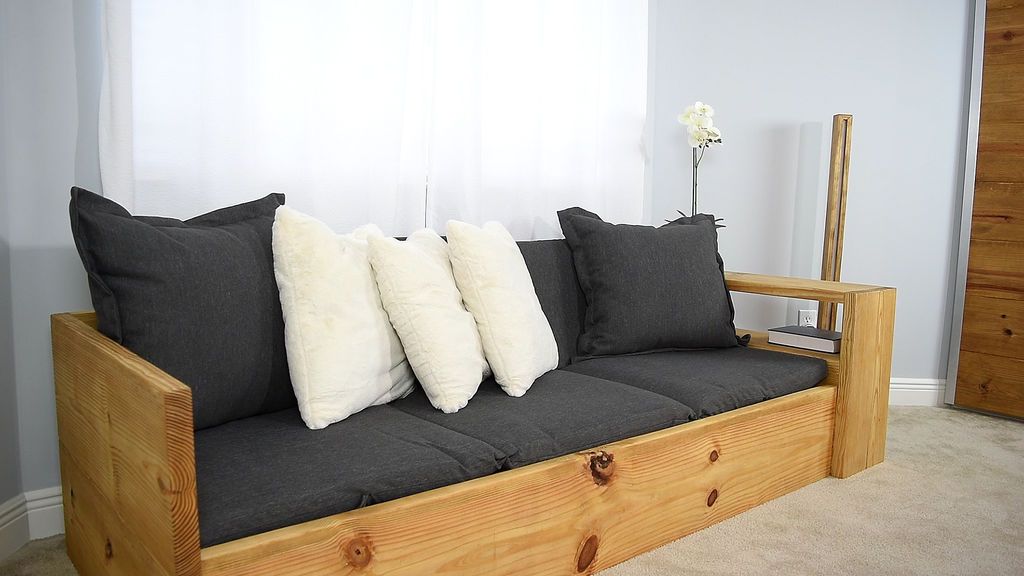


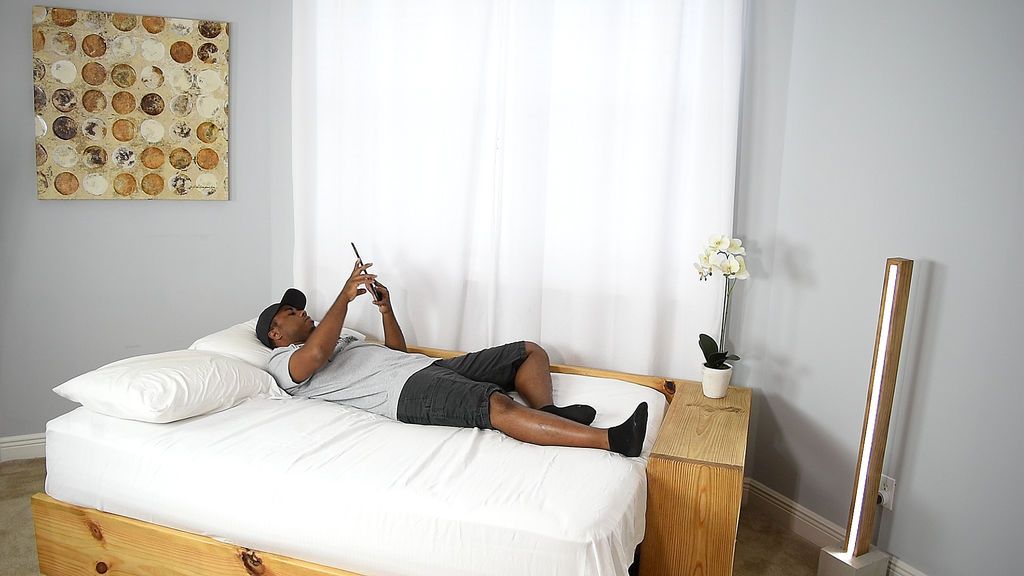
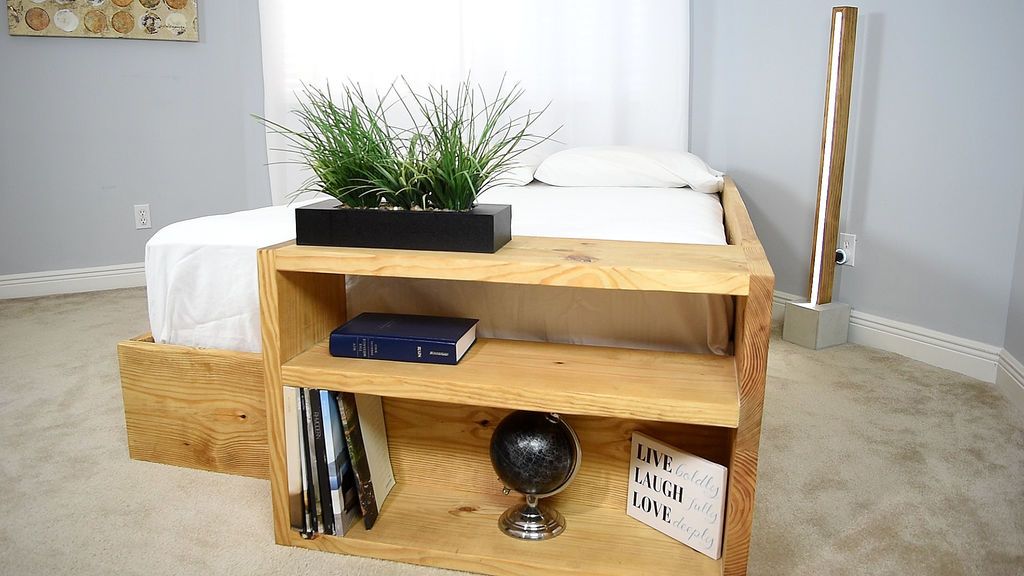
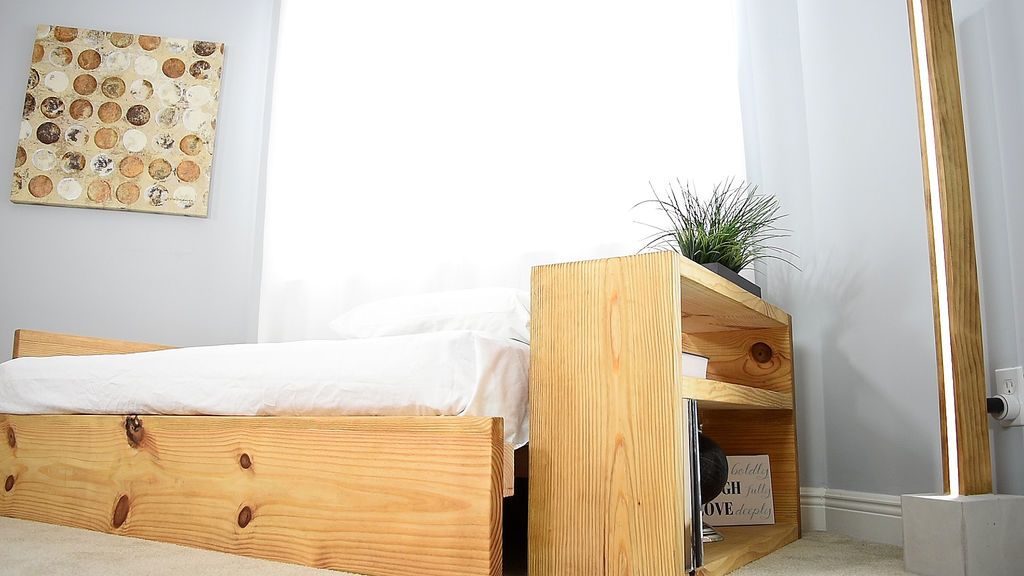
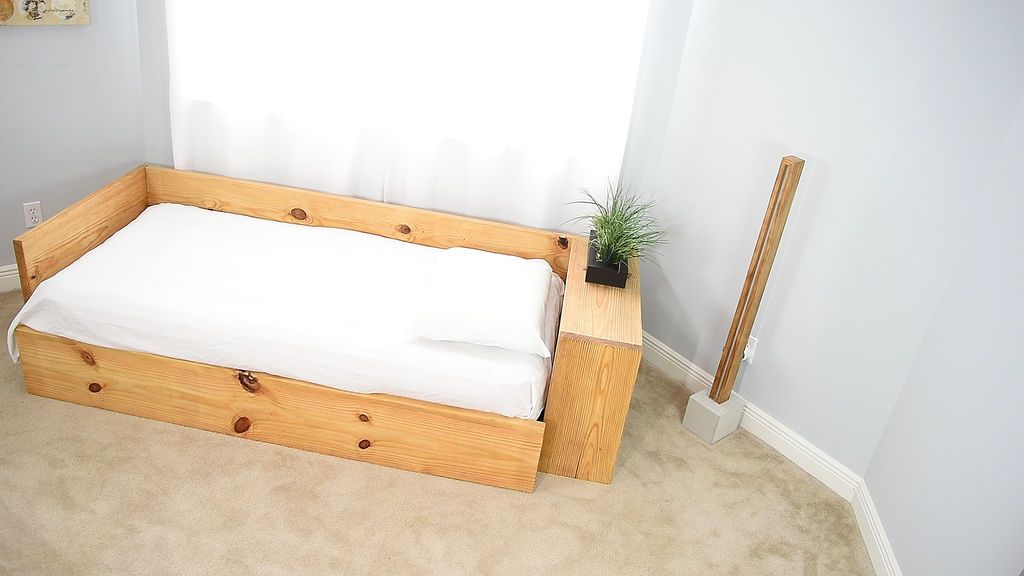
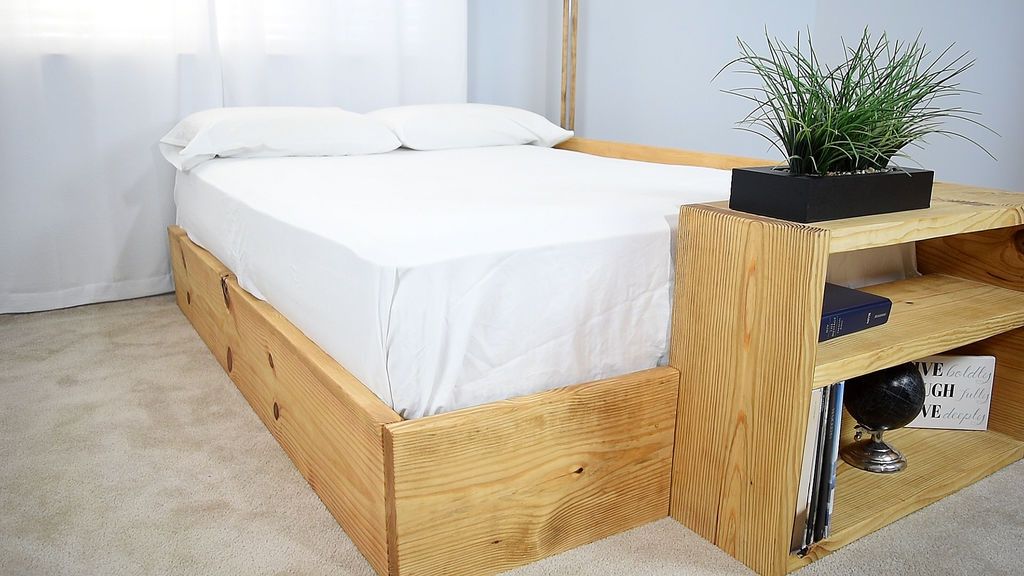

Here are some photos of the finished product.
You can make your own custom cushions, or you can use some of the suggested ones detailed in step 1. If you use this bed in its full size potential, you can cut an extra piece of wood to cover the space and attach it with corner brackets.
This sofa bed is the perfect solution for a large number of spaces: bedrooms, apartments, children's rooms, guest rooms, small house, caravan, etc. With its functional design, you can even choose to use this bed as a permanent sleeping arrangement.
Get more information at perfectionidea.com and on our Facebook for more How to Make a Sofa that Converts into a Bed.
- Tags
- Pine
Popular Content
How to make a rocket stove for outdoors
Cardboard Drawers Lined with Jeans
Change the facade of your home with simple steps!
Latest Articles
How to make a refrigerator out of insulating material: Practical step-by-step guide
How to make a Kilim for the Home: Complete Step by Step Guide
How to protect ourselves from accidents in our workplace: Complete prevention and safety guide
Related Content
Building a Curved Concrete Bench!
How to Make a Beautiful Secret Garden
How to Make Concrete Coasters
Uses for Drinking Straws
Creative Home Decor Ideas to Transform Every Space
Refreshing your home starts with smart design choices that combine comfort, personality, and functionality. Whether you want to modernize a small apartment, upgrade outdoor areas, or create cozy rustic interiors, these trending ideas can completely change the atmosphere of your space.
Outdoor Spaces That Increase Style and Functionality
Outdoor living continues to dominate modern home trends. Homeowners are increasingly investing in practical entertainment zones inspired by these BBQ shed ideas, which create the perfect setup for gatherings and weekend cooking sessions.
First impressions also matter when designing exteriors. Elegant farm entrance gates design ideas help properties stand out while improving privacy and curb appeal.
Compact living solutions are also gaining popularity. These inspiring 16x40 shed house interior design ideas show how smaller spaces can still feel luxurious and functional.
To enhance patios and entryways, homeowners are adding stylish protection with these creative porch awning exterior DIY ideas that blend aesthetics with practicality.

Rustic and Cozy Interior Design Trends
Warm and natural interiors remain timeless. These charming rustic decor ideas combine wood textures, vintage accents, and earthy tones to create welcoming spaces.
Bedrooms are becoming more personalized with curated wall arrangements. Many homeowners use these stylish picture wall ideas for bedroom spaces to display memories and artwork creatively.
Textured wall treatments are another major trend. Installing a board and batten wall adds architectural character while keeping interiors elegant and modern.
Similarly, bold accent wall ideas can instantly transform plain rooms into eye-catching focal points without requiring a full renovation.
Smart Kitchen and Organization Inspiration
Functional kitchens are essential for modern homes. These practical kitchen wall cabinet ideas maximize storage while maintaining a clean and stylish appearance.
Organization also starts at the entrance. Well-designed mud room ideas help families keep shoes, coats, and daily essentials neatly arranged.
Colorful and Personalized Home Styling
Vibrant interiors are becoming increasingly popular thanks to playful dopamine decor ideas that use bright colors and joyful accessories to improve mood and energy.
Gallery walls also continue to evolve as a major decorative feature. These trendy gallery wall inspiration ideas offer creative ways to combine prints, photos, and statement art.
Young renters and new homeowners are especially embracing these stylish first apartment aesthetic ideas to create sophisticated interiors on a budget.
Finally, selecting the right shades can dramatically influence any room’s atmosphere. These modern trendy color ideas help homeowners choose palettes that feel fresh, elegant, and timeless.
Final Thoughts
From rustic charm and colorful interiors to outdoor entertaining areas and functional storage solutions, today’s home decor trends focus on creating spaces that feel both beautiful and livable. By combining smart layouts, modern textures, and personalized decorative elements, any home can become more stylish, comfortable, and inspiring.


