
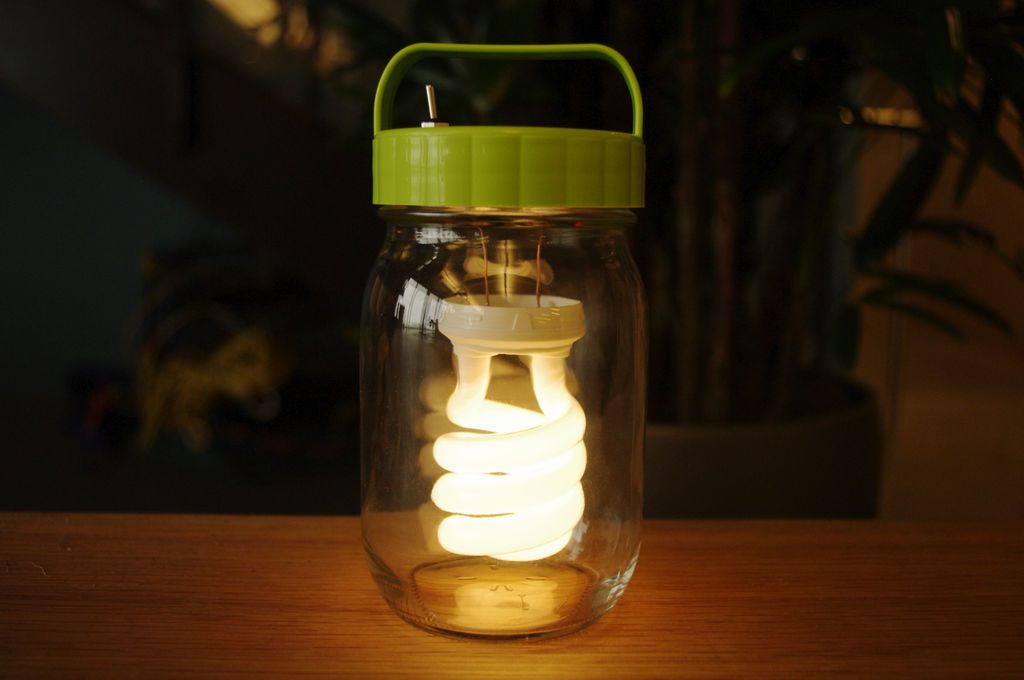
Glass Jar Flashlight (Powered Independently), was inspired by watching sunlight refract through my glass water bottle one afternoon, and thinking it was a bit like carrying a jar full of light.
This brief moment of enlightenment sparked something in my mind that made me wonder how I could capture this experience more permanently.

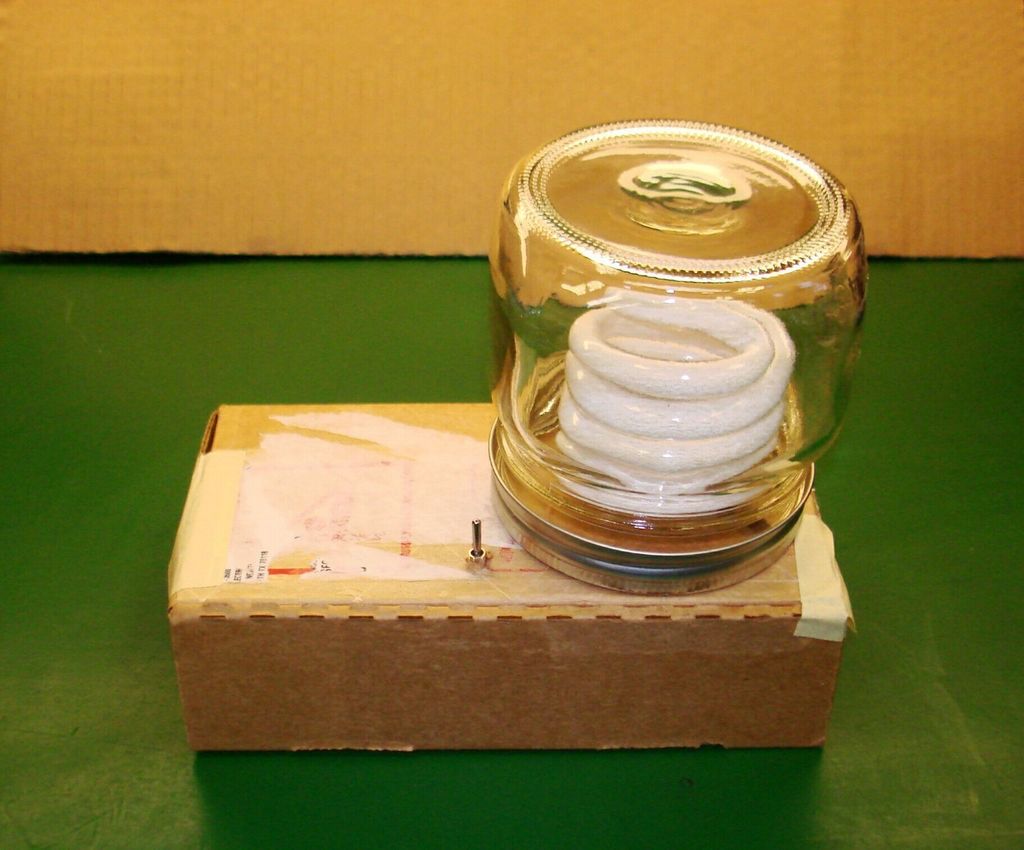
While attempting to bottle the light may be a foolish task, he could at least attempt to recreate the sense of magic he had briefly experienced. After pondering several methods to achieve this, I decided to make a jar with a floating light bulb. The beauty of this seemingly impossible object is that the light bulb has no clear power source, but it seems very natural and familiar.
Step 1: Go get your things
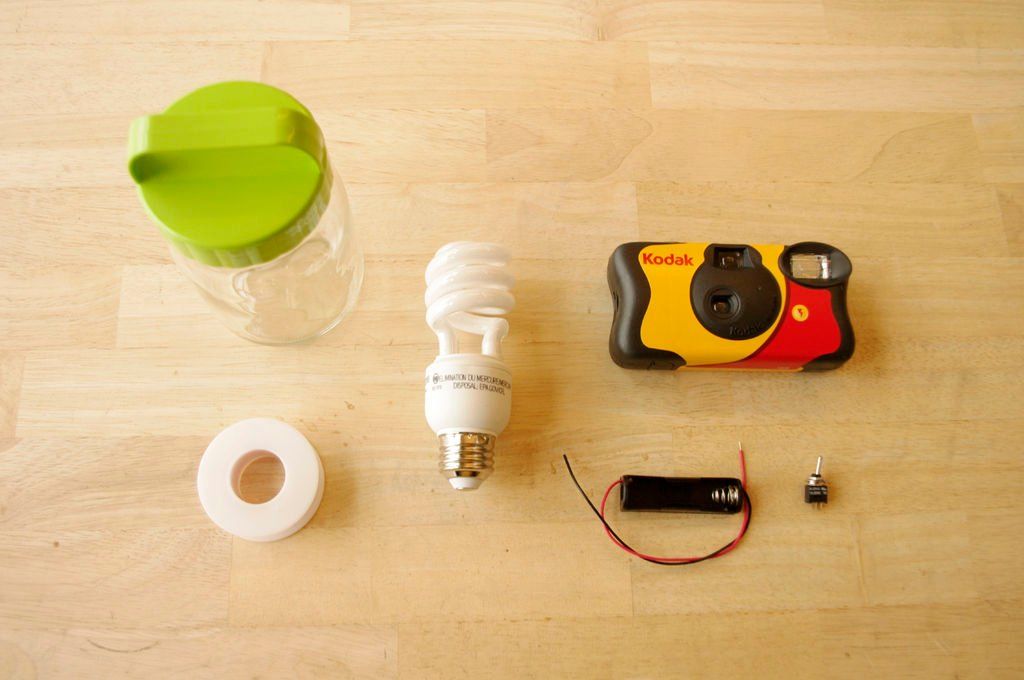
You will need:
- 1 Glass Jar
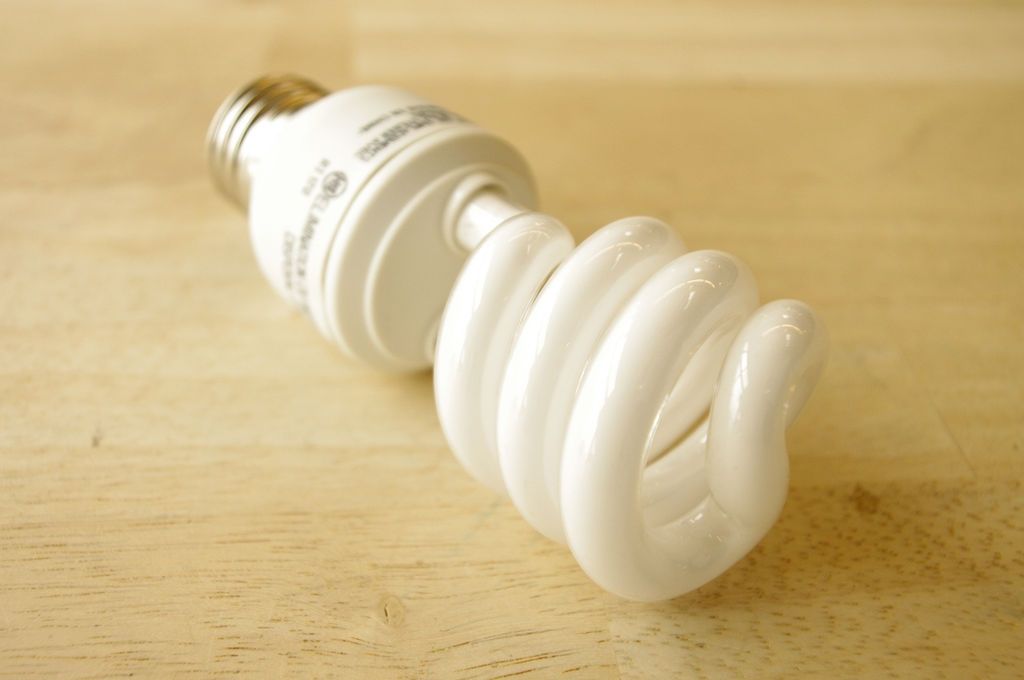
- 1 CFL Bulb
- 1 disposable camera
- 1 AA battery holder
- 1 Switch
- 1 Roll of magnet wire
(Please note that some of the links on this page contain Amazon affiliate links. This does not change the price of any of the items for sale. If you would like an alternative suggestion for a supplier for any of the parts, please let me know.
Step 2: Open the disposable camera
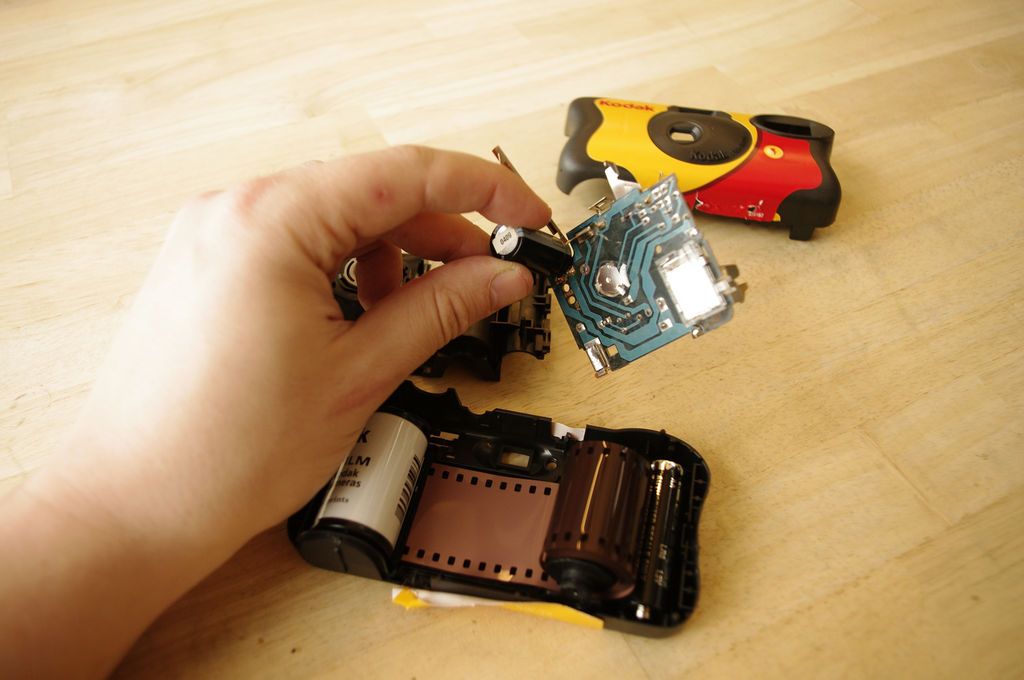

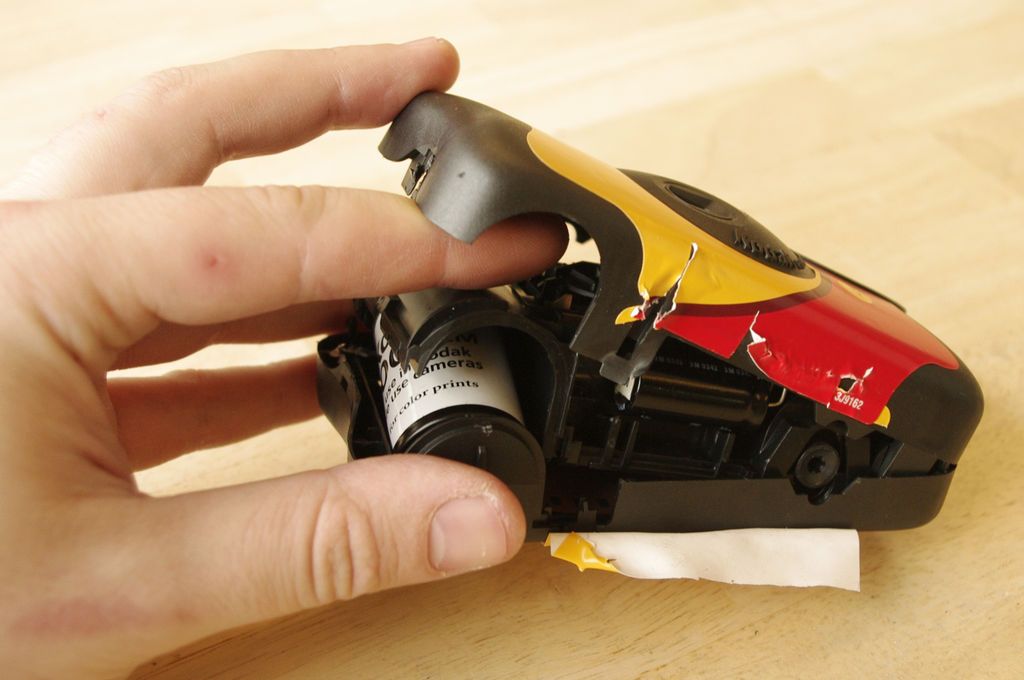
- Open the disposable camera case. Note not to touch the large capacitor which could give you a good jolt.
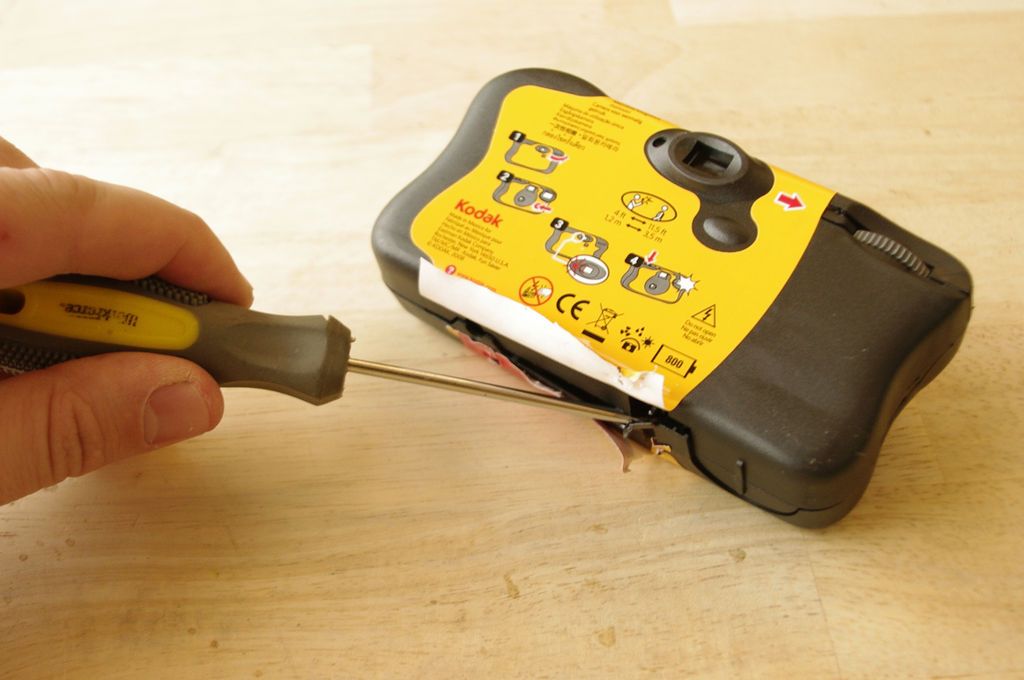
Step 3: Cut the capacitor and flash

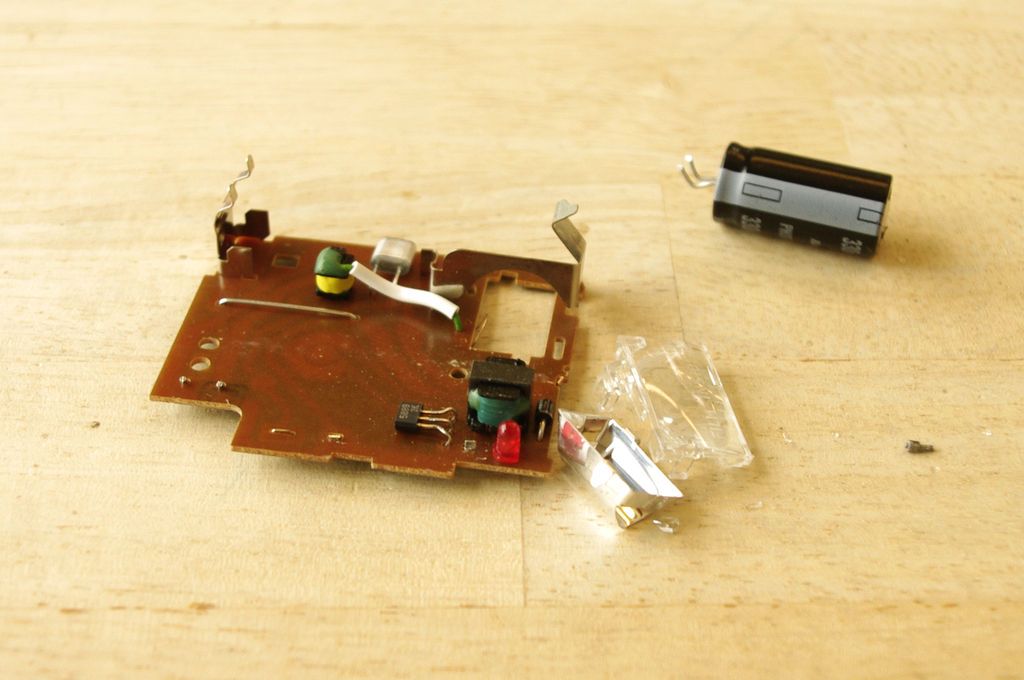
- Discharge the capacitor by connecting the wires with a long screwdriver that you don't care much about.
- Be careful not to touch the metal part of the screwdriver while doing this. Once downloaded, cut it off the board so it doesn't reload.
- Also, cut the flash tube from the circuit board.
Step 4: Hack a CFL
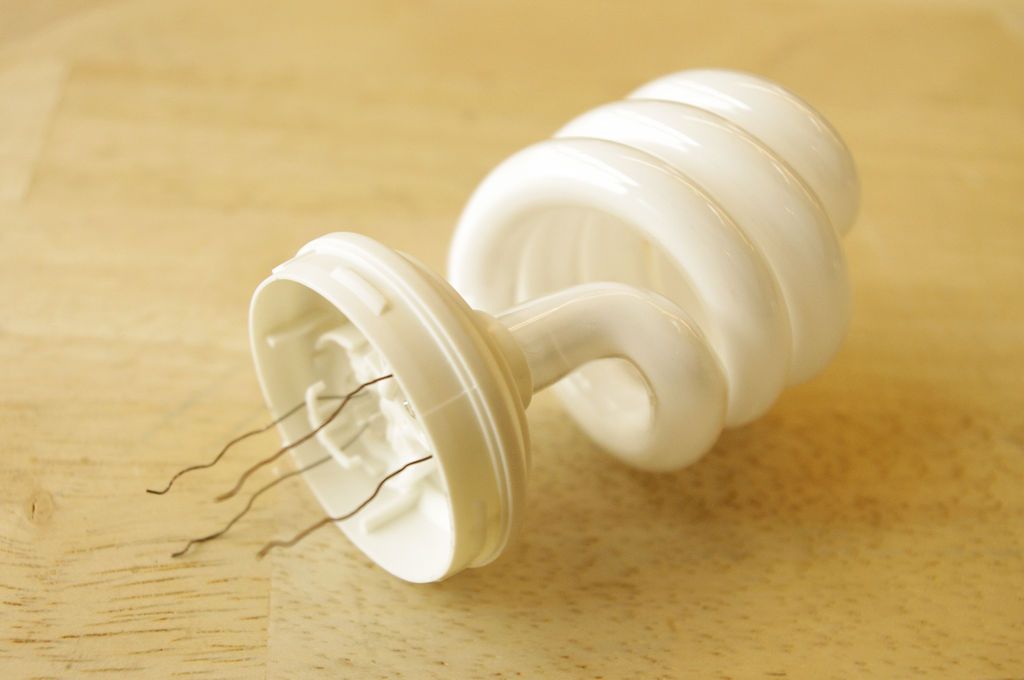
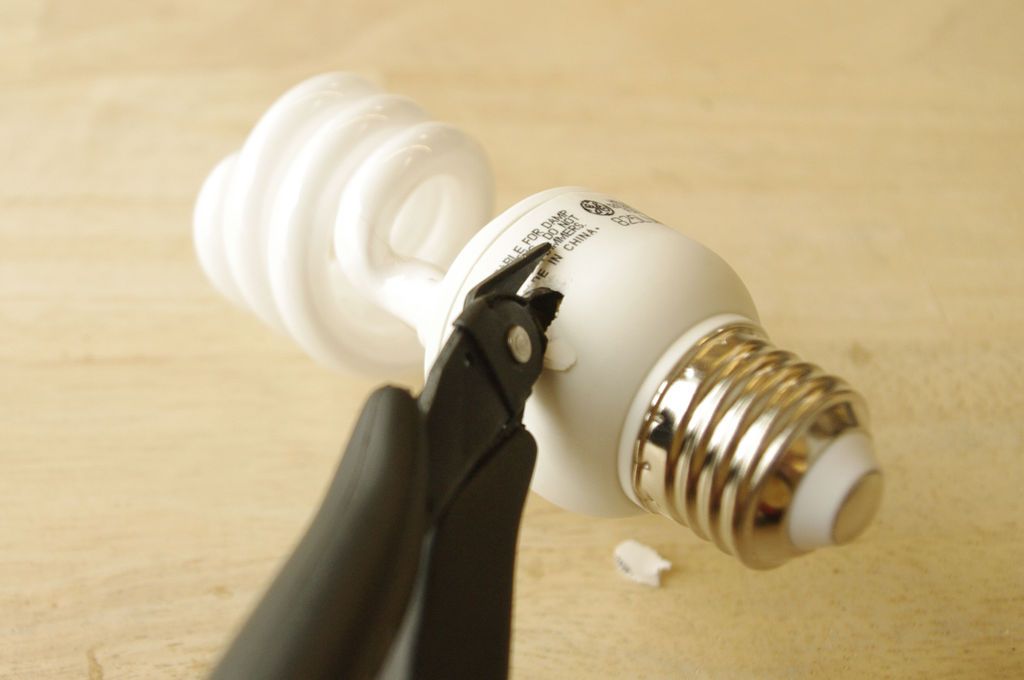

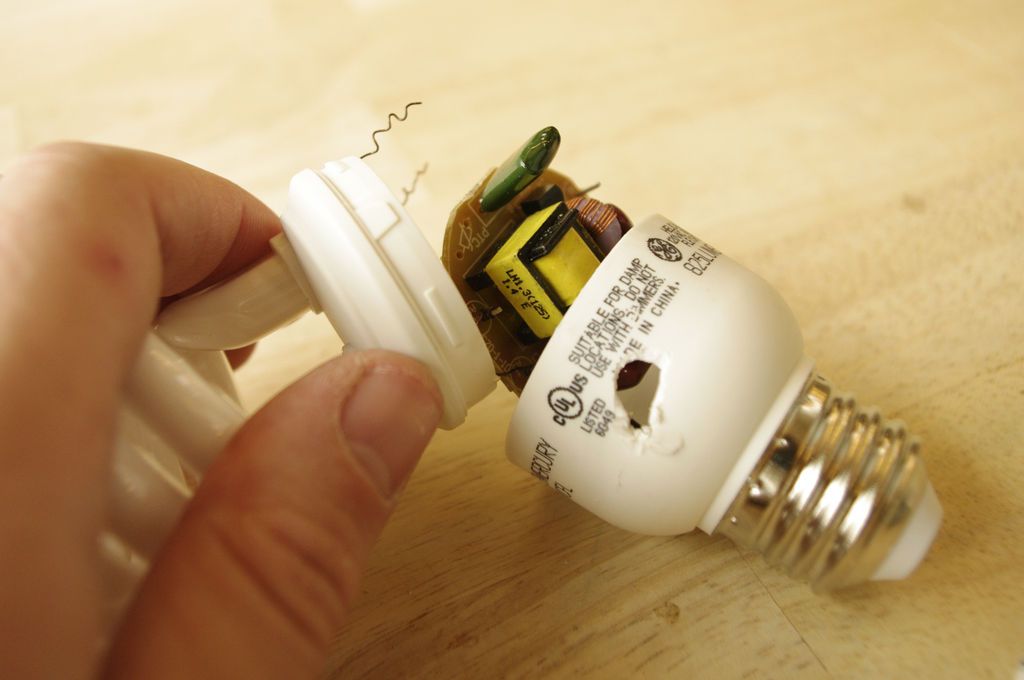
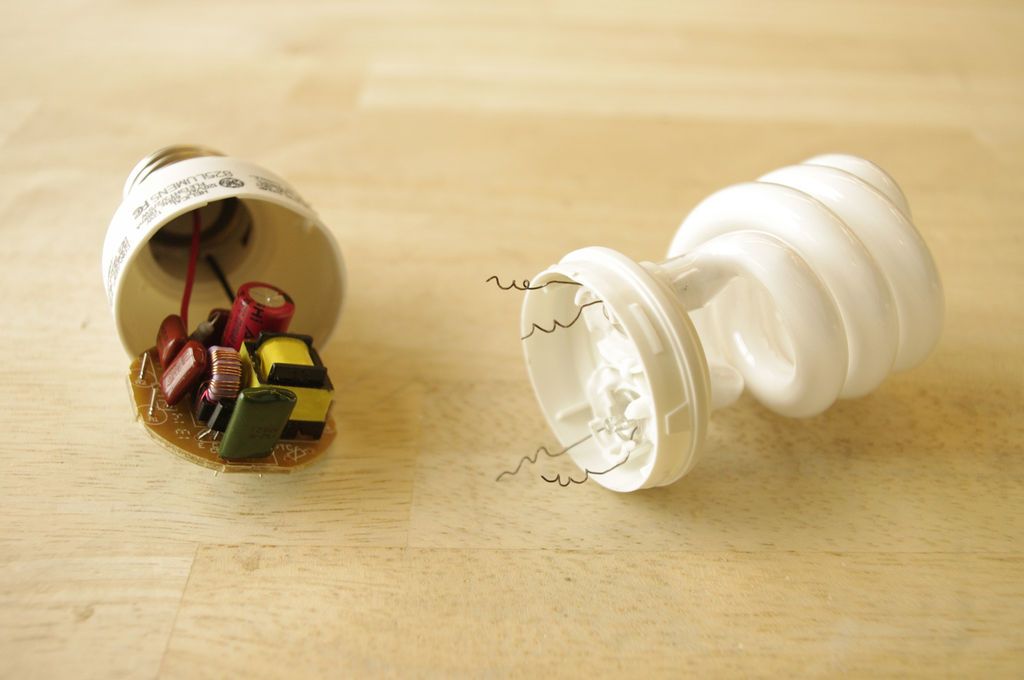
- Use a pair of diagonal cutting pliers to make a hole in the plastic body of a CFL bulb.
- Then use this hole to insert a screwdriver and gently pry up the base of the glass tube.
- Finally, uncoil the CFL tube wires from the posts on the circuit board.
Step 5: Bypass the switch

- Remove the pressure tab above the flash charging switch.
- Solder the switch terminals together.
Step 6: Prepare the CFL Bulb

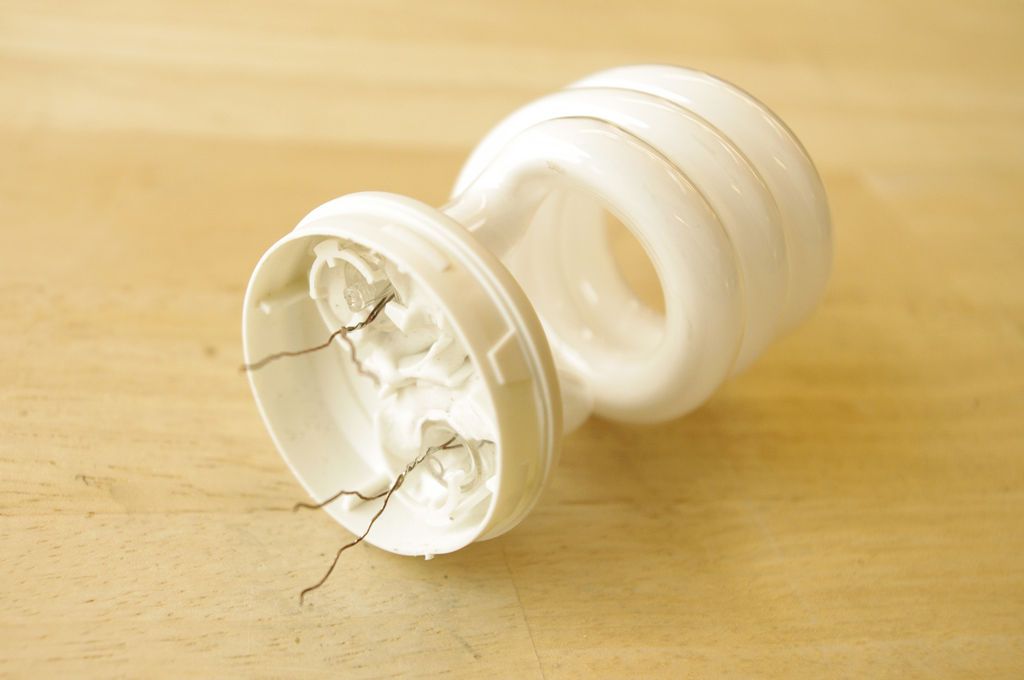
- Cut the sheathing of the wires coming out of the CFL bulb with a razor blade.
- Coil the wires together and solder them.
Step 7: Remove Extra Parts

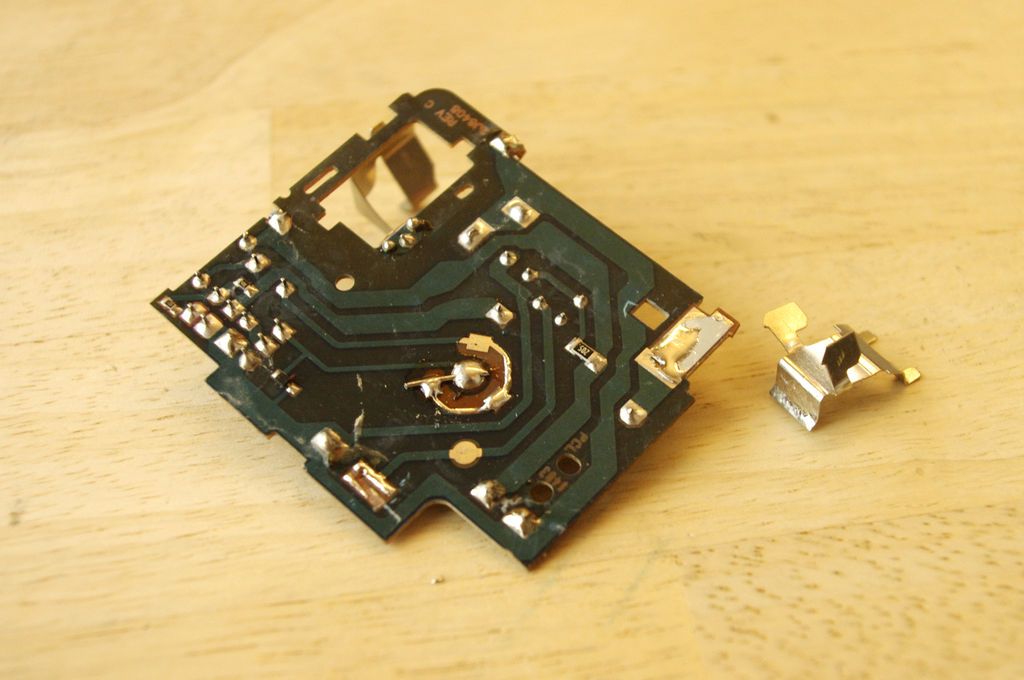
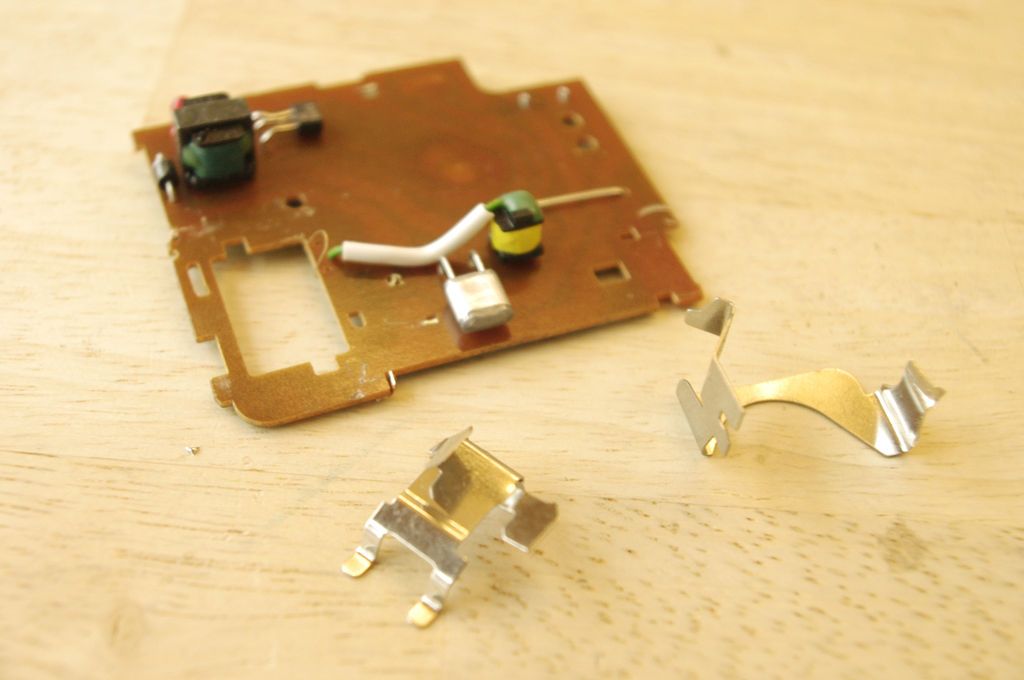
- Remove any protruding parts of the board, such as the terminals of thebattery. However, remember to take note of which terminals on the bottom of the board they are connected to for future reference.
- I also removed the cable that connects the top of the trigger transformer to the flash tube for a very high price.
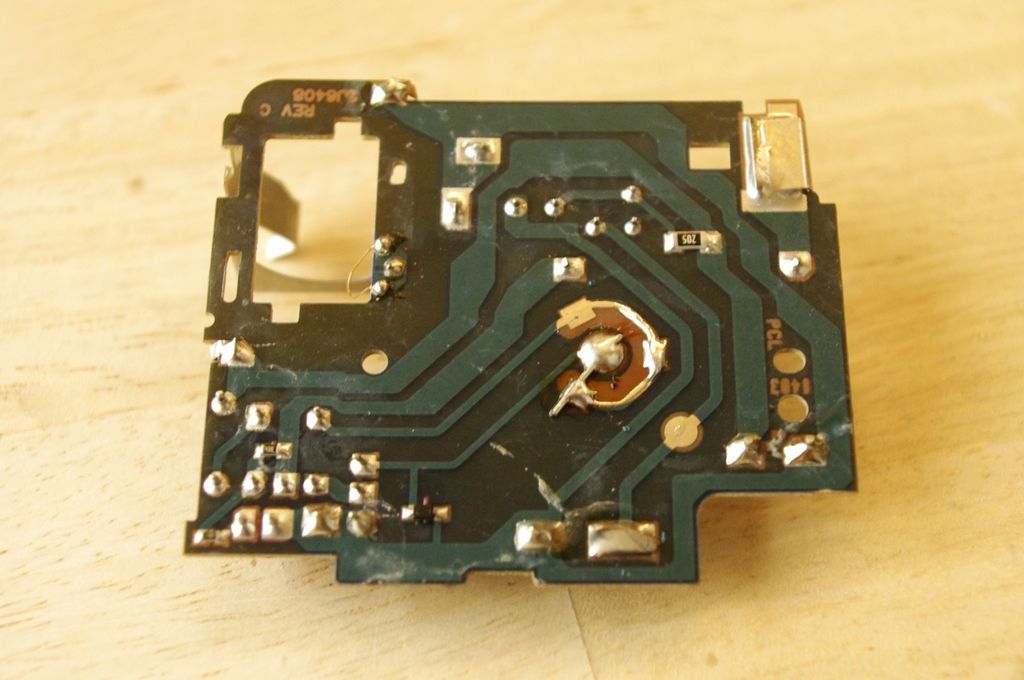
Step 8: Cut Out the Circuit Board
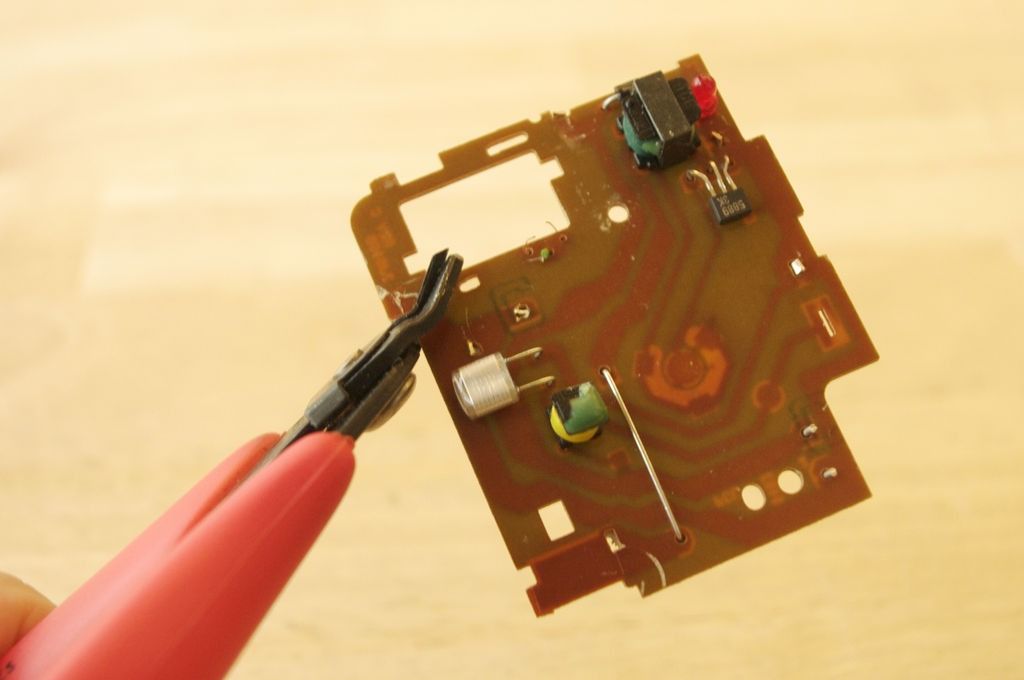
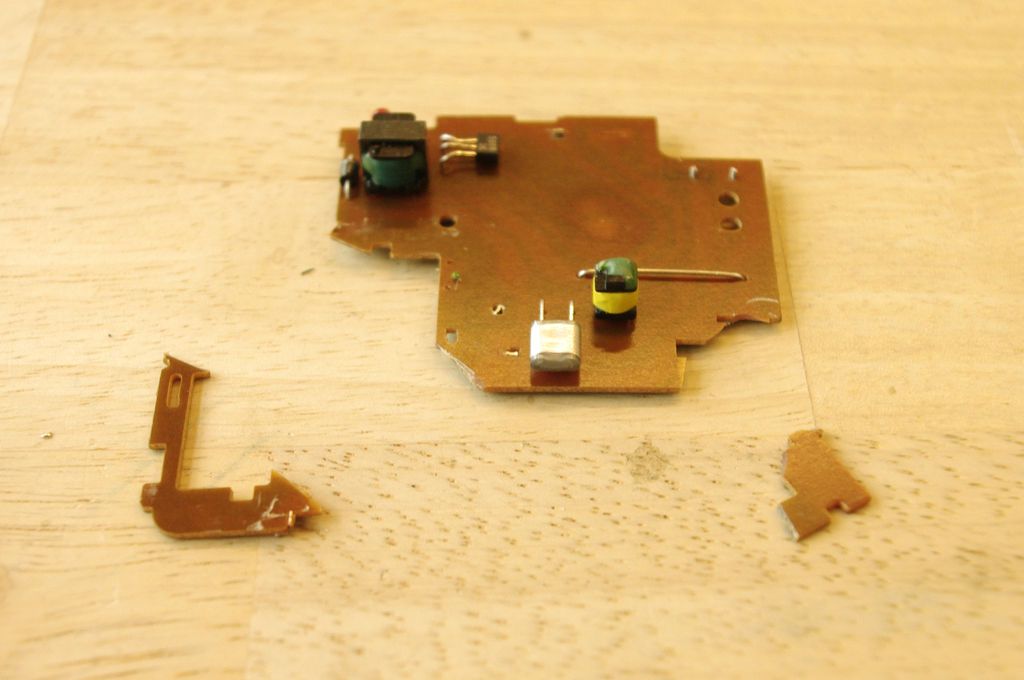
- Trim corners that have unnecessary electronic traces (or no traces at all).
Step 9: Prepare the magnet wire

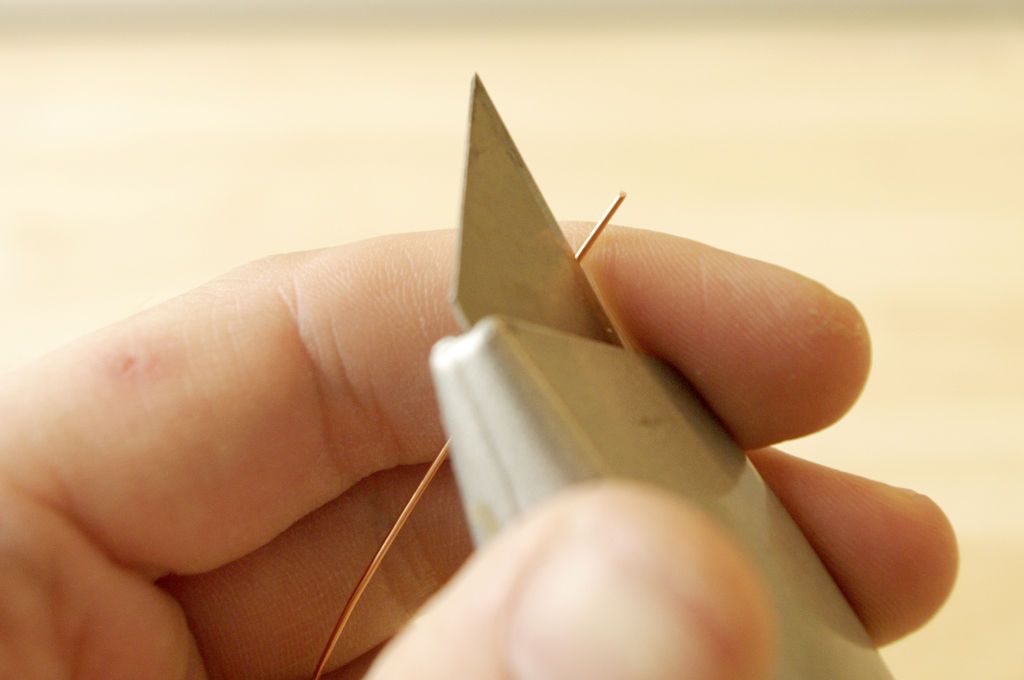
- Strip 1/2″ of the plastic coating from both ends of two 3″ pieces of magnetic wire with a razor blade.
Step 10: Hack a Camera Flash

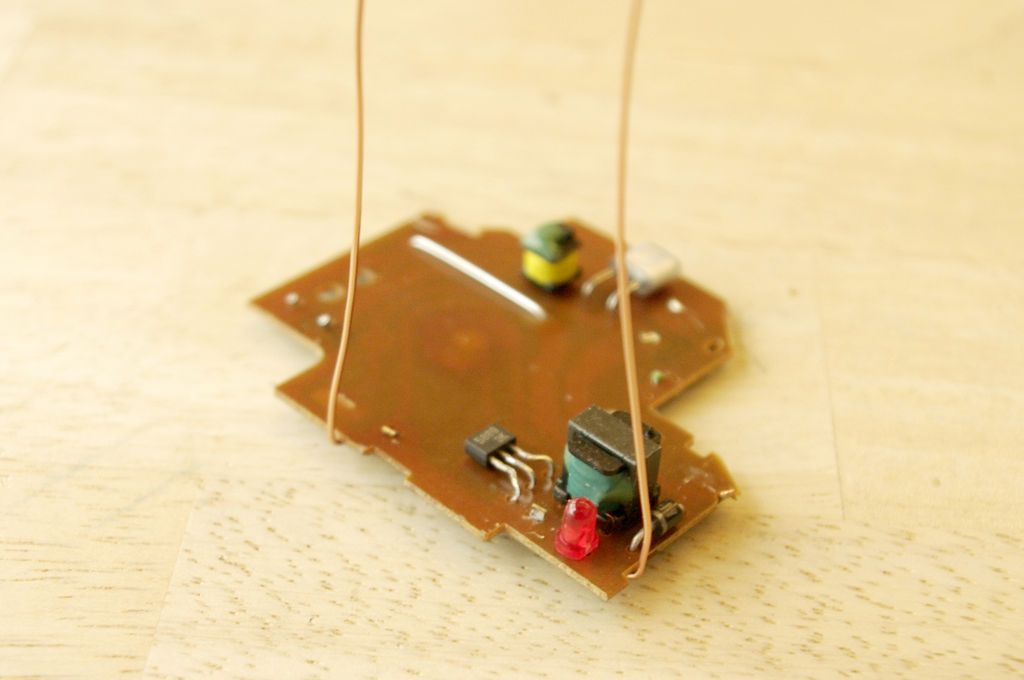
- Now it is time to connect the cables to the board that will power the light.
- Solder the first magnetic wire to one of the terminals connected to the ground plane.
- Solder the other wire to the terminal of the inverting transformer to which the diode is connected.
If you are confused, a more practical way to solve this is to use clip-on jumper cables to connect the battery to the board. The board should now be live, so be careful of high voltages.
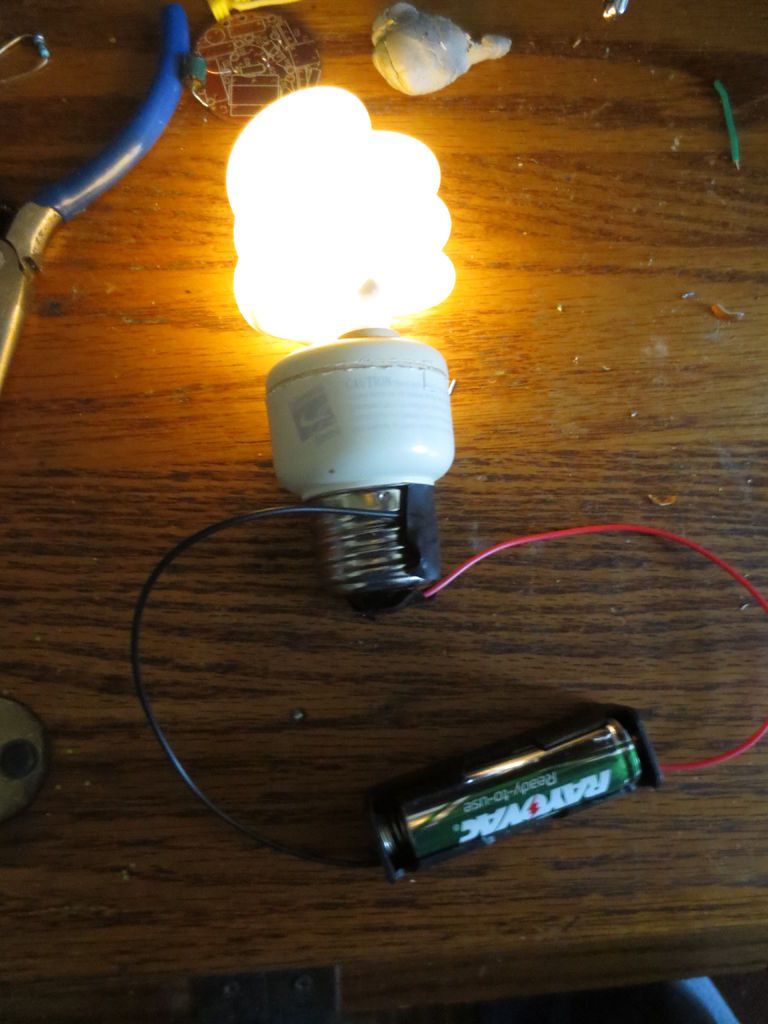
Using another wire, connect one of the bulb wires to ground. Finally, connect a fourth cable to the other battery cable. Briefly touch this wire at various points on the dashboard until the bulb comes on. Once it's on, you've found the right connection.
Step 11: Connect a switch

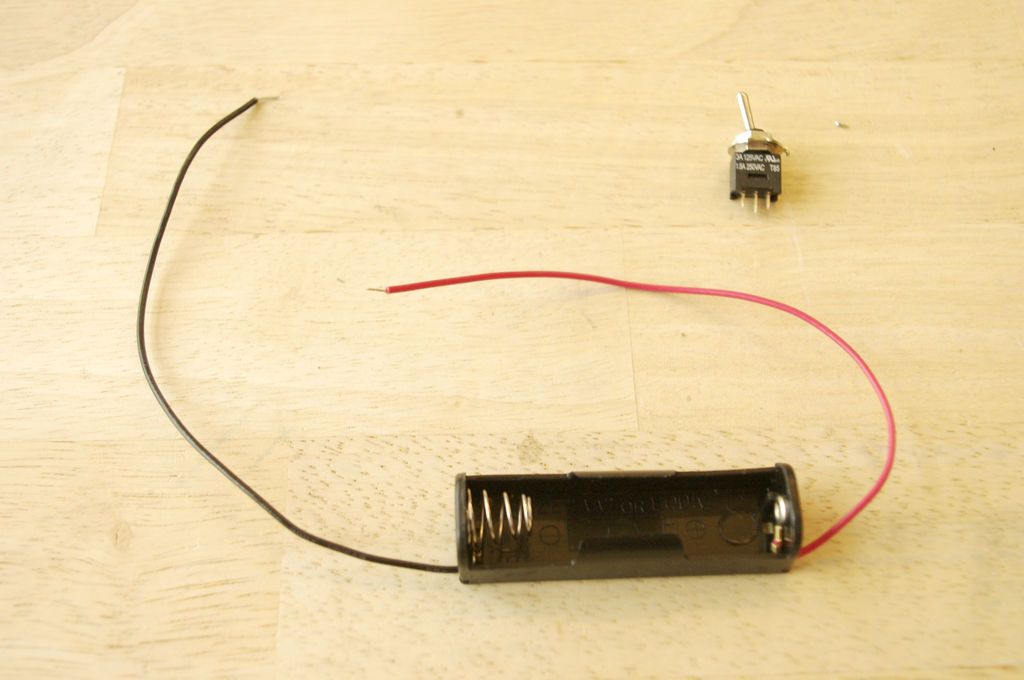
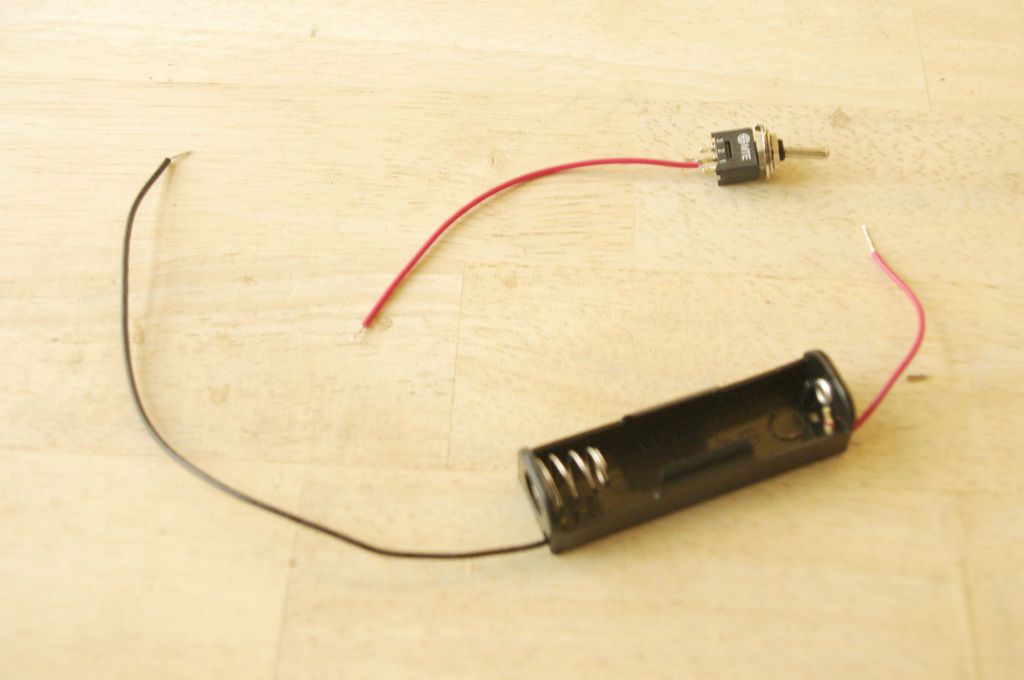
- Cut the red wire from the battery holder in half. Solder the cut pieces to the center terminal of the switch and the red wire still connected to the battery holder to the outer terminal of the switch.
Step 12: Drill the lid

- Drill a 3/16″ hole near the outside of the cover to mount the switch.
Step 13: Assemble the switch

- Pass the switch up through the bottom of the cover and secure it in place with its mounting nut.
Step 14: Connect power to the camera flash

- Solder the red wire from the switch to the point on the camera flash circuit board where the positive battery terminal was connected.
- Solder the black wire to ground.
Step 15: Hot Glue

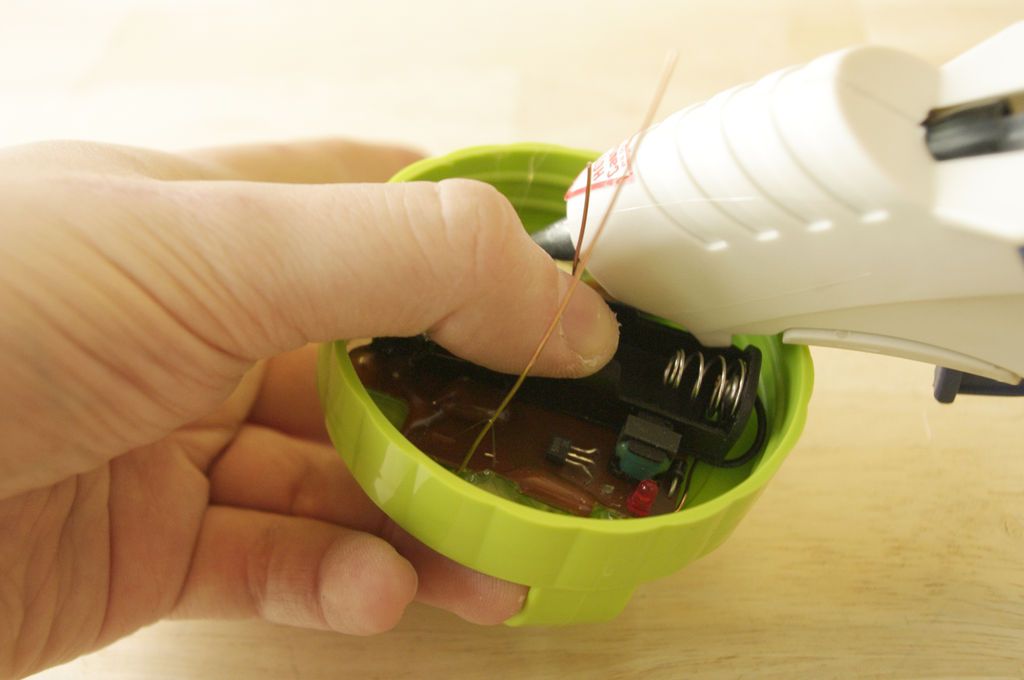
- While I'm not normally a fan of hot glue, it is the perfect adhesive for attaching the circuit board and battery holder to the inside of the lid.
- Center them inside the lid and then glue them in place as flush with the lid as possible.
- Use a generous amount of glue, but be careful not to get anything on the inside edge of the lid or it won't close.
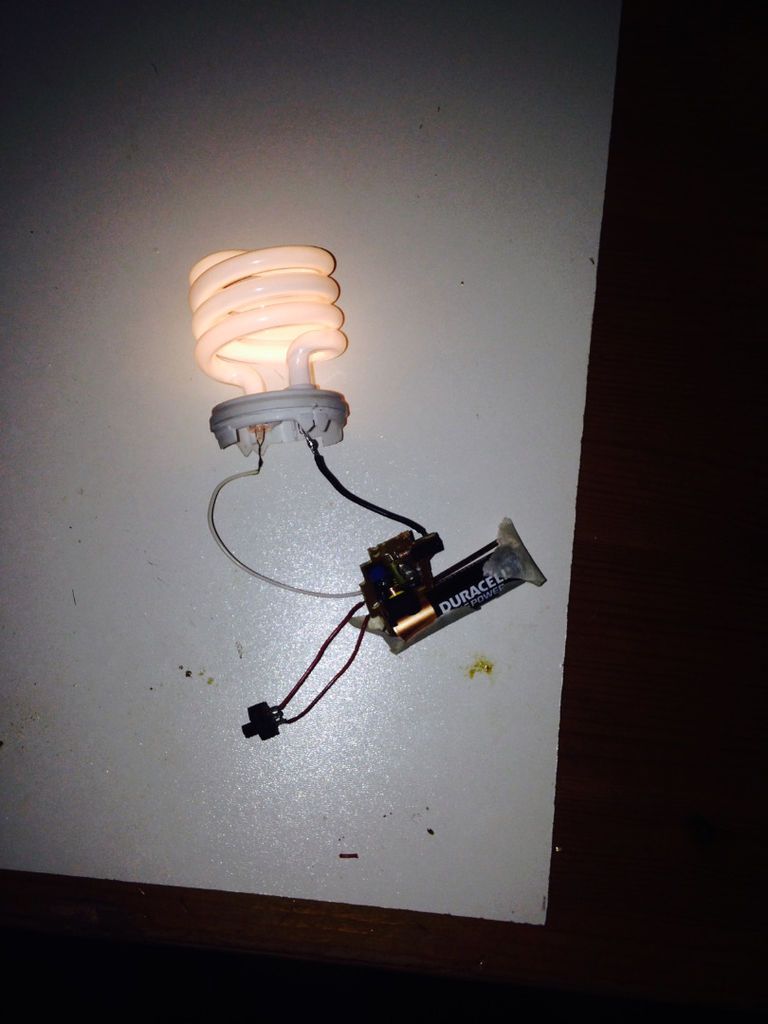
Step 16: Connect the bulb

- Solder one of the magnetic wires to each of the CFL bulb wires.
Step 17: Insert the battery

- Insert the battery into the battery holder.
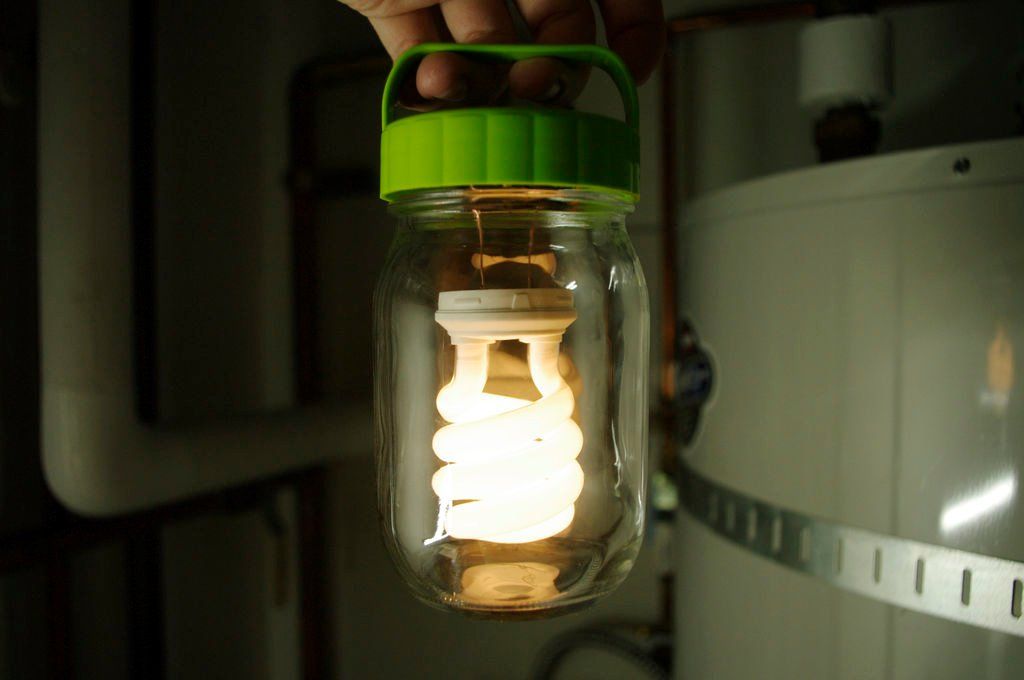
Step 18: Screw on the bottle

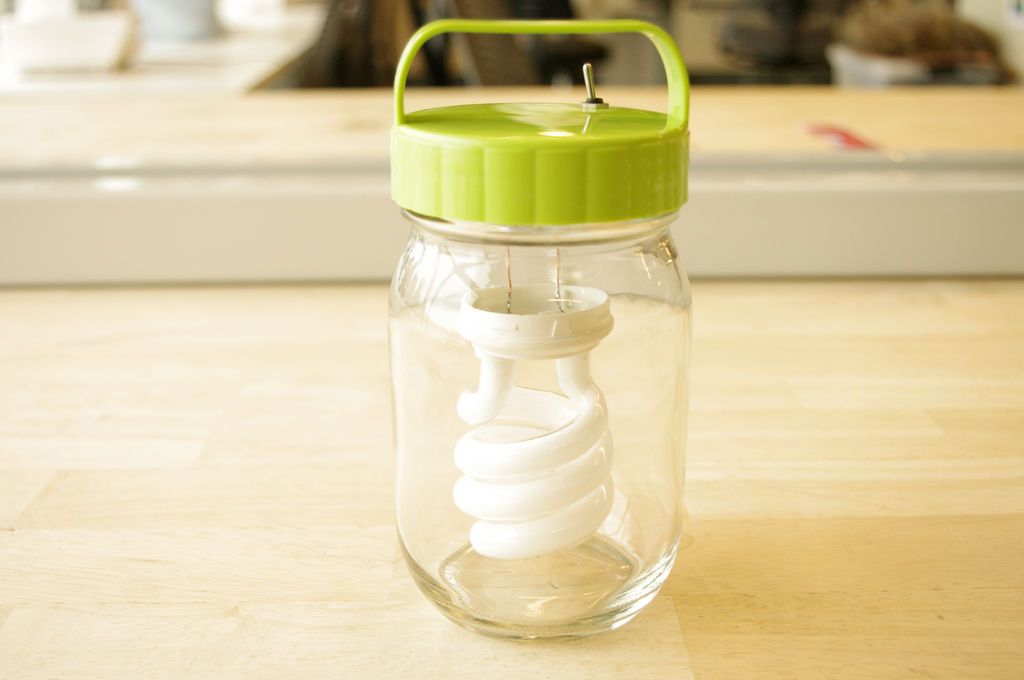
- Turn the lid onto the jar.
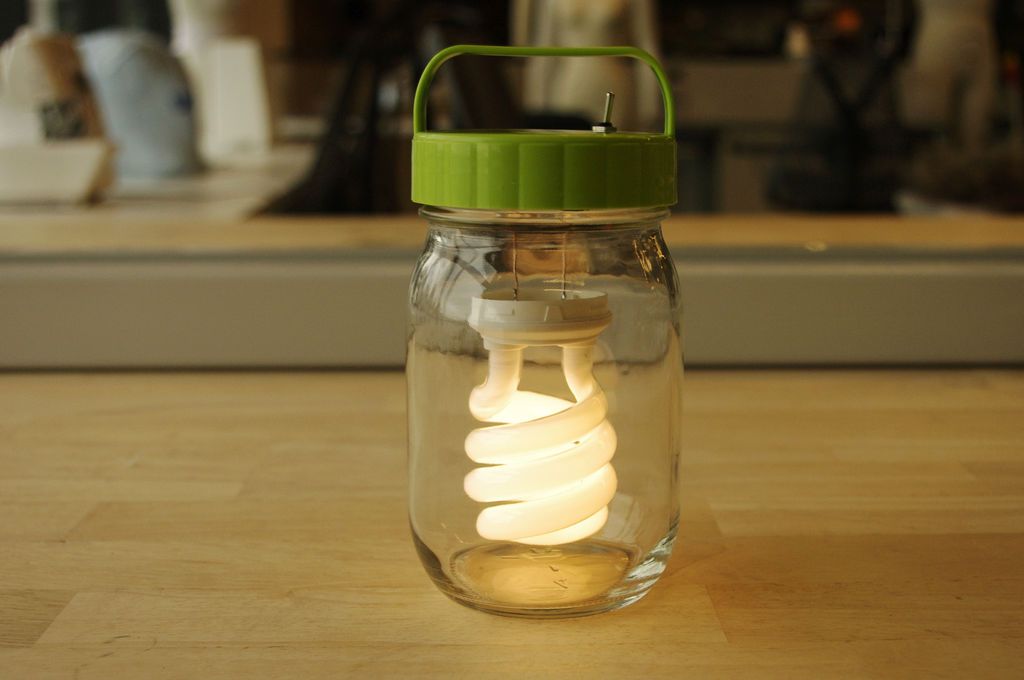
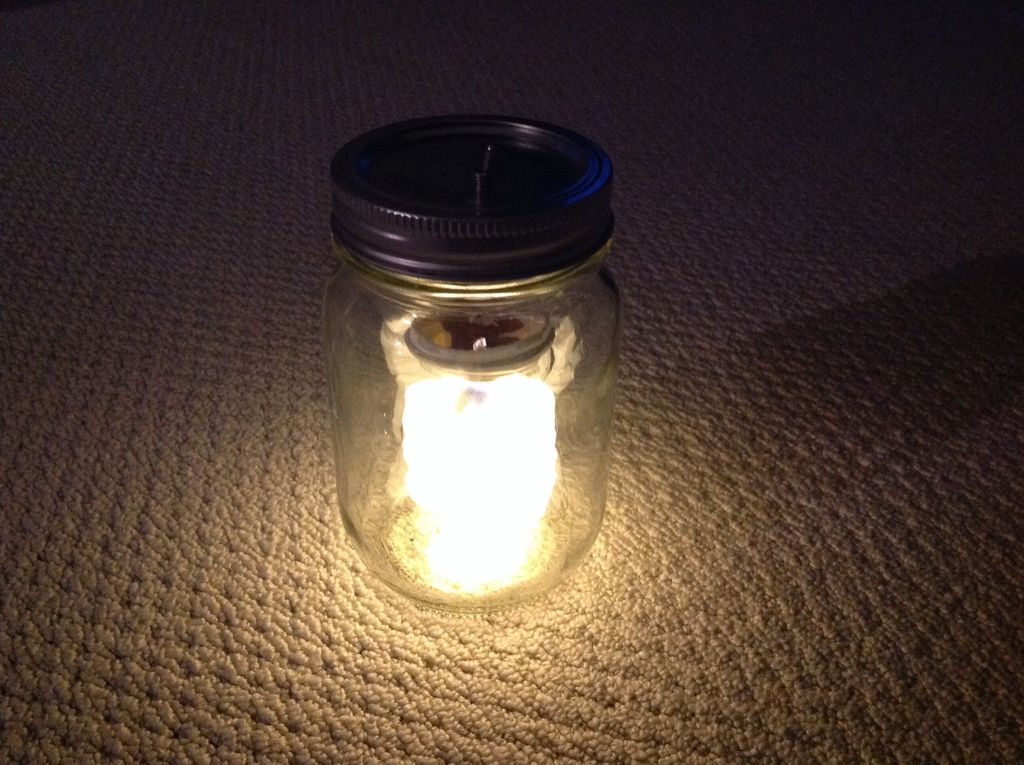
Step 19: Turn it on!

- If the flashlight is not already on, turn it on by pressing the switch.
Step 20: Illuminate the darkness

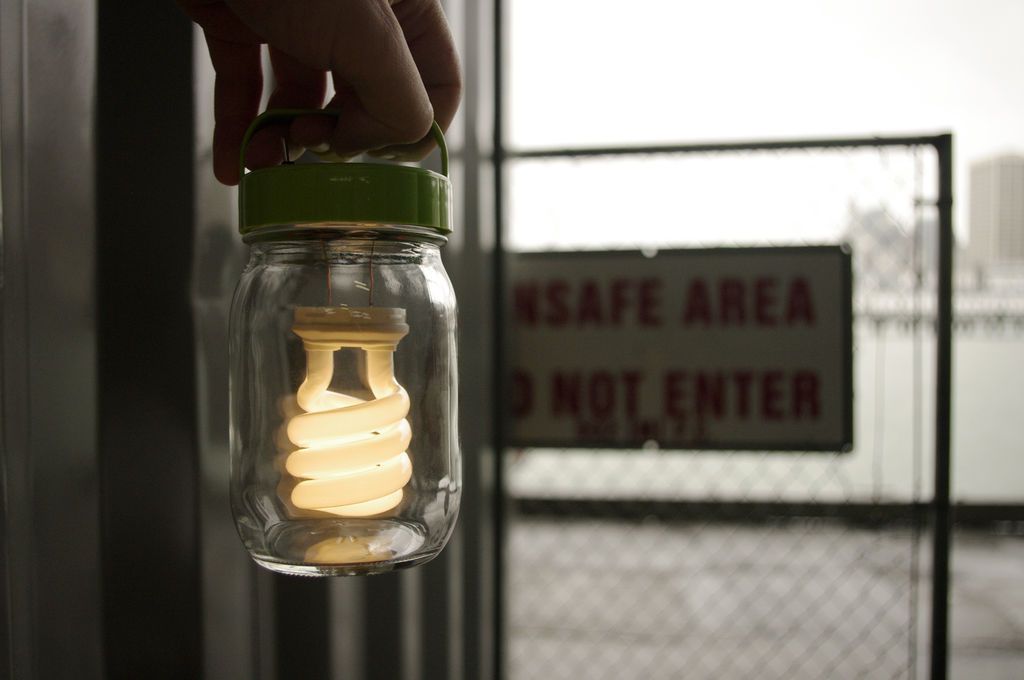
More ideas:
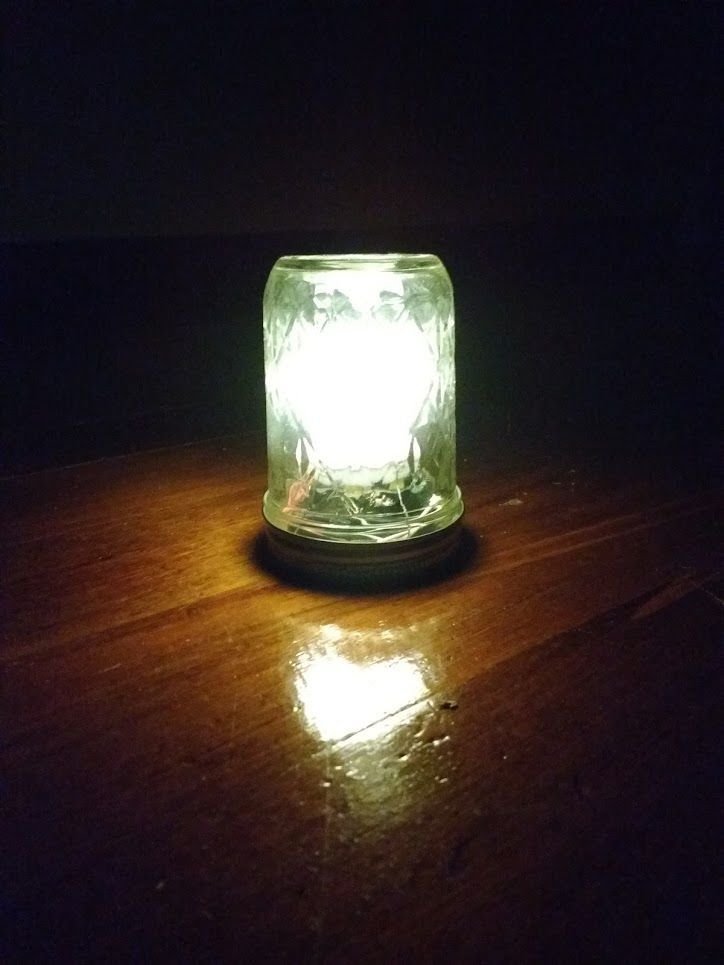


Go ahead and take advantage of your new flashlight.
Get more information at Perfectidea.com and on our Facebook for more Glass Jar Lantern (With Independent Power).
- Tags
- Flashlight
Popular Content
How to make a rocket stove for outdoors
Cardboard Drawers Lined with Jeans
Change the facade of your home with simple steps!
Latest Articles
How to make a refrigerator out of insulating material: Practical step-by-step guide
How to make a Kilim for the Home: Complete Step by Step Guide
How to protect ourselves from accidents in our workplace: Complete prevention and safety guide
Related Content
Black Tile Bathroom Floor Designs
How to Make a Vertical Garden with BoPlastic fabrics
Small Patio: How to Make the Best Use of It
9 Materials to Use on Bathroom and Kitchen Countertops!
Creative Home Decor Ideas to Transform Every Space
Refreshing your home starts with smart design choices that combine comfort, personality, and functionality. Whether you want to modernize a small apartment, upgrade outdoor areas, or create cozy rustic interiors, these trending ideas can completely change the atmosphere of your space.
Outdoor Spaces That Increase Style and Functionality
Outdoor living continues to dominate modern home trends. Homeowners are increasingly investing in practical entertainment zones inspired by these BBQ shed ideas, which create the perfect setup for gatherings and weekend cooking sessions.
First impressions also matter when designing exteriors. Elegant farm entrance gates design ideas help properties stand out while improving privacy and curb appeal.
Compact living solutions are also gaining popularity. These inspiring 16x40 shed house interior design ideas show how smaller spaces can still feel luxurious and functional.
To enhance patios and entryways, homeowners are adding stylish protection with these creative porch awning exterior DIY ideas that blend aesthetics with practicality.

Rustic and Cozy Interior Design Trends
Warm and natural interiors remain timeless. These charming rustic decor ideas combine wood textures, vintage accents, and earthy tones to create welcoming spaces.
Bedrooms are becoming more personalized with curated wall arrangements. Many homeowners use these stylish picture wall ideas for bedroom spaces to display memories and artwork creatively.
Textured wall treatments are another major trend. Installing a board and batten wall adds architectural character while keeping interiors elegant and modern.
Similarly, bold accent wall ideas can instantly transform plain rooms into eye-catching focal points without requiring a full renovation.
Smart Kitchen and Organization Inspiration
Functional kitchens are essential for modern homes. These practical kitchen wall cabinet ideas maximize storage while maintaining a clean and stylish appearance.
Organization also starts at the entrance. Well-designed mud room ideas help families keep shoes, coats, and daily essentials neatly arranged.
Colorful and Personalized Home Styling
Vibrant interiors are becoming increasingly popular thanks to playful dopamine decor ideas that use bright colors and joyful accessories to improve mood and energy.
Gallery walls also continue to evolve as a major decorative feature. These trendy gallery wall inspiration ideas offer creative ways to combine prints, photos, and statement art.
Young renters and new homeowners are especially embracing these stylish first apartment aesthetic ideas to create sophisticated interiors on a budget.
Finally, selecting the right shades can dramatically influence any room’s atmosphere. These modern trendy color ideas help homeowners choose palettes that feel fresh, elegant, and timeless.
Final Thoughts
From rustic charm and colorful interiors to outdoor entertaining areas and functional storage solutions, today’s home decor trends focus on creating spaces that feel both beautiful and livable. By combining smart layouts, modern textures, and personalized decorative elements, any home can become more stylish, comfortable, and inspiring.


