


Today we will show you how to convert car seats into chairs for your office or for your bedroom.
I'm a big fan of Top Gear. I've seen almost every episode and I've always been fascinated by the car seats, couches, and engine block coffee table. I had told myself a while ago, if I ever get the chance to do it, I will definitely try to make my own.

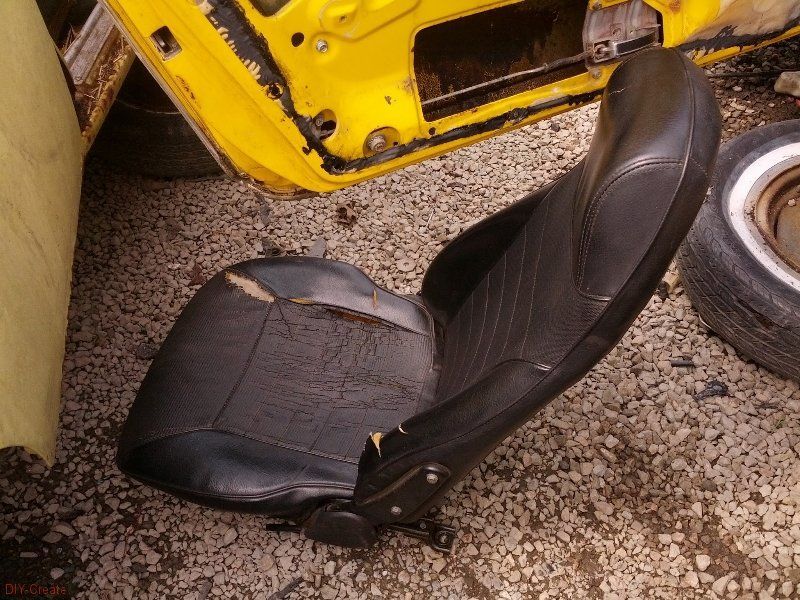
I was at the junkyard a couple of months ago and came across a bright yellow 1974 Datsun 240z.
I'm also a big fan of Nissan and most Z cars. Naturally I wanted to rescue those seats and turn them into office chairs/Gamer chairs.
Steps on how to convert car seats into chairs:
Step 1: Design and necessary parts

Looking at various examples on the internet, some are very elegant and expensive, but most look too cheesy and unprofessional.
I wanted mine to be in a decent price range, but also to look very professional.
I wasn't sure how well it would turn out since I had never done anything like this before. However, I kept going. Below are the parts I used.
- Old seats (Junkyard for both)
- Foam (John Hancock Fabrics)
- Synthetic leather seat covers
- Large amount of spray adhesive
- Silicone caulking
- Spray paint, rust remover.
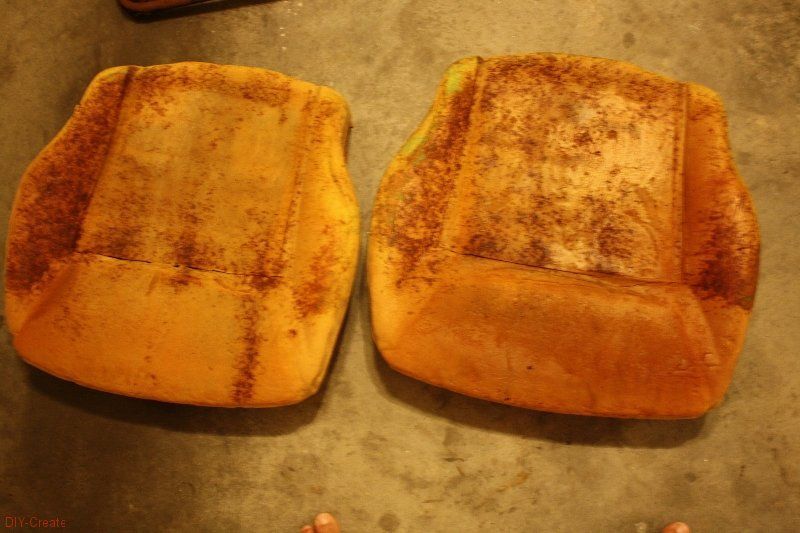
Step 2: Disassembly

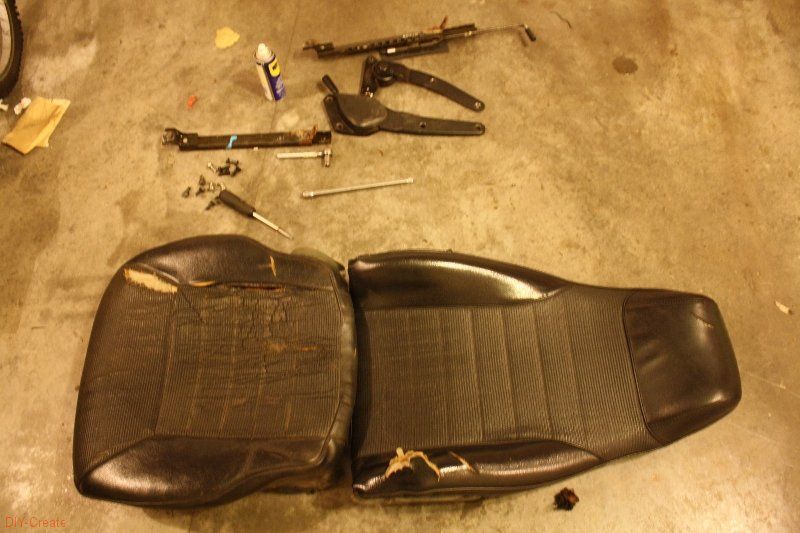
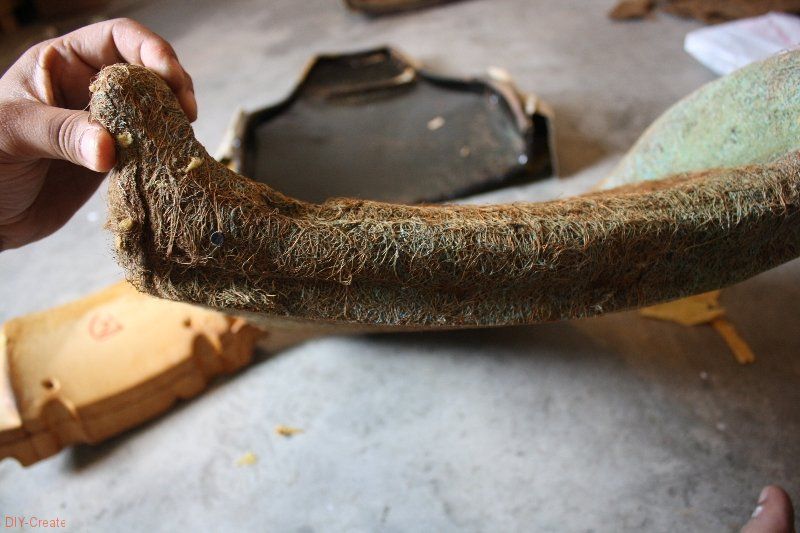
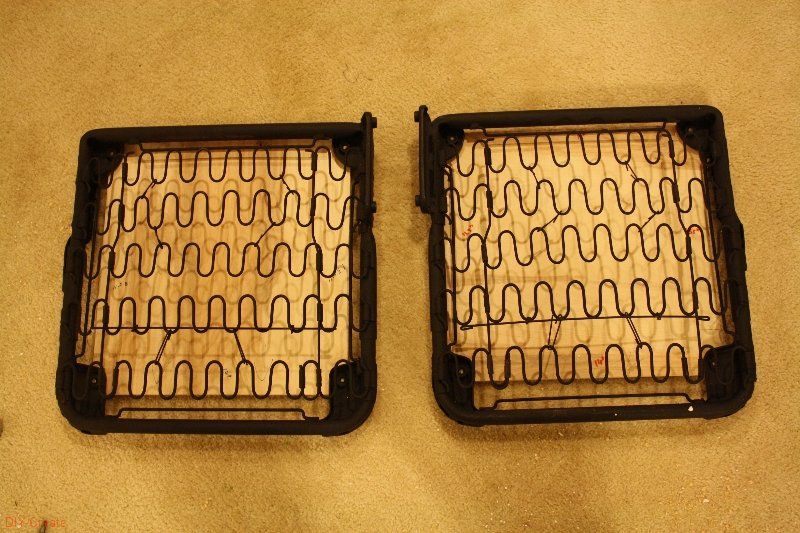
These seats have never been taken apart and have been abused for the last 30 years. I realized this, because when I dismantled the seats there was quite a bit of rust and the foam simply had no weight.
Also, they used a lot of cheap coverings, especially on the top of the seat.
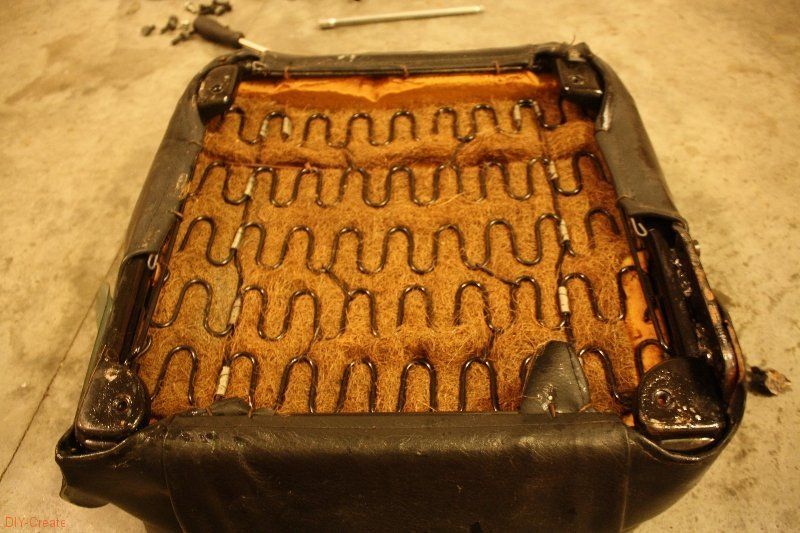
Step 3: Recover the existing foam
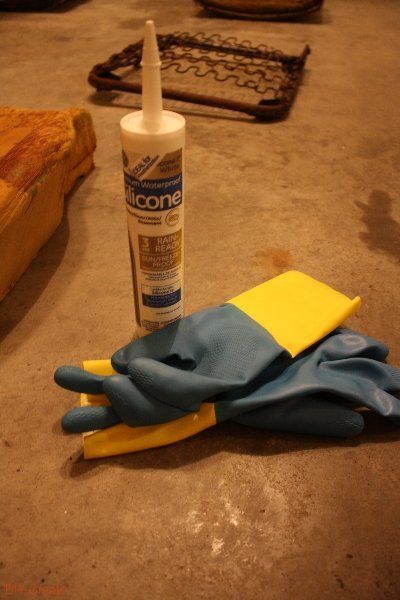
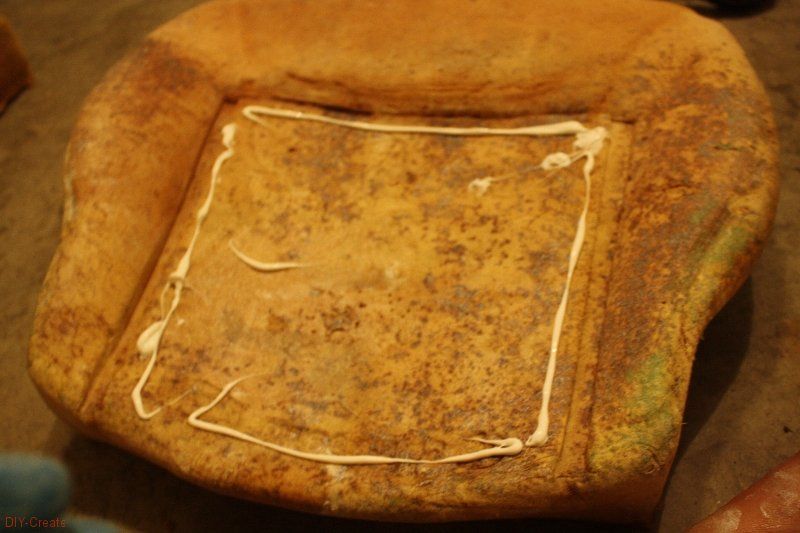
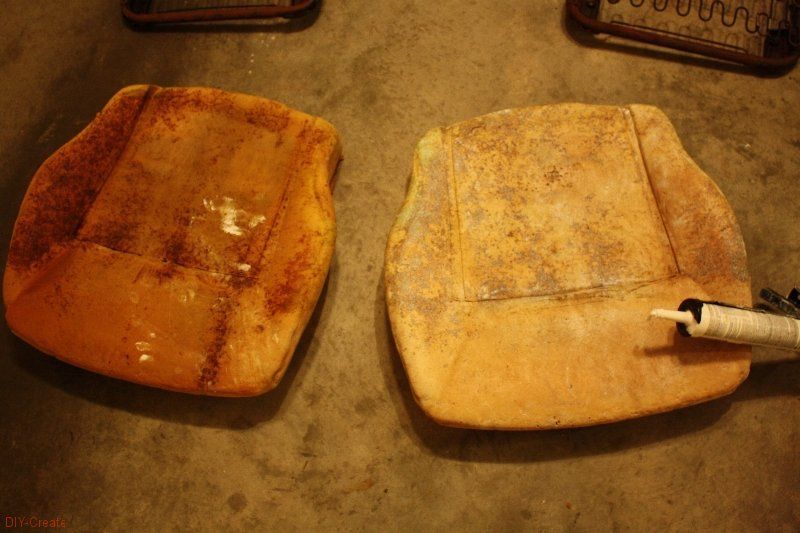
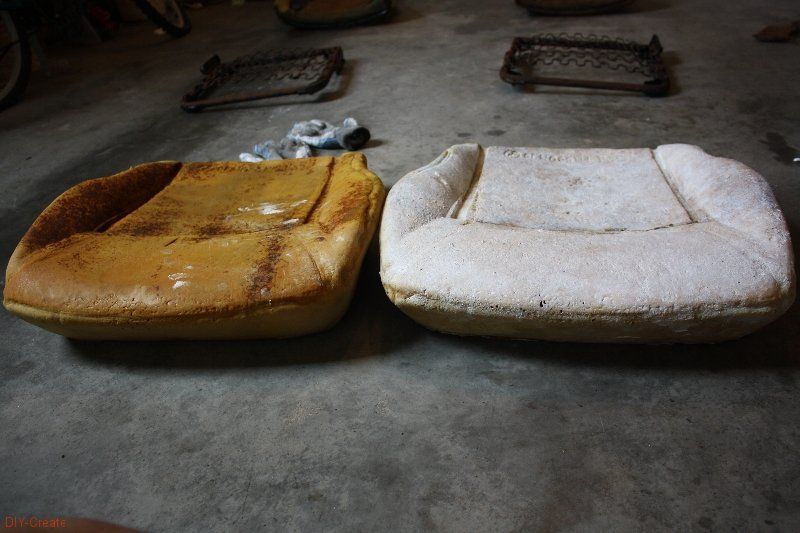
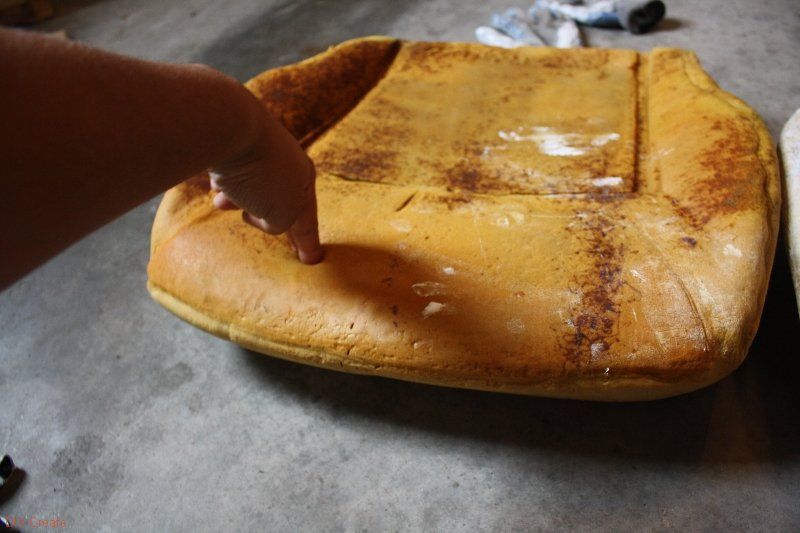
I researched some websites, some claim that pure silicone putty in the foam can restore its firmness. I was a little skeptical, but it's worth a try.
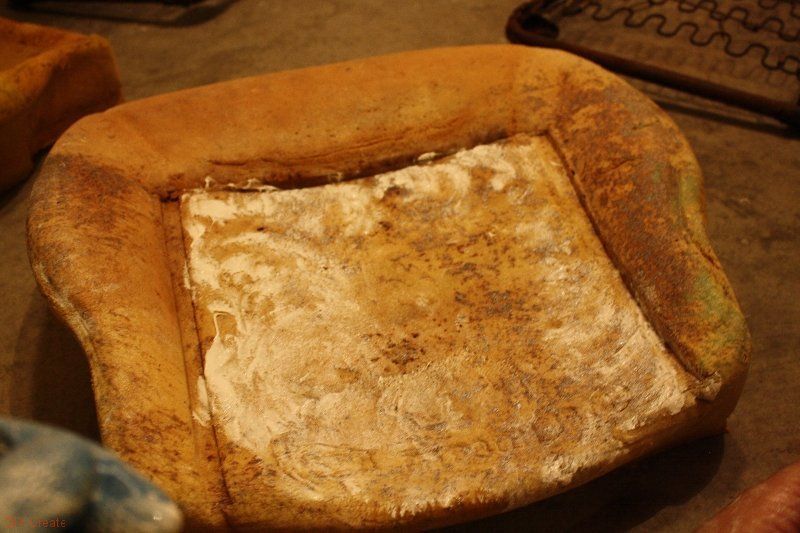
I wasn't surprised when this method didn't work.
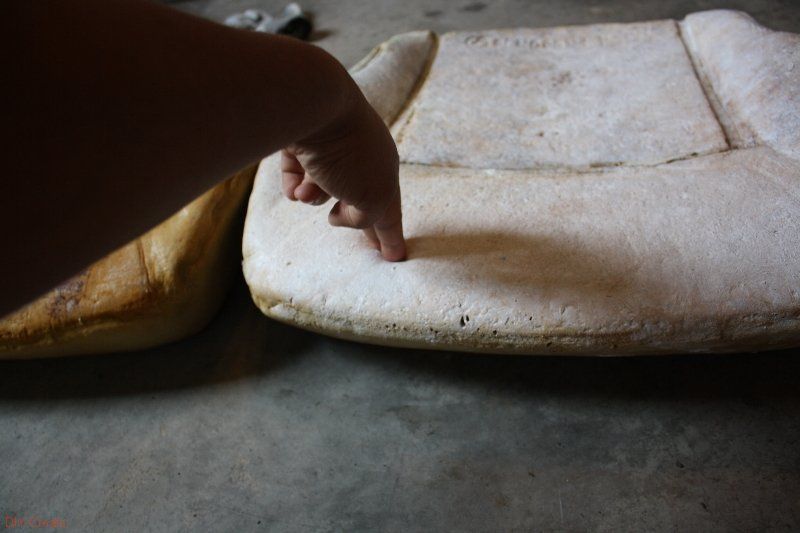
To be honest, the foam became a little firmer, but I think the silicone method works if the foam is not as old as mine, which is over 30 years old.
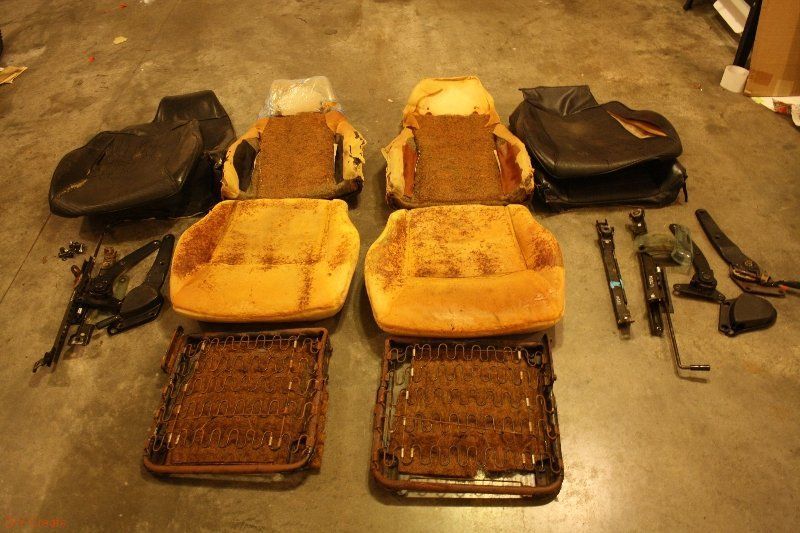
Also, the foam had a really strange smell that the caulk couldn't mask either. So I decided to throw it away and make my own foam.
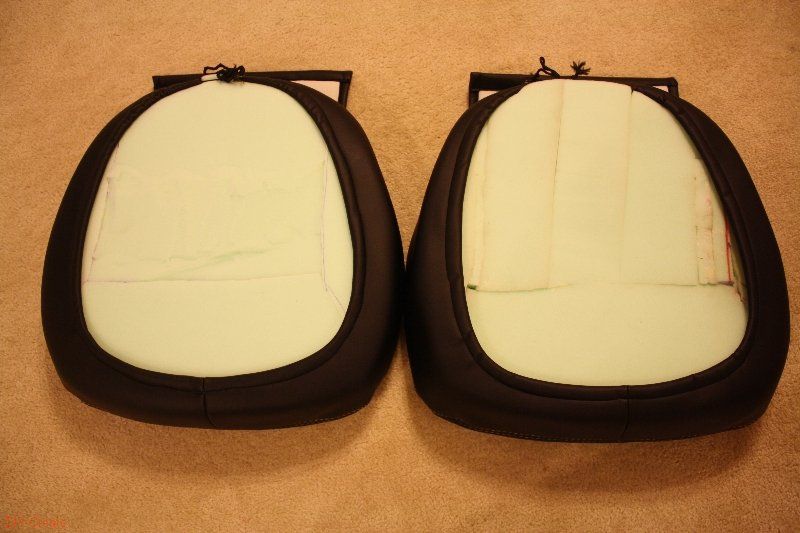
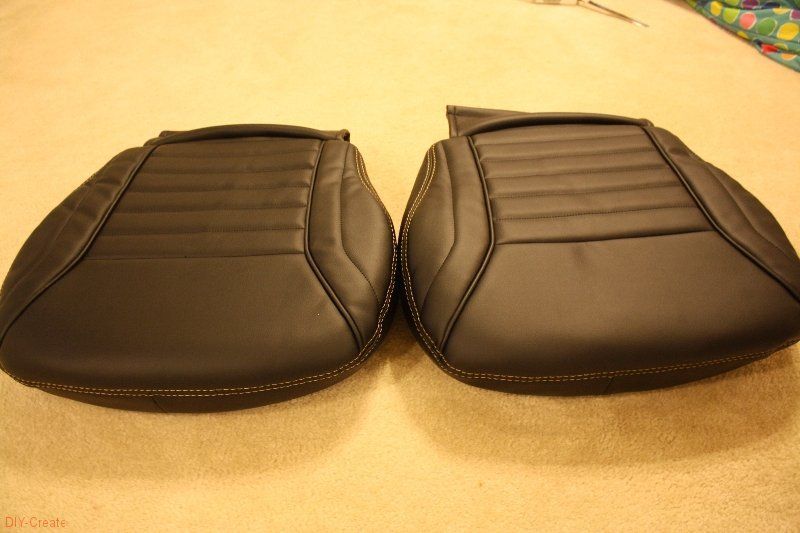
Step 4: Top cushion

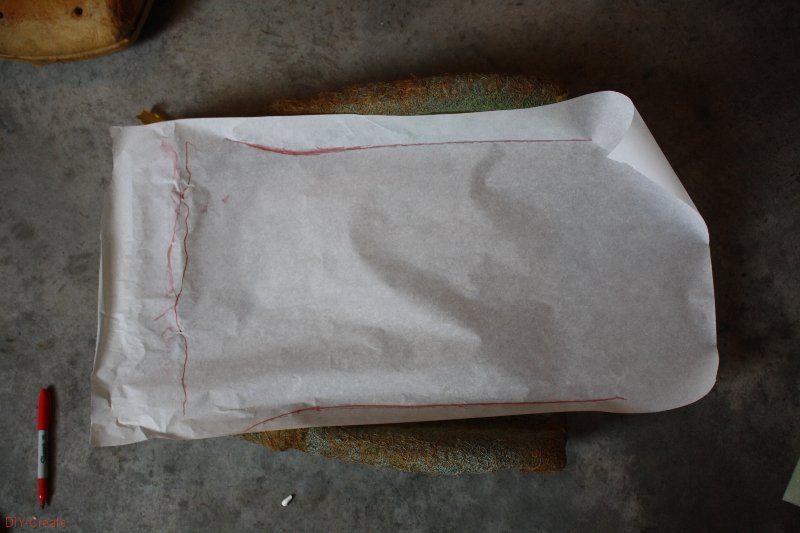
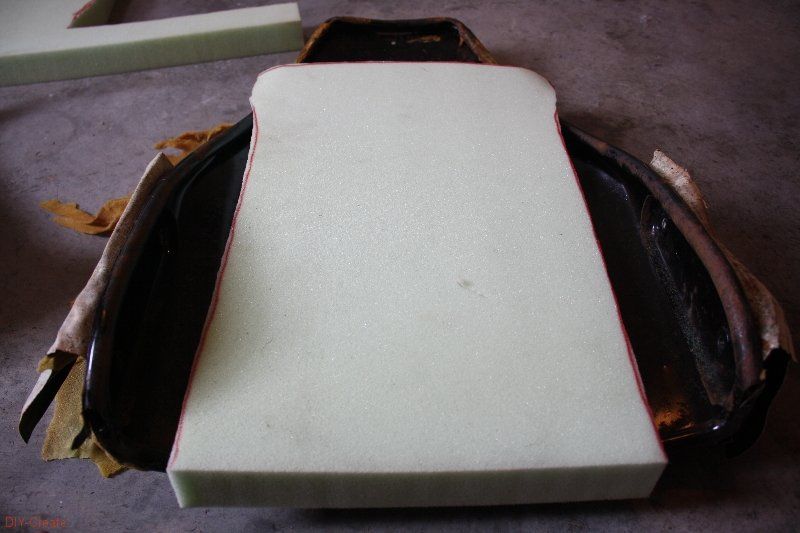
Okay, here you can see how I remove all the old lining from the top.
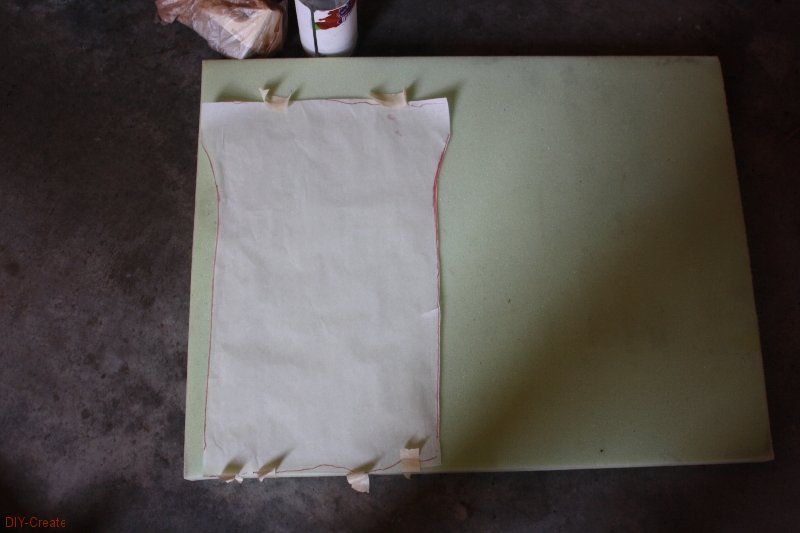
To create new foam, I simply took a piece of parchment paper, traced it, and cut it.
That wasn't too muchdifficult. Be sure to cut the foam 1/4″ to 1/2″ larger than the trace.
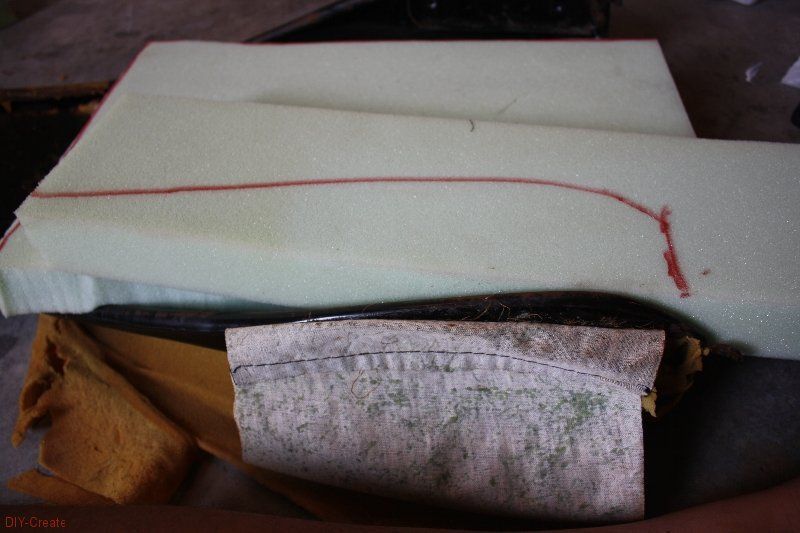
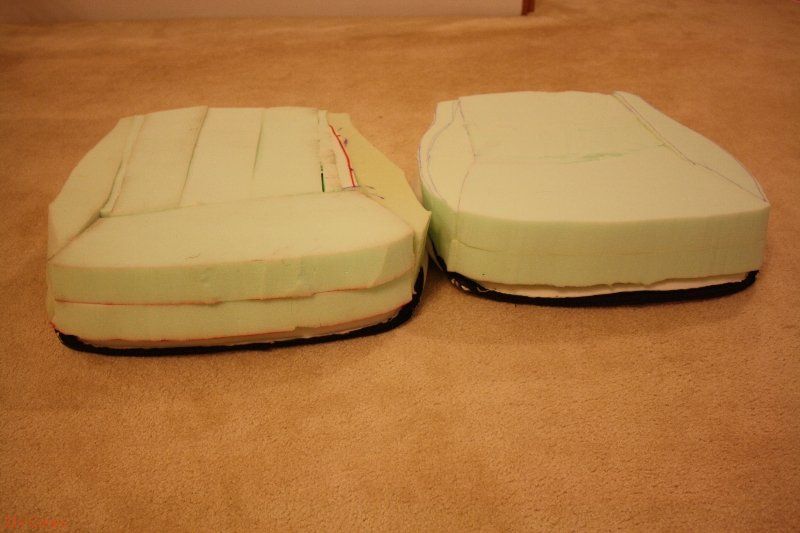
Step 5: Bottom cushion
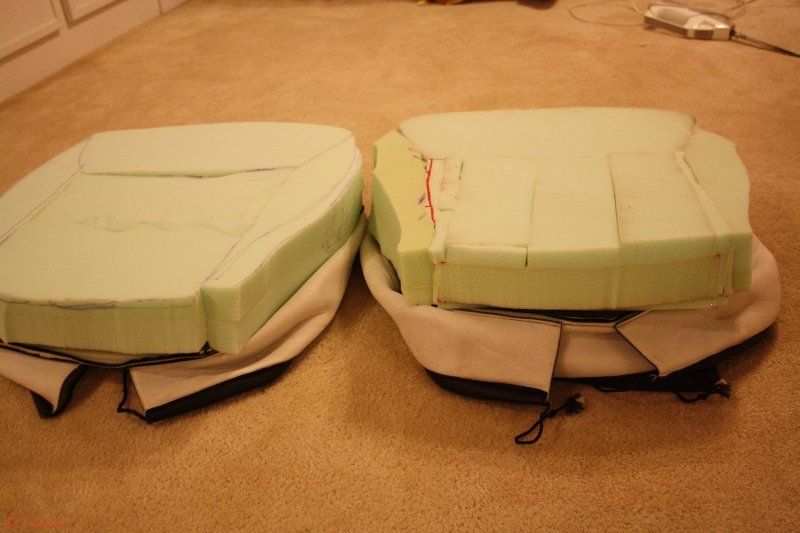
The lower section was complicated, because it had all kinds of curvatures and thicknesses.
What I did here was that I cut the foam that came out into four pieces.
I placed them on the new foam and cut them with electric scissors.
Then once I had the basic shape, I tried to adjust the piece but creating the right curvature and thickness.
I later discovered that the new foam cutout does not have to be an exact replica, as long as it is not too far from the original.
This helped speed up the process.
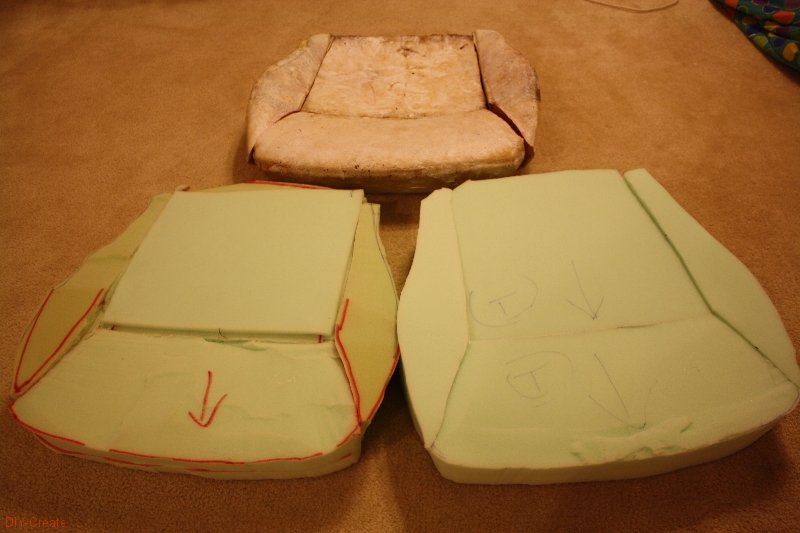
I had a major problem with the bottom cushions.
I glued the pieces together and the seal broke after a few days.
Thinking and reading people's project, I realized that 3M is probably a better option.
In addition, I thinned the foam so that the contact surface adheres to each other.
I also provided a lot of tension during their "gluing" process.
Basically, when the glue is super sticky on the surface, usually about 20 seconds after application, that is the best time to bond two surfaces.
To keep the tension at its maximum level, I placed those pieces between a chair and a table.
So, as the glue dried and bonded very well.
And yes, in my opinion, 3M was the best option, it definitely adhered much better. I wish I had spray glue to try, but oh well...
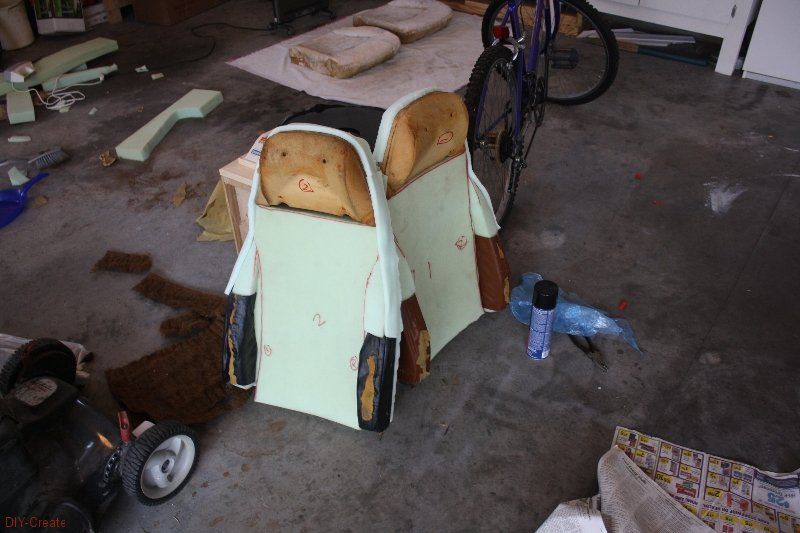
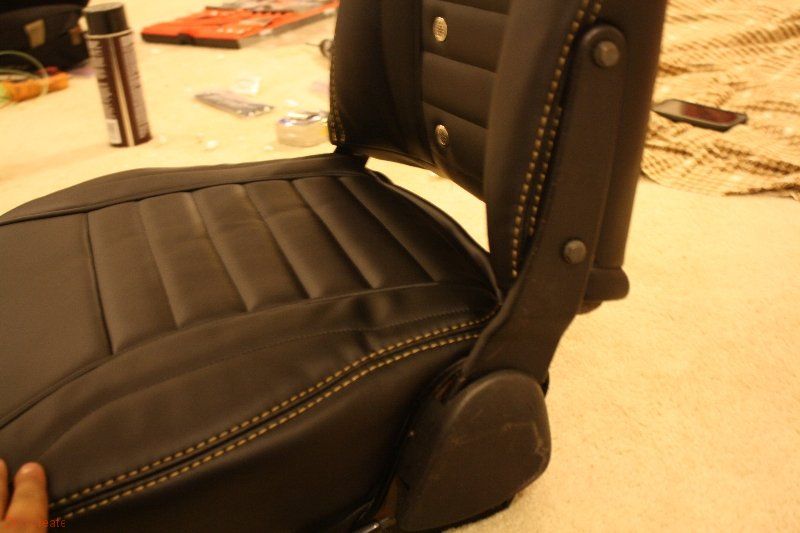
Step 6: Installation Test
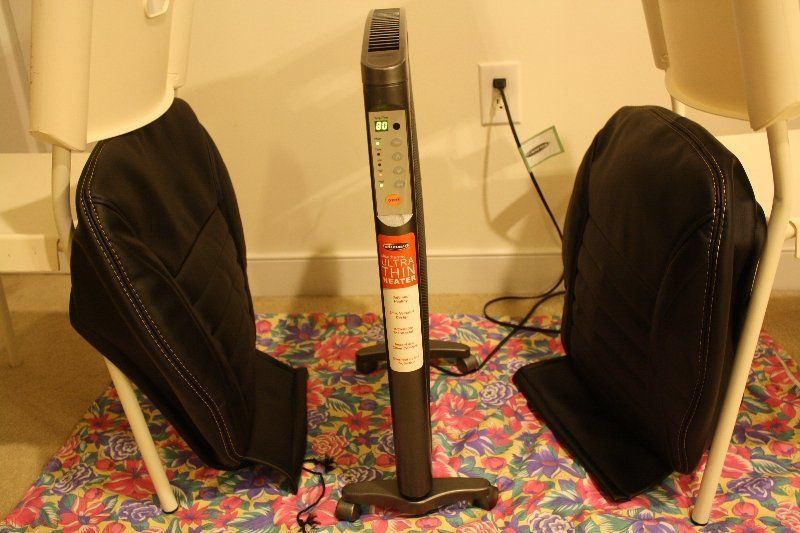
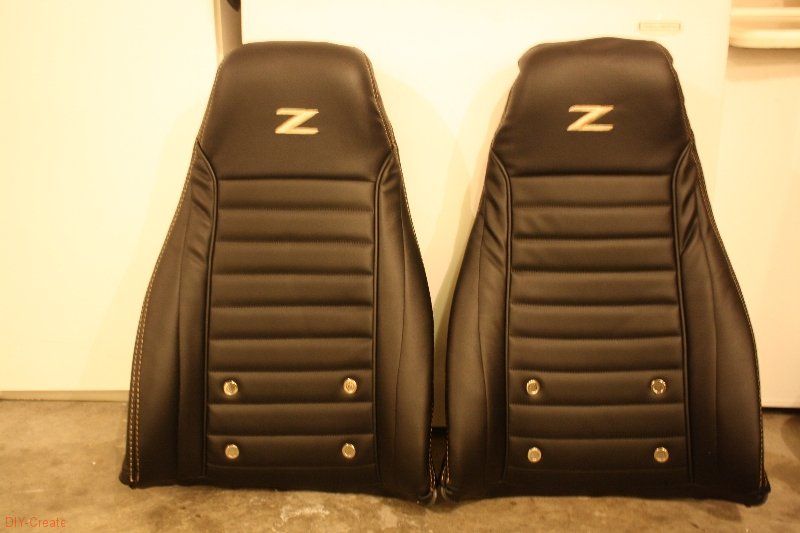
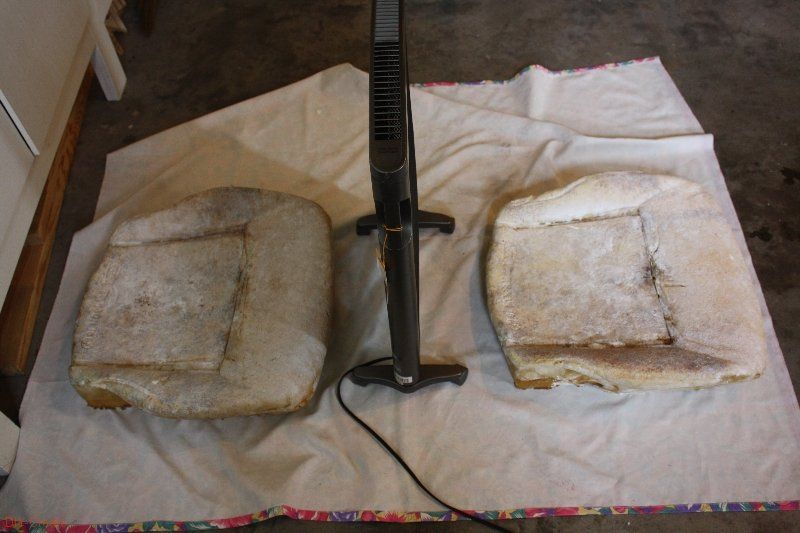
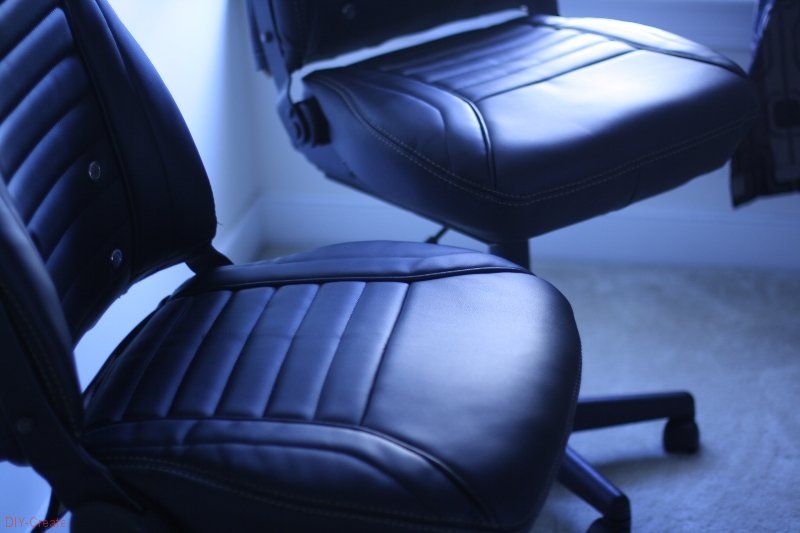
After the glue dried, I did a test install of the bottom cushions.
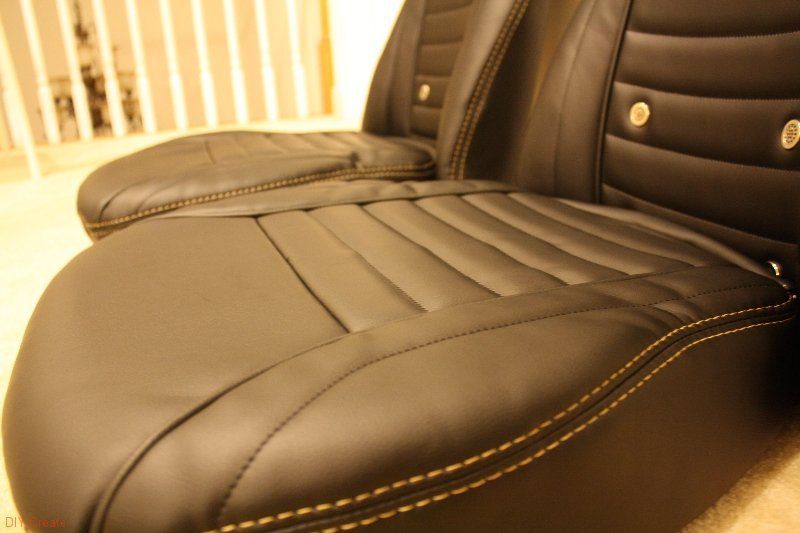
The top cushions were already finished and ready to go.
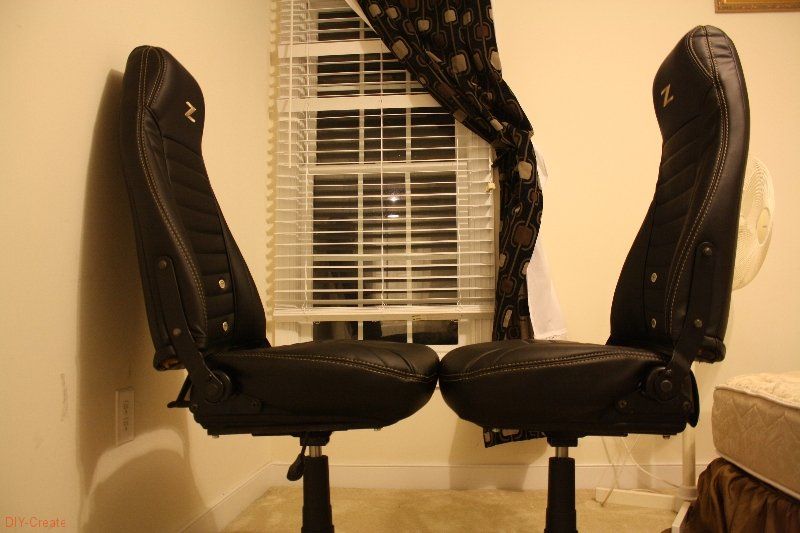
The setup came out beautiful, much better than I expected.
You can see them leaning against the wall, it just looks fabulous.
Step 7: Chair supports

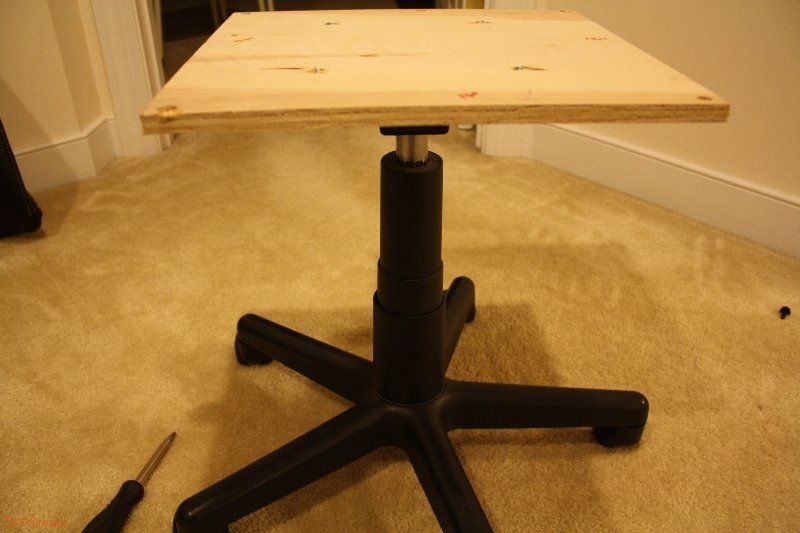
I needed a support for the seats.
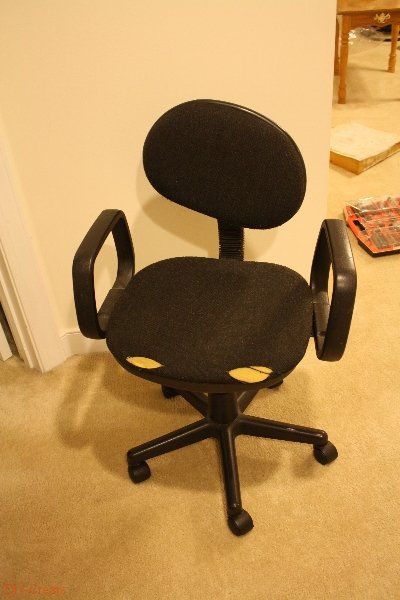
I found two old office chairs that were in poor condition; However, the stand was in perfect condition.
You can see that the cheap upholstery was tearing off and screws/nuts were missing from the chair.
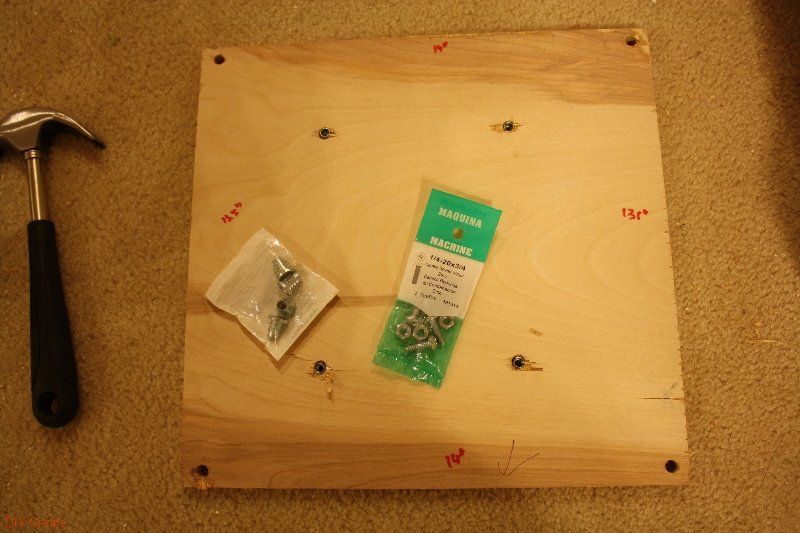
I measured the appropriate size piece of plywood under the frame, cut it out, and drilled holes for it to attach to the seat frame as well as the chair support (as seen below).
I also received these wood inserts which will make installation much easier.
Step 8: Cleaning and painting

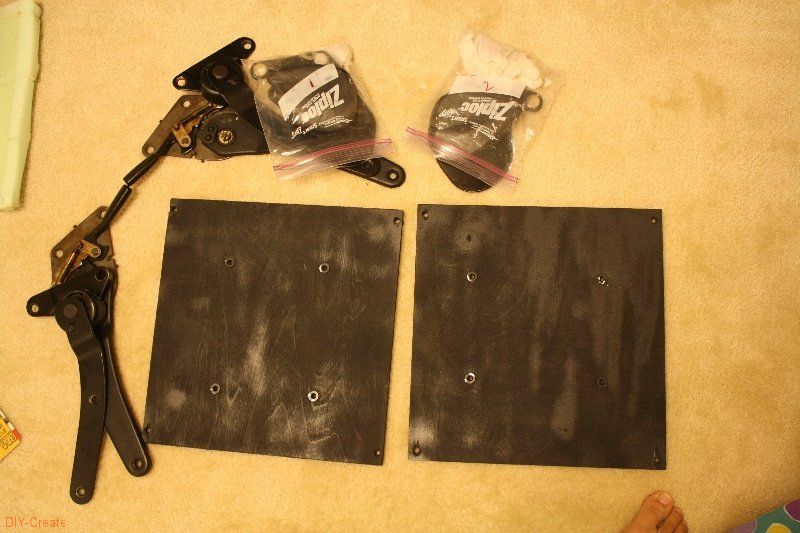
I took the time to clean all the hardware, bolts and nuts. I re-greased all the bearings and added machine oil when necessary.
This will extend the life of all the bearings and make the chair equipment last a long time.
I also spray painted both pieces of painted plywood and touched up the base of both seats.
I sanded the rust layer off the frame and added a protective layer to prevent rust from developing on the frame.
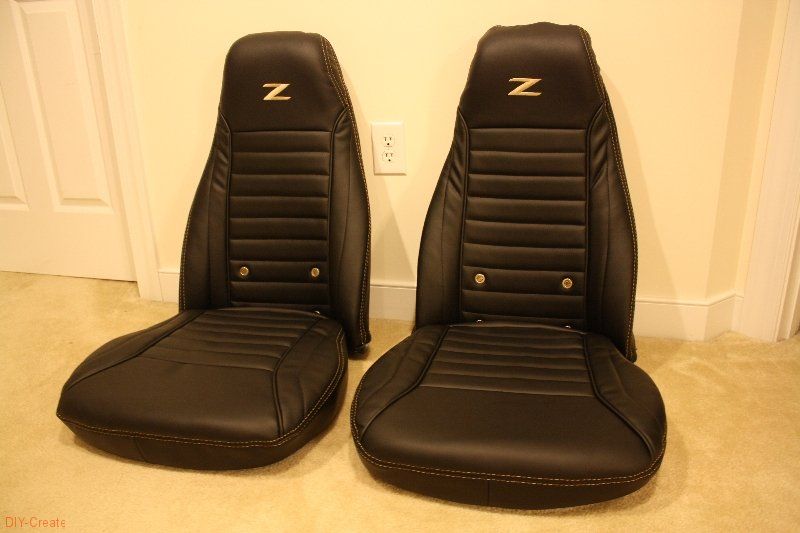
Step 9: Final Assembly

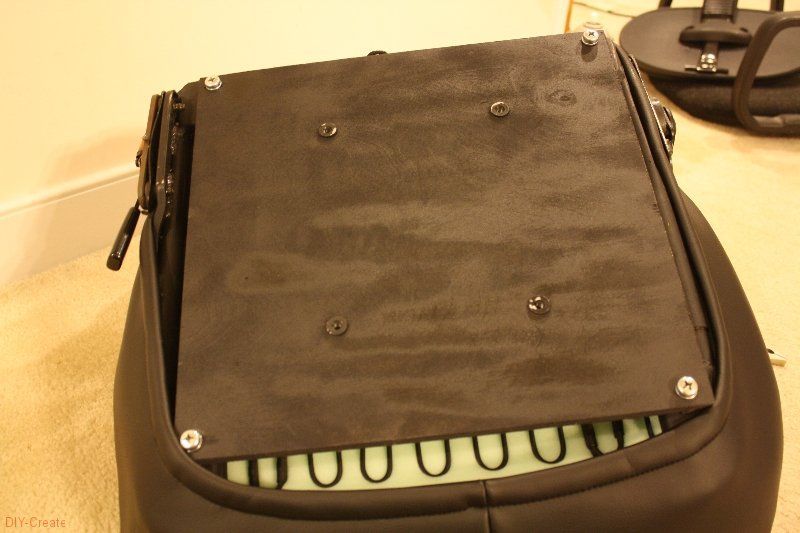
After those pieces have dried, it's time to put them back together and hope everything fits together. The supports gave me a little problem.
It was difficult to keep it in place and also coordinate the top section of the seat. However, I finally got it.
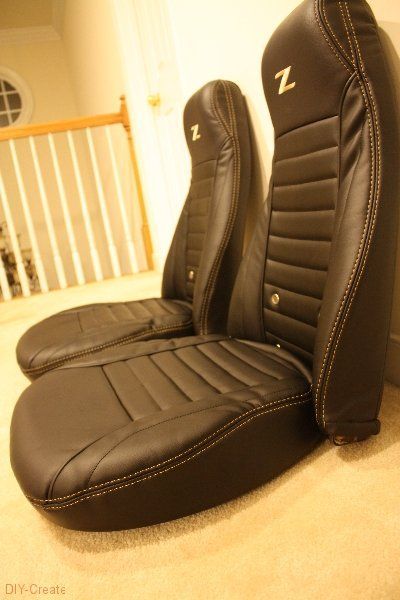
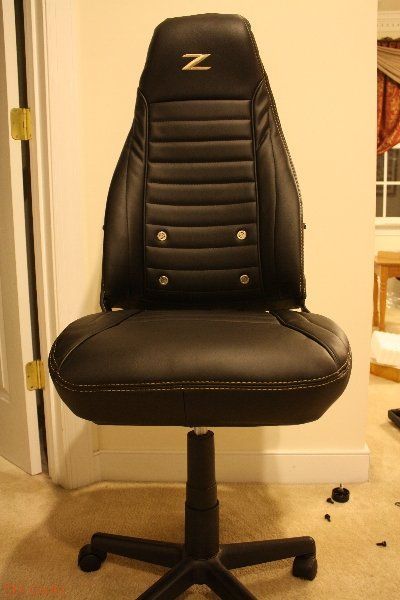
Put all the last pieces back together and viola everything fits and everything works as I had imagined in my head.
Step 10: Conclusion

Without a doubt, converting car seats into chairs is an excellent idea that you can do for your bedroom.
In conclusion, this project was definitely quite challenging and difficult. I learned something I had never done before, which is priceless to me.
Any time I can teach myself something new, that's pure knowledge to me and I'll take it any day.
I've been working on this project for the last month, but it was worth it. I am extremely pleased with myself. Below are links to resources that I found helpful.
Don't forget to follow us on our social networks for more news!
Popular Content
How to make a rocket stove for outdoors
Cardboard Drawers Lined with Jeans
Ideas and Advantages of Window Grilles for the Home!
Latest Articles
How to make a refrigerator out of insulating material: Practical step-by-step guide
How to make a Kilim for the Home: Complete Step by Step Guide
How to protect ourselves from accidents in our workplace: Complete prevention and safety guide
Related Content
How to Make a Coffee Table with a Wine Barrel
Designs of Volumetric Coverings that You Can Place at Home
Infan Bed DesignsFantastic tiles
Spectacular Tree Bed Designs
Creative Home Decor Ideas to Transform Every Space
Refreshing your home starts with smart design choices that combine comfort, personality, and functionality. Whether you want to modernize a small apartment, upgrade outdoor areas, or create cozy rustic interiors, these trending ideas can completely change the atmosphere of your space.
Outdoor Spaces That Increase Style and Functionality
Outdoor living continues to dominate modern home trends. Homeowners are increasingly investing in practical entertainment zones inspired by these BBQ shed ideas, which create the perfect setup for gatherings and weekend cooking sessions.
First impressions also matter when designing exteriors. Elegant farm entrance gates design ideas help properties stand out while improving privacy and curb appeal.
Compact living solutions are also gaining popularity. These inspiring 16x40 shed house interior design ideas show how smaller spaces can still feel luxurious and functional.
To enhance patios and entryways, homeowners are adding stylish protection with these creative porch awning exterior DIY ideas that blend aesthetics with practicality.

Rustic and Cozy Interior Design Trends
Warm and natural interiors remain timeless. These charming rustic decor ideas combine wood textures, vintage accents, and earthy tones to create welcoming spaces.
Bedrooms are becoming more personalized with curated wall arrangements. Many homeowners use these stylish picture wall ideas for bedroom spaces to display memories and artwork creatively.
Textured wall treatments are another major trend. Installing a board and batten wall adds architectural character while keeping interiors elegant and modern.
Similarly, bold accent wall ideas can instantly transform plain rooms into eye-catching focal points without requiring a full renovation.
Smart Kitchen and Organization Inspiration
Functional kitchens are essential for modern homes. These practical kitchen wall cabinet ideas maximize storage while maintaining a clean and stylish appearance.
Organization also starts at the entrance. Well-designed mud room ideas help families keep shoes, coats, and daily essentials neatly arranged.
Colorful and Personalized Home Styling
Vibrant interiors are becoming increasingly popular thanks to playful dopamine decor ideas that use bright colors and joyful accessories to improve mood and energy.
Gallery walls also continue to evolve as a major decorative feature. These trendy gallery wall inspiration ideas offer creative ways to combine prints, photos, and statement art.
Young renters and new homeowners are especially embracing these stylish first apartment aesthetic ideas to create sophisticated interiors on a budget.
Finally, selecting the right shades can dramatically influence any room’s atmosphere. These modern trendy color ideas help homeowners choose palettes that feel fresh, elegant, and timeless.
Final Thoughts
From rustic charm and colorful interiors to outdoor entertaining areas and functional storage solutions, today’s home decor trends focus on creating spaces that feel both beautiful and livable. By combining smart layouts, modern textures, and personalized decorative elements, any home can become more stylish, comfortable, and inspiring.


