Homemade kombucha is a lightly effervescent, slightly tart fermented tea that has quietly earned a spot in home fridges, cafés, and even restaurant menus. With just tea, sugar, water, a SCOBY, and a bit of starter liquid, you can brew your own batch at home and flavor it exactly the way you like.

Find Original Home Decor sparking conversation at Grand Goldman Shop.

Kombucha is made by fermenting tea with a symbiotic culture of bacteria and yeast, known as a SCOBY. The result is a refreshing drink with gentle bubbles and a characteristic tangy flavor that can remind you faintly of bread or beer, though it tastes nothing like either. The best part is that you can aromatize it in countless ways.

The origins of kombucha are not known with certainty, but records suggest it has been made in China for more than 2,000 years, where it was already regarded as a drink for longevity. The name kombucha comes from the Japanese words kombu (seaweed), because the SCOBY looks and feels similar to seaweed, and cha (tea), for its method of preparation.
Kombucha is rich in probiotics, enzymes, and antioxidants that can support gut health and the immune system. It also contains B vitamins and beneficial organic acids such as acetic acid, which acts as an antimicrobial. The polyphenols from the tea help reduce oxidative stress and improve the body's inflammatory response.

Some people say drinking kombucha daily boosts energy and mental clarity, though these are personal perceptions without confirmed data. As a general tip, it is always best to consume it in reasonable amounts.
To make kombucha at home you need very few ingredients. Besides the SCOBY, which is the most important element, and the tea, which provides the essential compounds that feed the culture, you also need plenty of water as the base of the drink and sugar to complete the SCOBY's food supply.
Yes, sugar is completely necessary because it is the main food source for the yeasts and bacteria that produce the beneficial acids, gases, and compounds. However, the sugar is almost entirely consumed during fermentation, so its presence at the end is only residual. You also need a bit of already fermented kombucha as starter liquid, which acidifies the new culture medium and prevents unwanted microorganisms from growing.
To get started, you will need a SCOBY with its starter liquid. If a friend or family member already makes kombucha, they can surely give you both to begin fermenting. The SCOBY should always be kept submerged in liquid. You can also find them in some health food stores or online, though shipping can affect the SCOBY's health due to temperature changes. Whenever possible, it is best to find someone who can donate one.

The ideal tea for making kombucha comes from the Camellia Sinensis plant, such as black, green, oolong, or white tea. These teas contain caffeine and tannins, which are essential for SCOBY activity. Black tea is the most common choice, giving very stable fermentation and a well-balanced flavor, while green tea produces a softer kombucha with a fresher touch.

You can also blend different types of tea to achieve different flavors. However, it is important to avoid caffeine-free herbal infusions or teas with essential oils, such as jasmine tea or Earl Grey, as they can weaken the SCOBY and affect fermentation.
The best option is refined sugar, either white or brown. It may seem contradictory to make a healthy drink with refined sugar, but it is the type that bacteria and yeasts assimilate most easily. Whole cane sugar can also be used, but be aware that it contains more minerals that can interfere with and slow down the normal fermentation process. Other options like coconut sugar, honey, or sweeteners are not recommended, as they can alter the SCOBY's balance and even prevent fermentation.

Water is a key ingredient in kombucha since it makes up the largest proportion of the final liquid. It is essential that it contains no chlorine or other chemicals that could affect fermentation. Ideally, use low-mineralization, filtered, or bottled water to avoid altering the SCOBY's balance. Tap water can work if left to sit for several hours so the chlorine evaporates, or if boiled beforehand.
Fermenting kombucha at home is a very rewarding experience, but we cannot always keep a constant fermentation pace. That is why it is important to know there is a way to preserve the SCOBY when you want to take a break. Another reason is that your colony of bacteria and yeasts multiplies, and at the end of each fermentation your SCOBY gives you a baby SCOBY that forms gradually during the process.
Also, when producing kombucha continuously, the original SCOBY thickens with new layers. Over time, it is advisable to separate it to prevent an oversized colony from fermenting too quickly or aggressively. Instead of throwing it away, it is very convenient to keep a spare SCOBY so you can start again if your fermentation goes wrong. You can also keep them to share with friends and family or donate them online. This is done through what is called a SCOBY hotel.
To build a SCOBY hotel, you need a glass jar where you store the baby SCOBYs obtained after successive fermentations. They must always be covered with enough unflavored mature kombucha to stay active. It is important not to seal the jar hermetically, but to cover it with a breathable cloth and a rubber band to keep it closed and prevent contamination. Store it in a cool, dark place following the same temperature guidelines explained below. To keep it active, simply replace part of the liquid in the hotel with more mature kombucha every 4 to 6 weeks to maintain the right acidic environment.

Once the kombucha has fermented, it is time to flavor it and do a second fermentation. In this step, you bottle it without the SCOBY and add other ingredients such as fruits, juices, spices, or herbs. This second fermentation not only adds flavor but also boosts carbonation, since the sugars in the added ingredients and the residual sugar continue to feed the remaining colony, generating more bubbles.

During fermentation, some irregularities in appearance may appear and raise doubts about whether your kombucha is fine or has gone bad. The presence of mold on the surface of the fermenting liquid is the only serious problem. If this happens, you must throw everything out and start over. If no baby SCOBY forms after a week or more, that is also a sign that you should renew everything.
However, other times, even if something ugly seems to be there, such as filaments or dark clumps that usually form under the SCOBY, this poses no risk, as they are usually yeasts that take on color from the tea. Likewise, small black spots on the SCOBY may be bits of tea leaves left after infusion and do not affect the quality of the kombucha.

Another point to keep in mind so your kombucha culture does not spoil and fermentation goes well is temperature. The kombucha culture should always be kept above 15°C (59°F) and below 38°C (100°F), with around 21°C (70°F) being ideal. If it is too cold, the bacteria and yeasts slow down and mold could appear, so never store kombucha in the fridge while it is fermenting, nor the SCOBY hotel. If it is too hot, your bacteria and yeasts will most likely die and lose all activity.
Ingredients for Homemade Kombucha
This recipe makes about 6 servings of homemade kombucha.
- 1.25 liters of chlorine-free water, preferably filtered
- 8 g of black or green tea
- 100 g of white or brown sugar (not whole cane)
- 250 ml of already fermented, unflavored kombucha (starter liquid)
- 1 SCOBY (symbiotic culture of bacteria and yeast)
- Fresh fruit, juices, spices, herbs…

How to Make Homemade Kombucha Step by Step
1. Infuse the Tea
First of all, clean your work area and wash your hands and the utensils you will use very well to minimize the risk of contamination. Then, in a saucepan, heat 500 ml of water and when it comes to a boil, remove from heat and add 8 g of black or green tea. If you like, you can put the tea in an infuser.

2. Strain the Tea into the Fermentation Jar
Cover the saucepan and let the tea steep for about 10 minutes. After this time, strain it or remove the infuser and pour it into a large 2-liter glass jar, where you will carry out the fermentation.

3. Add the Sugar and Dissolve
While the tea is still hot, add 100 g of sugar and stir well until it is completely dissolved.

4. Add the Cold Water and Mix
Immediately after, pour 750 ml of cold water that you had previously chilled in the fridge into the jar.

5. Cool Below 38°C (100°F)
Mix and let the mixture cool until the temperature is below 38°C (100°F). This step is key, because if it is hotter and you add the remaining ingredients, the heat could kill the bacteria and yeast culture, leaving the SCOBY useless. If you do not have a kitchen thermometer, the safest bet is to let it cool to room temperature.

6. Add the Starter Kombucha
Once the sweetened tea is at the right temperature, add 250 ml of already fermented, unflavored kombucha (starter liquid) so the culture medium becomes acidic. Using unflavored kombucha helps keep the fermentation flavor neutral so you can later flavor it to your liking.

7. Add the SCOBY
Now all that is left is to add the SCOBY to the jar. You can handle it with your hands without a problem, as it is quite resistant. However, as mentioned at the beginning, try to keep your hands very clean so you do not contaminate it.

8. Cover the Jar
With everything ready, cover the container with a cotton gauze or clean paper towel. Secure it with a rubber band to allow oxygenation without the risk of contamination.

9. Ferment for 10 Days
Now you just have to wait. Let this mixture ferment in a warm place (between 19°C and 32°C / 66°F and 90°F), away from direct sunlight and contamination sources. A kitchen cabinet is an ideal spot. You can even cover it with a large cloth to maintain temperature and protect it from light as much as possible.

10. Check the Flavor and Remove the SCOBY
From the tenth day onward, check the SCOBY's health. You will see a new layer of SCOBY (the baby) has formed on the surface. Now you can taste the kombucha with a clean straw or spoon to see if the acidity is to your liking. If it still tastes sweet, fermentation has been a bit slow and you can let it ferment a little longer. Repeat the test in one or two days.
When the flavor is as desired, remove the SCOBY, the baby SCOBY, and 250 ml of kombucha that will serve as starter liquid for a new fermentation. Also, if you need to start or feed a SCOBY hotel, remove the necessary kombucha as well.

11. Store the Baby SCOBY
If you want to keep it, store the baby SCOBY in another glass jar well covered with unflavored kombucha or in the SCOBY hotel you already have started.

12. Bottle the Kombucha
With the rest of the kombucha, proceed to pour it into bottles with airtight closures. You can drink it from this point or continue to flavor and carbonate it.

13. Flavor with Fruit, Juice, or Spices
To flavor it, you can add fruits, juices, aromatics, or spices. In our case, we added chopped apple. Here you can let your imagination run wild and make whatever combinations you like.

14. Second Fermentation for 2 to 5 Days
Whether you bottled it plain or flavored it, you can leave the bottles tightly closed at room temperature for 2 to 5 days so it ferments lightly again and the gas produced in this second fermentation increases carbonation.

15. Start a New Batch
After bottling the kombucha you just made, you can start another batch, beginning the recipe from the top, preparing new tea with the SCOBY and the starter kombucha you reserved a couple of steps ago.

16. Refrigerate and Drink Within Two Weeks
Once the second fermentation is done, store the homemade kombucha in the fridge and drink it within the following two weeks.

Tips for the Best Homemade Kombucha
Choose the Right Tea
The ideal teas come from the Camellia Sinensis plant: black, green, oolong, or white. They contain caffeine and tannins that are fundamental for SCOBY activity. Black tea is the most widespread choice, giving stable fermentation and a balanced flavor, while green tea yields a softer, fresher kombucha. Avoid caffeine-free herbal infusions and teas with essential oils, such as jasmine or Earl Grey, as they can weaken the SCOBY.
Use the Right Sugar and Water
Refined white or brown sugar is best because bacteria and yeasts assimilate it most easily. Whole cane sugar contains more minerals that can slow fermentation, and coconut sugar, honey, or sweeteners can alter the SCOBY's balance or even prevent fermentation. For water, use low-mineralization, filtered, or bottled water free of chlorine. If using tap water, let it sit for several hours or boil it first so the chlorine evaporates.
Keep the Temperature Steady
Maintain the culture above 15°C (59°F) and below 38°C (100°F), with around 21°C (70°F) being ideal. If it is too cold, fermentation slows and mold may appear, so never refrigerate kombucha while it is fermenting or store the SCOBY hotel in the fridge. If it is too hot, the bacteria and yeasts will likely die and lose all activity.
| Prep Time | 10 minutes |
|---|---|
| Cook Time | 10 minutes |
| Total Time | 6 hours (includes 10 days fermentation) |
| Servings | 6 |
| Course | Drinks |
| Cuisine | International |
| Calories | 24 per serving |
30 Favorite Recipes I Keep Coming Back To at Home
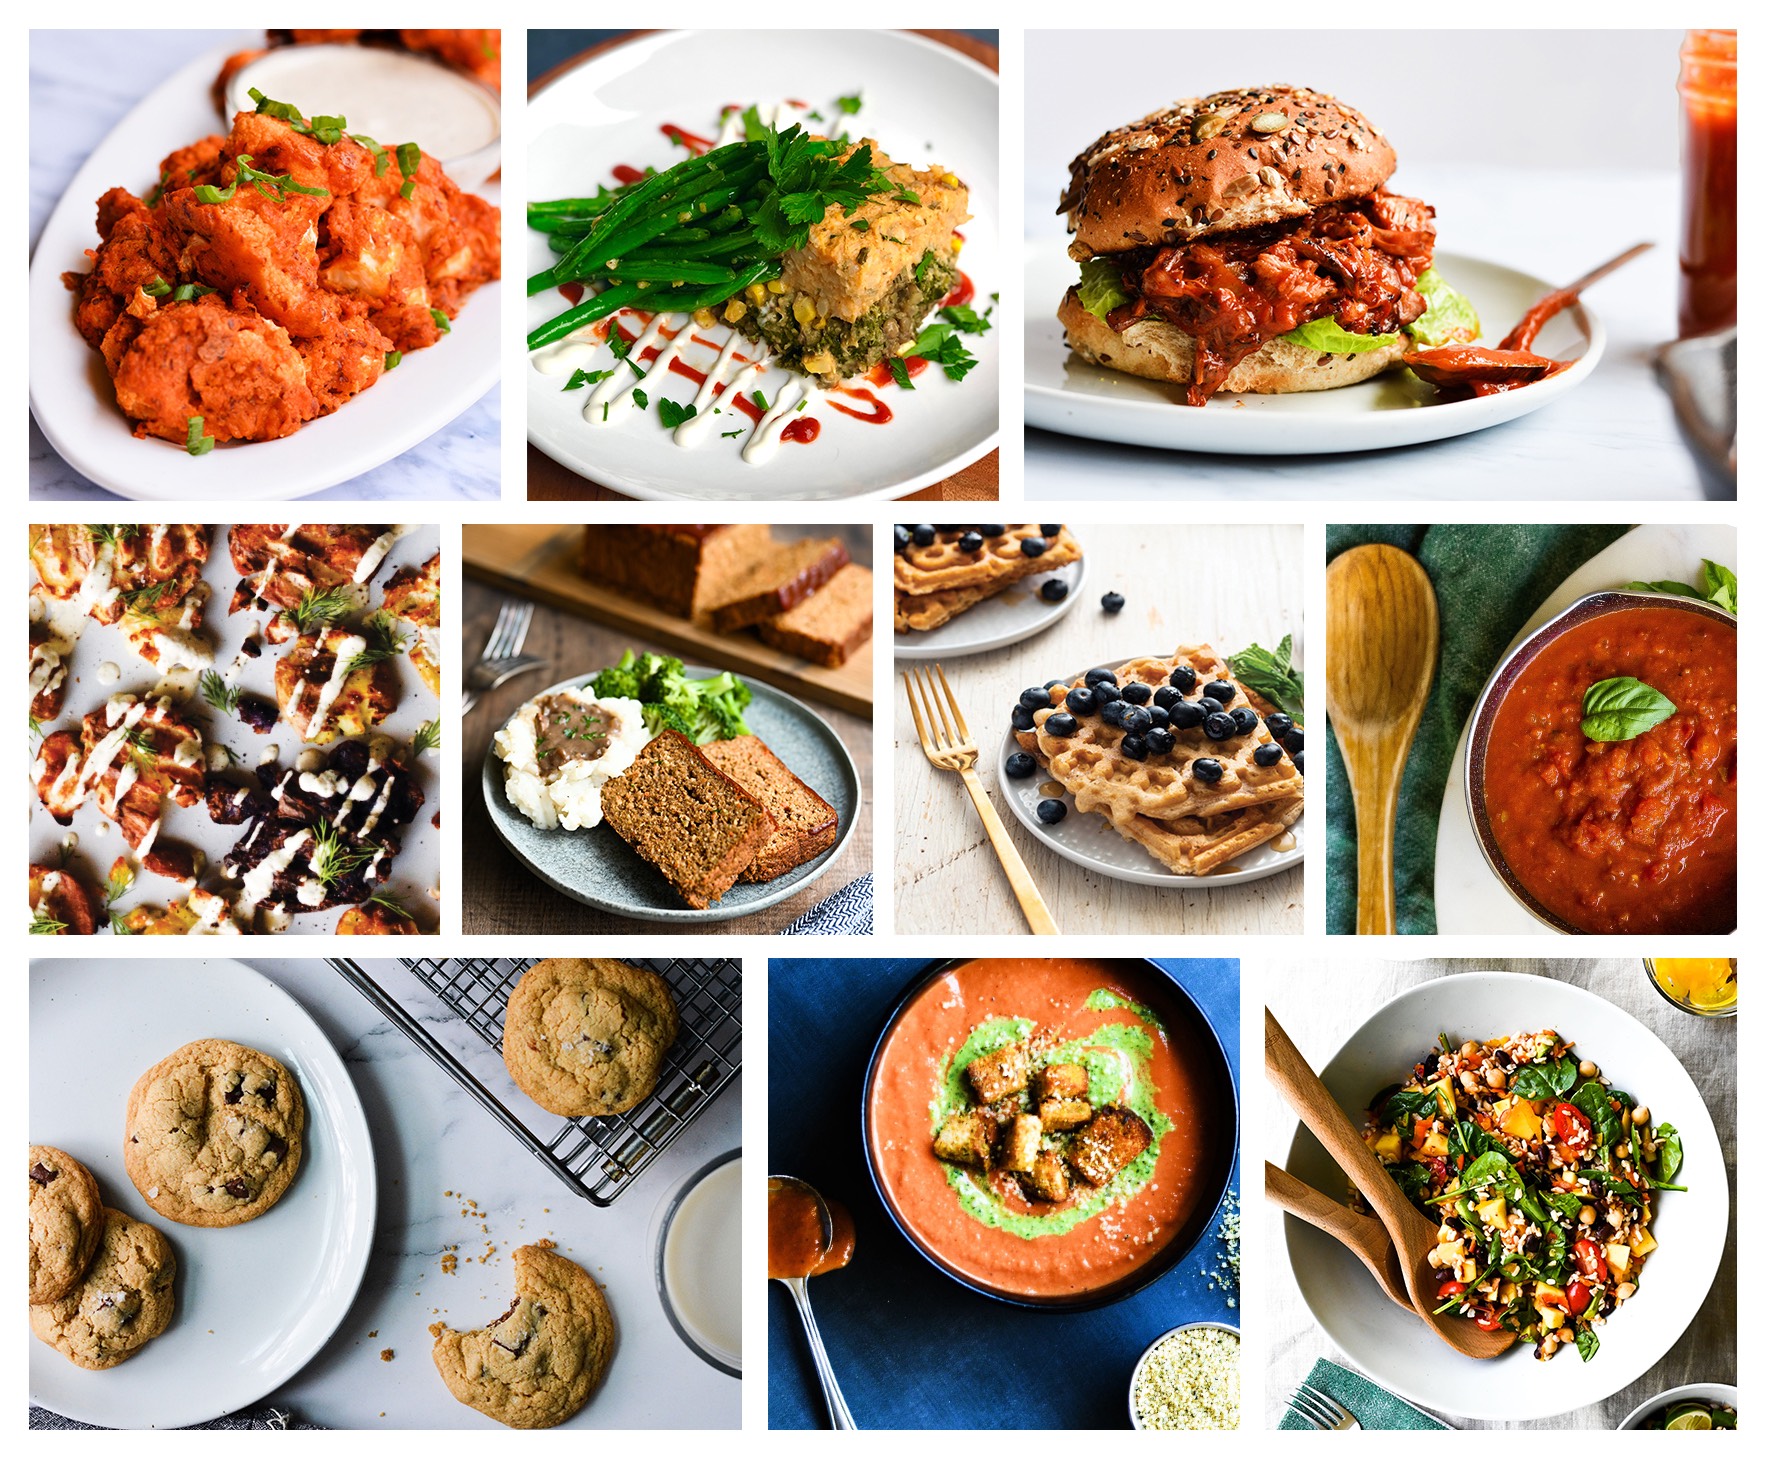
Maybe you're wired the same way I am: your kitchen rotation is a blend of cozy standbys, well-loved dishes from around the globe, and sweets that make a crowd happy.
Some nights I want something luxurious, and that's when I reach for this La Viña Molten Cheesecake recipe, this refined Original French Crème Brûlée recipe, or a deeply rich Chocolate Mousse Cake recipe. And on days when only fruit-forward comfort will do, this timeless French Tarte Tatin recipe is my reliable pick.
For quick morning meals and lighter plates, I regularly whip up these airy Oatmeal and Banana Pancakes recipe, a hearty Stuffed Sweet Potato recipe, or these bright Eggs Stuffed with Avocado and Salmon recipe. And whenever my pantry needs a gluten-free basic, this no-fuss Gluten-Free Rice Flour recipe does the trick.
On evenings built around tapas and Mediterranean tastes, I cycle through this punchy Basque Tuna with Tomato recipe, golden Patatas Bravas Air Fryer recipe, silky Tirokafteri Greek Dip Sauce recipe, and a cool Burrata Salad with Tomato and Pesto recipe. This elegant Italian Vitello Tonnato recipe also comes out whenever the occasion calls for a little extra polish.
For stick-to-your-ribs midday meals and comforting suppers, my go-tos are this warming Meatballs in Spanish Sauce recipe, time-honored Meatballs in Almond Sauce recipe, deeply savory Italian Bolognese Sauce recipe, and velvety Chicken Croquettes in Thermomix recipe. When I'm after something even more substantial, I turn to this oven-baked Greek Pastitsio Pie recipe, homey Potatoes and Squid Stew recipe, or the supremely cozy French Boeuf Bourguignon recipe.
Anytime street food or party fare is on my mind, I'll throw together this succulent Homemade Chicken Doner Kebab recipe, crunchy Salchipapas recipe, punchy Mexican Pork Carnitas recipe, or these crisp Korean Hobak Jeon recipe. These effortless Air Fryer Zucchini Rings recipe are another favorite of mine for a light starter or snack.
And when I'm hosting and mixing drinks to go with a full spread, dinner often gets paired with this cool Original Cuban Mojito recipe, a strong Long Island Iced Tea recipe, or a pitcher of this sweet Bleeding Spanish Sangria recipe. To bring it all together, I like setting out this zesty French Remoulade Sauce recipe alongside, or capping the meal with this dramatic Mediterranean Black Rice with Squid recipe.
Even More Tasty Recipes the Whole Family Will Enjoy

After countless rounds of testing and tweaking in my own kitchen, I've come to believe the finest dishes are built on straightforward steps, dependable methods, and serious flavor.
The recipes gathered here are the ones I genuinely cook on repeat—whether it's a fast solo meal or something festive for the people I love.
On the sweet side, the lush, velvety Orange Chocolate Mousse Recipe is my pick when I want a dessert that feels fancy yet comes together without fuss. Another treat I adore is the caramelized Trdelnik Slavic Pastry Recipe, modeled on the celebrated Central European chimney cake. If baking is your thing, knowing how to make syrup for better dessert texture helps a lot, and my Inverted Sugar Recipe walks through exactly how I do it at home.
When light and easy is what I'm after, I lean on the timeless Italian Caprese Salad Recipe or a flawlessly done Simple Poached Egg Recipe. For more filling comfort fare, I frequently suggest the crowd-pleasing Meatball Sandwich Recipe, the luscious Russian Stroganoff Beef Recipe, and the speedy weeknight go-to One Pot Pasta Recipe.
Sharing dishes from across the globe is another joy of mine, among them the genuine Sorropotún de Bonito Fish Stew Recipe, crispy Chilean Pumpkin Sopaipillas Recipe, and the traditional Spanish Cochifrito Segovian Fried Pig Recipe.
Air fryer cooking is yet another category I turn to often, since it delivers speed without sacrificing texture. The ones I make most include Air Fryer Pork Ribs Recipe, Air Fryer Chicken Thighs Recipe, Air Fryer Sweet Potatoes Recipe, Air Fryer Baked Potatoes Recipe, Air Fryer Peppers Recipe, Air Fryer Mixed Sandwich Recipe, Air Fryer Toasted Bread Recipe, and Air Fryer Hard-Boiled Eggs Recipe.
And for those steering clear of wheat, my cozy Gluten-Free Lasagna Recipe shows that a classic baked pasta can still be indulgent, cheesy, and deeply comforting without any gluten.
Gluten free Empanada Dough Recipe 🍕 Fluffy Apple Cake Recipe 🍔 Langos Hungarian Fried Bread Recipe 🌭 Gluten Free French Brioche Recipe 🍟 Madeira British Sponge Cake Recipe 🌮 Chocolate Argentinian Cookies Alfajores Recipe 🌯 Barmbrack Irish Sweet Bread Recipe 🥙 Gluten free Cookies Recipe 🥗 Homemade cream Maruxas Galician Biscuit Recipe 🍝 Japanese Dumplings Gyoza Dough Recipe
American Gluten Free Cookies Recipe 🍜 Gluten Free King Cake Recipe 🍲 Gluten Free Chocolate Cake Recipe 🍛 Extremadura Style Chard Recipe 🍣 Keto Sliced Sandwich Bread Recipe 🍱 Gluten Free Waffles Recipe 🍤 Low Carb Keto Pizza Recipe 🍗 Gluten Free Bread Rolls Recipe 🍖 Flourless Gluten Free Bread Buns Recipe 🥓 Protein Ice Cream Recipe 🥞 Chia Pudding Dessert with Seeds Recipe
Fluffy Cloud Bread Pan Nube Recipe 🧇 Quinoa Bread Recipe 🍞 Schiacciata Tuscan Focaccia Flat Bread Recipe 🥐 Shokupan Japanese Milk Bread Recipe 🥨 Potato Sandwich Bread Recipe 🧀 Homemade Breadsticks Recipe 🍳 Stollen German Dried Fruits Cake Recipe 🥚 French Gingerbread Spiced Cake Recipe 🍰 Gluten Free Pancakes Recipe
🥔 Potato-omelet-in-Thermomix 🍓 Smores-Sandwich-Dessert 🍰 Womens-Day-Mimosa-cake ☕ Coffee-Sorbet 🍆 Eggplant-pizza 🍋 Ciambella-Italian-Lemon-Cake 🥖 Zapiekanka-Polish-Snack 🌰 Dukkah-Egyptian-Nuts-Mix 🧆 Best-Hummus 🥑 Best-Avocado
Browse the Shop
 Acacia frida deluxe solid wood bed frame |
Bedroom bench |
Bed chest drawers |
Lingerie dresser |
Frame base |
Mirror with jewelry storage |
30 Bathroom Vanity |
Memory foam queen mattress |
Mattresses for back pain |
Nightstand set of 2 |
Grand Goldman Shop |
Civil Lawyer
Deutschland Trikot WM 2026