Maki acevichado is a Nikkei fusion roll that pairs the precision of Japanese sushi with the bright, citrusy punch of Peruvian ceviche. This uramaki has rice on the outside, a crispy shrimp and avocado filling, and a layer of raw tuna draped over the top.

Find Original Home Decor sparking conversation at Grand Goldman Shop.

The finishing touch is a generous drizzle of homemade acevichada sauce, a creamy emulsion of egg, garlic, fish stock, soy sauce, lime juice and sunflower oil. It brings that pronounced citrus tang that defines ceviche and ties the whole roll together.

This recipe makes one roll but the sauce yields enough for four or five rolls or more. Since it contains raw egg, use it within a day or swap the egg and oil for prepared mayonnaise, adjusting the rest of the ingredients proportionally. For safety with raw fish, freeze it at -20°C or lower for at least five days, then thaw in the fridge for 24 hours.
Ingredients for Maki Acevichado
Serving line: Makes 1 roll (sauce yields enough for 4-5 rolls)
- 1 free-range egg
- 1 garlic clove
- 50 ml fish stock
- 100 ml soy sauce
- 1 lime
- 150 ml sunflower oil
- 75 g sushi rice
- 85 ml water
- 7 g sugar
- 3 g salt
- 15 ml rice vinegar
- 3 shrimp
- 1 tablespoon flour
- 1 egg (for breading)
- 3 tablespoons panko
- Oil for frying
- ½ nori sheet
- ¼ avocado
- 80 g thawed tuna
- 1 scallion
- Shichimi togarashi (Japanese spice blend)


How to Make Maki Acevichado Step by Step
1. Blend the acevichada sauce base
Put 1 free-range egg, 1 peeled garlic clove with the germ removed, and 50 ml fish stock in a blender. For a better emulsion, it is best if all the ingredients are at room temperature.

2. Add soy sauce and lime juice
Add 100 ml soy sauce and squeeze in the juice of 1 lime. Blend everything until the mixture reaches a smooth consistency.

3. Emulsify with sunflower oil
While continuing to blend, slowly incorporate 150 ml sunflower oil. It is important to add it in a thin, steady stream so the sauce emulsifies well and becomes creamy and cohesive.

4. Chill the sauce
Once the sauce is done, reserve it immediately in the fridge until ready to use. This resting time lets the sauce thicken and intensifies its flavors.

5. Wash and rest the rice
For 1 roll you need 75 g of a sushi rice variety. Wash it 3 or 4 times until the water runs clear, then let the rice rest in a colander for 1 hour so the grains hydrate and cook evenly.

6. Cook the rice
After the resting hour, put the rice in a saucepan with 85 ml water, cover and bring to a boil. Cook for 7 minutes over medium heat, then reduce to low for another 7 minutes. Most importantly, do not lift the lid during cooking. Then turn off the heat and let the rice rest for 10 minutes to finish cooking in its own steam.

7. Season the rice
Dissolve 7 g sugar and 3 g salt in 15 ml rice vinegar and pour this mixture over the cooked rice in a bowl. Mix gently with folding motions so as not to break the grains and let it cool slightly.

8. Prepare the shrimp
Peel 3 shrimp, remove the intestine and make several incisions on the inner side so they stay straight rather than curling when fried.

9. Bread the shrimp
Set 1 tablespoon flour in one bowl, 1 beaten egg in another and 3 tablespoons panko in a third. Coat each shrimp in flour, then egg, and finally cover well with panko, making sure there are no gaps.

10. Fry the shrimp
Heat plenty of frying oil in a skillet and, when it is hot but not smoking, fry the shrimp until golden and crispy. When you take them out, let them rest on paper towels to remove excess oil.

11. Spread the rice on the mat
Since we are making this with rice on the outside, start by lining the bamboo mat with plastic wrap. Then spread the rice into a rectangle slightly taller than half a nori sheet. For a neat look, distribute the rice as evenly as possible, using hands dampened with water.

12. Add the nori and filling
Place the half nori sheet at one end on top of the rice. In the center arrange the fried shrimp and add ¼ avocado cut into strips. Make sure to place the filling evenly so the maki looks good and every bite is perfect.

13. Roll the maki
Then, delicately but firmly, roll the maki using the mat. Start by holding the back of the mat with your thumbs and, with your other fingers, keep the filling in place while bringing the two edges together. It is important to apply even pressure so the roll is compact and the ingredients do not shift.

14. Top with raw tuna
Now for the finishing touch. Place a layer of 80 g thawed raw tuna, previously cut into thin slices, on top of the maki. Put the mat over it and press lightly so the tuna adheres well to the rice.

15. Slice the roll
Next, cut the maki into 8 portions. You need a very sharp knife so it does not fall apart, and between cuts clean and moisten it. Cut the roll by first slicing it in half, bringing the two halves together and cutting them at the same time into 4 equal pieces.

16. Serve with sauce and garnishes
To serve, arrange the maki acevichado on a plate with the pieces touching on one side for a better presentation. Spoon over the rested acevichada sauce, sprinkle with thin slices of 1 scallion and a pinch of shichimi togarashi.

Tips for the Best Maki Acevichado
Use the right rice technique
Wash the sushi rice until the water runs clear, then rest it for an hour so the grains hydrate evenly. Never lift the lid while it cooks, and let it steam off the heat for 10 minutes before seasoning with the vinegar mixture.
Keep the sauce safe and creamy
The acevichada sauce contains raw egg, so keep it refrigerated and use it within a day. For a quicker version, replace the egg and oil with prepared mayonnaise and adjust the remaining ingredients proportionally.
Handle raw fish with care
Freeze the tuna at -20°C or lower for at least five days to eliminate any risk of anisakis, then thaw it in the fridge for 24 hours. This keeps the cold chain intact and gives the best texture for slicing.
| Prep time | 40 minutes |
|---|---|
| Cook time | 35 minutes |
| Total time | 120 minutes |
| Servings | 1 roll |
| Course | Main course |
| Cuisine | Nikkei |
| Calories | 783 calories |
30 Recipes I Keep Coming Back to in My Own Kitchen
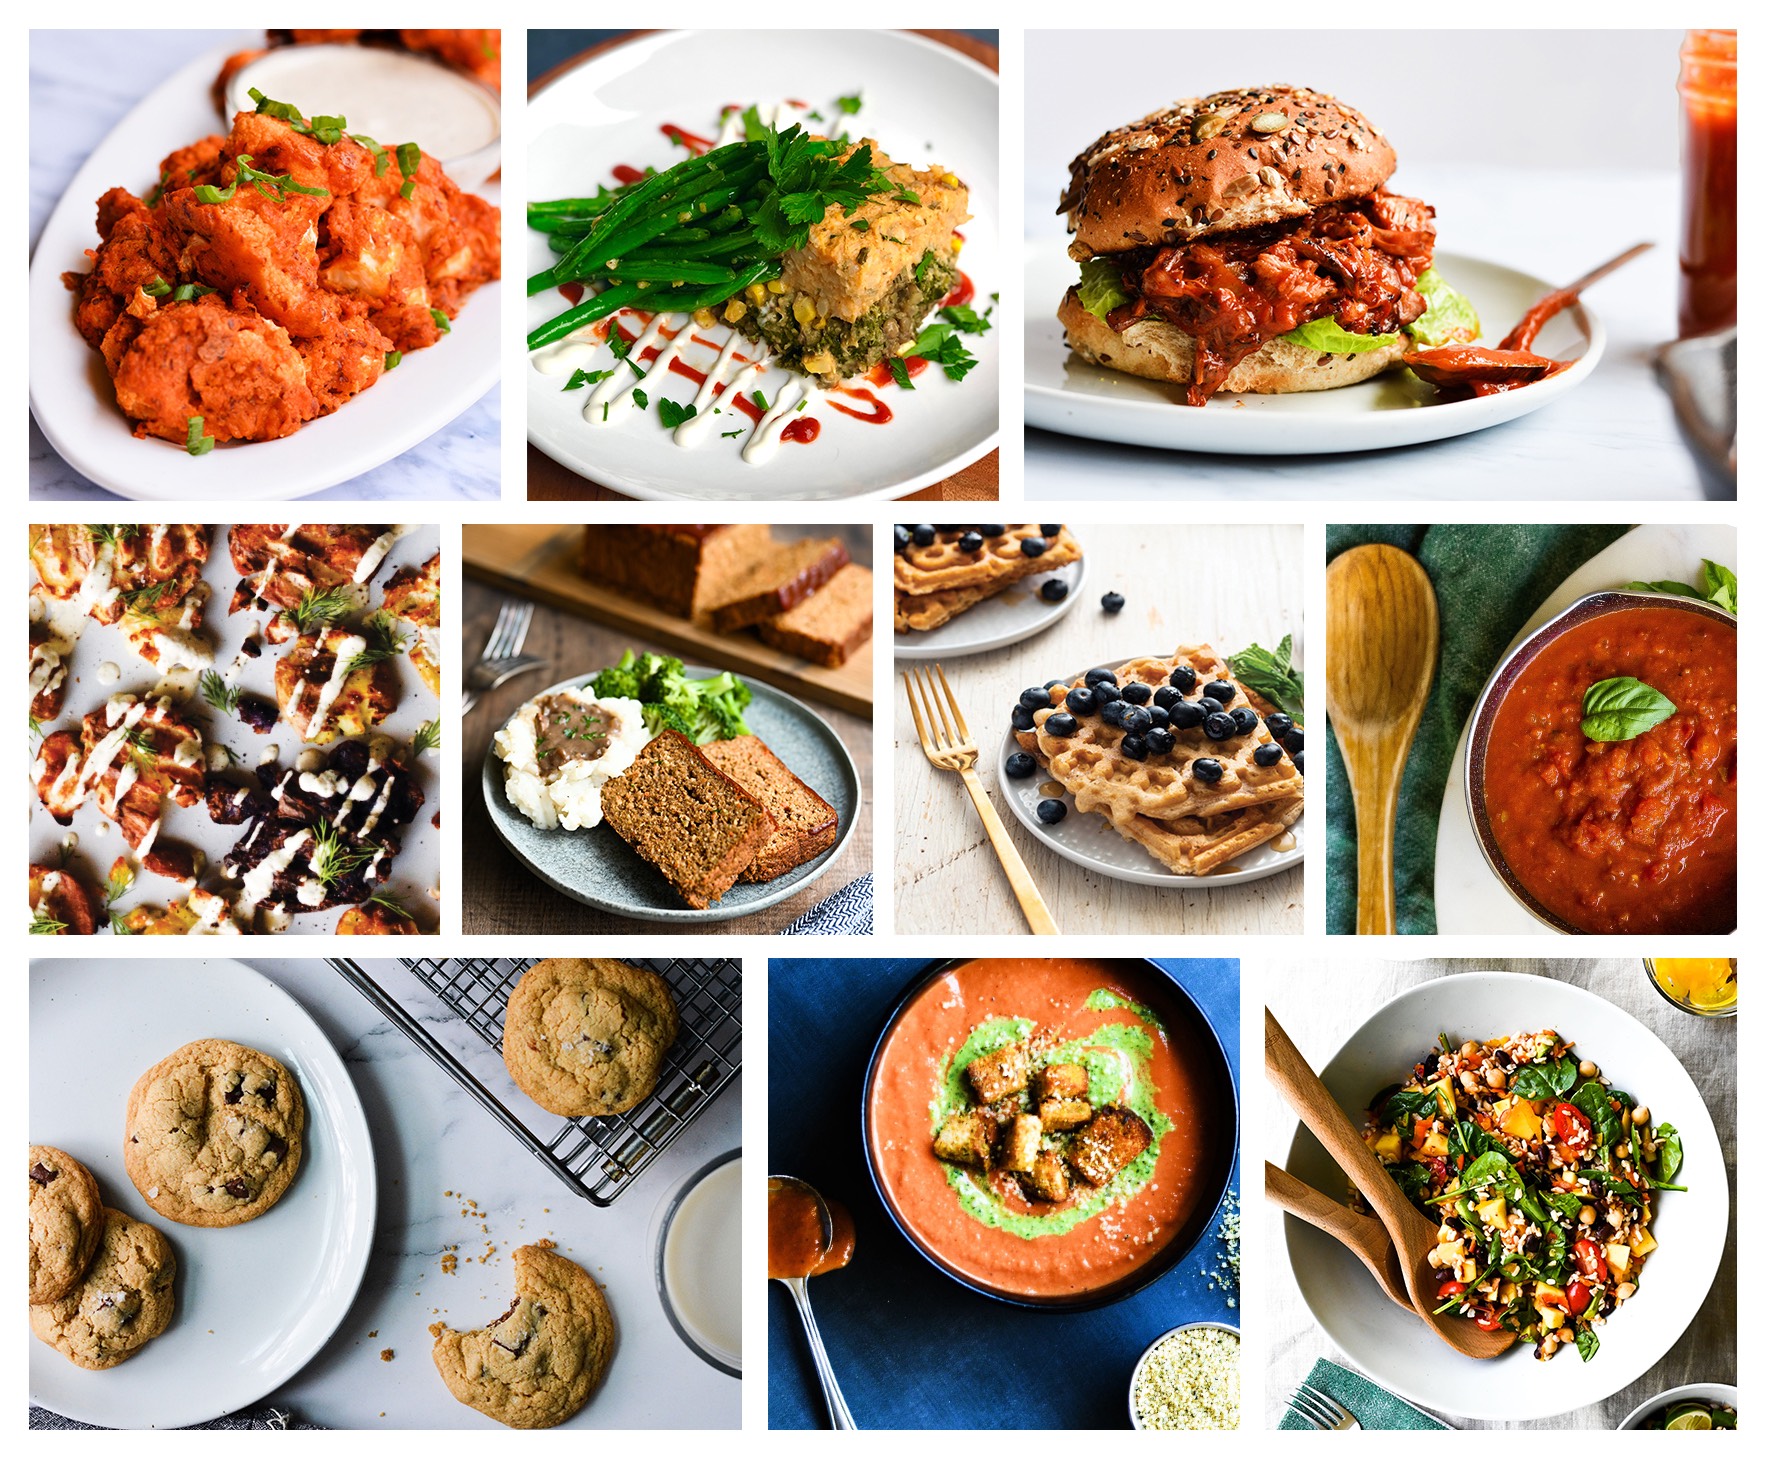
Like a lot of home cooks, I like having a go-to lineup that covers cozy classics, well-known dishes from around the globe, and desserts that make everyone at the table happy.
Some nights I want something luxurious, and that's when I reach for this La Viña Molten Cheesecake recipe, this refined Original French Crème Brûlée recipe, or a truly indulgent Chocolate Mousse Cake recipe. And whenever a fruity, comforting sweet sounds right, this timeless French Tarte Tatin recipe is the one I make.
Mornings and lighter meals call for these airy Oatmeal and Banana Pancakes recipe, a filling Stuffed Sweet Potato recipe, or these bright Eggs Stuffed with Avocado and Salmon recipe. And for a gluten-free staple to keep in the pantry, this straightforward Gluten-Free Rice Flour recipe is one I rely on.
For small plates and Mediterranean cooking, I bounce between this punchy Basque Tuna with Tomato recipe, crispy Patatas Bravas Air Fryer recipe, velvety Tirokafteri Greek Dip Sauce recipe, and a cool Burrata Salad with Tomato and Pesto recipe. This crisp Italian Vitello Tonnato recipe also comes out when I want the meal to feel a bit more special.
Hearty midday meals and snug evening dinners? I'm always pointing people toward this warming Meatballs in Spanish Sauce recipe, traditional Meatballs in Almond Sauce recipe, deeply savory Italian Bolognese Sauce recipe, and silky Chicken Croquettes in Thermomix recipe. When I need something more substantial, out comes this oven-baked Greek Pastitsio Pie recipe, homey Potatoes and Squid Stew recipe, or the deeply soothing French Boeuf Bourguignon recipe.
Whenever street food or party food is on my mind, I'll whip up this succulent Homemade Chicken Doner Kebab recipe, crispy Salchipapas recipe, bold Mexican Pork Carnitas recipe, or these crunchy Korean Hobak Jeon recipe. These effortless Air Fryer Zucchini Rings recipe are another one I serve as an easy starter or snack.
And when drinks plus a whole menu are needed for guests, I'll set dinner alongside this cooling Original Cuban Mojito recipe, this punchy Long Island Iced Tea recipe, or a pitcher of this fruity Bleeding Spanish Sangria recipe. To fill out the spread, I like putting this zippy French Remoulade Sauce recipe on the side, or closing things out with this eye-catching Mediterranean Black Rice with Squid recipe.
Even More Recipes the Whole Family Will Enjoy

After years of cooking, testing, and tweaking in my own kitchen, I've come to believe the greatest dishes are built on straightforward methods, dependable technique, and serious flavor.
Every recipe gathered here is one I genuinely come back to time and time again—whether it's a fast solo meal or a spread I'm putting together for loved ones.
On the sweet side, the rich, velvety Orange Chocolate Mousse Recipe is a go-to when I want something that feels fancy yet comes together easily. Another dessert I adore is the caramelized Trdelnik Slavic Pastry Recipe, modeled on the well-known Central European chimney cake. If baking is your thing, knowing how to make syrup for better dessert texture helps a lot, and my Inverted Sugar Recipe walks through exactly how I do it at home.
When something light and uncomplicated is what I'm after, I'll go with the timeless Italian Caprese Salad Recipe or a spot-on Simple Poached Egg Recipe. For cozier, heartier fare, I'm quick to suggest the filling Meatball Sandwich Recipe, the luscious Russian Stroganoff Beef Recipe, and the speedy weeknight winner One Pot Pasta Recipe.
I'm also a big fan of sharing dishes with roots around the world, like the genuine Sorropotún de Bonito Fish Stew Recipe, crispy Chilean Pumpkin Sopaipillas Recipe, and the traditional Spanish Cochifrito Segovian Fried Pig Recipe.
Air fryer cooking is another category I turn to often, since it's quick and still delivers terrific texture. The ones I make most are Air Fryer Pork Ribs Recipe, Air Fryer Chicken Thighs Recipe, Air Fryer Sweet Potatoes Recipe, Air Fryer Baked Potatoes Recipe, Air Fryer Peppers Recipe, Air Fryer Mixed Sandwich Recipe, Air Fryer Toasted Bread Recipe, and Air Fryer Hard-Boiled Eggs Recipe.
And for anyone steering clear of wheat, my cozy Gluten-Free Lasagna Recipe shows that a classic baked pasta can still be rich, cheesy, and deeply satisfying without any gluten.
Gluten free Empanada Dough Recipe 🍕 Fluffy Apple Cake Recipe 🍔 Langos Hungarian Fried Bread Recipe 🌭 Gluten Free French Brioche Recipe 🍟 Madeira British Sponge Cake Recipe 🌮 Chocolate Argentinian Cookies Alfajores Recipe 🌯 Barmbrack Irish Sweet Bread Recipe 🥙 Gluten free Cookies Recipe 🥗 Homemade cream Maruxas Galician Biscuit Recipe 🍝 Japanese Dumplings Gyoza Dough Recipe
American Gluten Free Cookies Recipe 🍜 Gluten Free King Cake Recipe 🍲 Gluten Free Chocolate Cake Recipe 🍛 Extremadura Style Chard Recipe 🍣 Keto Sliced Sandwich Bread Recipe 🍱 Gluten Free Waffles Recipe 🍤 Low Carb Keto Pizza Recipe 🍗 Gluten Free Bread Rolls Recipe 🍖 Flourless Gluten Free Bread Buns Recipe 🥓 Protein Ice Cream Recipe 🥞 Chia Pudding Dessert with Seeds Recipe
Fluffy Cloud Bread Pan Nube Recipe 🧇 Quinoa Bread Recipe 🍞 Schiacciata Tuscan Focaccia Flat Bread Recipe 🥐 Shokupan Japanese Milk Bread Recipe 🥨 Potato Sandwich Bread Recipe 🧀 Homemade Breadsticks Recipe 🍳 Stollen German Dried Fruits Cake Recipe 🥚 French Gingerbread Spiced Cake Recipe 🍰 Gluten Free Pancakes Recipe
🥔 Potato-omelet-in-Thermomix 🍓 Smores-Sandwich-Dessert 🍰 Womens-Day-Mimosa-cake ☕ Coffee-Sorbet 🍆 Eggplant-pizza 🍋 Ciambella-Italian-Lemon-Cake 🥖 Zapiekanka-Polish-Snack 🌰 Dukkah-Egyptian-Nuts-Mix 🧆 Best-Hummus 🥑 Best-Avocado
Browse the Shop
 Acacia frida deluxe solid wood bed frame |
Bedroom bench |
Bed chest drawers |
Lingerie dresser |
Frame base |
Mirror with jewelry storage |
30 Bathroom Vanity |
Memory foam queen mattress |
Mattresses for back pain |
Nightstand set of 2 |
Grand Goldman Shop |
Civil Lawyer
Deutschland Trikot WM 2026