


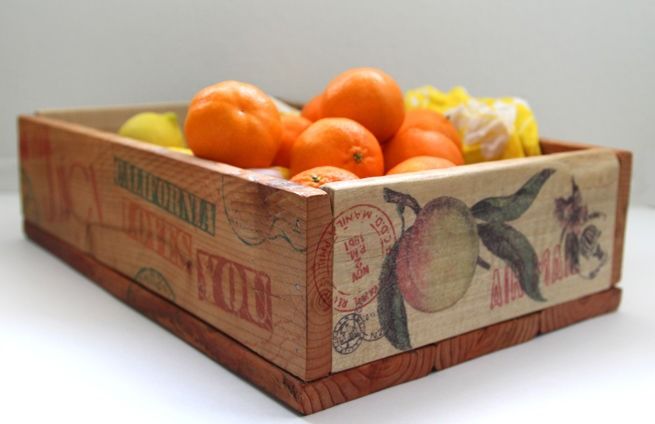
Image Transfer to Wood! Hassle-free transferring an image to wood using minimal supplies! I've tried several other methods with mixed results... But this one here WORKS!
Transfer of Images to Wood


Step 1: Supplies
You will need:
- A piece of raw (unfinished) wood – lighter woods work best
- Coarse grit sandpaper (60 or 80)
- Paper cutter, or scissors and a ruler
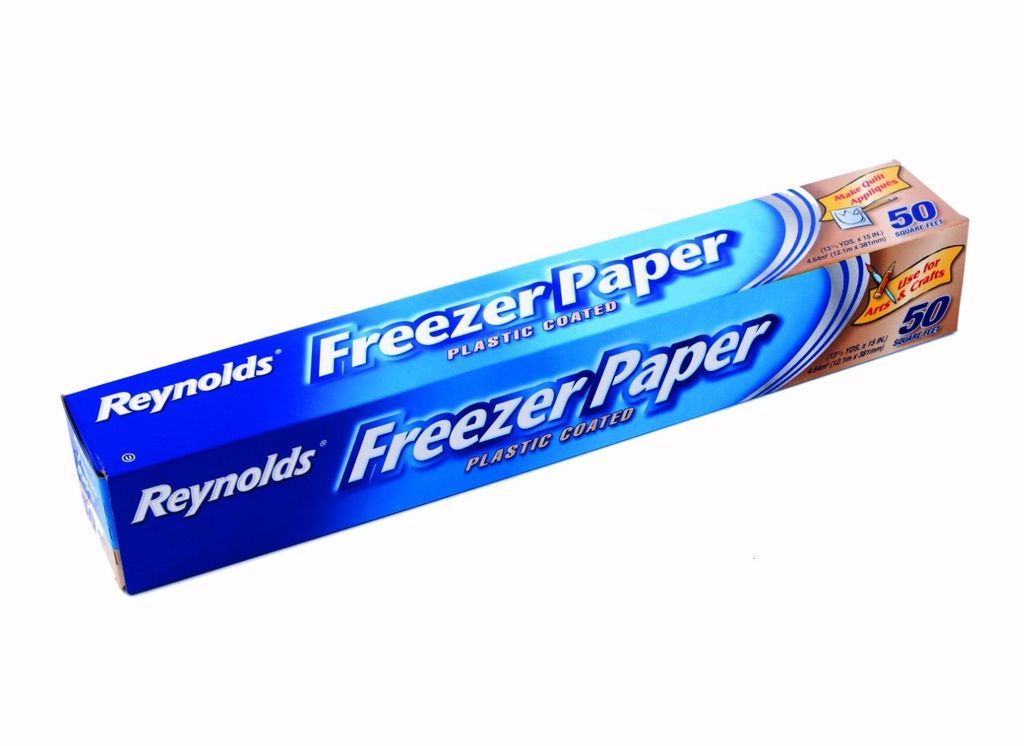
- Freezer paper (Freezer paper)
- Printable mirror image of what you want to transfer
- Inkjet printer (DO NOT TRY THIS WITH A LASER PRINTER)
- Clear Coat (Lacquer has been used for this project)
You'll want your phone, because immediately after you do this, you'll want to take a photo to send a text message to your mom, your sister... And especially that friend who is impressed by everything.
Step 2: Choose a piece of wood

Ideally, a lighter wood as the ink will show better. Mine measures 5 1/2″ wide x 11″ tall. The size of yours is up to you!
Step 3: Sand the surface
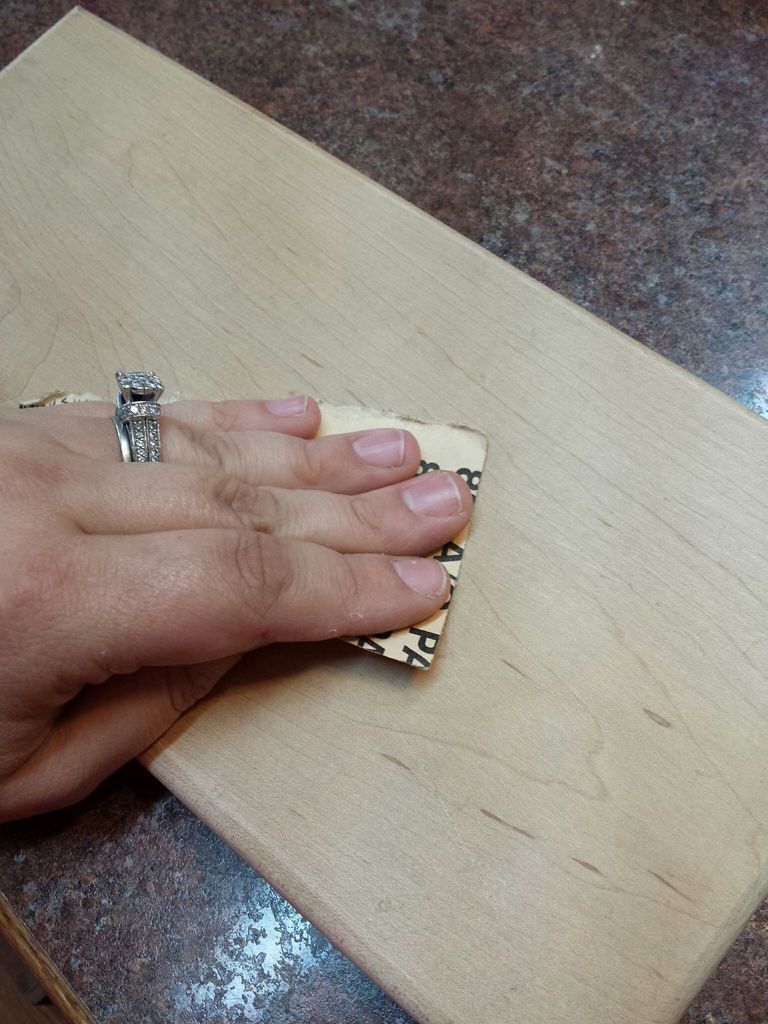
Using 60 or 80 grit sandpaper, roughen the surface of the wood. Go with the grain. Don't skip this step, or the ink won't absorb into the wood!
Step 4: Cut the Freezer Paper to 8 1/2 X 11″
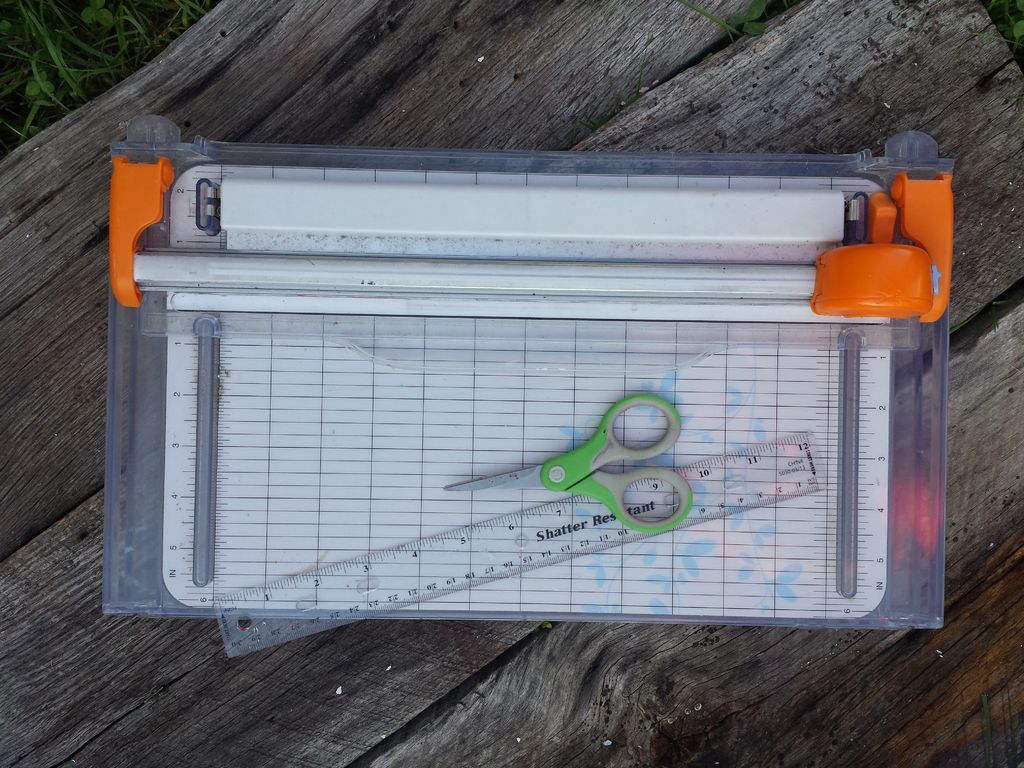

Using your paper cutter (or scissors and ruler), cut a piece of freezer paper to 8 1/2x11 inches (or whatever size your printer recognizes).
Crooked cuts often lead to paper jams, so try to be very precise here!
Several commented that they also had success using clear paper (it's already the right size, feeds more easily through the printer, and can be cleaned and reused), as well as the excess paper that address labels have attached.
Step 5: Choose an image and cover it

Design your image (or choose from a free printable site). Using a program like Photoshop, invert the image so that you have a mirror image. Feel free to use our image!
Step 6: Print the image on Freezer Paper
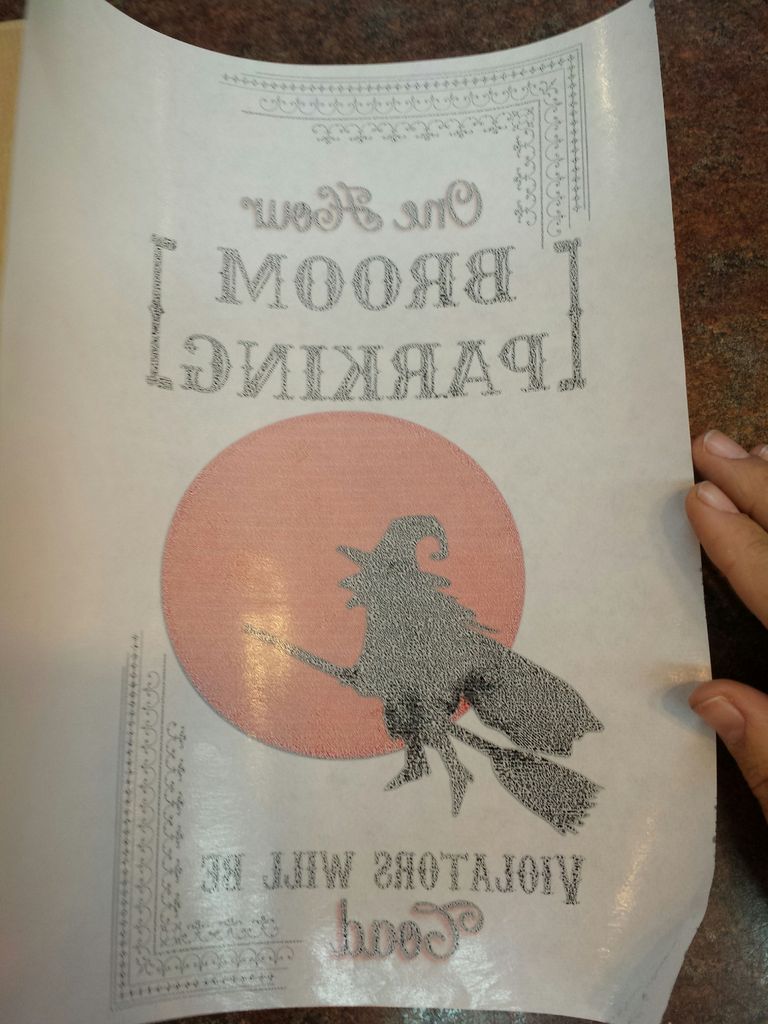
Feed the freezer paper into your printer so the image prints on the glossy side. Impression. The paper holds your ink in place but will not absorb it. The slippery surface is the trick to making this method work.
(I tried at least a dozen times with wax paper on 3 different printers and paper jams every time. So, try wax paper at your own risk.
If you still have printer jams, try gluing or taping the freezer paper to a standard sheet of paper.
Step 7: Place the paper ink side down on the wood
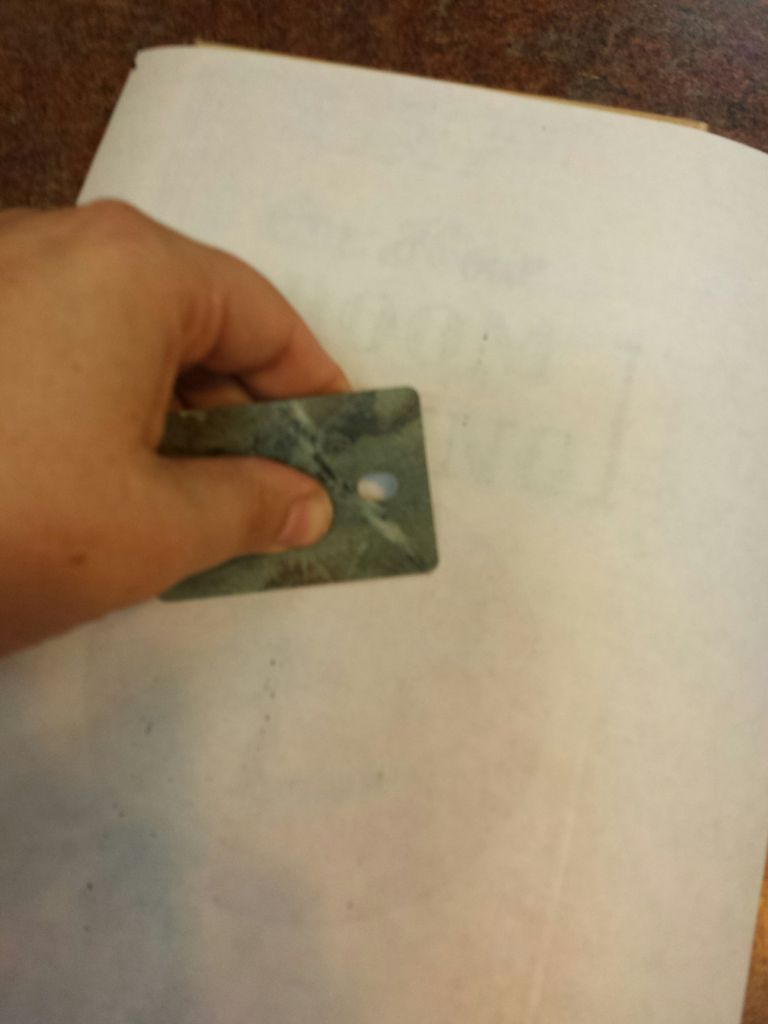
Be careful here, it's a one-time deal! Place the freezer paper ink side down on the wood. Do not reposition once placed.
Using a card (and holding the paper in place with your other hand), smooth the card over the entire surface of the paper, being careful not to move the paper.
Step 8: Remove the paper

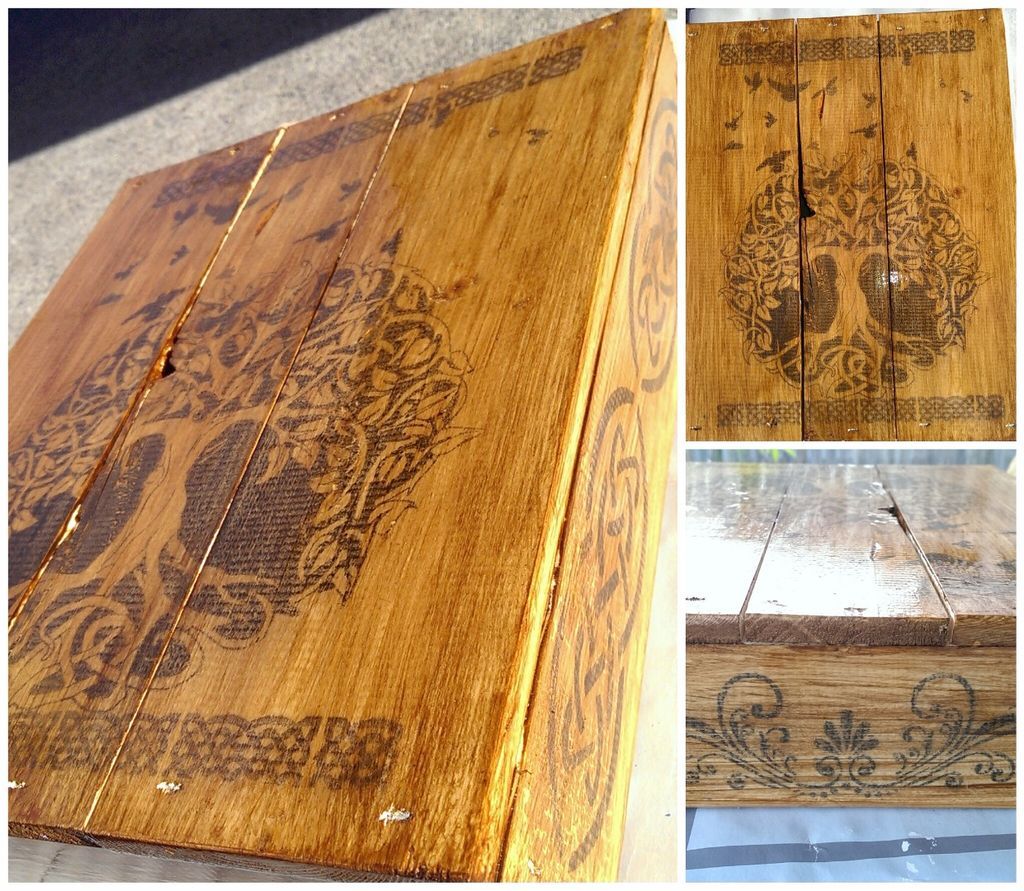
Remove the paper. The image will remain on the wood!
Don't you like how it looks? The ink is superficially absorbed into the surface, just sand it and give it another chance!
Step 9: Apply a transparent coate
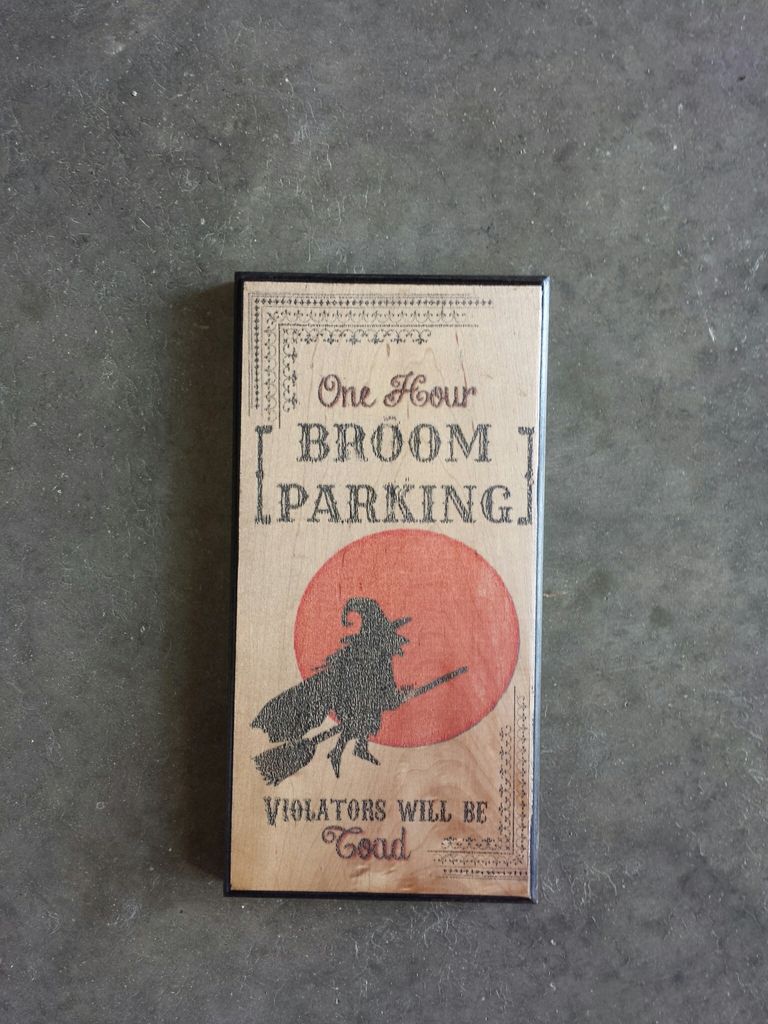
Once the ink is dry to the touch, apply a clear coat (spray is recommended to reduce smearing) and allow to dry.
If the surface remains rough once dry, rub with a brown paper bag (this softens the surface without lifting the clear coat) and apply an additional clear coat. I applied black paint to the edges before the clear coat.
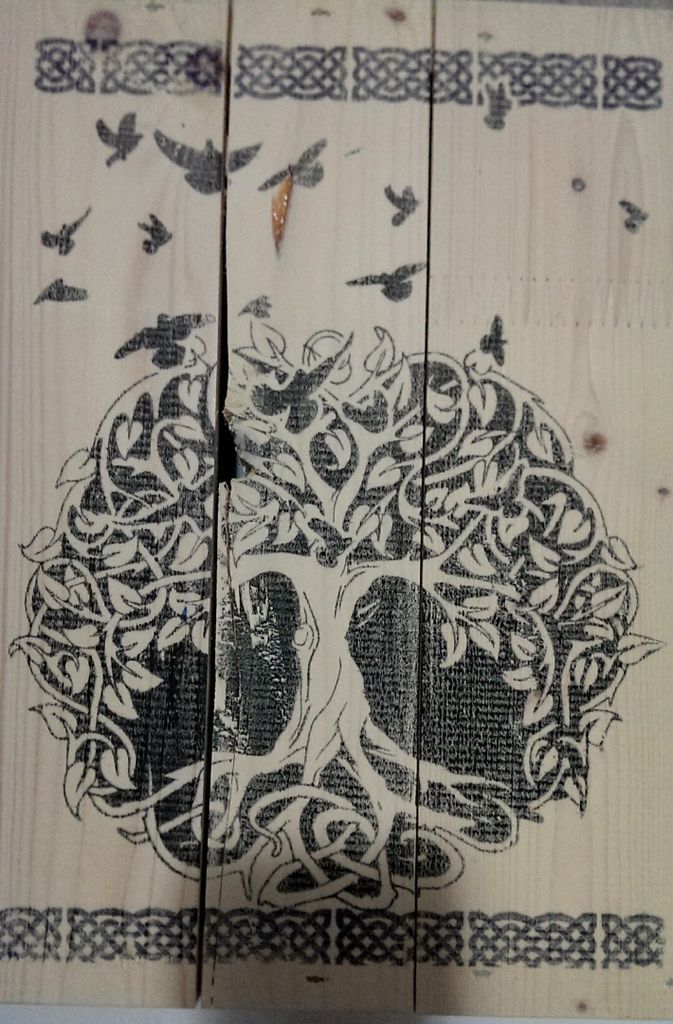
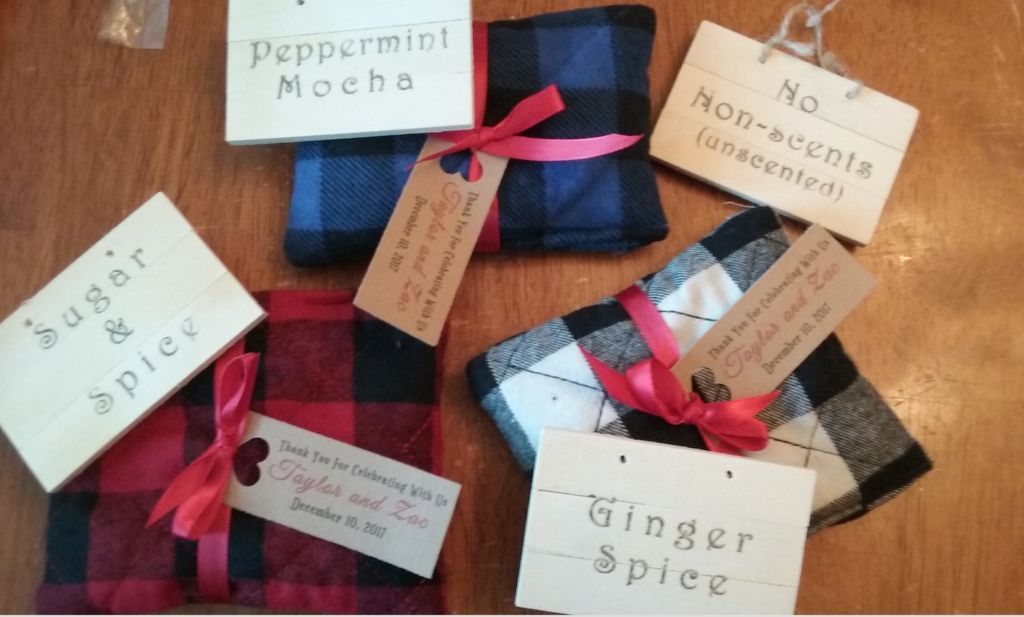
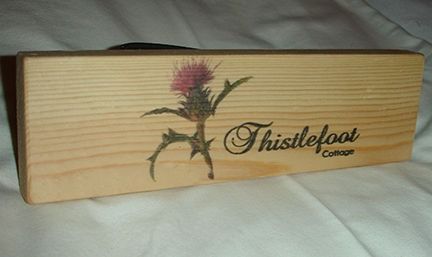
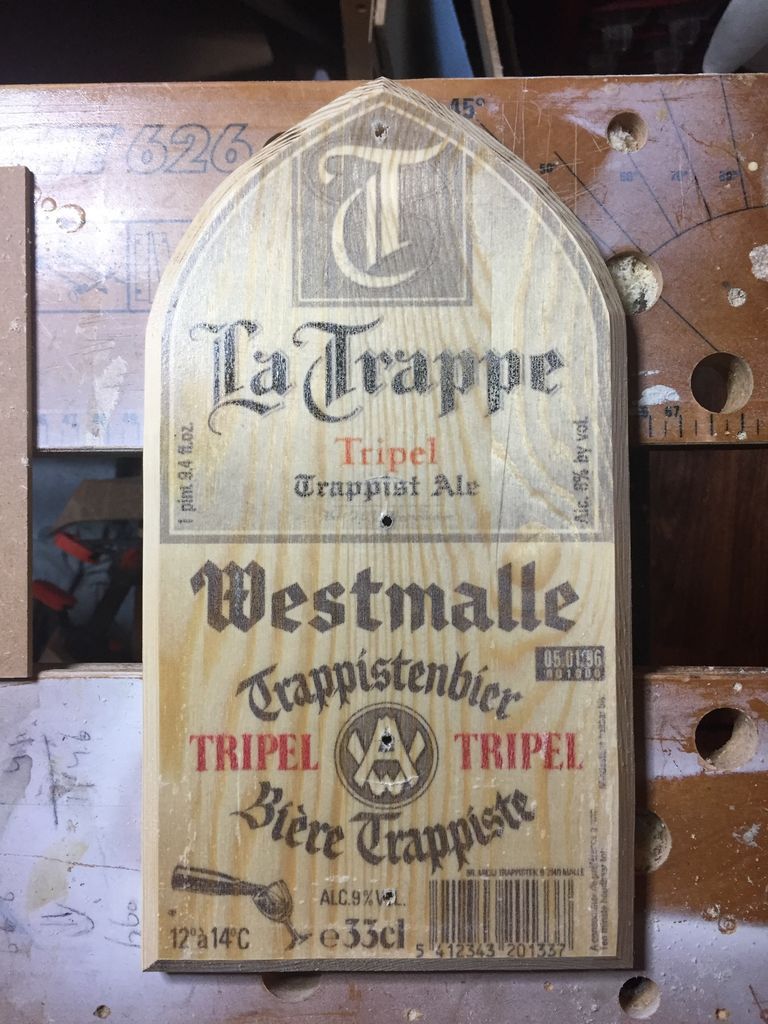
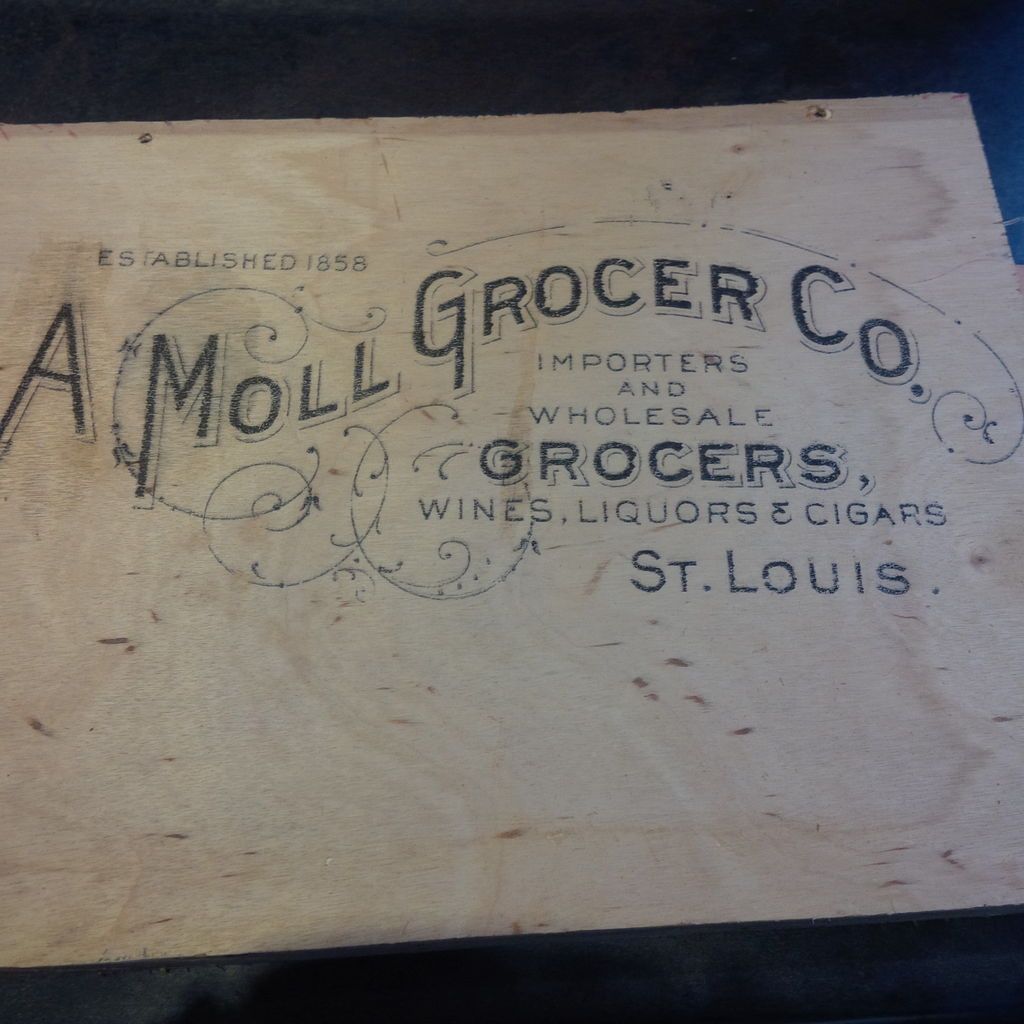
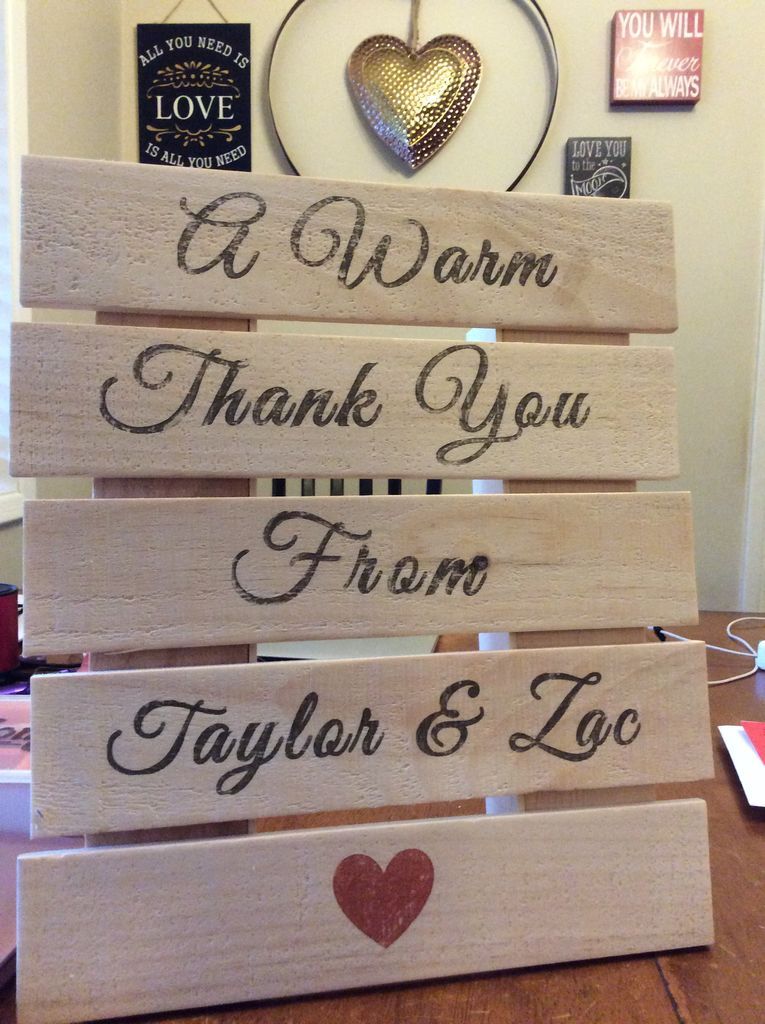
Step 10: The possibilities are endless!
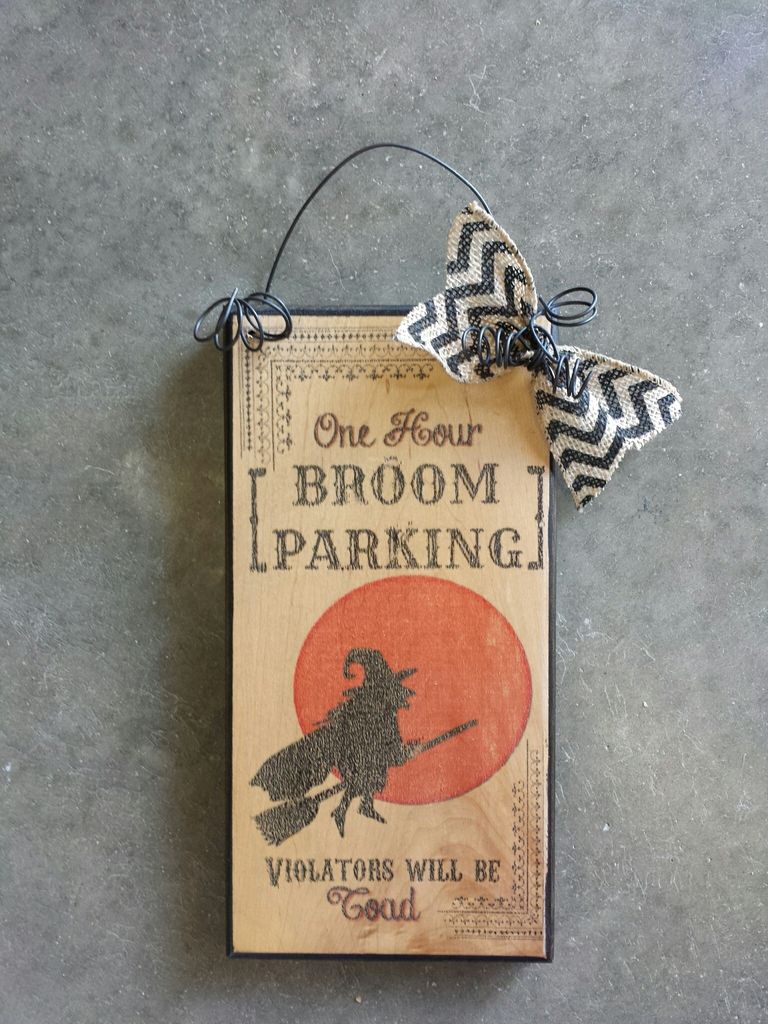
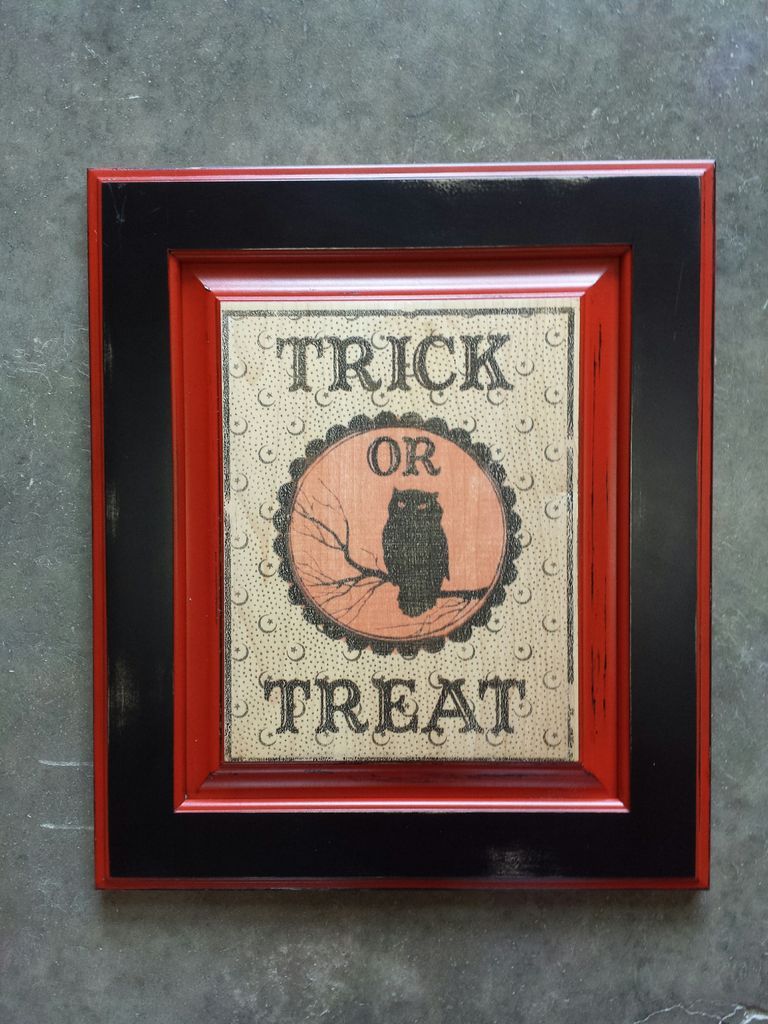
Step 11: More Examples

This is one way to do it, there are several. It is up to the person if they want to use this. For now this is all, thanks for reading.
Get more information at perfectionidea.com and on our Facebook for more Image Transfer to Wood.
Popular Content
How to make a rocket stove for outdoors
Cardboard Drawers Lined with Jeans
Ideas and Advantages of Window Grilles for the Home!
Latest Articles
How to make a refrigerator out of insulating material: Practical step-by-step guide
How to make a Kilim for the Home: Complete Step by Step Guide
How to protect ourselves from accidents in our workplace: Complete prevention and safety guide
Related Content
Learn How to Build a Floating Bed with These Simple Steps!
Making a Corner Entertainment Center!
Create False Wood Look Panels
Candle Holder for Small Candles
Creative Home Decor Ideas to Transform Every Space
Refreshing your home starts with smart design choices that combine comfort, personality, and functionality. Whether you want to modernize a small apartment, upgrade outdoor areas, or create cozy rustic interiors, these trending ideas can completely change the atmosphere of your space.
Outdoor Spaces That Increase Style and Functionality
Outdoor living continues to dominate modern home trends. Homeowners are increasingly investing in practical entertainment zones inspired by these BBQ shed ideas, which create the perfect setup for gatherings and weekend cooking sessions.
First impressions also matter when designing exteriors. Elegant farm entrance gates design ideas help properties stand out while improving privacy and curb appeal.
Compact living solutions are also gaining popularity. These inspiring 16x40 shed house interior design ideas show how smaller spaces can still feel luxurious and functional.
To enhance patios and entryways, homeowners are adding stylish protection with these creative porch awning exterior DIY ideas that blend aesthetics with practicality.

Rustic and Cozy Interior Design Trends
Warm and natural interiors remain timeless. These charming rustic decor ideas combine wood textures, vintage accents, and earthy tones to create welcoming spaces.
Bedrooms are becoming more personalized with curated wall arrangements. Many homeowners use these stylish picture wall ideas for bedroom spaces to display memories and artwork creatively.
Textured wall treatments are another major trend. Installing a board and batten wall adds architectural character while keeping interiors elegant and modern.
Similarly, bold accent wall ideas can instantly transform plain rooms into eye-catching focal points without requiring a full renovation.
Smart Kitchen and Organization Inspiration
Functional kitchens are essential for modern homes. These practical kitchen wall cabinet ideas maximize storage while maintaining a clean and stylish appearance.
Organization also starts at the entrance. Well-designed mud room ideas help families keep shoes, coats, and daily essentials neatly arranged.
Colorful and Personalized Home Styling
Vibrant interiors are becoming increasingly popular thanks to playful dopamine decor ideas that use bright colors and joyful accessories to improve mood and energy.
Gallery walls also continue to evolve as a major decorative feature. These trendy gallery wall inspiration ideas offer creative ways to combine prints, photos, and statement art.
Young renters and new homeowners are especially embracing these stylish first apartment aesthetic ideas to create sophisticated interiors on a budget.
Finally, selecting the right shades can dramatically influence any room’s atmosphere. These modern trendy color ideas help homeowners choose palettes that feel fresh, elegant, and timeless.
Final Thoughts
From rustic charm and colorful interiors to outdoor entertaining areas and functional storage solutions, today’s home decor trends focus on creating spaces that feel both beautiful and livable. By combining smart layouts, modern textures, and personalized decorative elements, any home can become more stylish, comfortable, and inspiring.


