


In this article, we will make some wireless lamps that react to sound or music in any environment. In addition to the instructions, the article contains:
- Schemes
- List of components
- Link to the code so you can make and modify your own project.
Steps to build wireless lamps that react to sound
Step 1: Planning the Project (In English)

Here are the main components I used:
Lamps:
- 4 LED Strips
- 4 5v power supplies
- Power plug
- 4 weMos Wi-Fi Dashboard
Controller:
- Sound sensor
- Wi-Fi board, I used NodeMCU since I didn't have another WeMos D1. Wemos should work.
- Switch/Pushbutton
- Power switch
- Colored diodes (blue)
- Lithium ion battery
- Battery holder
- Charger module
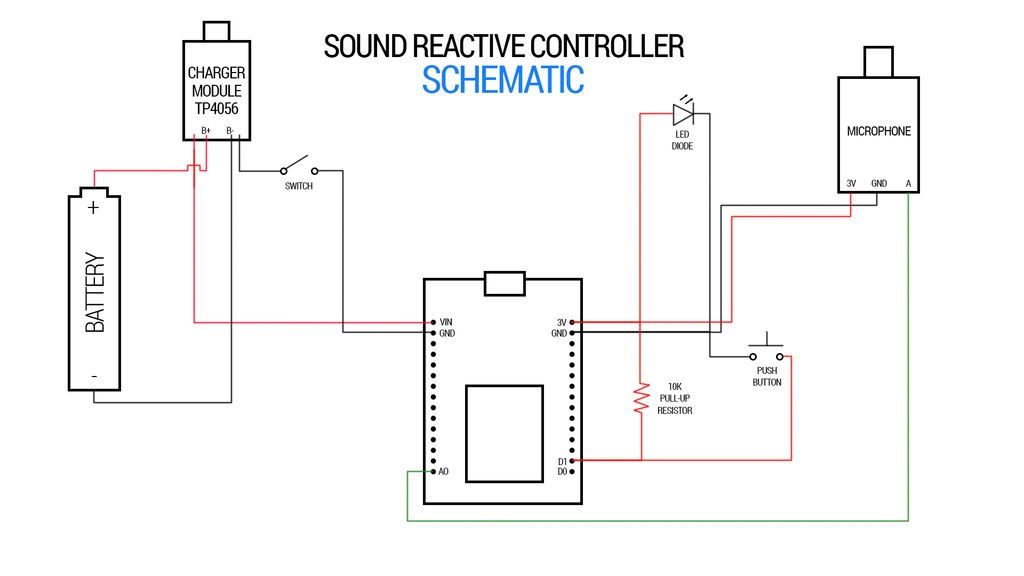
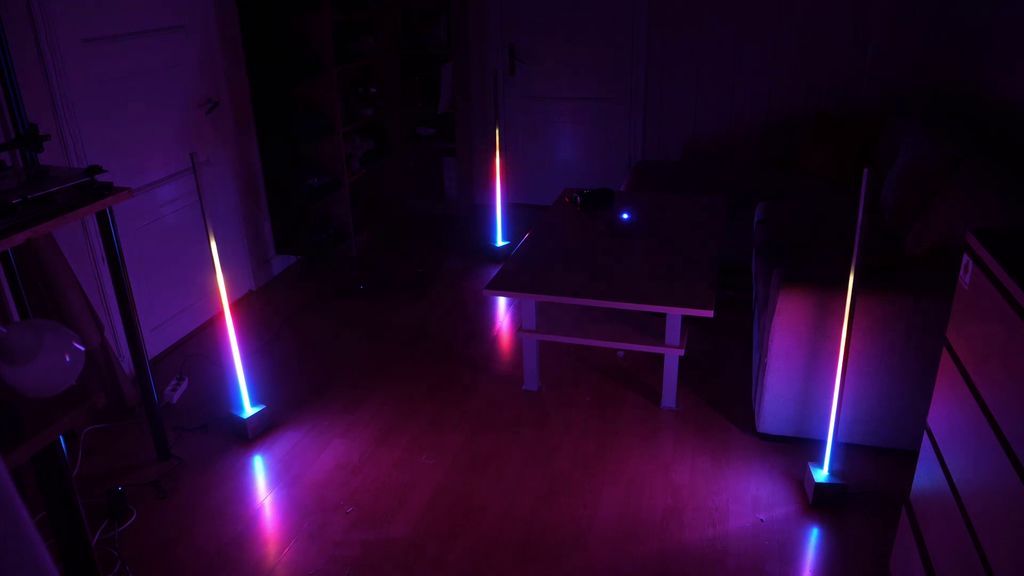
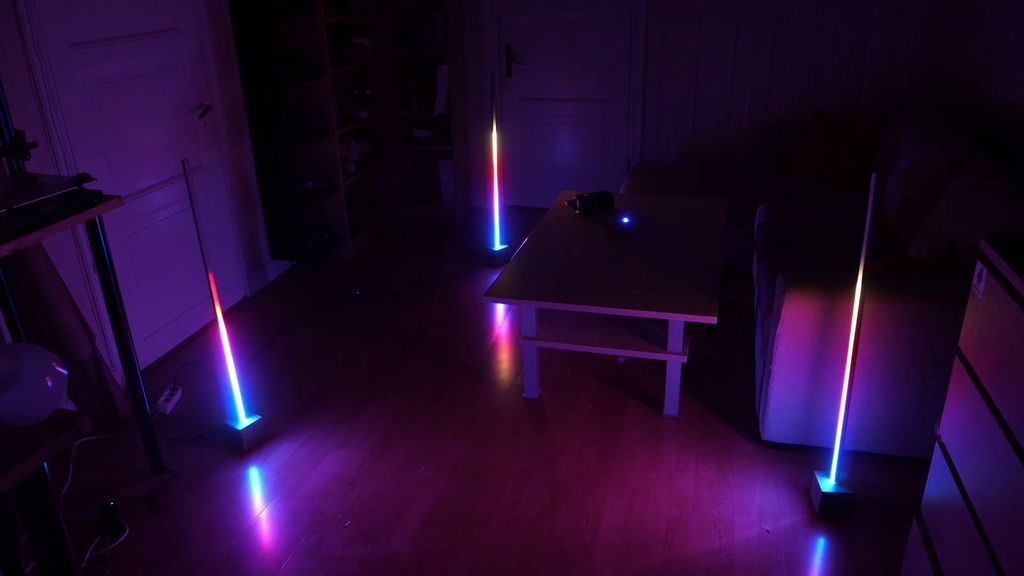
So I had a very clear idea in my head of what I wanted to create. I wanted a central (but portable) sound detector that could pick up surrounding sounds and transmit them to lamps that could be placed anywhere within a room, or even a house. Because all audio will be picked up by the same microphone, the lamps must remain synchronous. Also, I decided to use a sound detector and not an audio jack (although I know many would prefer that option), because I wanted it to be completely wireless and also be able to pick up people singing, clapping or whatever.
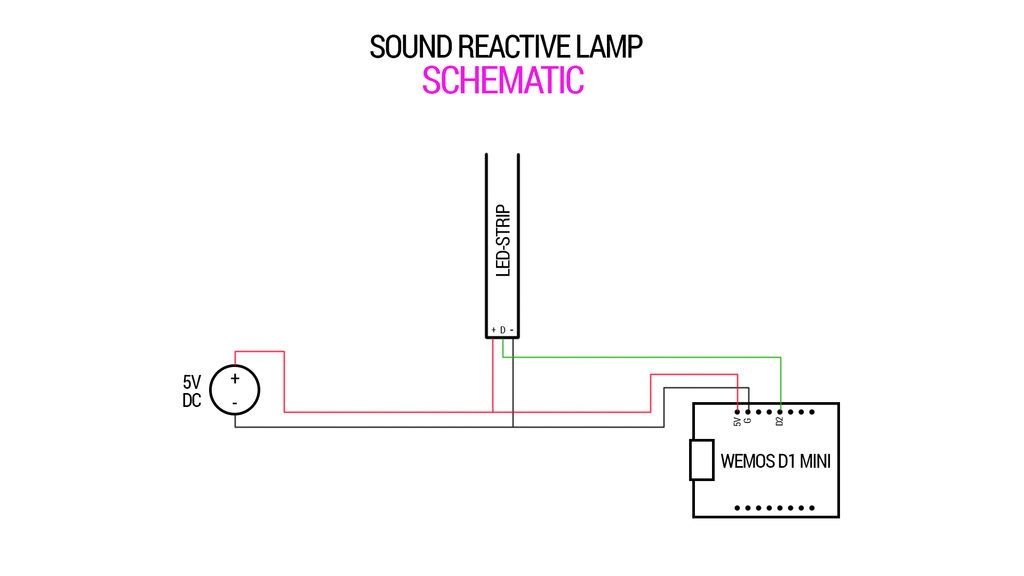
The images show my initial close-ups, and the schematics I ended up using for the lamps and the one I used for the controller.
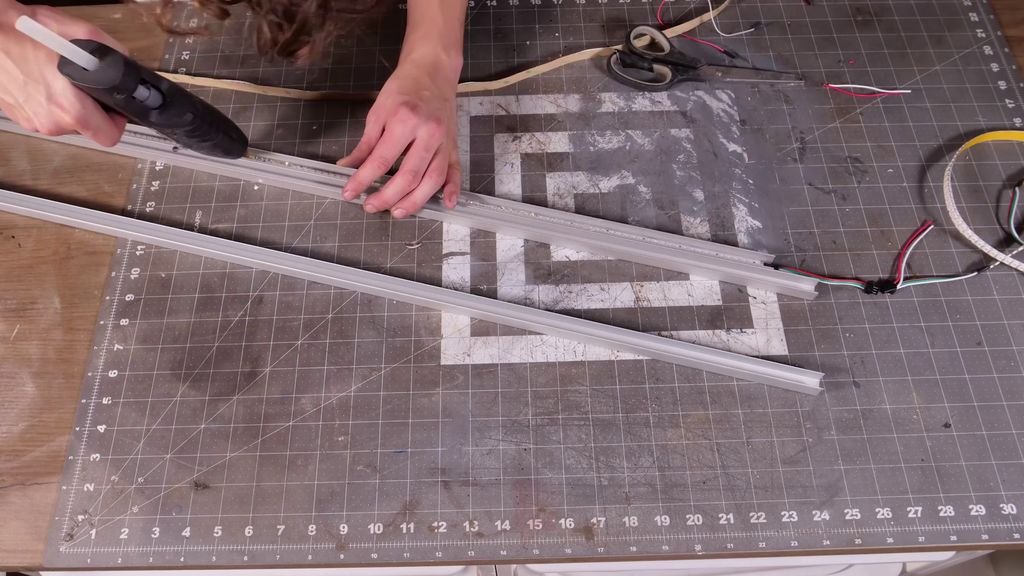
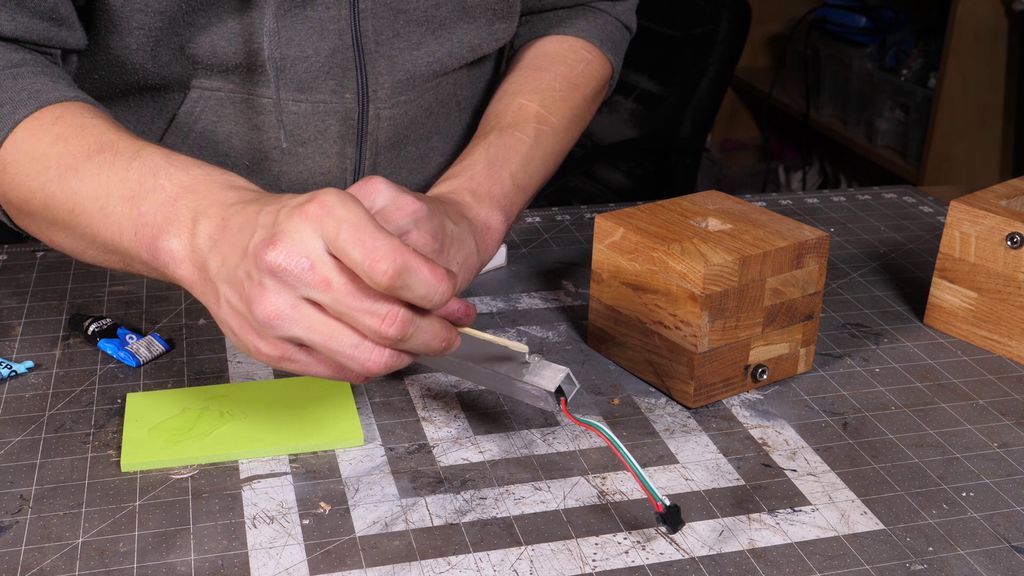
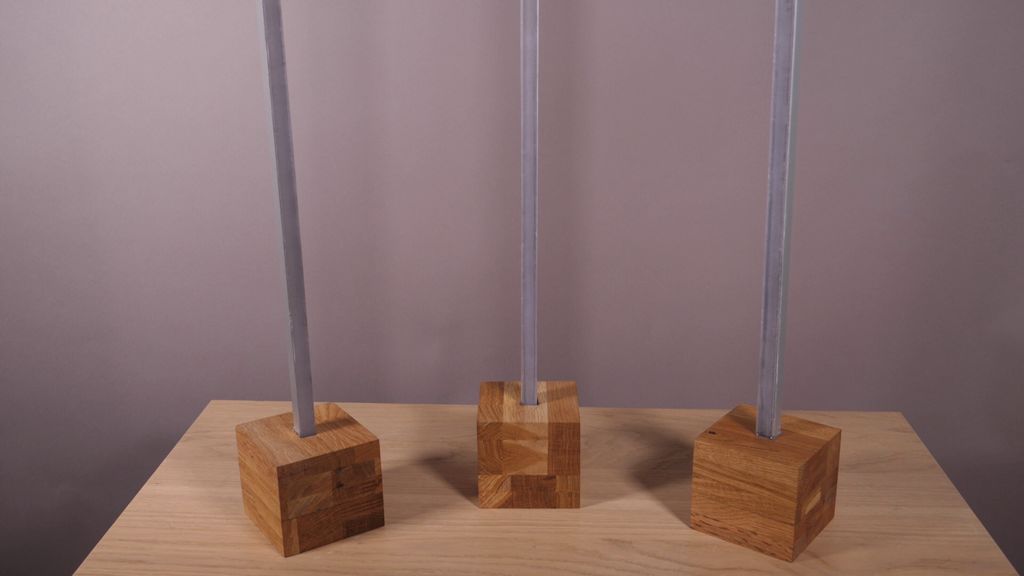
Step 2: Creating the Lamp Fixture
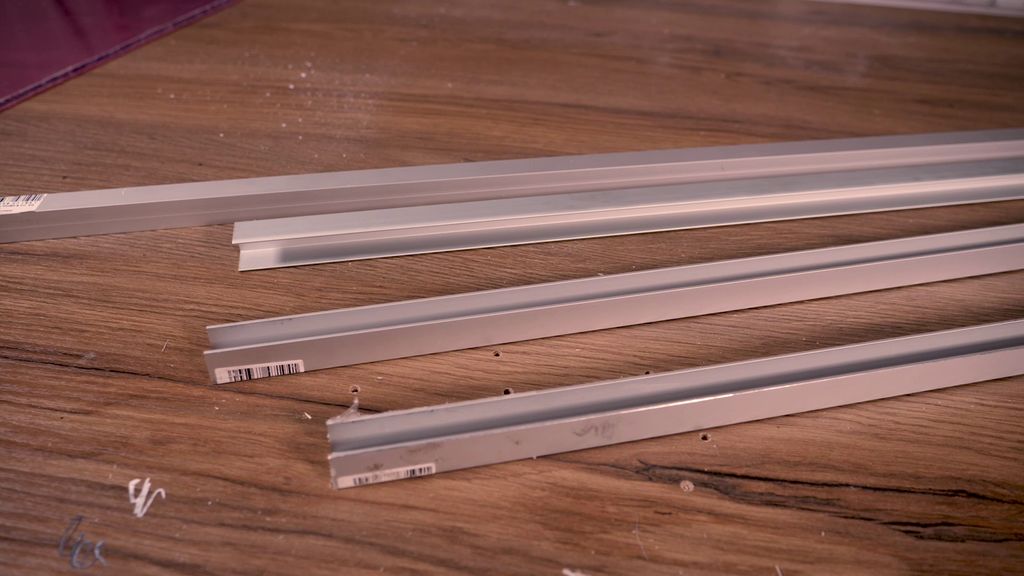
The "accessory" lamp consists of two basic components:
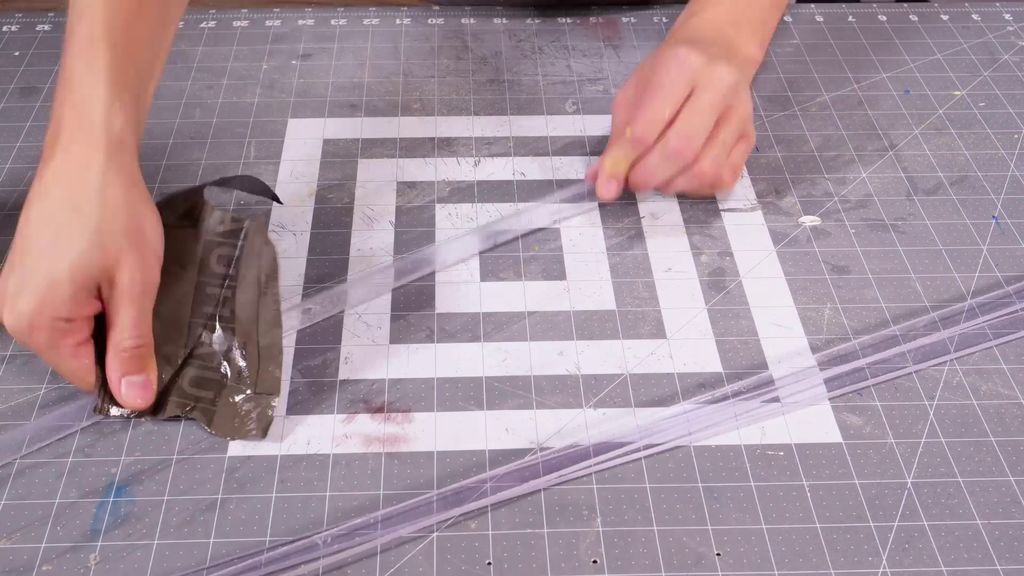
- Aluminum channel to hold the LED strip.
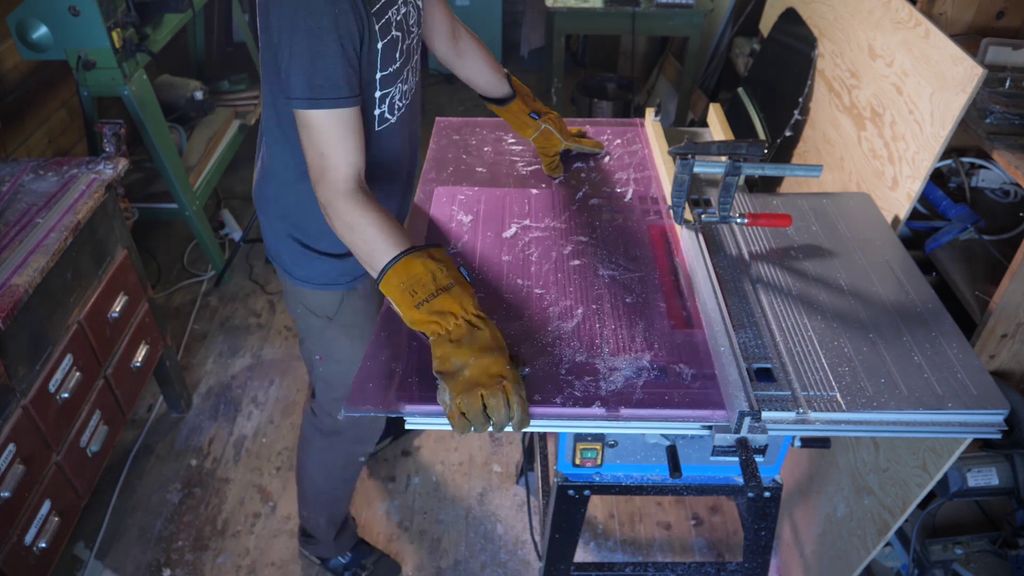
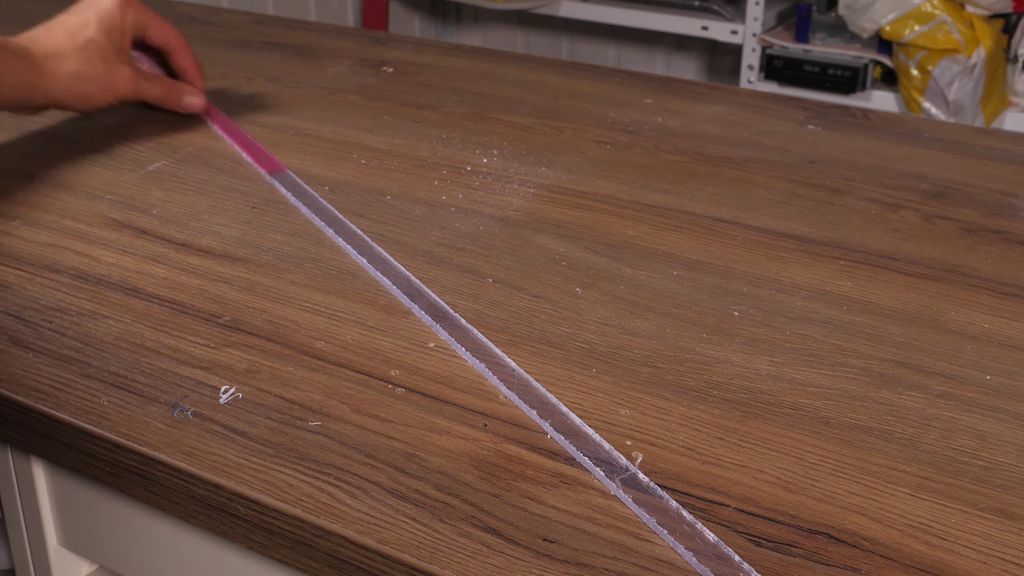
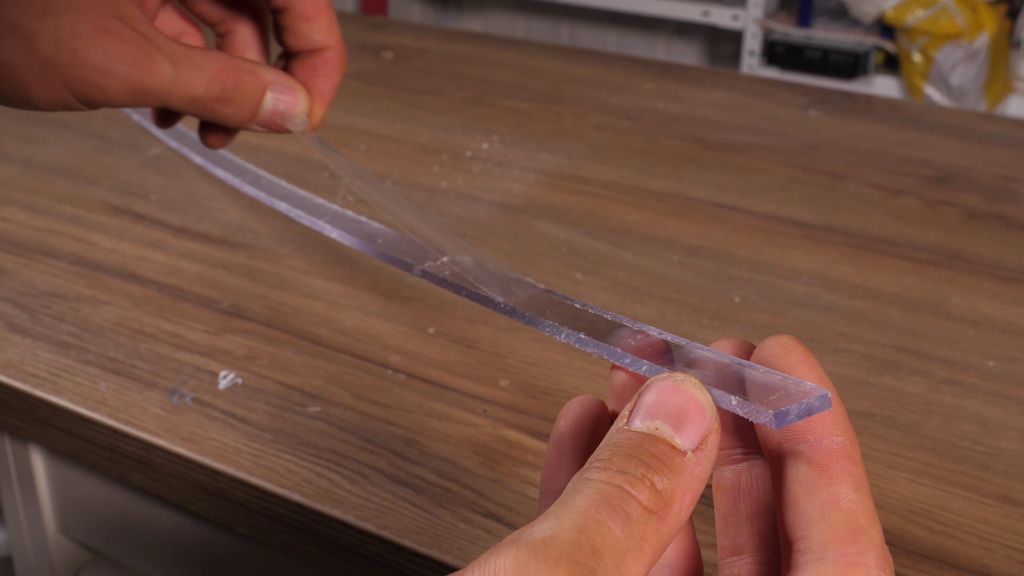
- Acrylic glass to diffuse light.
- The aluminum channels were 1 meter each, and were purchased at a hardware store. The acrylic glass I cut on my table saw the width of the aluminum channel. To get the acrylic to diffuse light, it had to be sanded to get that frosted look and also to smooth out the table saw edges. I started with 80 grit sandpaper and gradually worked my way up to 600.
Step 3: Adding the LED strips

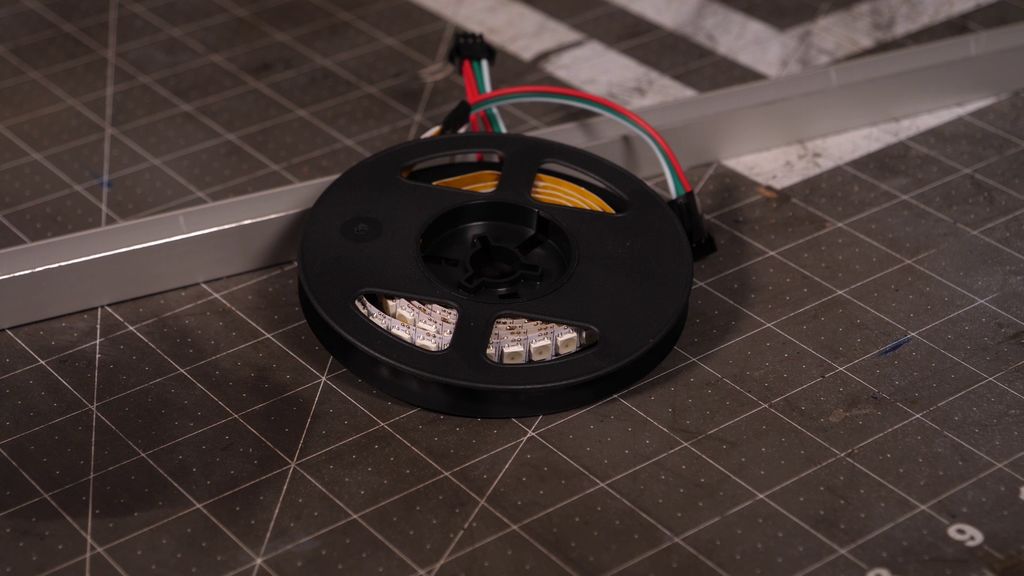
For this special purpose, I am using an individually addressable LED strip, which is also called Neopixel. If you're not familiar with it, it's a type of LED strips that allows you to reference each diode separately. This allows for some fancy things, like giving different diodes different colors, or only illuminating parts of the strip.
I used the adhesive that comes on the back of the strip to attach it to the aluminum channel, along with a little hot glue to make sure it really stuck there.
Step 4: Fastening the acrylic light diffuser
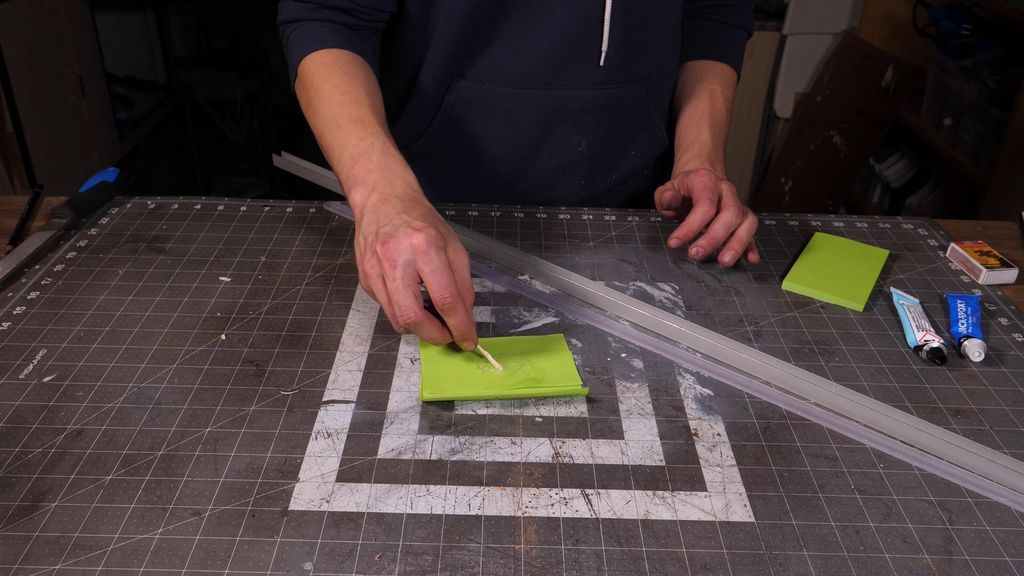
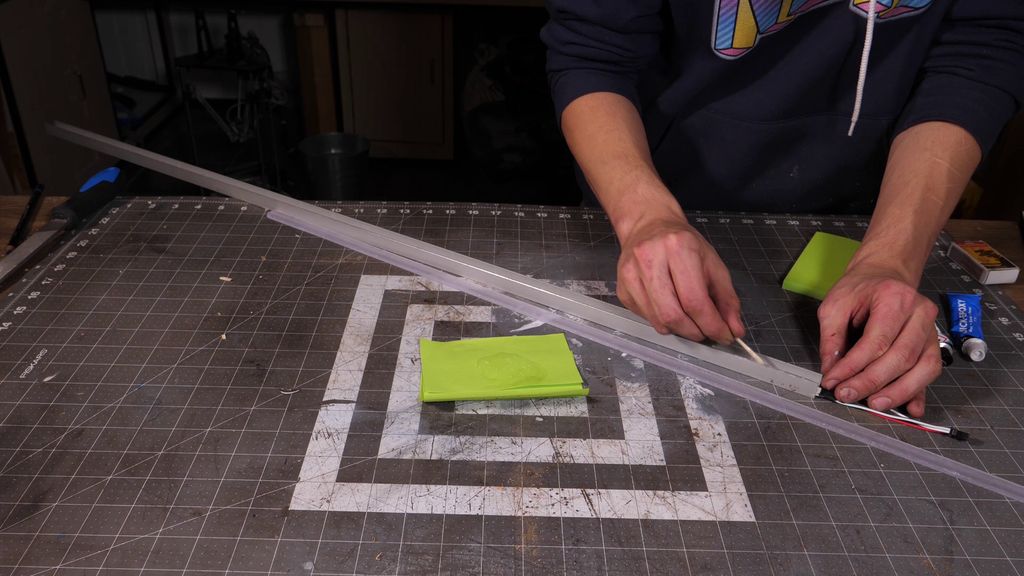
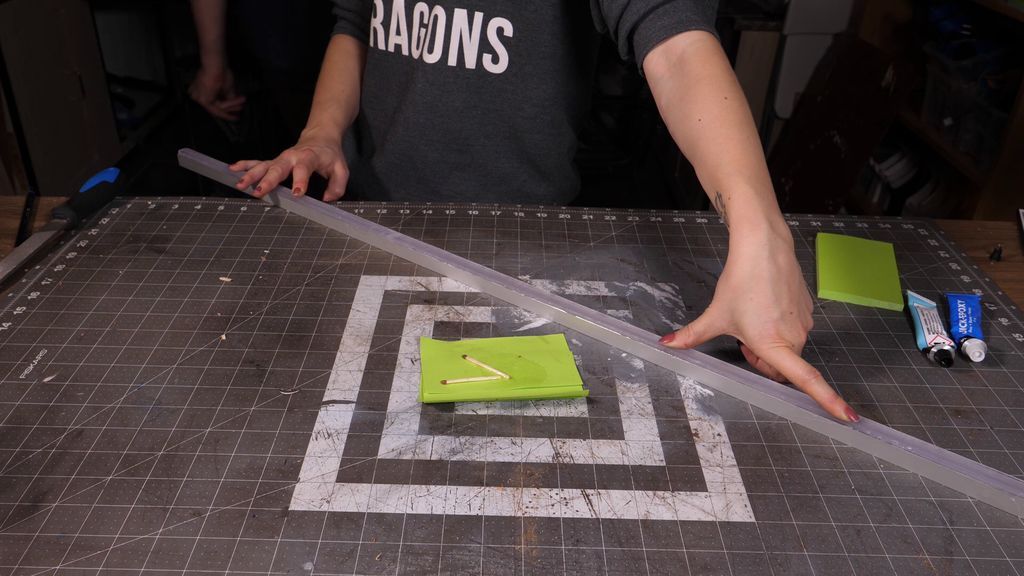
Now we need to attach the acrylic light diffuser to the aluminum light diffuser. This step is more difficult than it seems, since the edges of the aluminum channels are quite thin. The best way I found was to use some quick drying epoxy on the edges and hold it steady for about 5 minutes before putting in some clamps to hold it in place until it was completely dry.
Step 5: Starting the wooden base
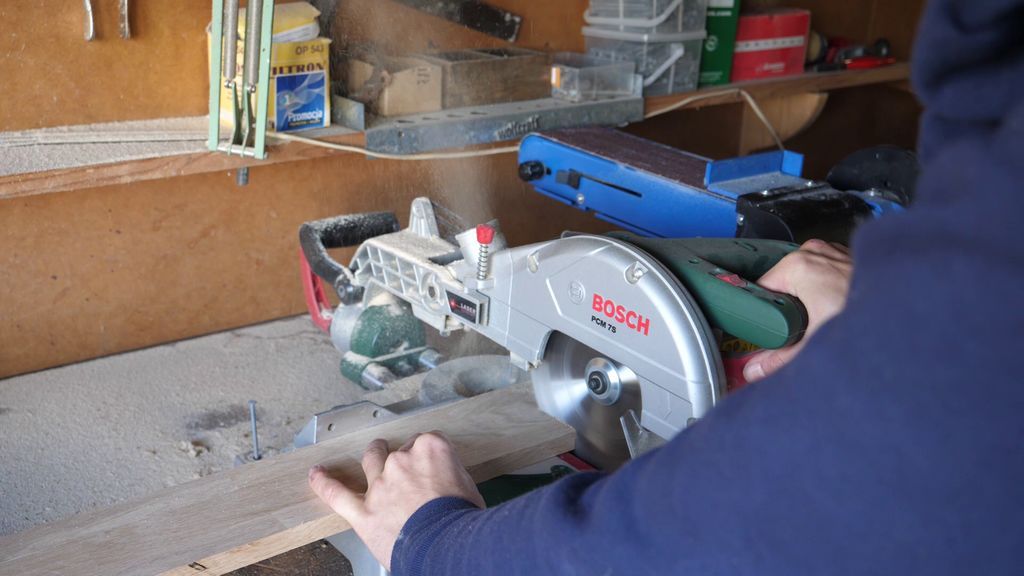
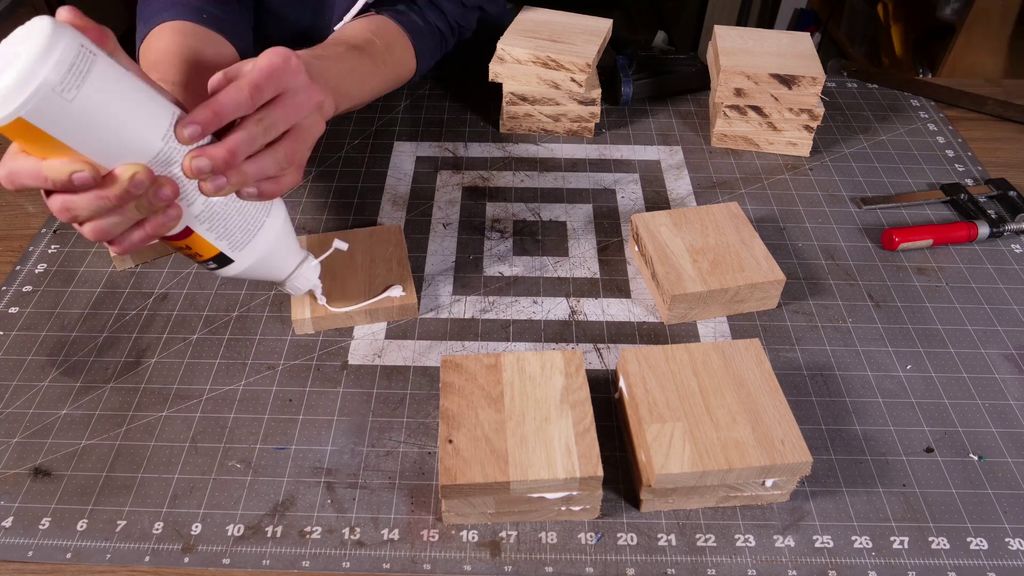
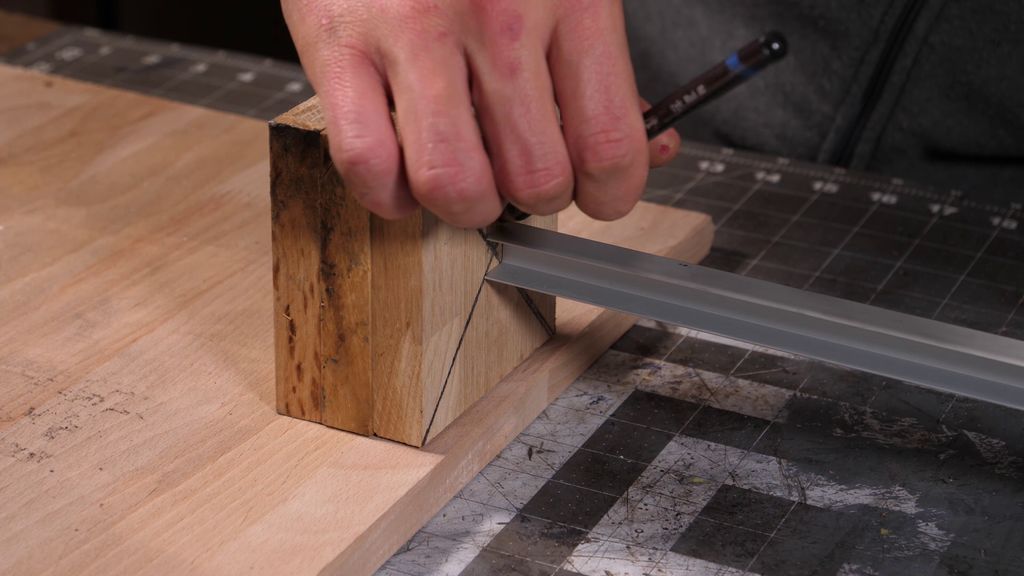


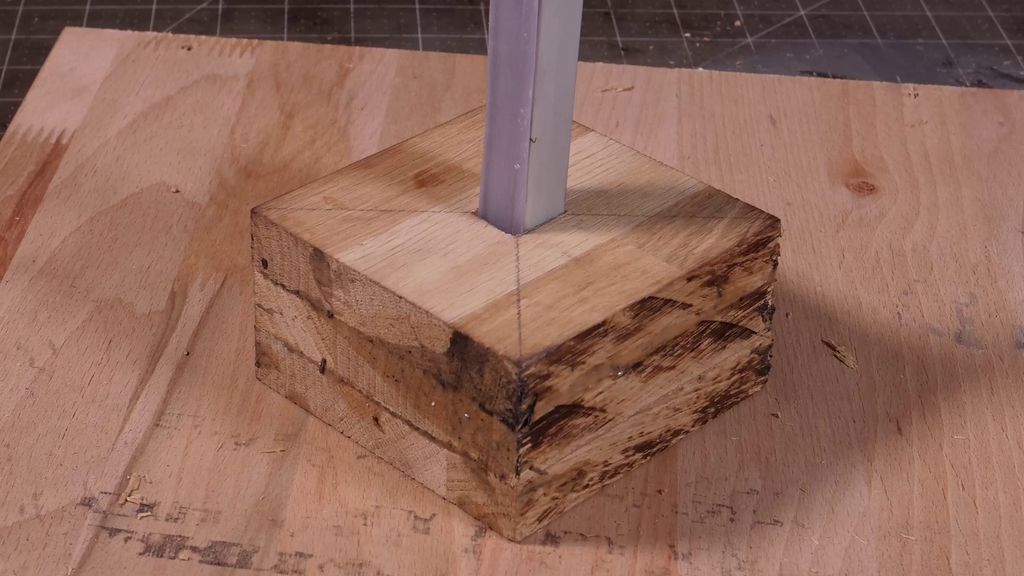
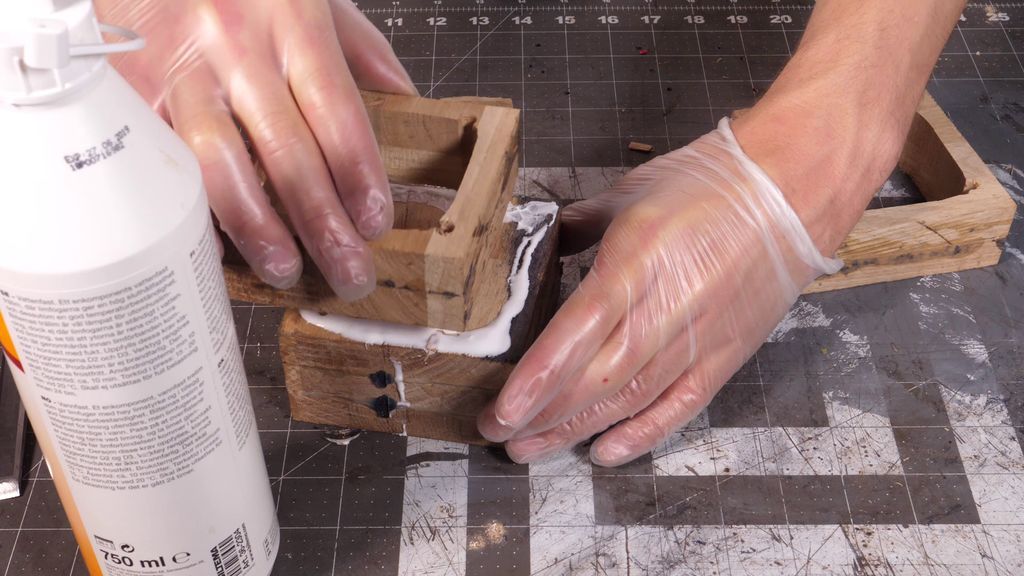
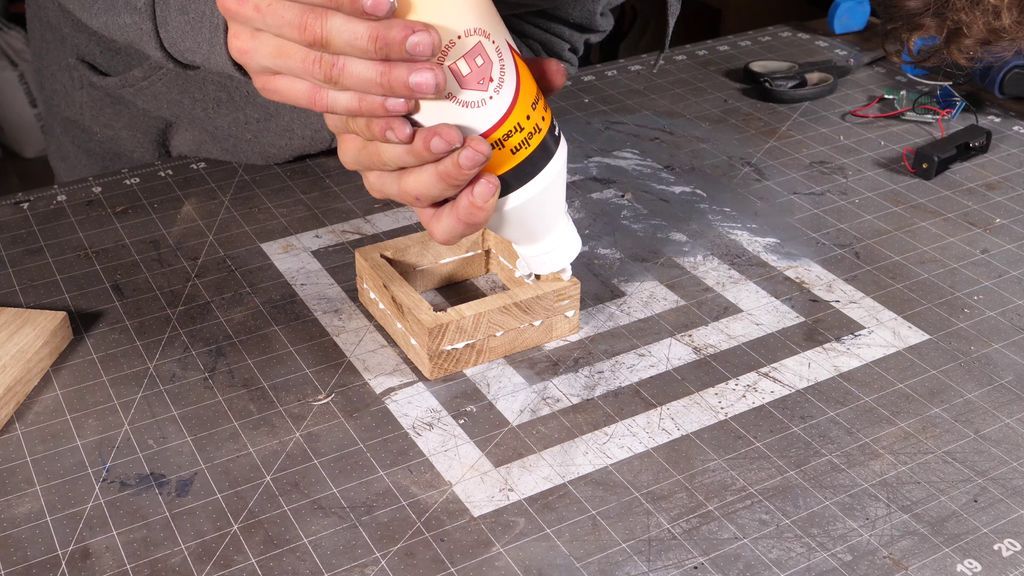
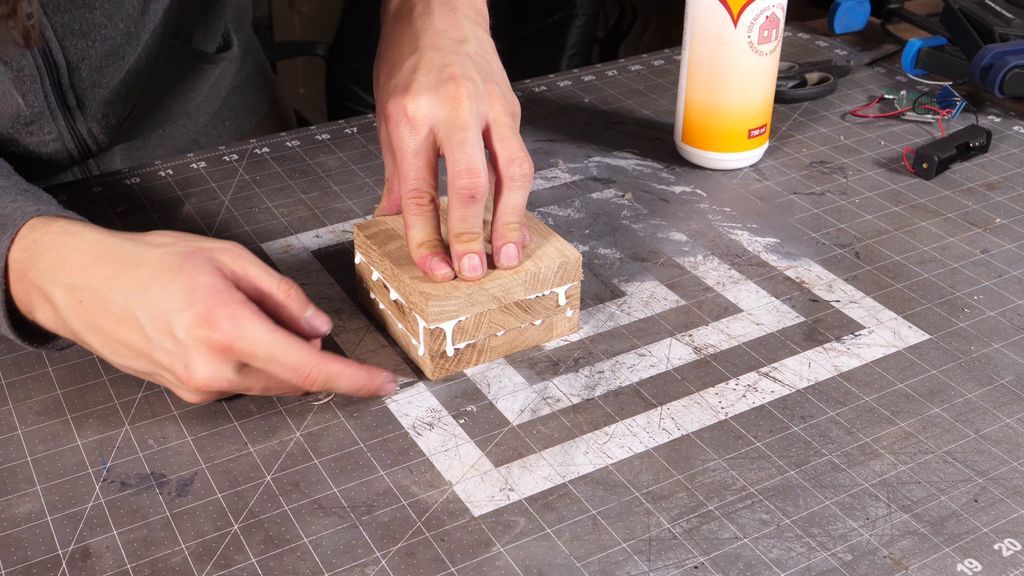
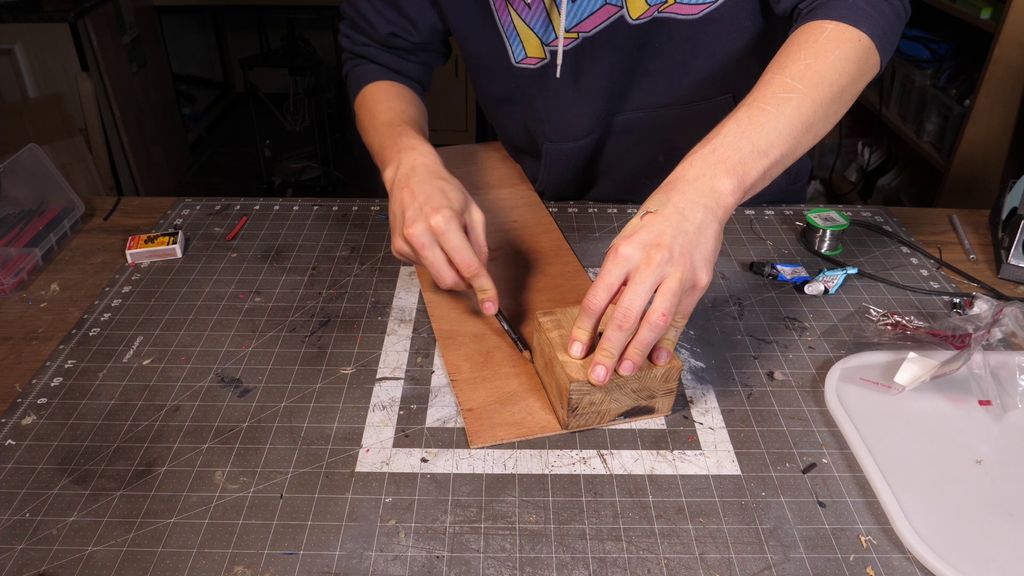
The wooden base will be made from a glued oak board that I bought at the hardware store. Since it is quite thin, I will glue several layers together to make a block. I cut strips of it on the table saw and used the miter saw to cut 10x10cm squares of wood.
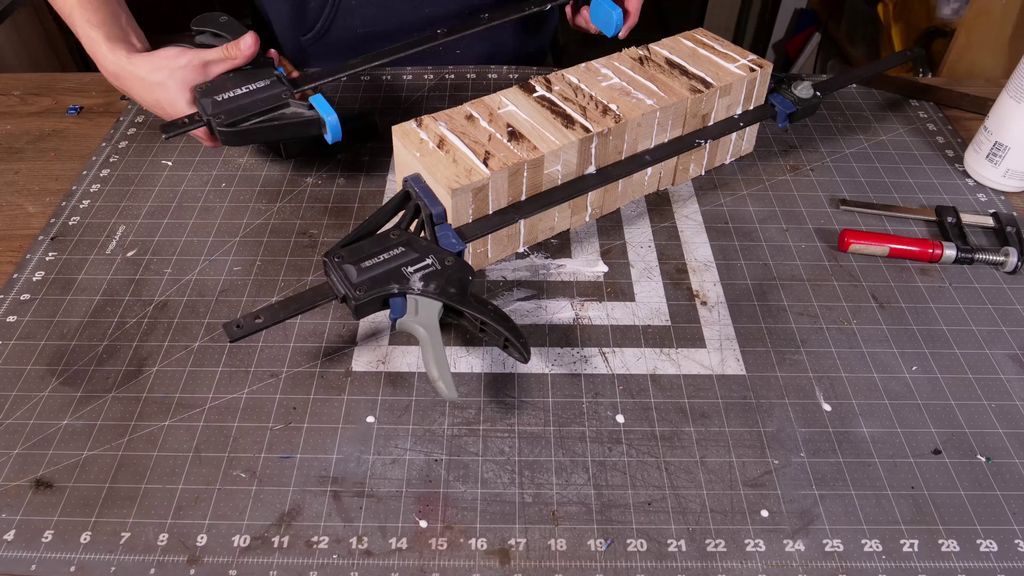
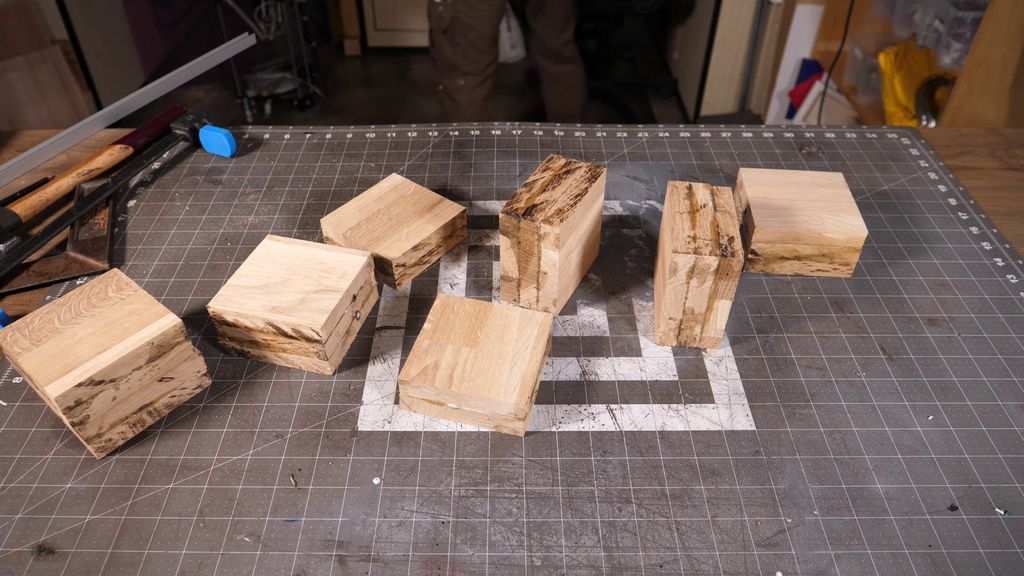
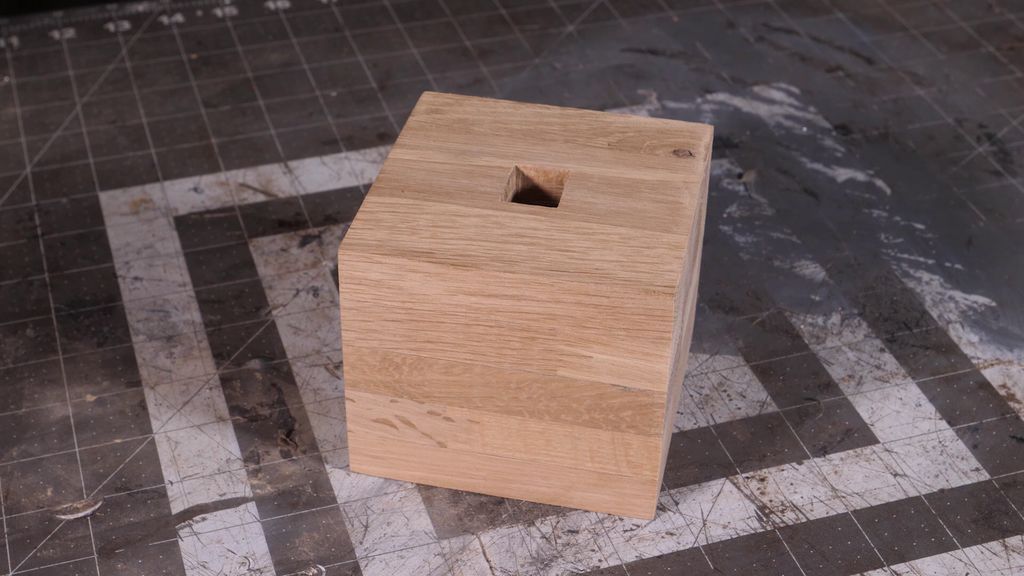
Then I glued pieces of two and pieces of 3 together. Once the glue was dry, I could take the 3 piece block and use a chisel to create a mortise-like hole for the light fixture. It's important here to get a nice, comfortable fit so that the lamp doesn't have a lot of room to move.
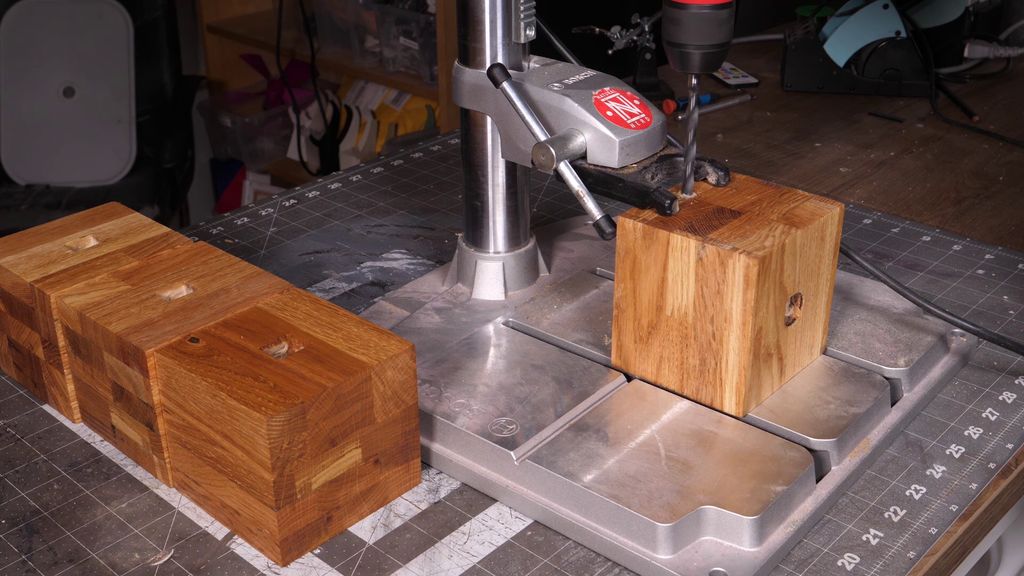
Step 6: Finishing for the wooden base
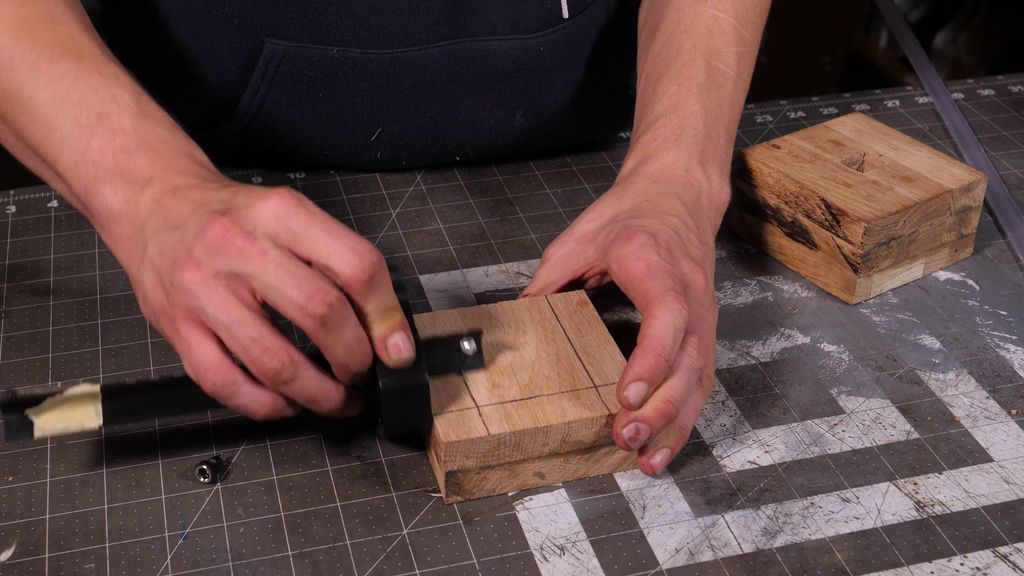

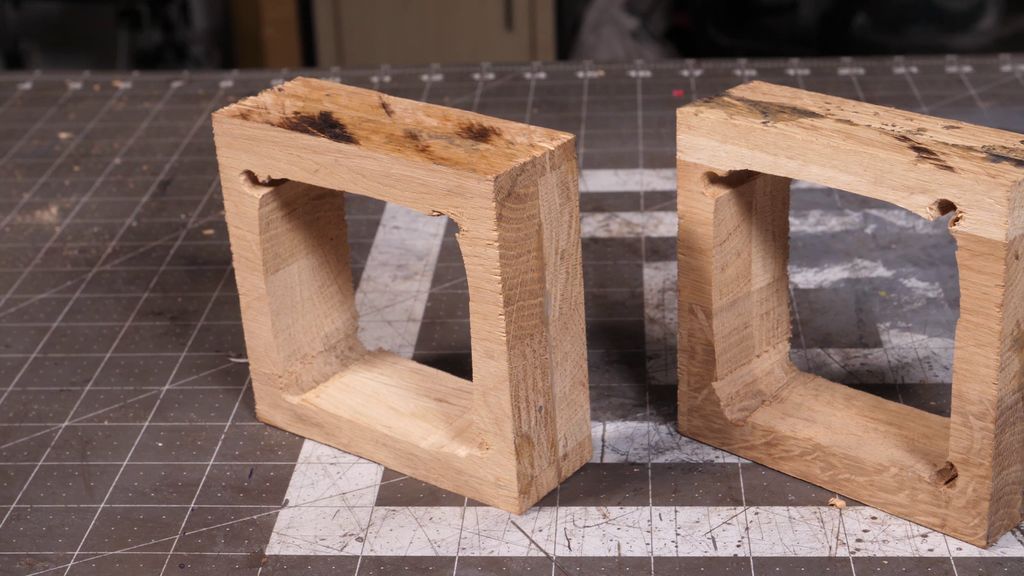
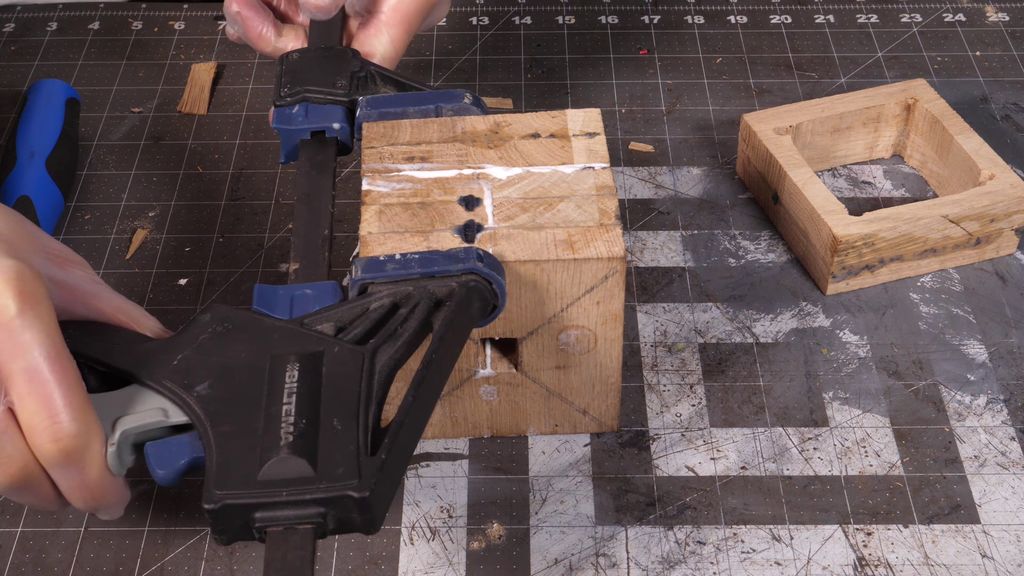
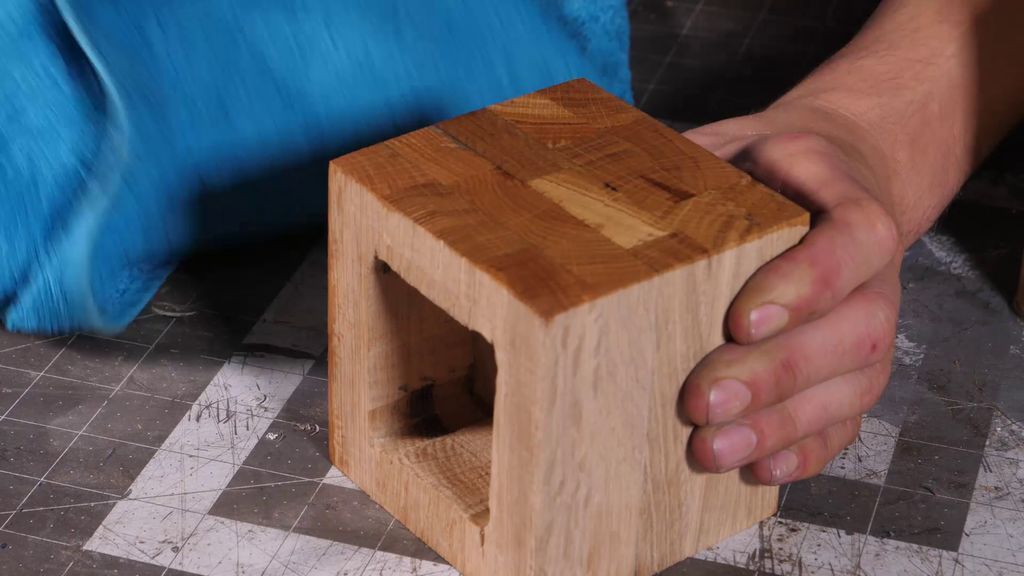
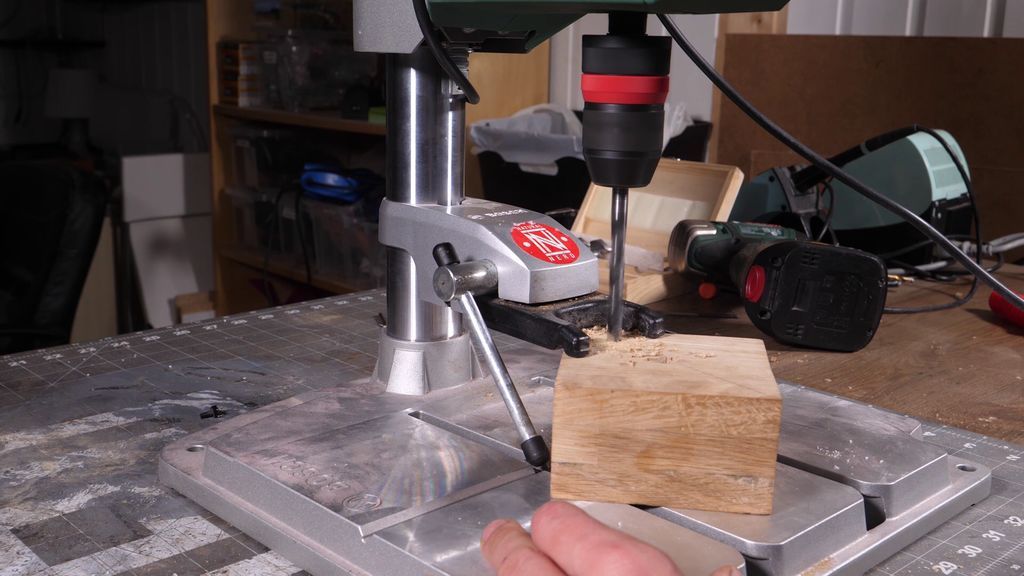
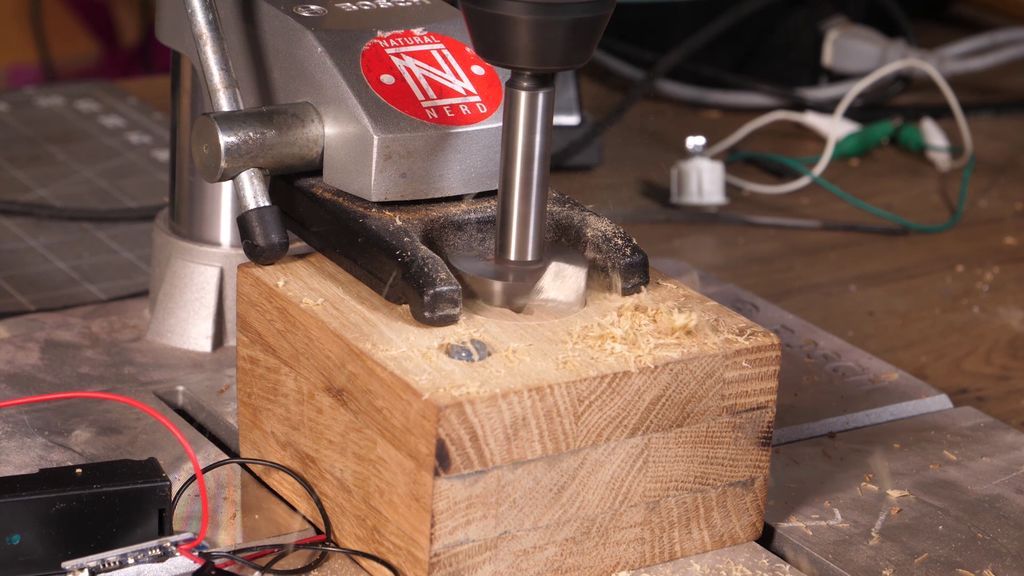
For the second half of the wood base, the piece with 2 layers glued together, I used the drill press to cut holes in each corner. This is so I could set up the saw and cut a square, to make room for the electronics later in the process.
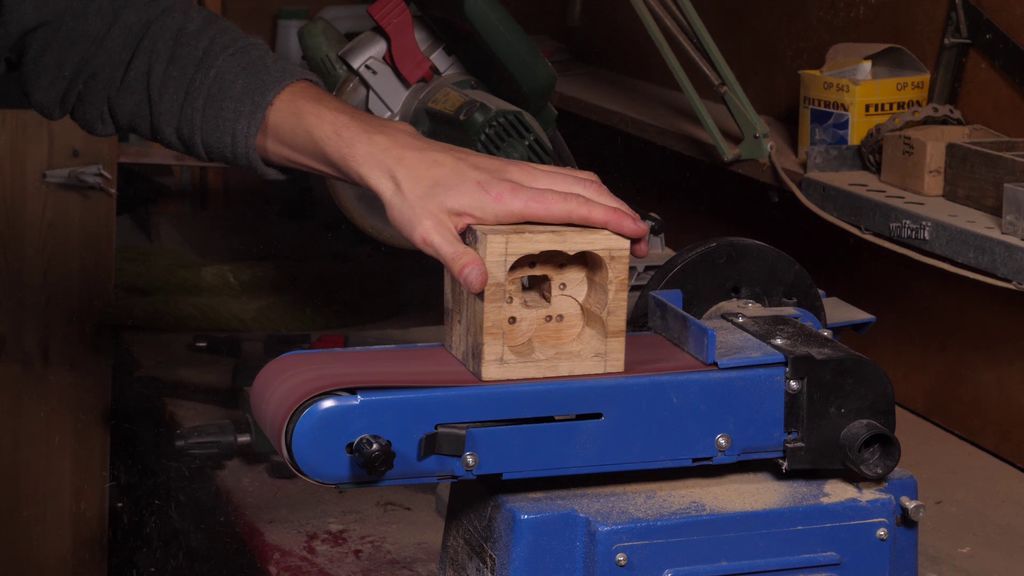
When I finished cutting the top and bottom, I glued them together before sanding them on the belt sander. Finally, I applied a little oil to make the pimple stand out much more.
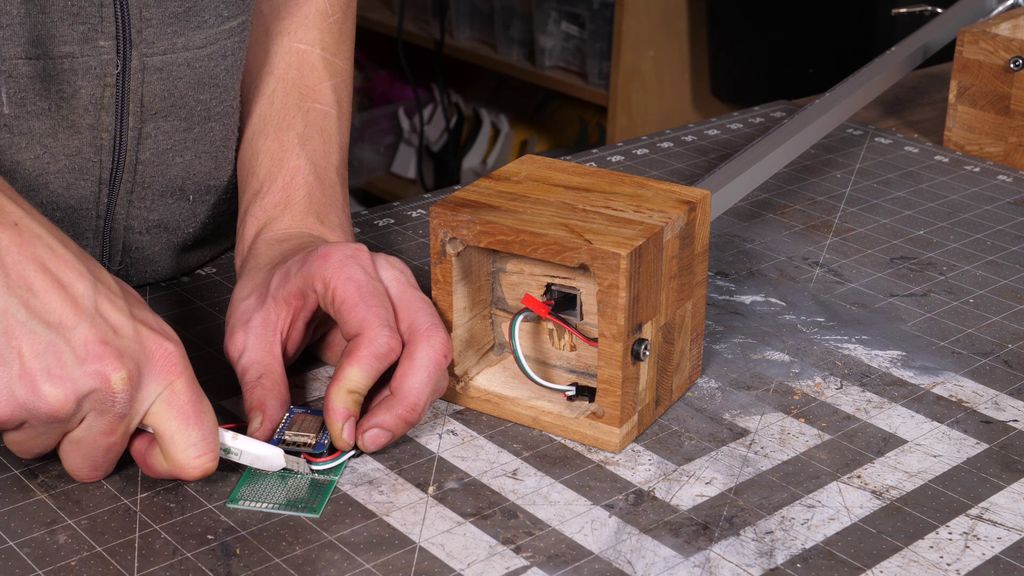
Step 7: The electronics of the lamp
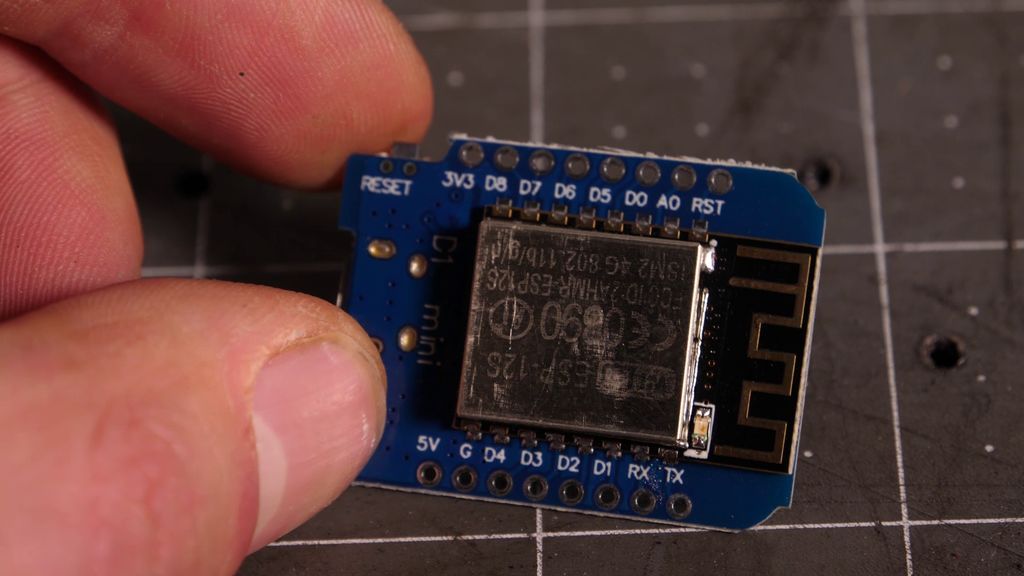
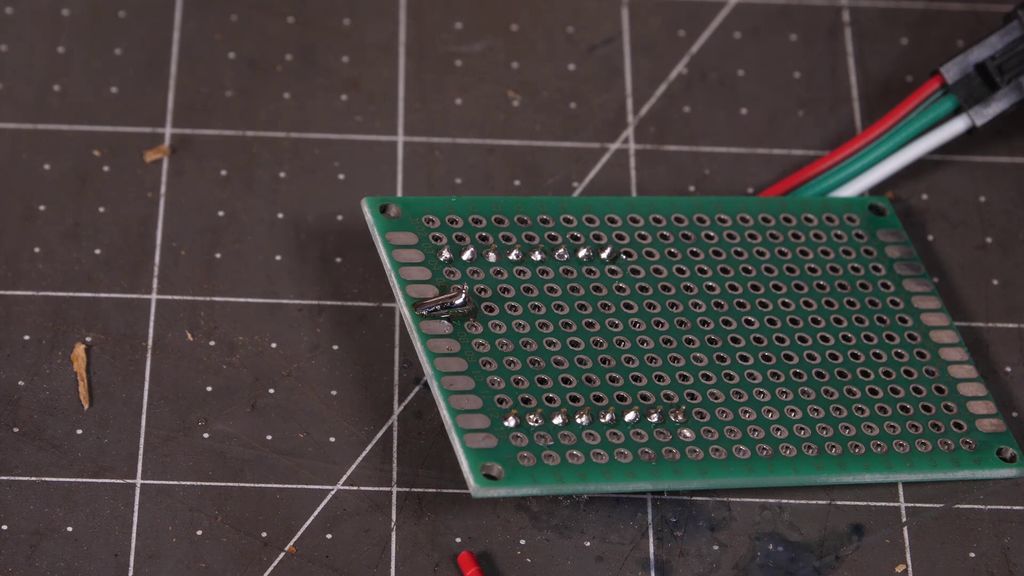
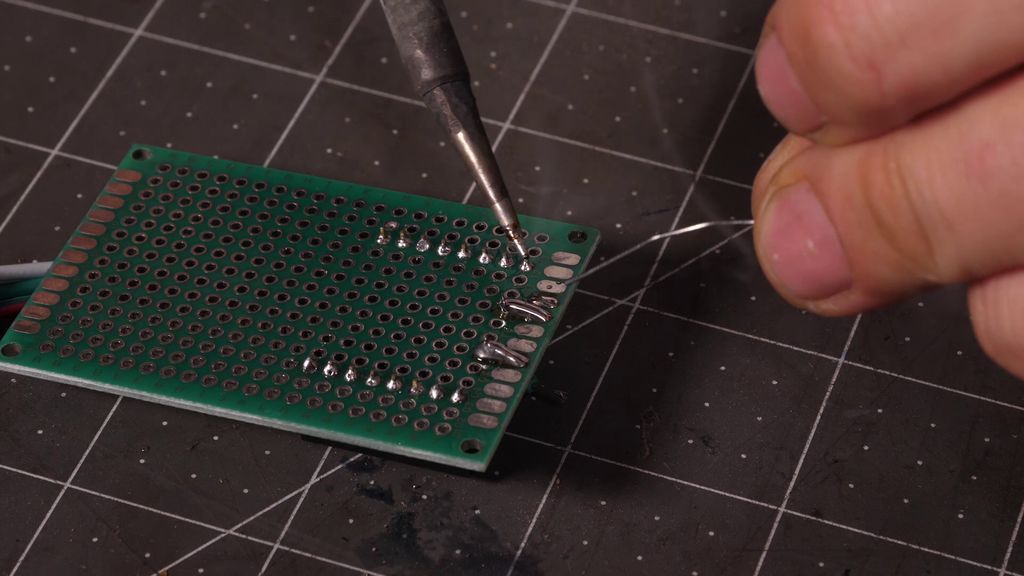
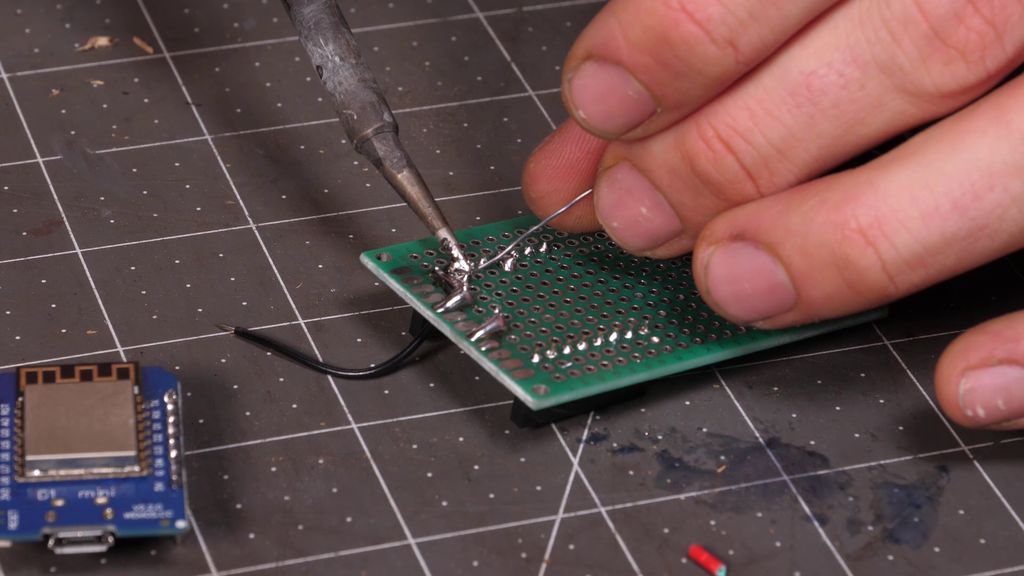
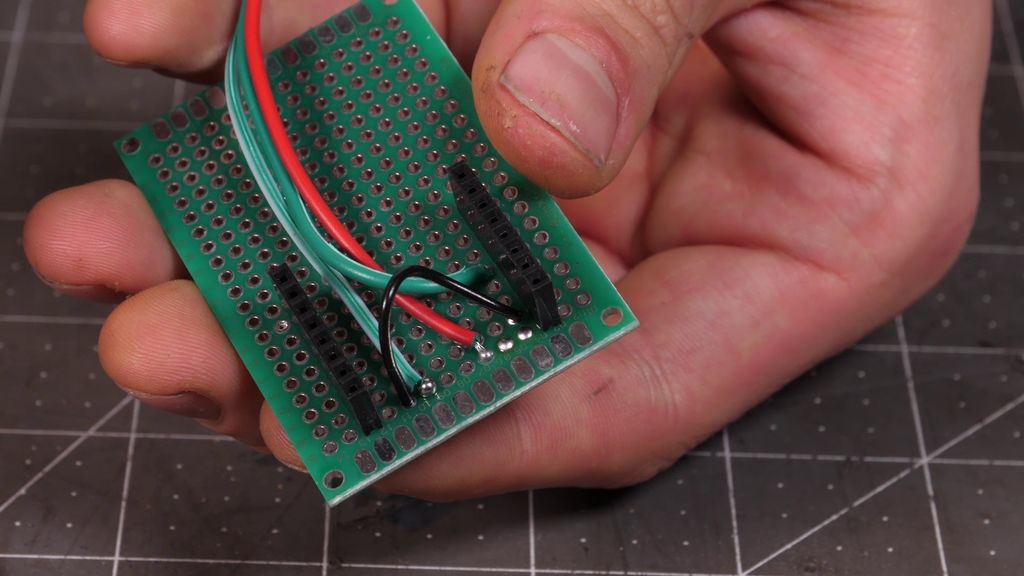

Wired the electronics to the WeMos D1 Mini according to the schematic I made, and then placed most of it on a perf board. I'm using an LED connector to simplify connecting to the LED strip later.
Note: To get the most reliable signal from Wemos to the LED strip, it is really good to use a signal level changer to boost the signal from 3.3 volts to at least 3.5 volts. You can read more about this here.
Personally, it seemed to work fine without it, but I thought I'd mention it in case anyone runs into problems with my schematic.
Step 8: Power Supply


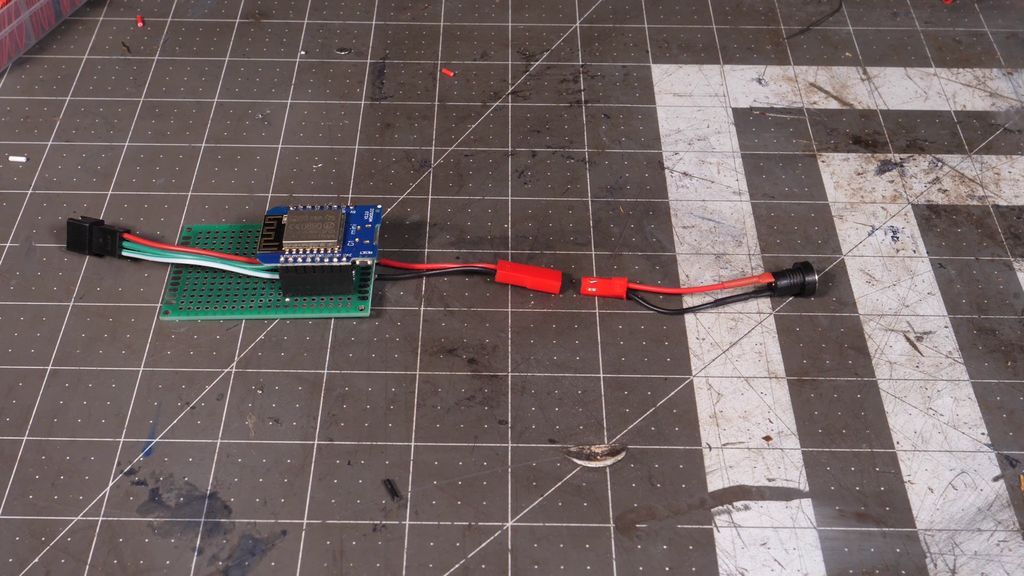
I will be using a 40 watt 5 volt power supply. I used a set of connectors wired to the WeMos and a power plug, soYou could connect the power without any welding, after the plug is inserted into the wooden base in the next step.
Step 9: Add the Power Plug
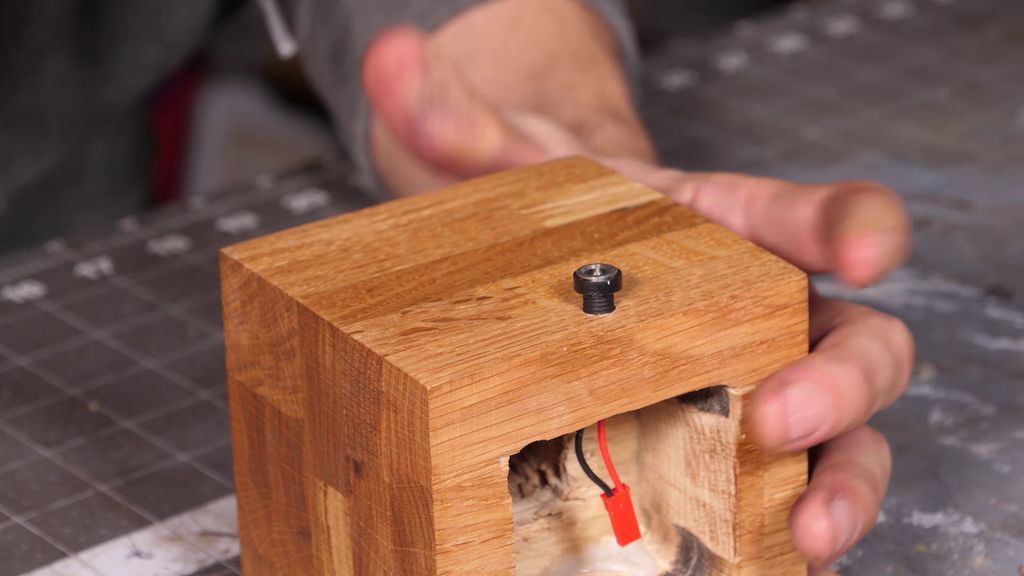
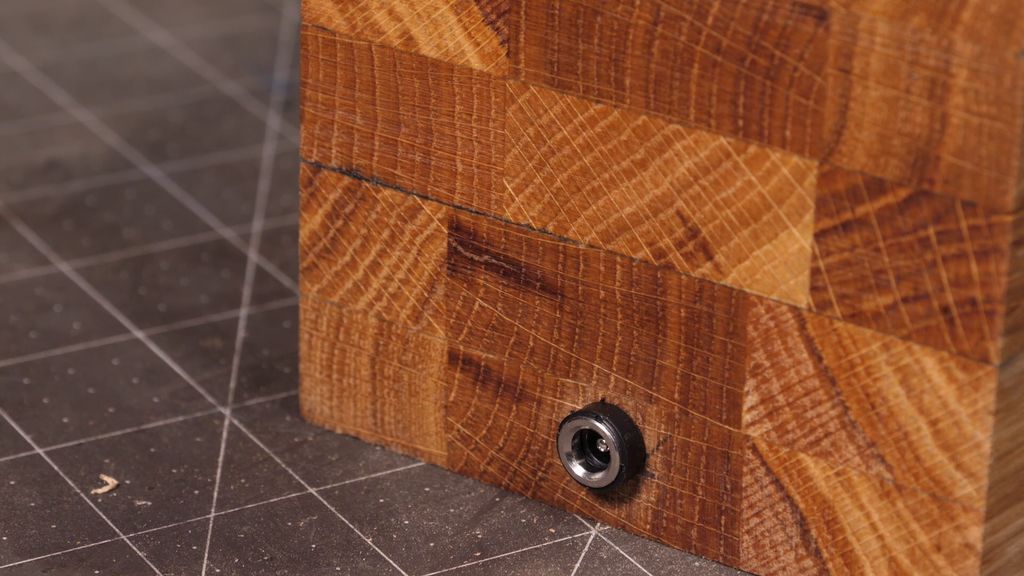
Using a drill with the same size as the bottom of the power plug, I drilled the bottom of the lamp base. Using a mallet I pushed it into place. Now you can see that it will be quite easy to connect the power since we have the power connector already soldered to the socket.
Step 10: Final touches to the lamp
Okay, it's time to add the lamp to the lamp base. For this, I used some quick drying epoxy around the entire fixture, before placing it on the wooden socket. To attach the electronics, I put a small amount of hot glue on the bottom of the profiling board and mounted it with the USB port facing down to make it easier to program. I connected the power connectors together, and the lamps are ready! Next is the controller!
Step 11: The Controller
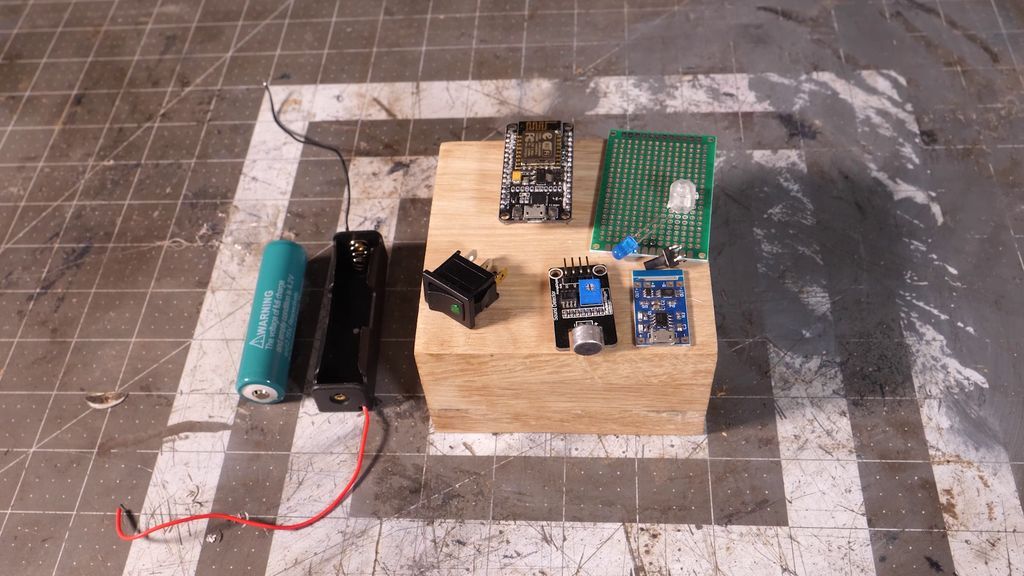

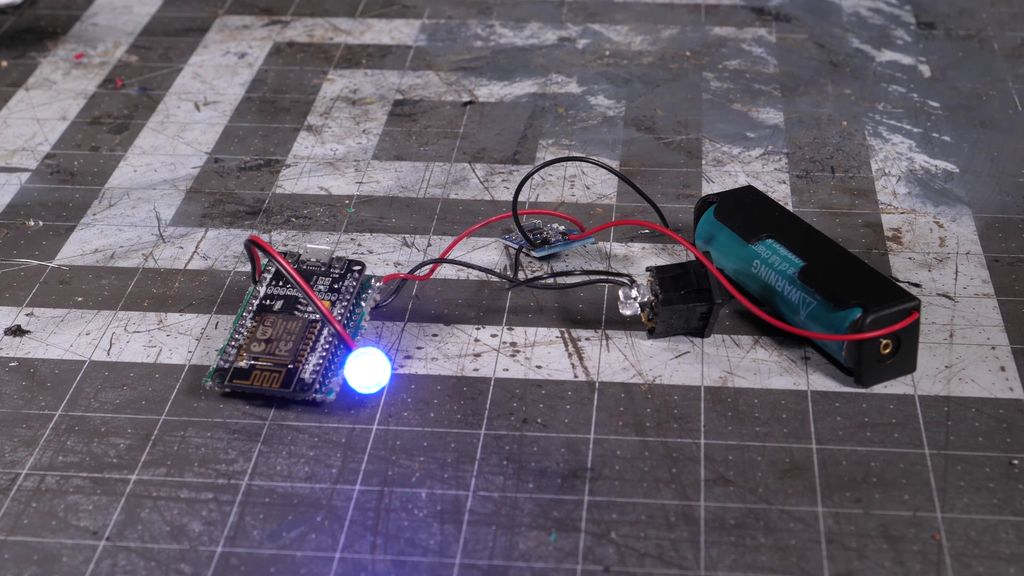
The first image shows all the components I used for the controller. They are all listed at the beginning. I used the same techniques as on the lamp base to create the controller box, except there are only 3 layers of wood, where the bottom 2 is hollowed out and the top 2 is solid. It is important that the hole in the controller is large enough to fit the battery holder!
On the top plate, I traced the microphone stand and drilled a hole with wings that could fit easily.
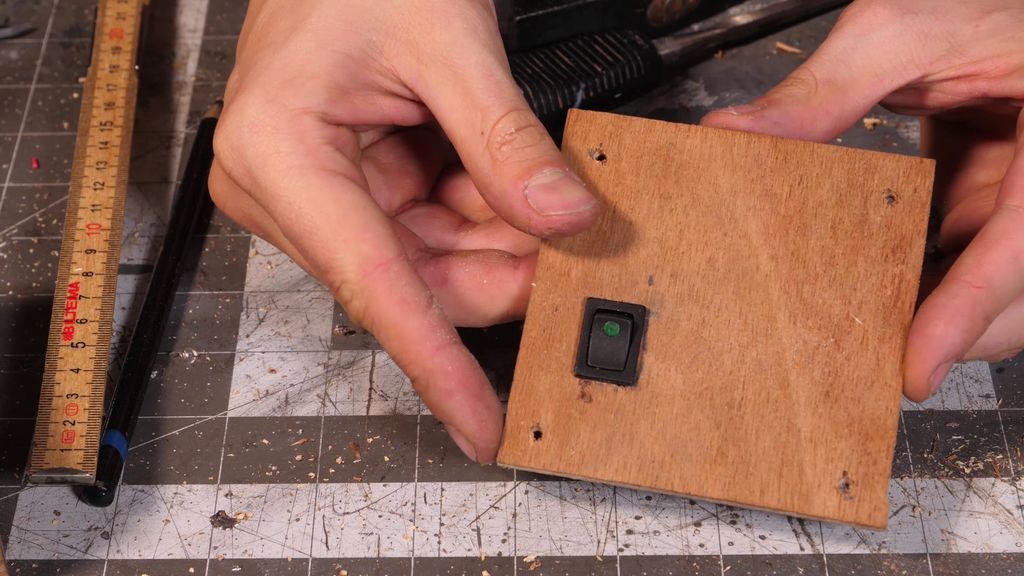
Step 12: The button
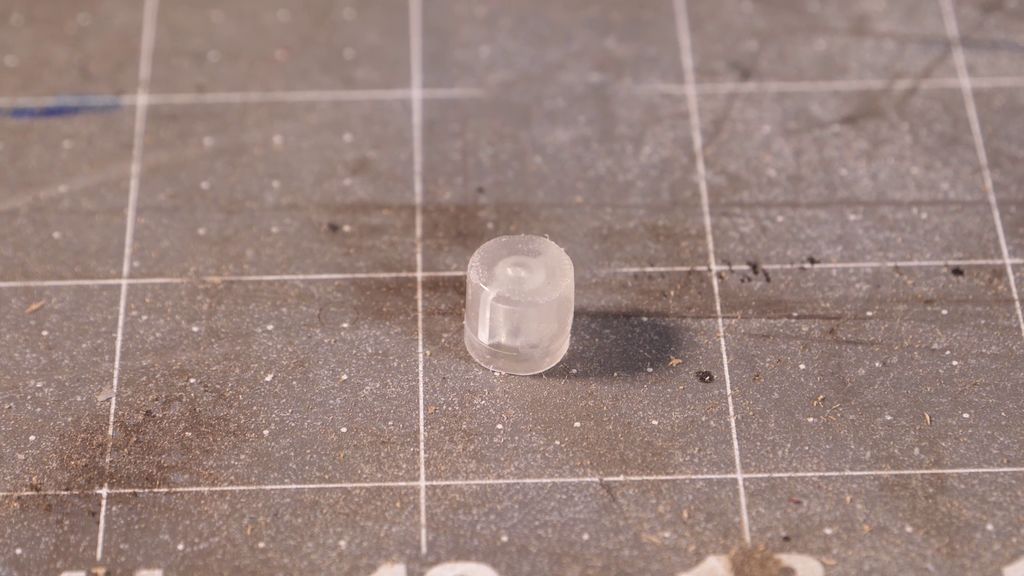
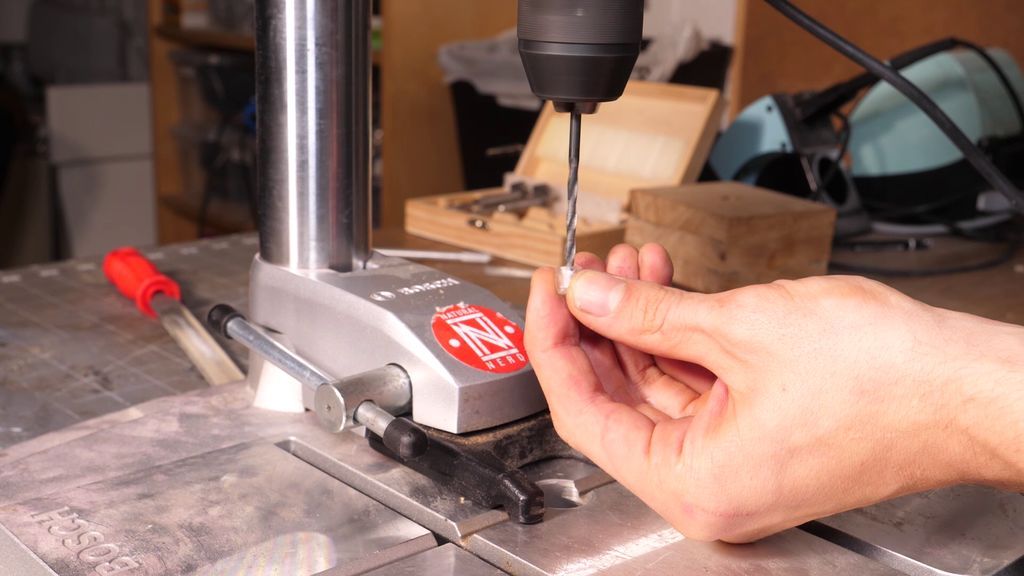
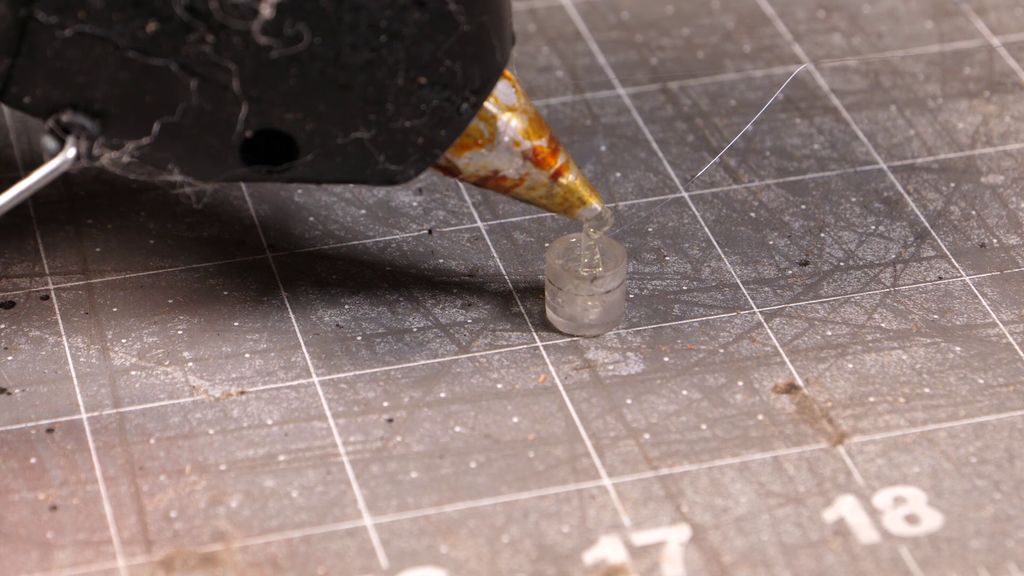
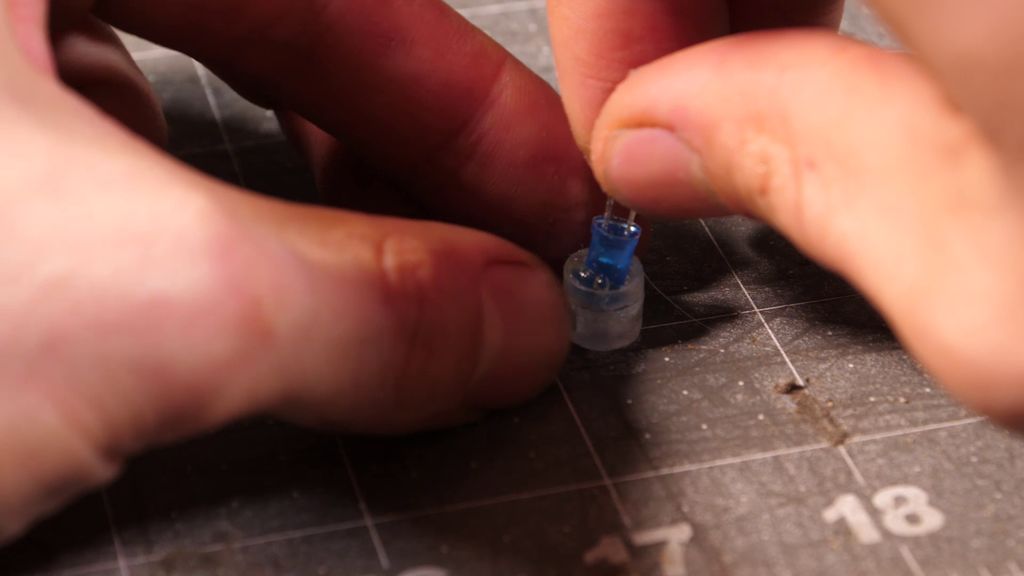


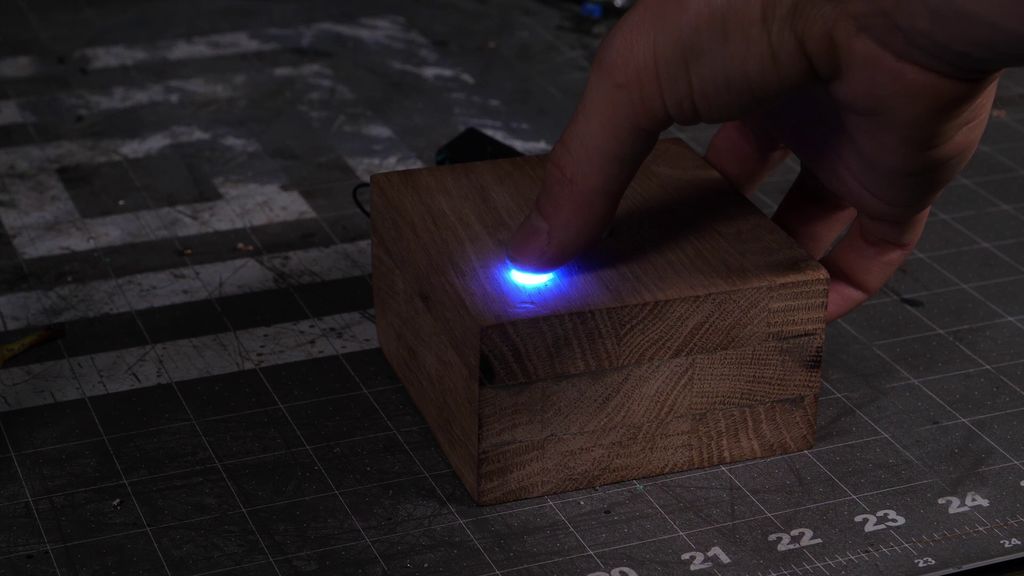
To change the lamp modes and to indicate whether the controller is on or off, we will use a push button illuminated by a blue LED diode. To do this, I used a push button component to provide the electrical interface to the Wi-Fi chip, I sanded down all the irregularities on its surface and drilled a hole in the middle. Then I used some lime glueient to place the LED diode. Using the drill press, I drilled a hole large enough to fit the button comfortably. After soldering the electronic pushbutton component to a piece of perfboard (and according to the schematic at the top), I placed the gameboy button with the LED diode on top of the pushbutton. This way, the gameboy button can be clicked to activate the button it is stuck to.
This assembly was glued into the hole and placed at the bottom, so that the gameboy button was sticking out of the hole.
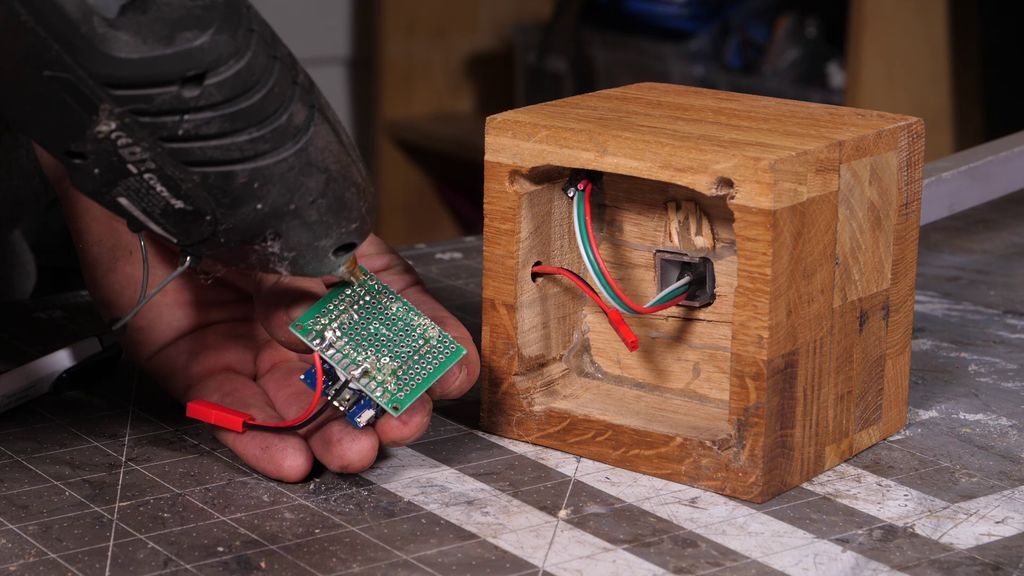
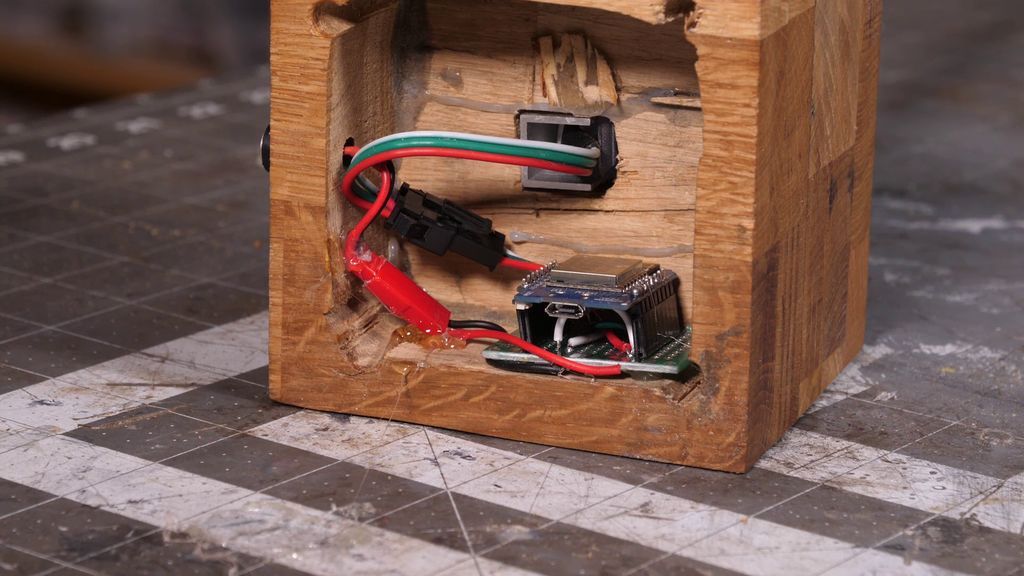
Step 13: Charger module and sound detector
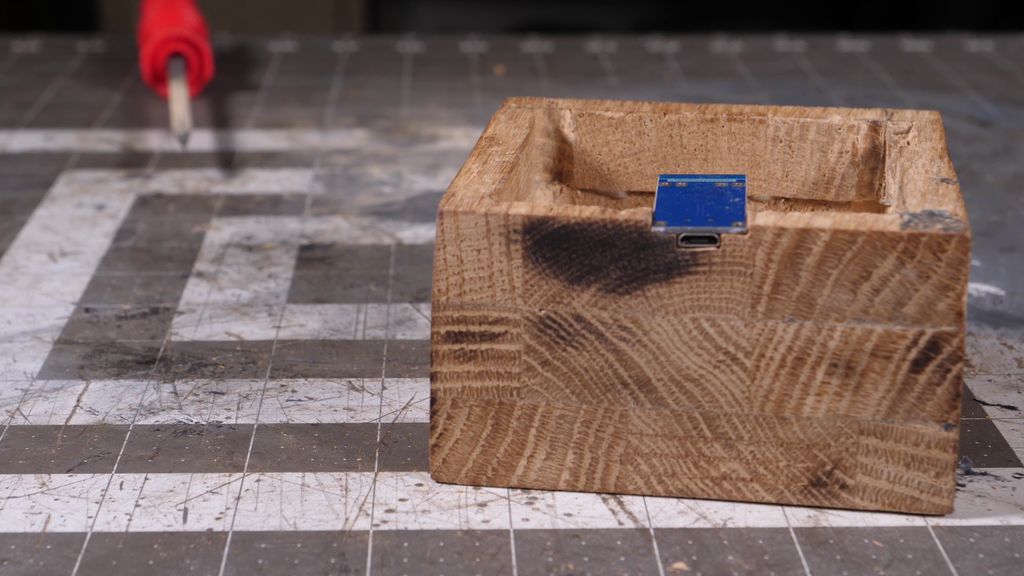
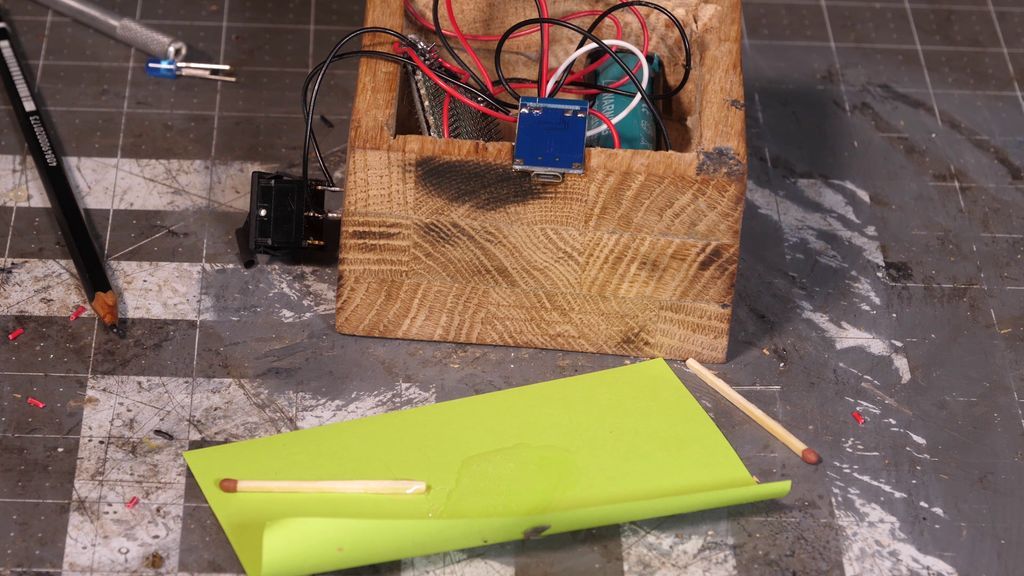
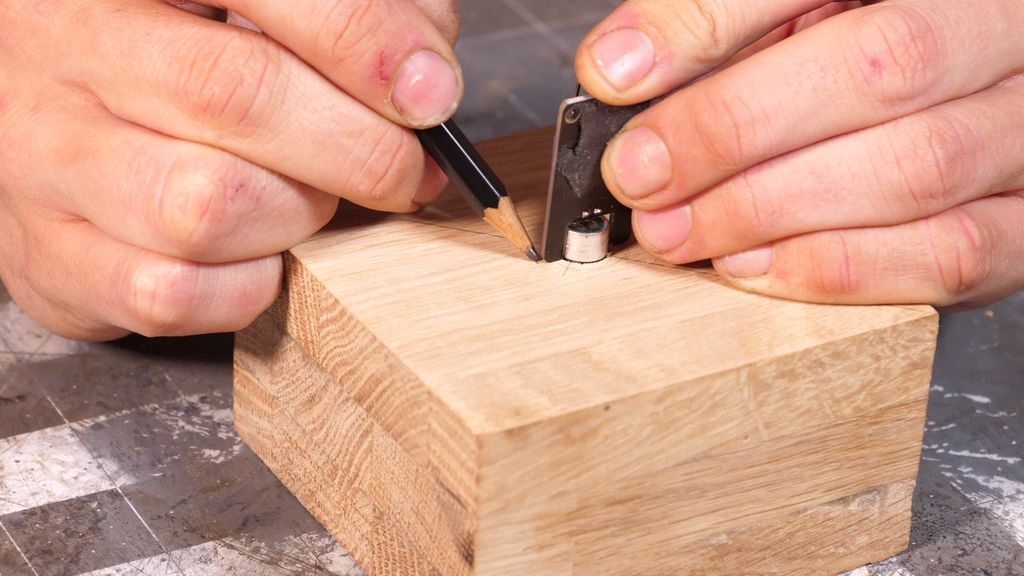
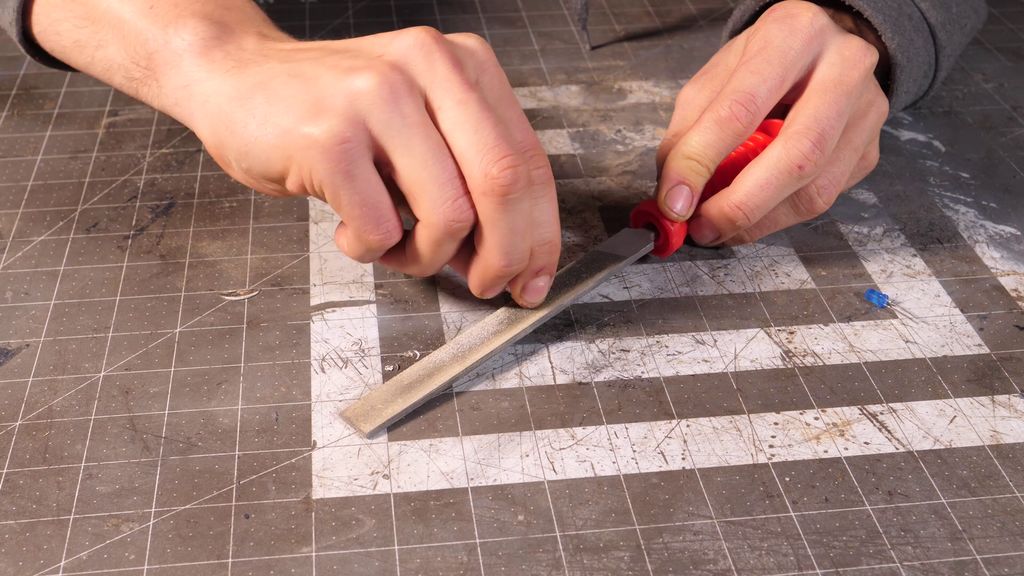
I wanted the charging module to remain flush with the base of the lamp, so I marked its outline and traced it with a pencil. Then I used the chisel to make it flush with the wood. According to the scheme, the battery is connected to the charging module and connected to the Wi-Fi board through the power switch. The LED and push button are connected to the Wi-Fi board. For the sound detector I used some jumper wires and also soldered them to the correct pins on the Wi-Fi board.
I placed all of this inside the box and glued the charging module in place with some quick-drying epoxy.
Step 14: Finalizing the Controller

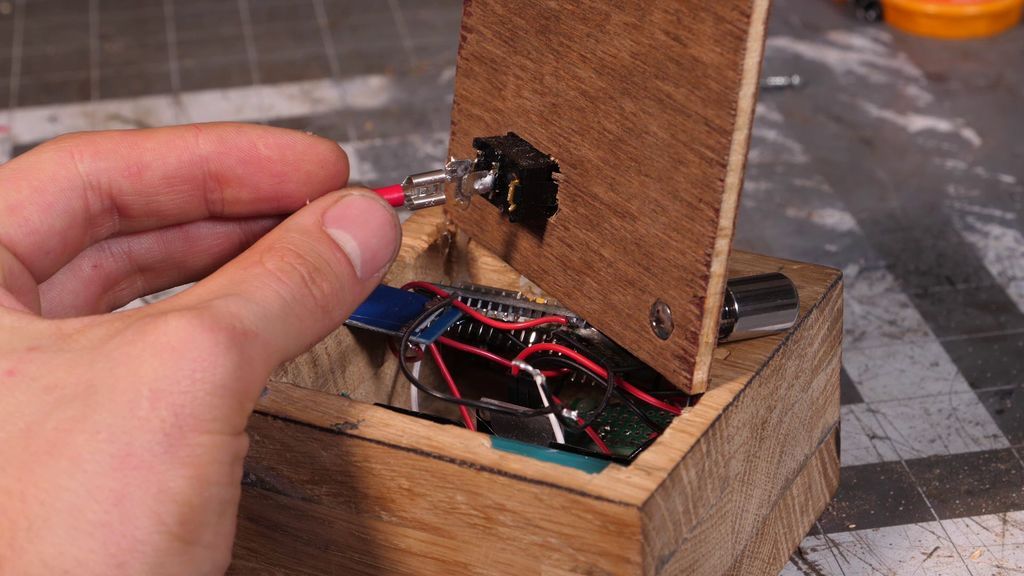
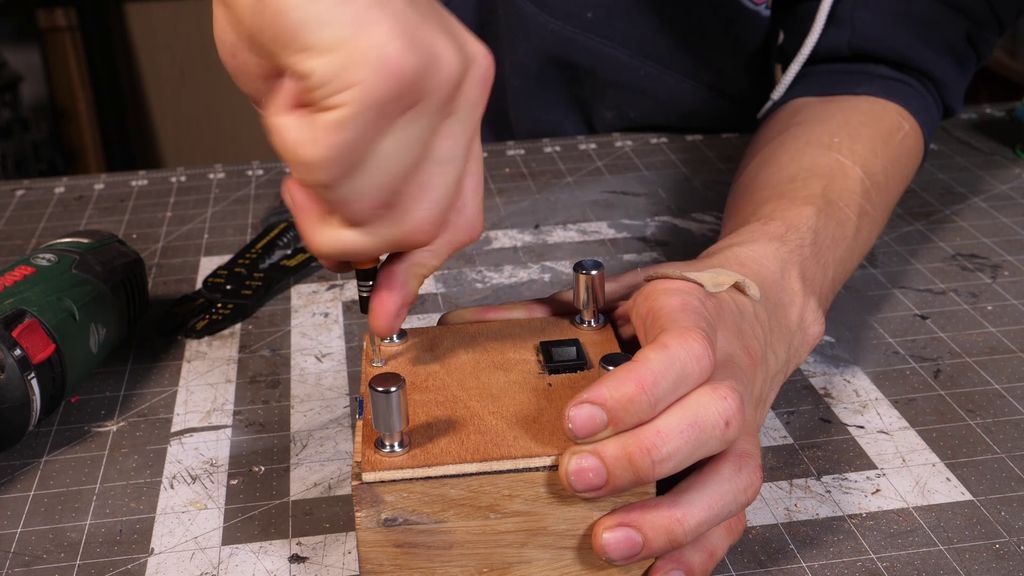

On the top of the controller, I drilled a large dimple in the wood around the microphone module. I'll add some fabric there later to hide the module. To cover the electronics, I traced a piece of veneered balsa to the size of the wood block. I marked the corners where I would put some legs for it to stand on. I also traced the outline of the ignition switch and chiseled a hole for it. It was very satisfying to get the power switch in place!
For the legs, I'm actually using some nice looking drawer knobs. To connect the power switch to the power cables. This makes it easy to disconnect the entire bottom plate if maintenance is needed! I used two small screws to hold the bottom in place, which can be easily removed for quick access and uploading new codes to the Wi-Fi board.
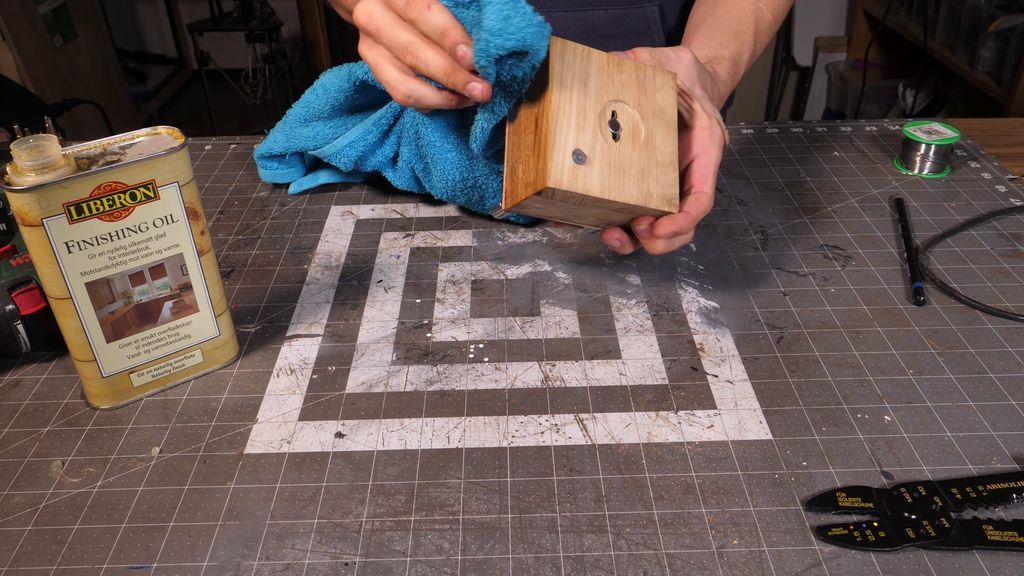
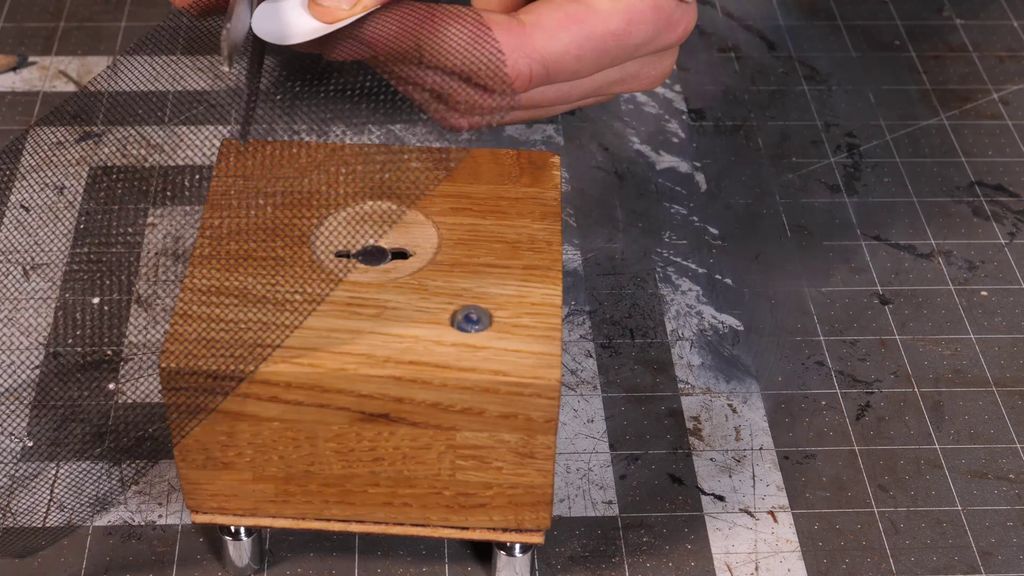
Finally, I added a little oil and cut 3 layers of insect netting to fit the small dimple I punched at the beginning. And the controller is complete, all that's left is to upload the code to the lamps and controller!
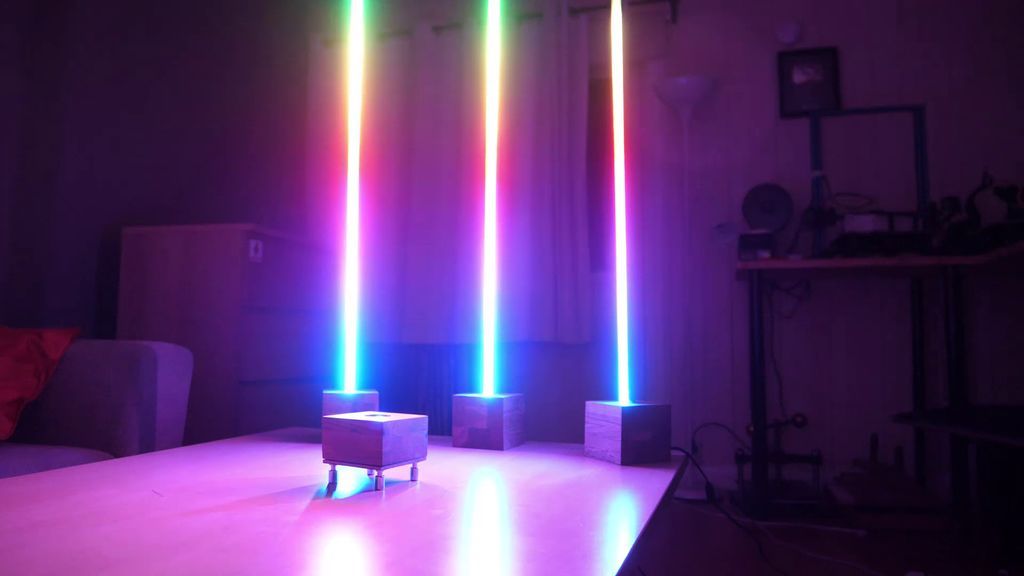
Step 15: Code and finished photos
You can make wireless lamps that react to sound with different measurements.


The code I wrote for this can be seen here: https://github.com/hansjny/Natural-Nerd/tree/maste…
There is a program for the controller and another for the lamps. It's not perfect, so feel free to improve it and come with pull requests.
The basic operating procedure is like this:
- The controller creates a new wireless network and waits for connections.
- The lamps are connected, one by one.
- The controller detects that all lamps have been connected and starts sending data. It has different modes of operation, which can be changed with the click of the button. In sound reactive mode, sends data from the sound detector.
- The lamps receive the data, process it and dance a little. It works quite well.
See you soon!
- Tags
- LED
Popular Content
How to make a rocket stove for outdoors
Cardboard Drawers Lined with Jeans
Ideas and Advantages of Window Grilles for the Home!
Latest Articles
How to make a refrigerator out of insulating material: Practical step-by-step guide
How to make a Kilim for the Home: Complete Step by Step Guide
How to protect ourselves from accidents in our workplace: Complete prevention and safety guide
Related Content
Pallet Furniture Ideas for Storage
Smart Marquetry: The Great Secret of Decoration
Fantastic “S” Shaped Cat House and Tunnels
Great Plywood and Concrete Desk!
Creative Home Decor Ideas to Transform Every Space
Refreshing your home starts with smart design choices that combine comfort, personality, and functionality. Whether you want to modernize a small apartment, upgrade outdoor areas, or create cozy rustic interiors, these trending ideas can completely change the atmosphere of your space.
Outdoor Spaces That Increase Style and Functionality
Outdoor living continues to dominate modern home trends. Homeowners are increasingly investing in practical entertainment zones inspired by these BBQ shed ideas, which create the perfect setup for gatherings and weekend cooking sessions.
First impressions also matter when designing exteriors. Elegant farm entrance gates design ideas help properties stand out while improving privacy and curb appeal.
Compact living solutions are also gaining popularity. These inspiring 16x40 shed house interior design ideas show how smaller spaces can still feel luxurious and functional.
To enhance patios and entryways, homeowners are adding stylish protection with these creative porch awning exterior DIY ideas that blend aesthetics with practicality.

Rustic and Cozy Interior Design Trends
Warm and natural interiors remain timeless. These charming rustic decor ideas combine wood textures, vintage accents, and earthy tones to create welcoming spaces.
Bedrooms are becoming more personalized with curated wall arrangements. Many homeowners use these stylish picture wall ideas for bedroom spaces to display memories and artwork creatively.
Textured wall treatments are another major trend. Installing a board and batten wall adds architectural character while keeping interiors elegant and modern.
Similarly, bold accent wall ideas can instantly transform plain rooms into eye-catching focal points without requiring a full renovation.
Smart Kitchen and Organization Inspiration
Functional kitchens are essential for modern homes. These practical kitchen wall cabinet ideas maximize storage while maintaining a clean and stylish appearance.
Organization also starts at the entrance. Well-designed mud room ideas help families keep shoes, coats, and daily essentials neatly arranged.
Colorful and Personalized Home Styling
Vibrant interiors are becoming increasingly popular thanks to playful dopamine decor ideas that use bright colors and joyful accessories to improve mood and energy.
Gallery walls also continue to evolve as a major decorative feature. These trendy gallery wall inspiration ideas offer creative ways to combine prints, photos, and statement art.
Young renters and new homeowners are especially embracing these stylish first apartment aesthetic ideas to create sophisticated interiors on a budget.
Finally, selecting the right shades can dramatically influence any room’s atmosphere. These modern trendy color ideas help homeowners choose palettes that feel fresh, elegant, and timeless.
Final Thoughts
From rustic charm and colorful interiors to outdoor entertaining areas and functional storage solutions, today’s home decor trends focus on creating spaces that feel both beautiful and livable. By combining smart layouts, modern textures, and personalized decorative elements, any home can become more stylish, comfortable, and inspiring.


