


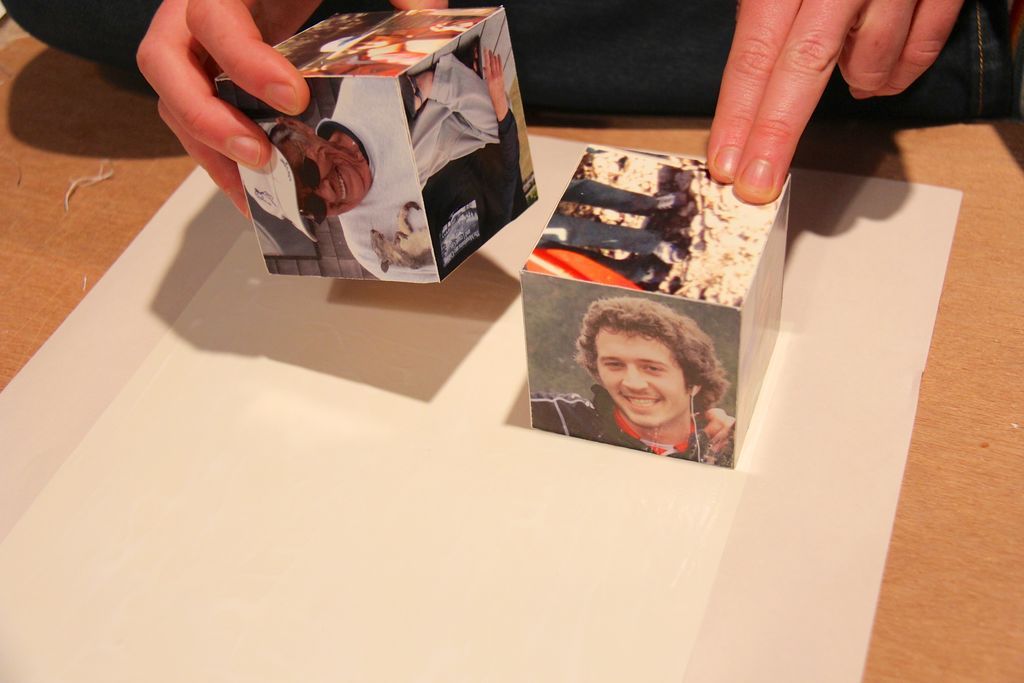
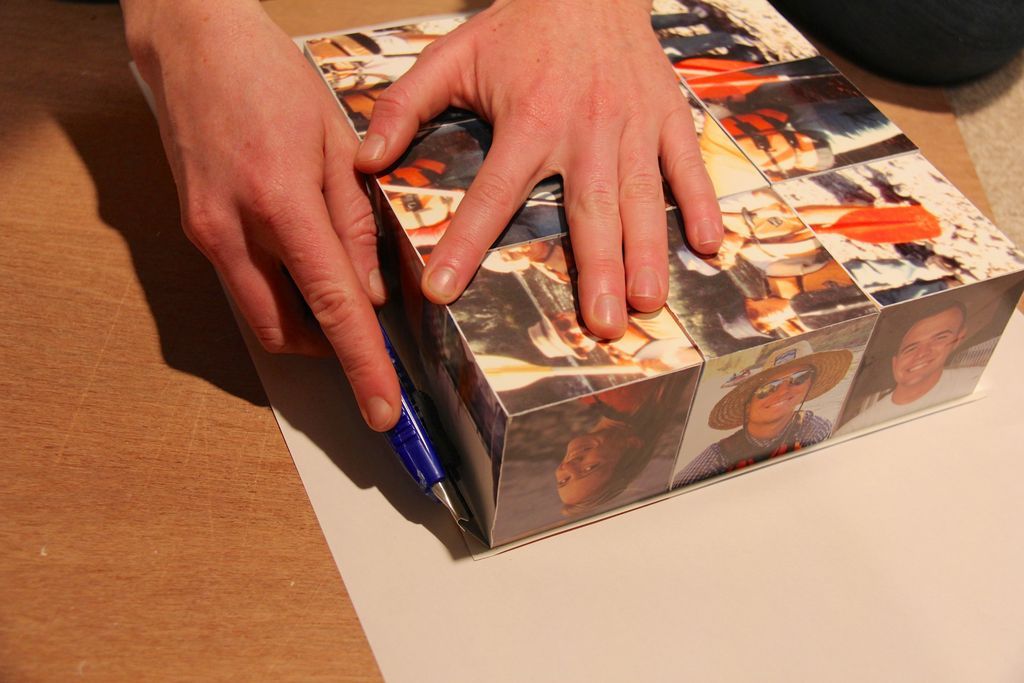
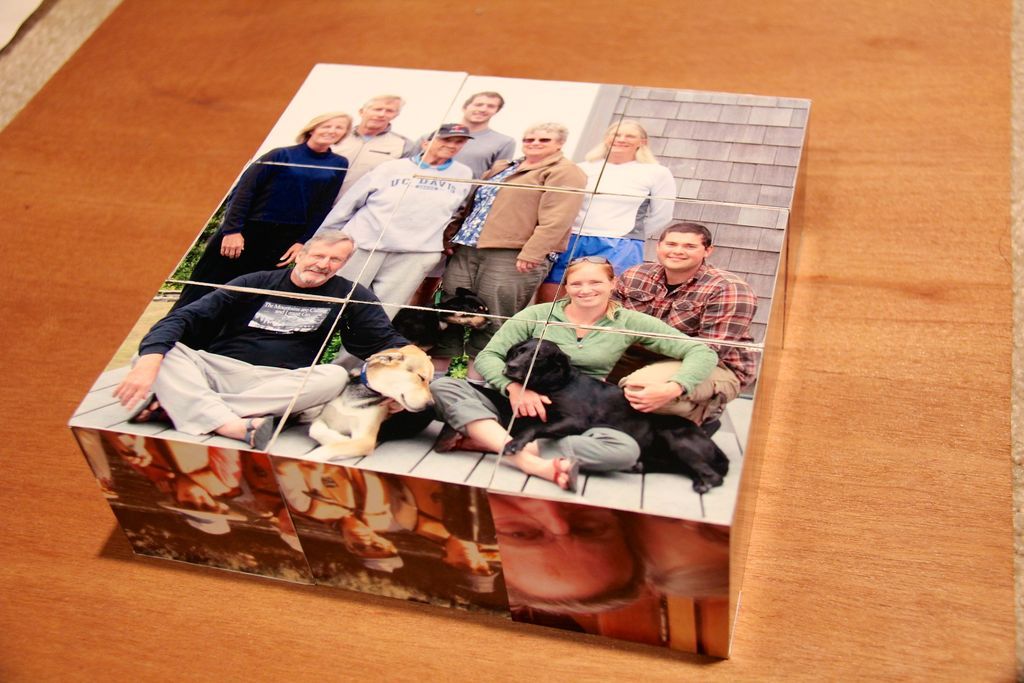
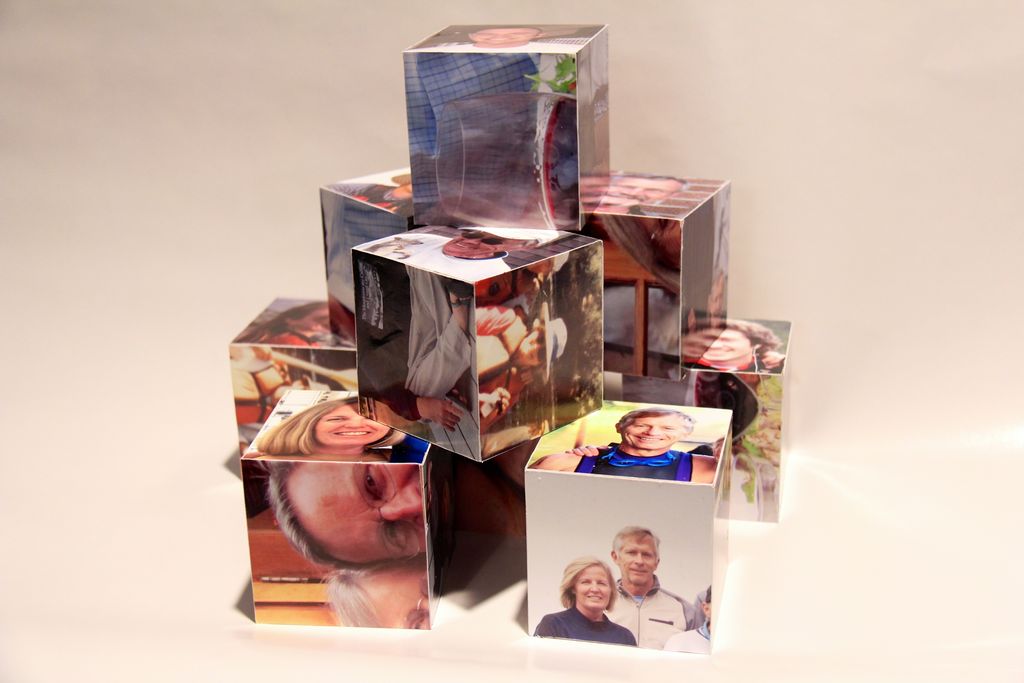
This Photo Block Puzzle makes a great gift for a loved one or friend as they are a fun way to interact with their favorite photos.
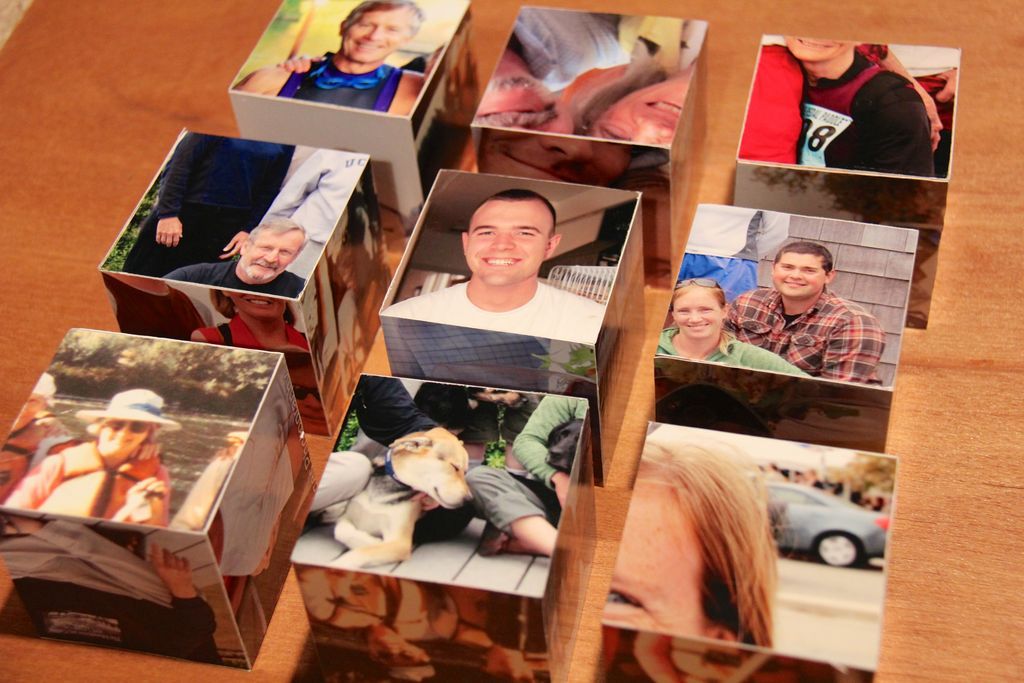
At home, in your hand, on the coffee table, or on a shelf, they call to play and enjoy.

This particular 3x3 block layout shows as few as 6 and as many as 54 different photos, but you can scale the project and make more blocks to show even more photos and make the puzzle more difficult to put together.
This project took only a few hours to make, would be great to build with kids or beginners in the store, and made a great personalized holiday gift.
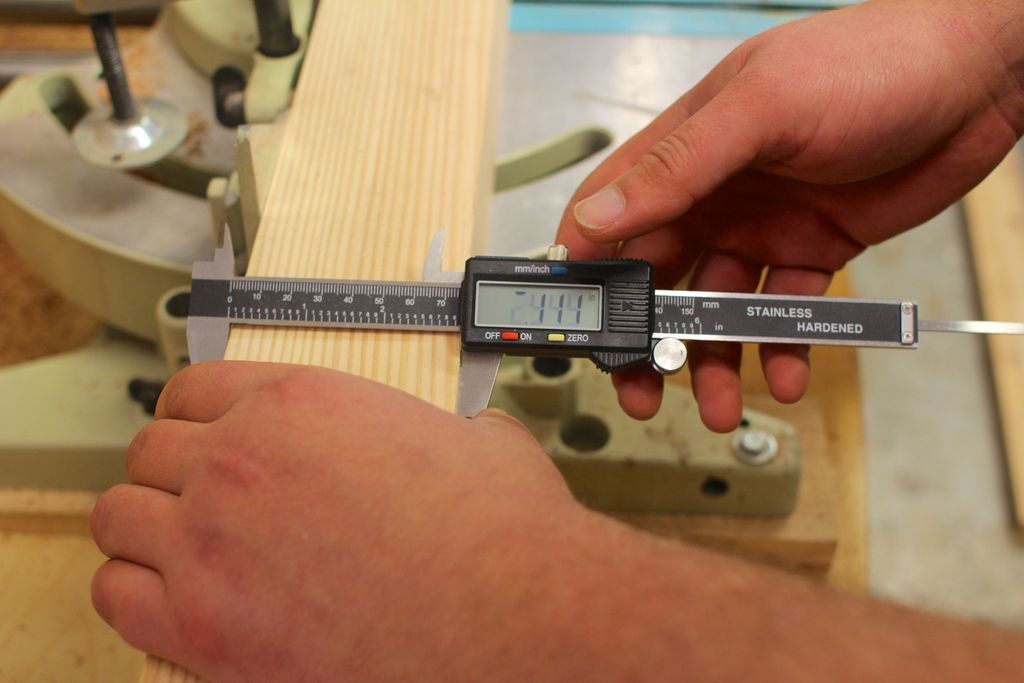
#1: Size the wood on the table saw
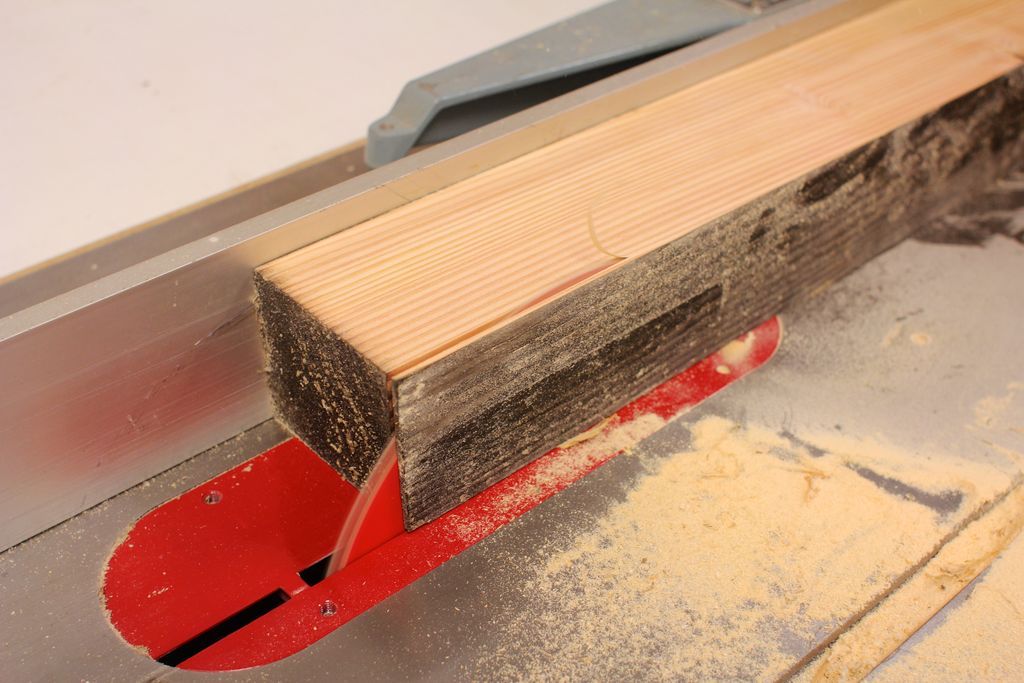
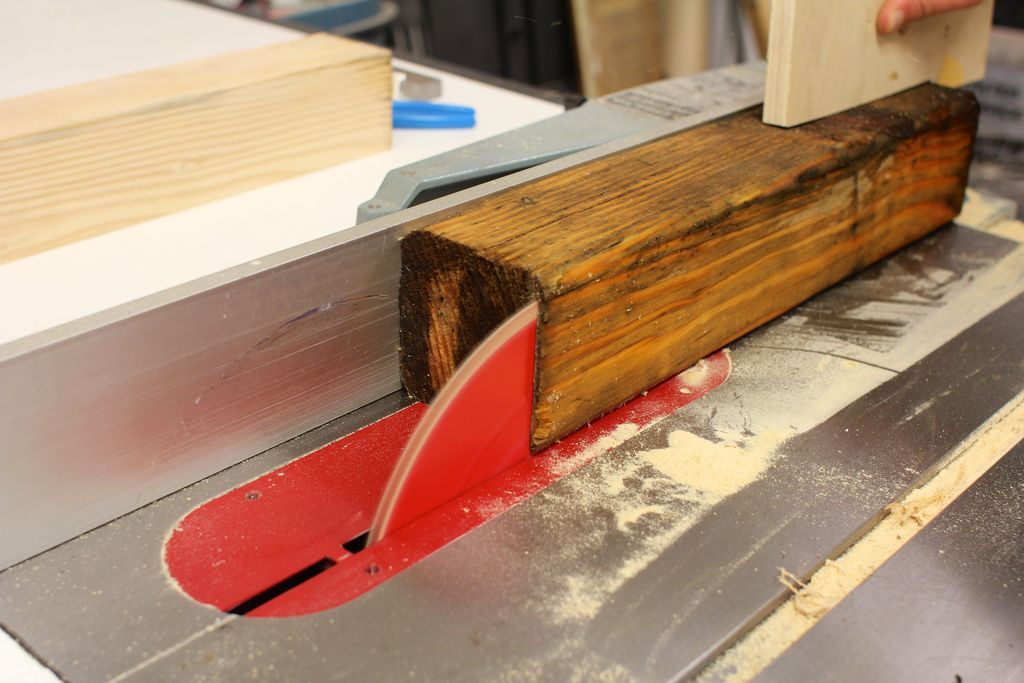
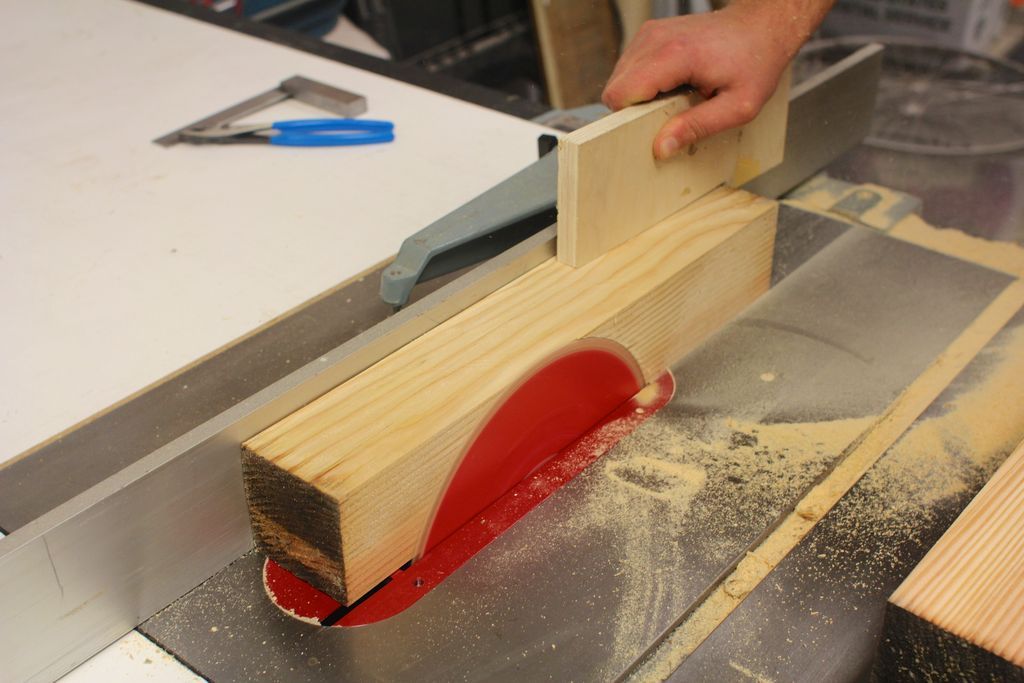
- The photo blocks were made from an old 4x4 spruce post that was sitting outside in the store's yard.
- Using a table saw, we cut the 4x4 to about 3″ by 3″. You can choose any size you want as this method is fully scalable, just make sure the length, width and depth of the blocks are the same so you end up with perfect cubes.
#2: Cut cubes on the chop saw
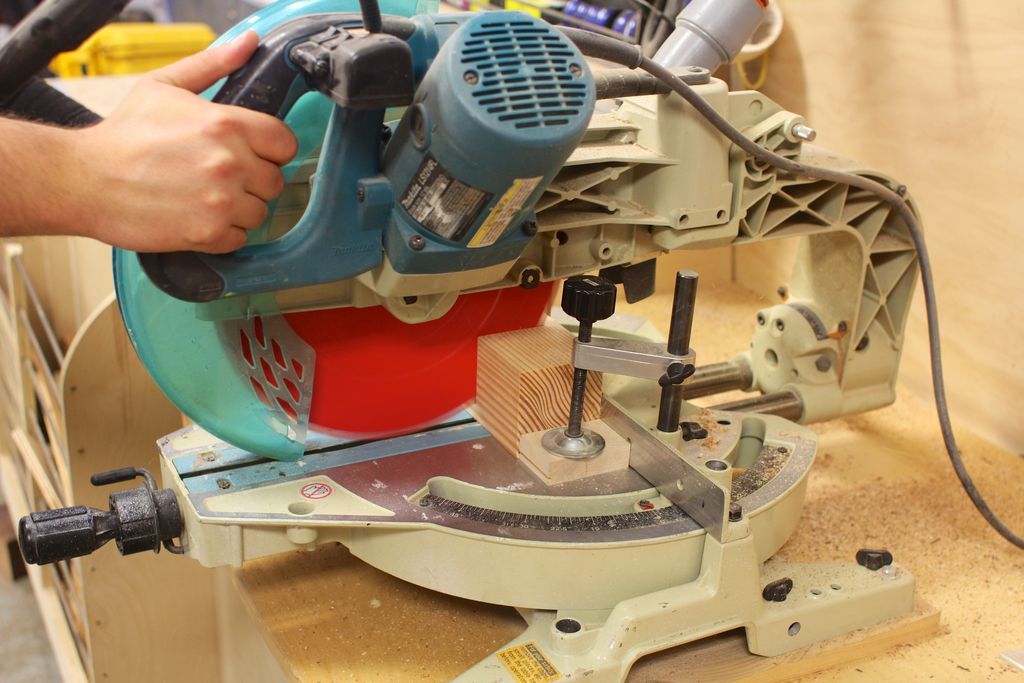
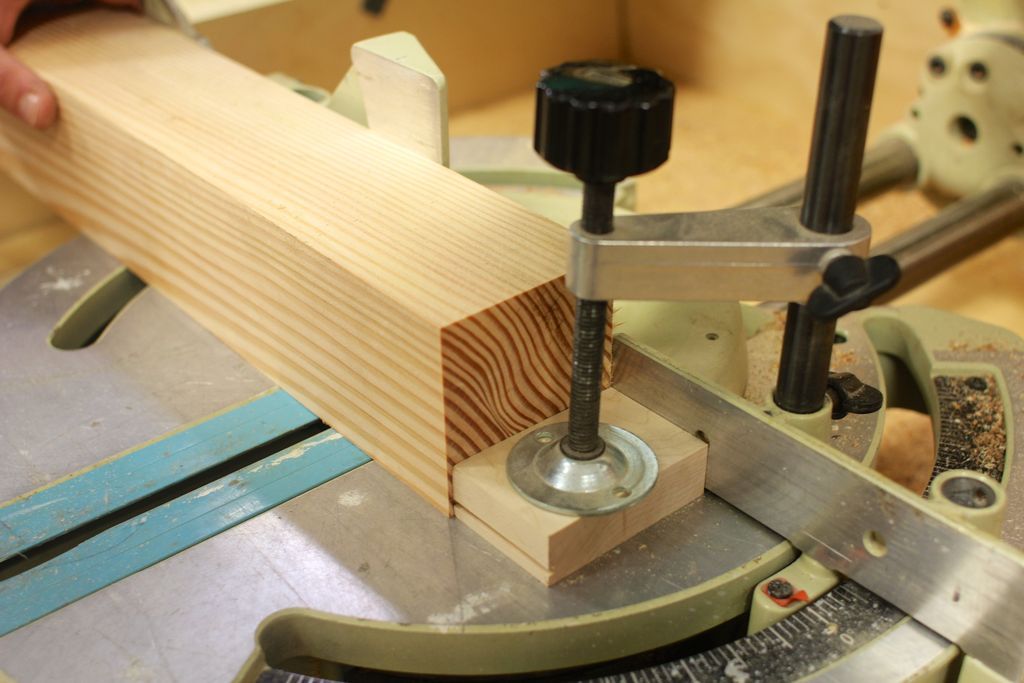
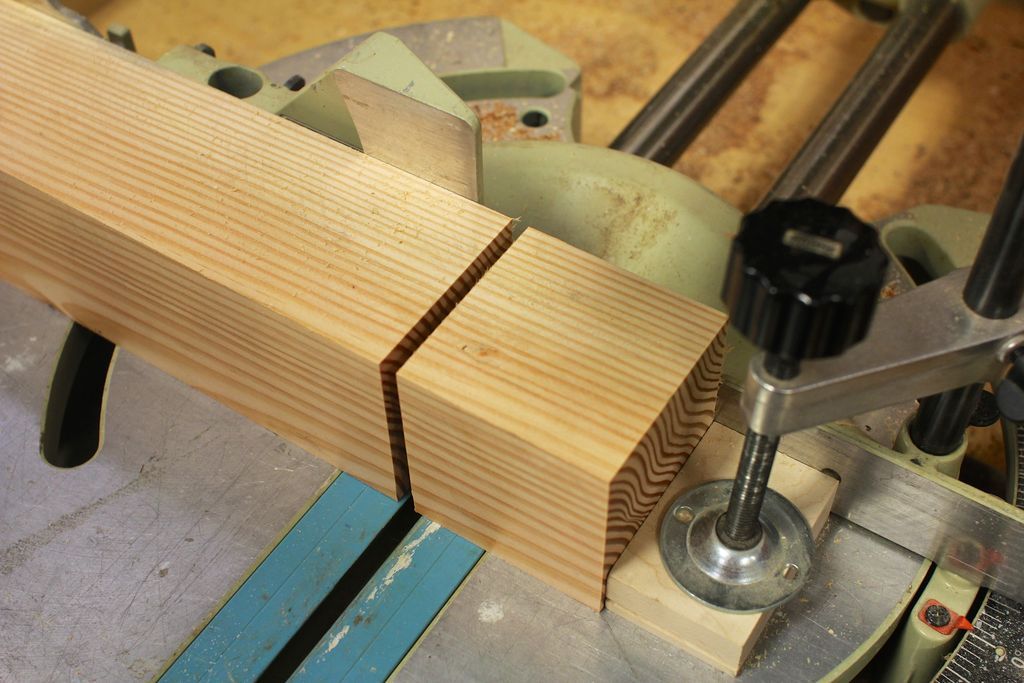
- Cut the cubes to your final dimension size on the cutting saw.
- We place a simple block of maple stop on the saw so that each cut is exactly the same.
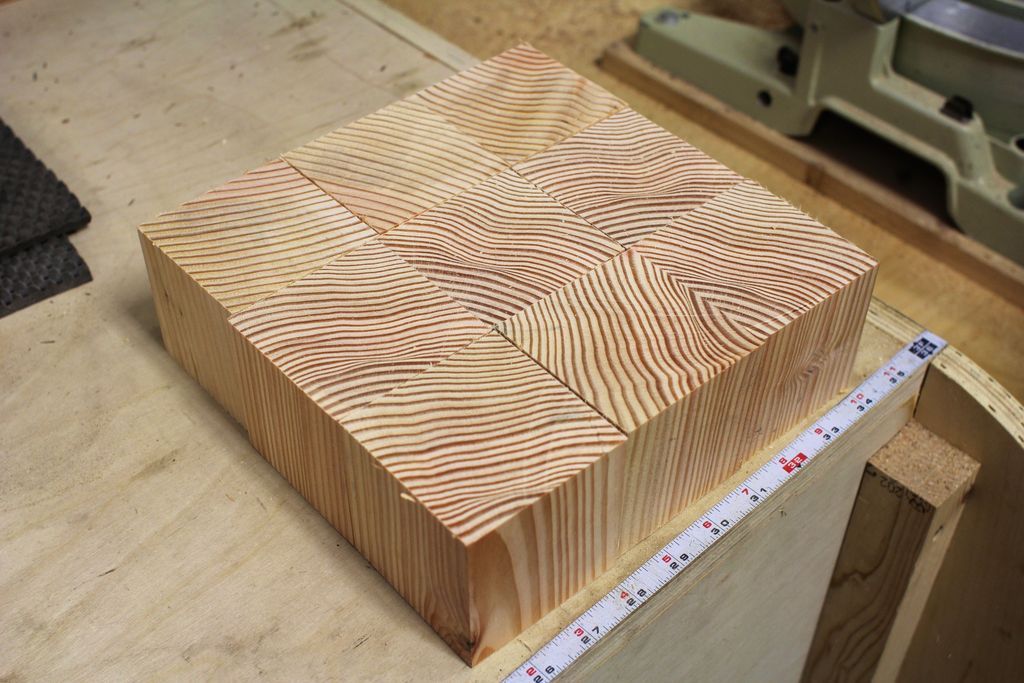
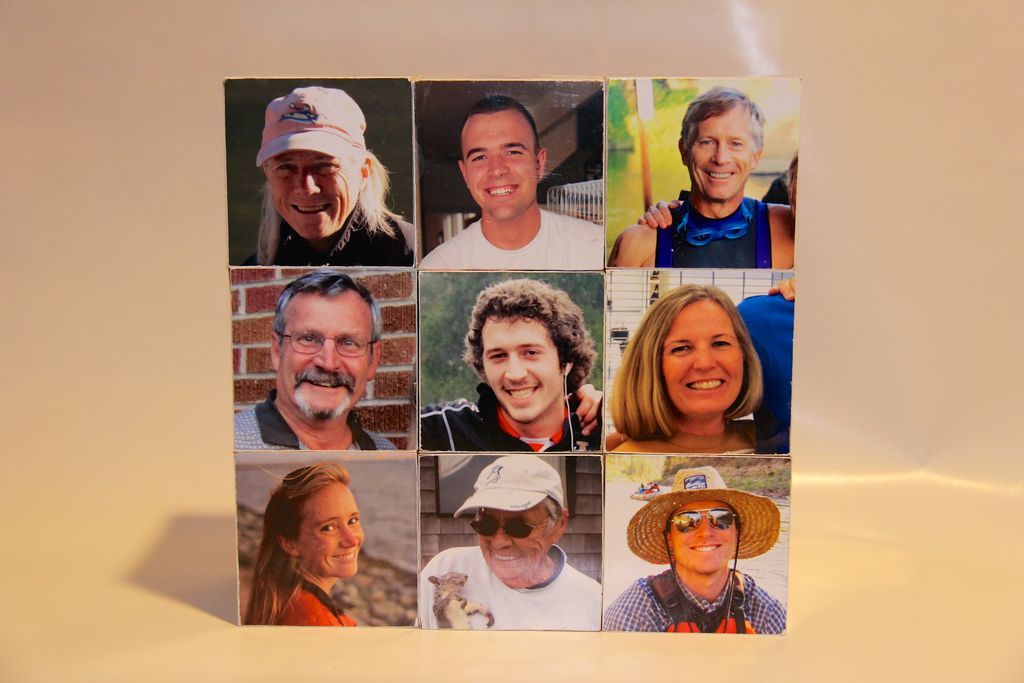
- Our photo puzzle was made from (9) 3″ x 3″ x 3″ blocks to form a single 9″x9″ surface when assembled.
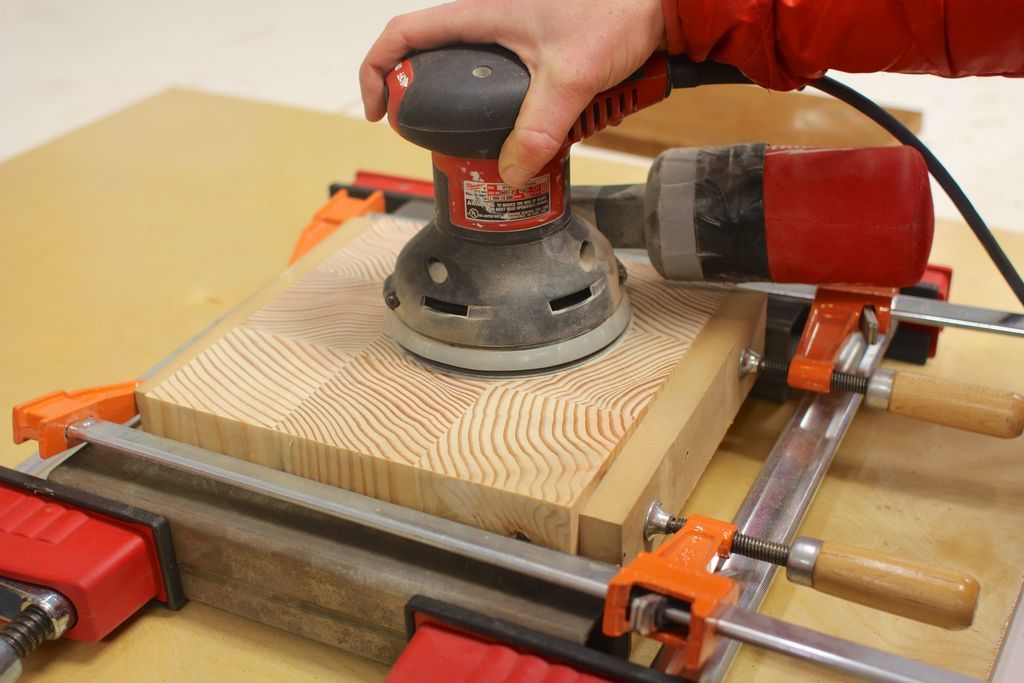
#3: Clamp and sand
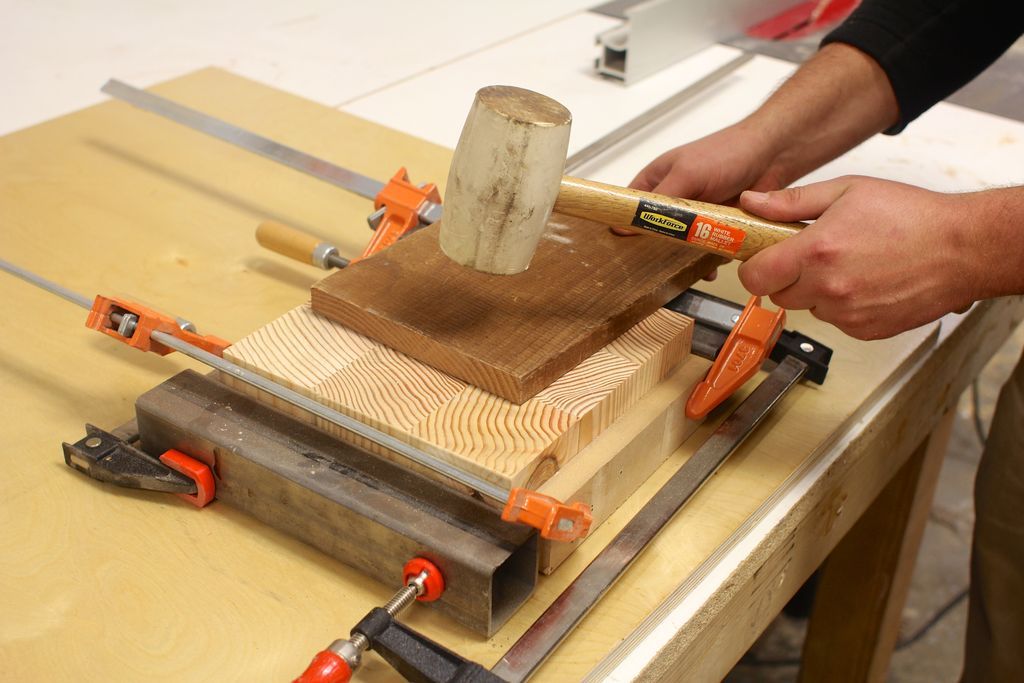
- Once you have all the blocks cut to size, hold them together using some straight edges (we used a square tube of scrap steel) into their assembled form.
- Place a board on top of the assembled puzzle and level any blocks that became misaligned in the clamping process with a dead punch or rubber mallet.
- Next, sand the top surface of the blocks to remove any small imperfections. 120 grit paper is sufficient as the wood will be covered later and will not be a finished surface.
#4: Number and sand x5
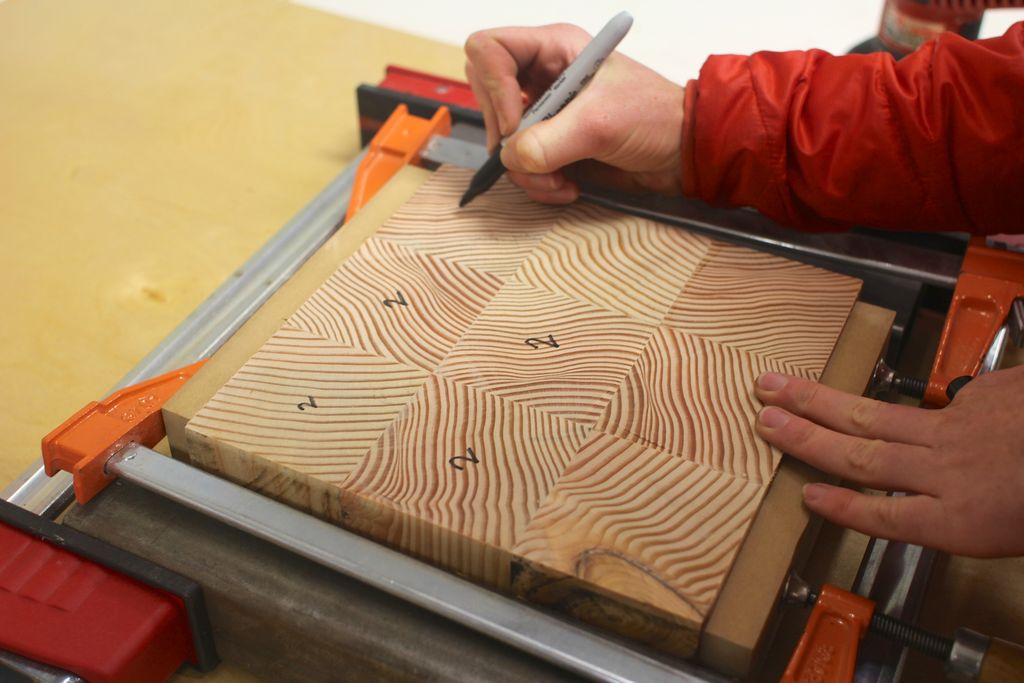
- Once the top surface is sanded, mark all the blocks on that side with the same number, turn each block to a new unsanded side, and repeat the tapping and sanding process.
- Repeat this process 5 more times for all 6 sides of the blocks.
- Once completely sanded, set the blocks aside and head to the computer.
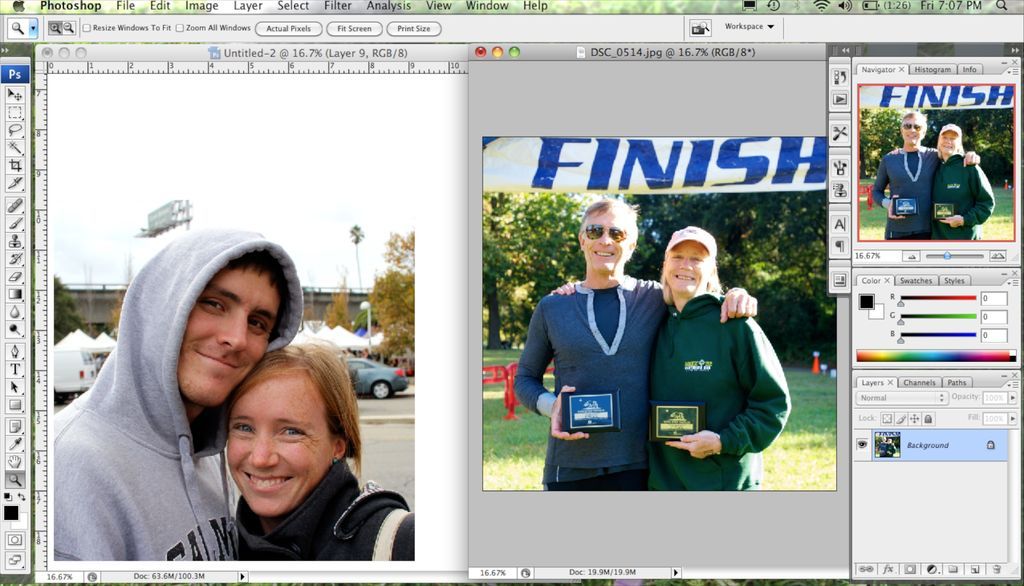
#5: Size photos
- Select six or more of your favorite photos that you would like to display.
- For this particular project, we chose to display 5 large photos on 5 sides and then make the 6th side a composite of individual smaller photos.
- Crop and adjust your photos in Photoshop. When you are cropping make sure you crop a slightly larger area of the photo than the area of your photo blocks, this gives you enough printed photo to have a little wiggle room when gluing and crop to final size once they are set.
- We crop our large photos to 9.25″ x 9.25″ and our smaller individual photos to 3.25″ x 3.25″.
CoTip:If you are printing multiple photos per page, make sure the resolution of your cropped photos is the same in Photoshop.
Keep in mind when selecting your photos who your puzzle block audience is. Similar photos for each side make a more difficult puzzle. Photos that are a little more varied, i.e. nature scene, close-up photos, group photos with people make for an easier puzzle since each face of the cube is obviously different from the next.
#6: Print

- Print your photos on high-quality photo paper from a photo printer.
- We had access to an 11″x14″ photo printer to print the large 9.25″ square photos. If you don't have access to a large printer, reduce your blocks or print your photos in larger sizes.
#7: Crop photos
- Cut each photo. There is no need to continue with this step, each image will be cropped to size later.
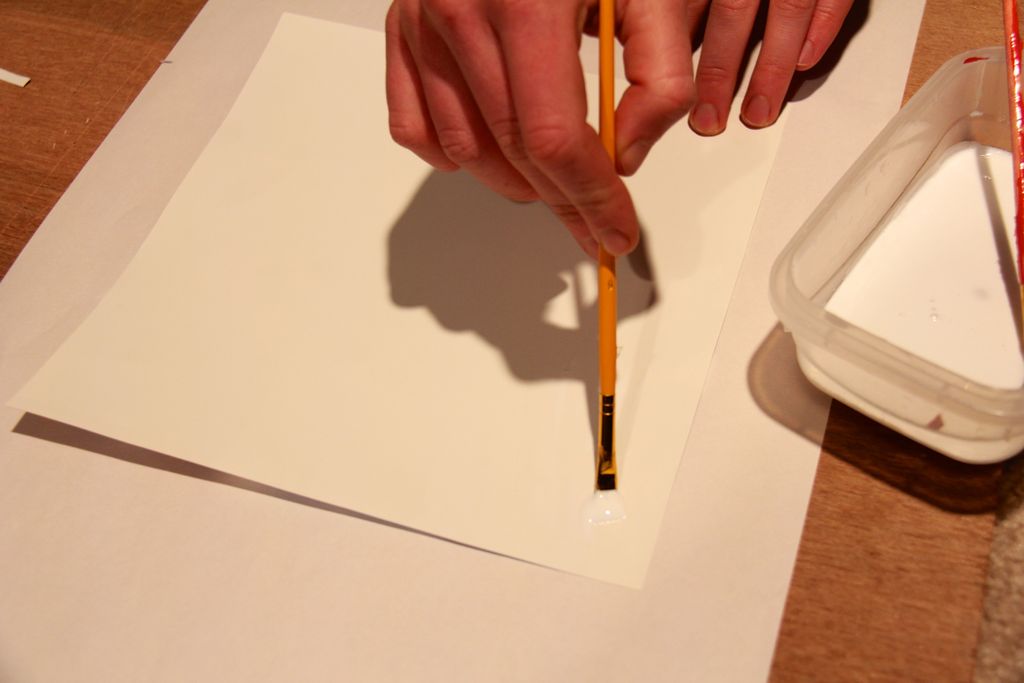
#8: Glue and Small Photo Method
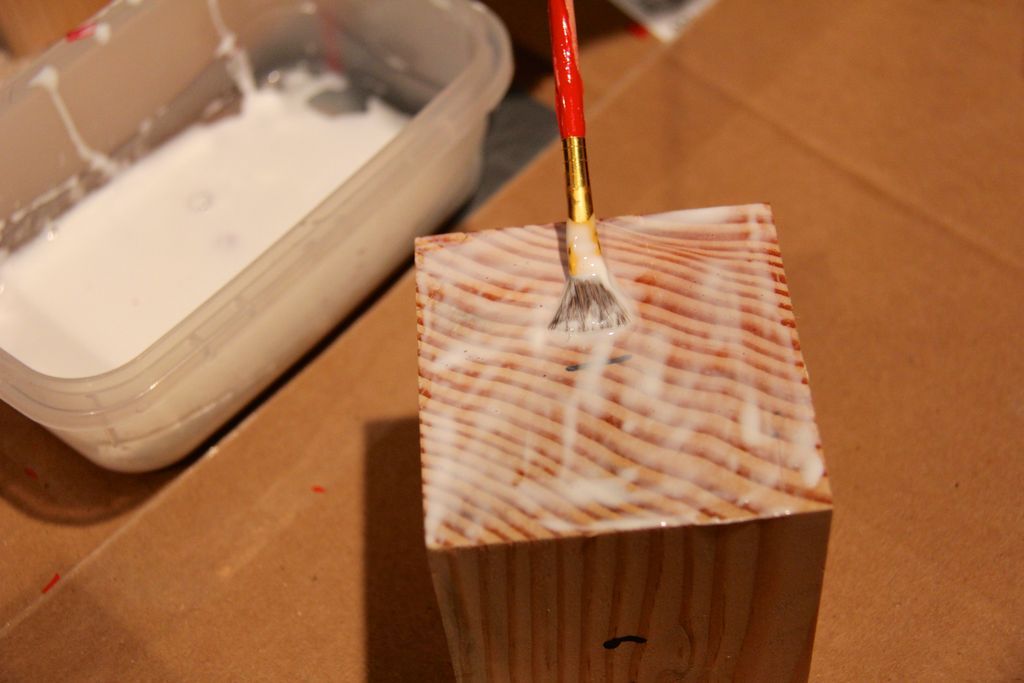
- To attach the photos to the wooden blocks, we used super strong glue, which can be found at most craft stores.
- We definitely recommend diluting the glue from its concentrated rubber state to something that paints on a little more easily.
- Paint the glue directly onto the block with a brush.
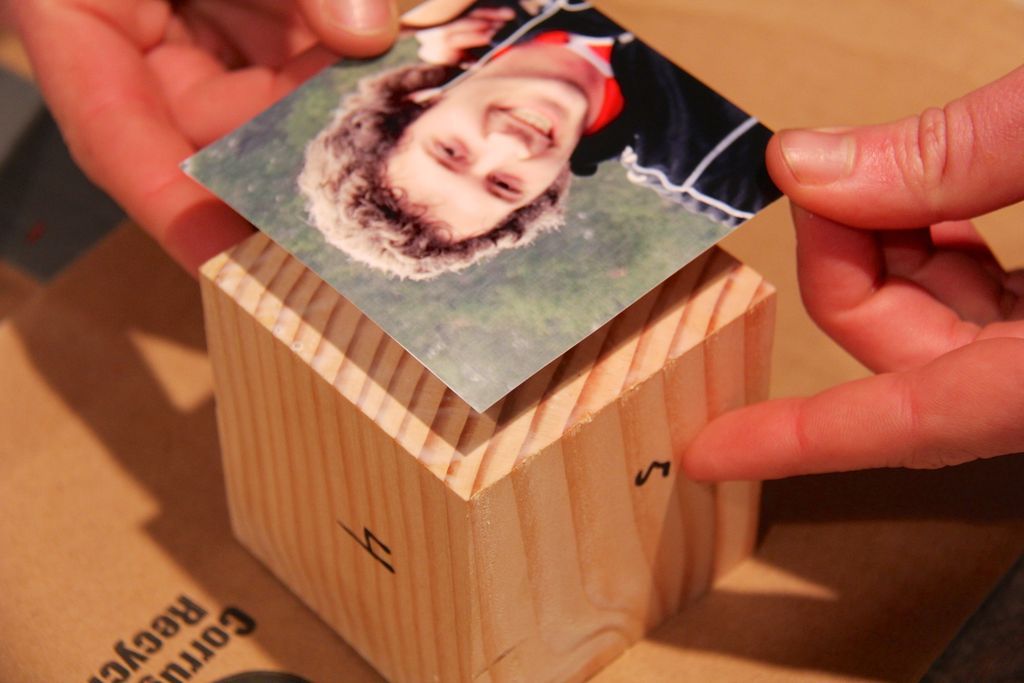
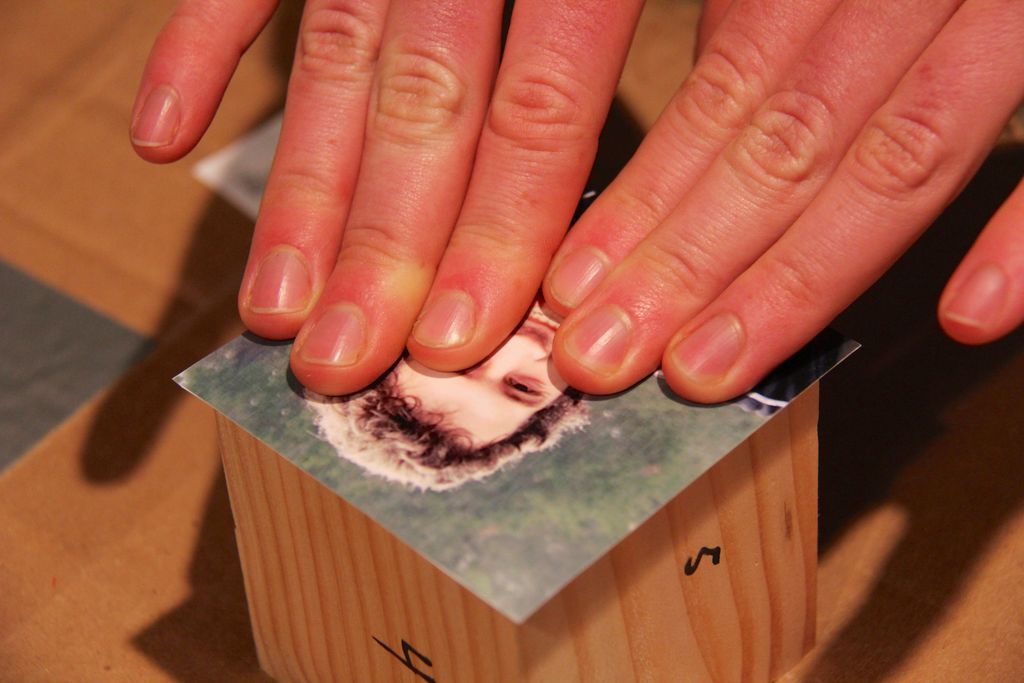
- For individual photos (smaller photos) we placed the photo face up directly on the block and placed it on the part of the photo we wanted to display.
- Firmly press the photo down to ensure a good glue seal. When performing this step, make sure that all the individual photos are placed in the same number in each block; This is important later for larger photos.
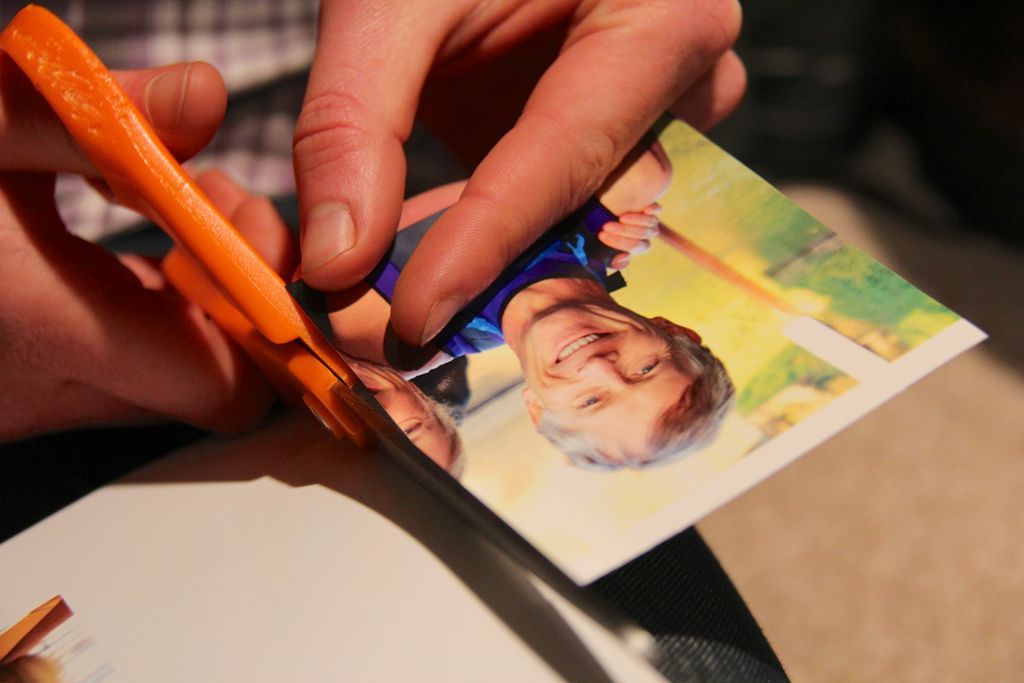
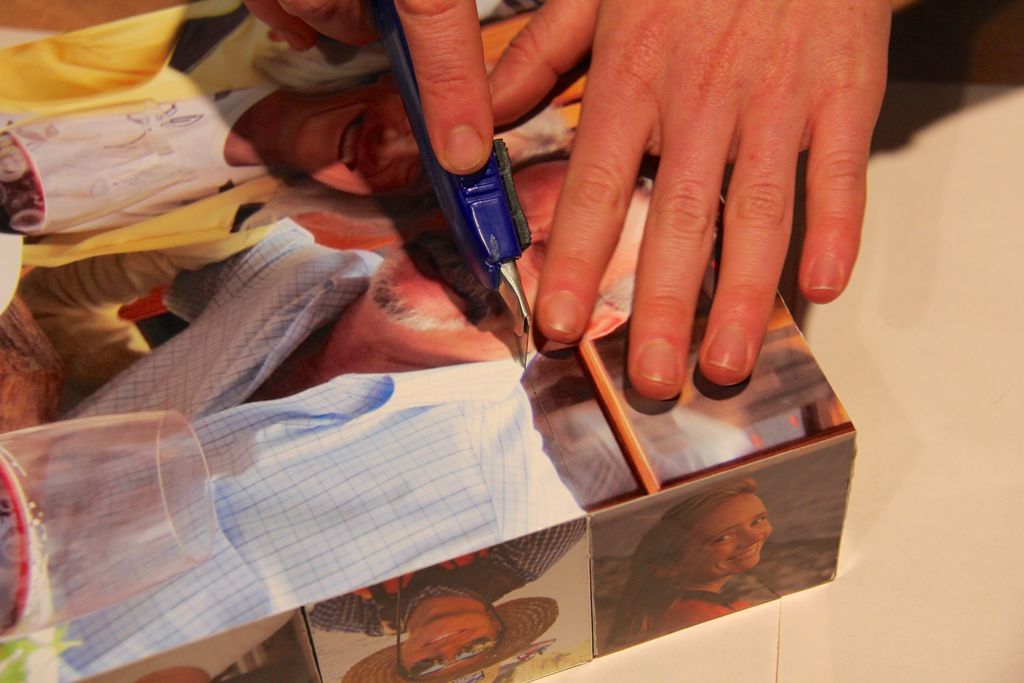
#9: Crop to Size and Small Photo Method
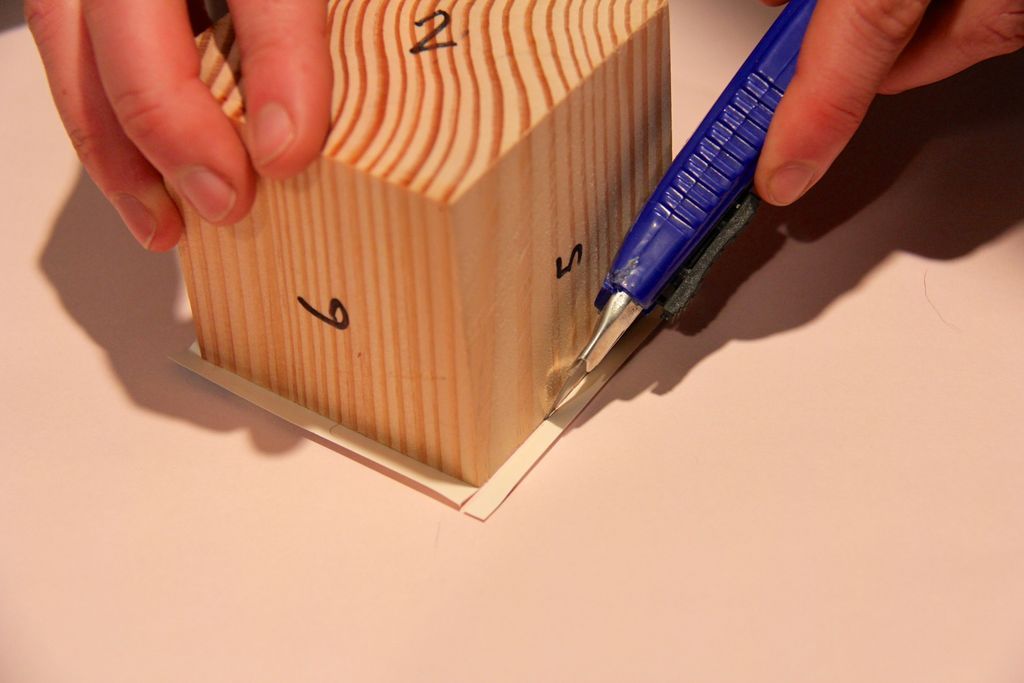

- Once the glue dries, turn the block upside down on a clean surface to avoid scratches on the photo.
- Using an reserva knife or box cutters, crop the photo to the size of the block.
- Be careful not to cut the block itself. This process requires just a little practice, but is easy to master.
#10: Cut a large photo
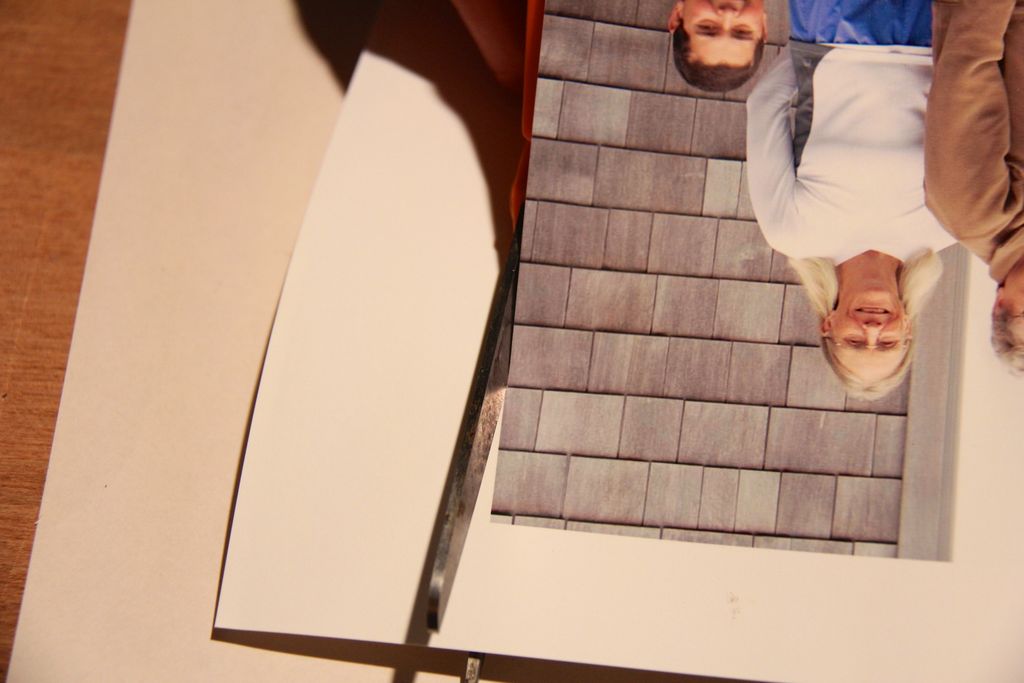
- Cuts large photos from the print job.
#11: Glue and Large Photo Method
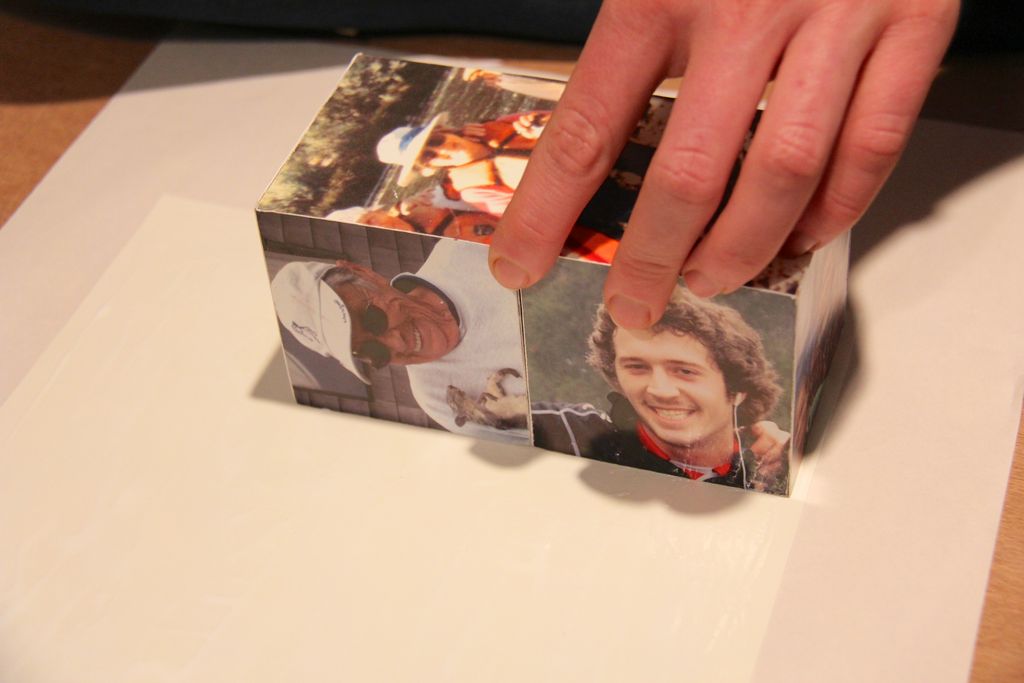

- For larger photos, place the photo face down on a clean surface and paint the glue on the back of the photo.
- Place a selected side of the blocks down on the back of the glue-covered photo. Make sure all blocks are straight in relation to the photo, as well as tightly packed against each other.
- You should have a border around all nine blocks when you're done. Let the blocks dry like this, allowing the weight of the blocks to keep the photo flat while the glue dries.
#12: Crop and Large Photo Method
- Now that your puzzle has been solvedecado, you can trim the edge of the large photo using an Exacto knife or box cutters.
- Please note that you will be cutting the blocks in the next step, this is just to remove the border.
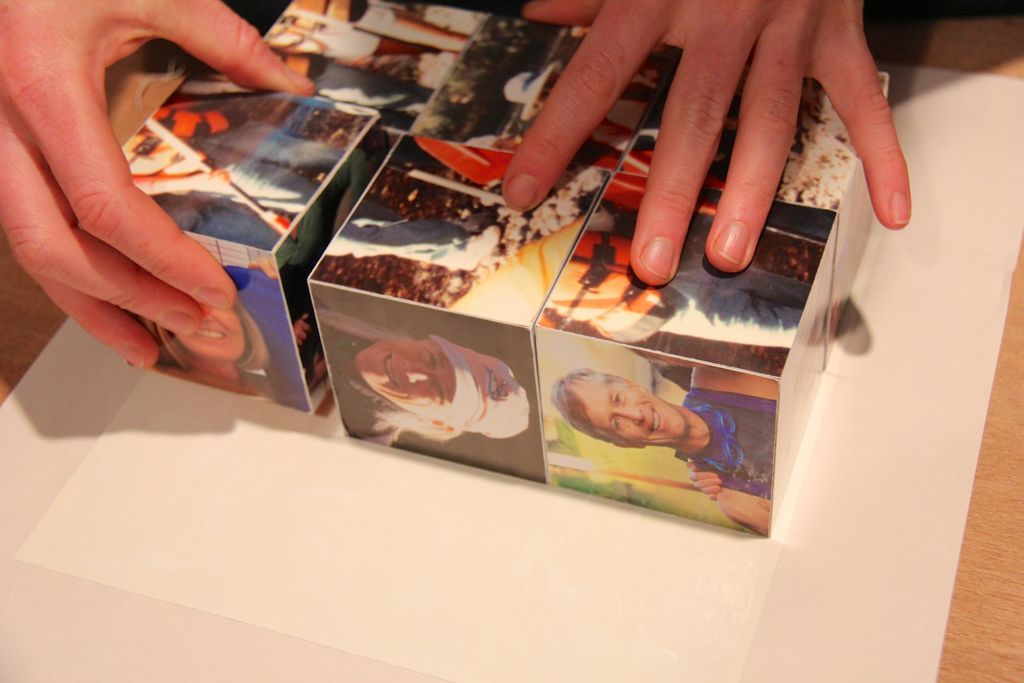
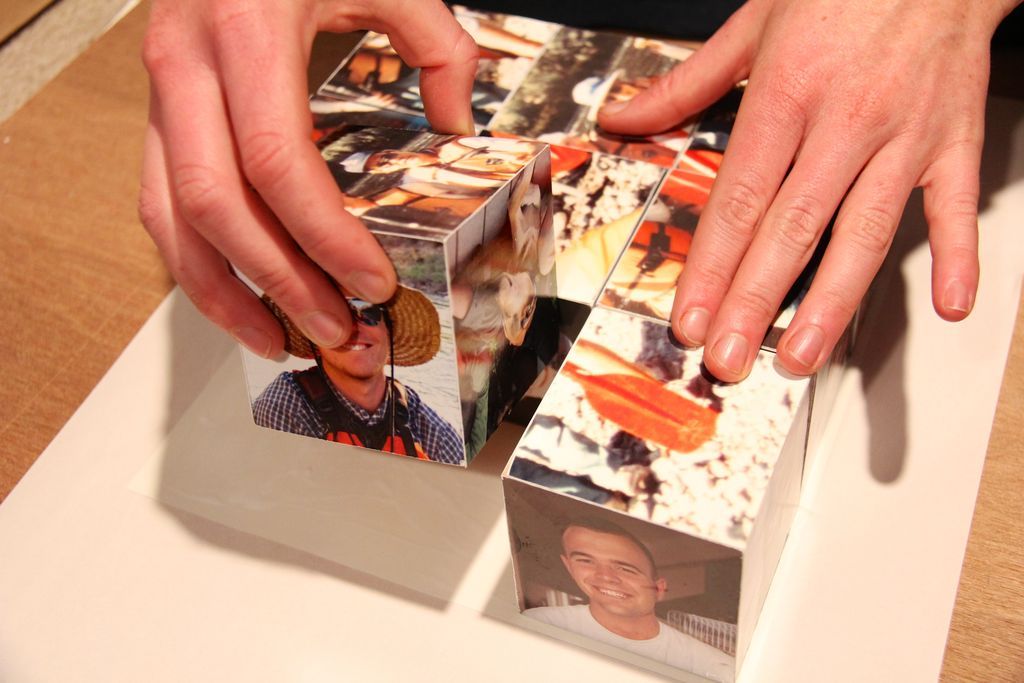
#13: Cut blocks apart

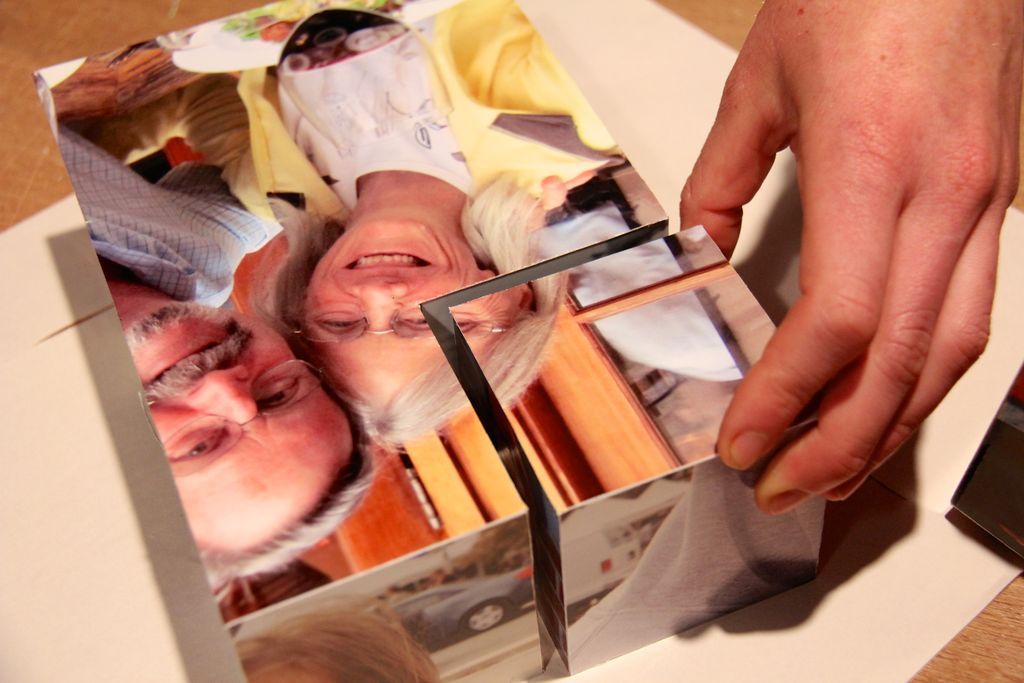
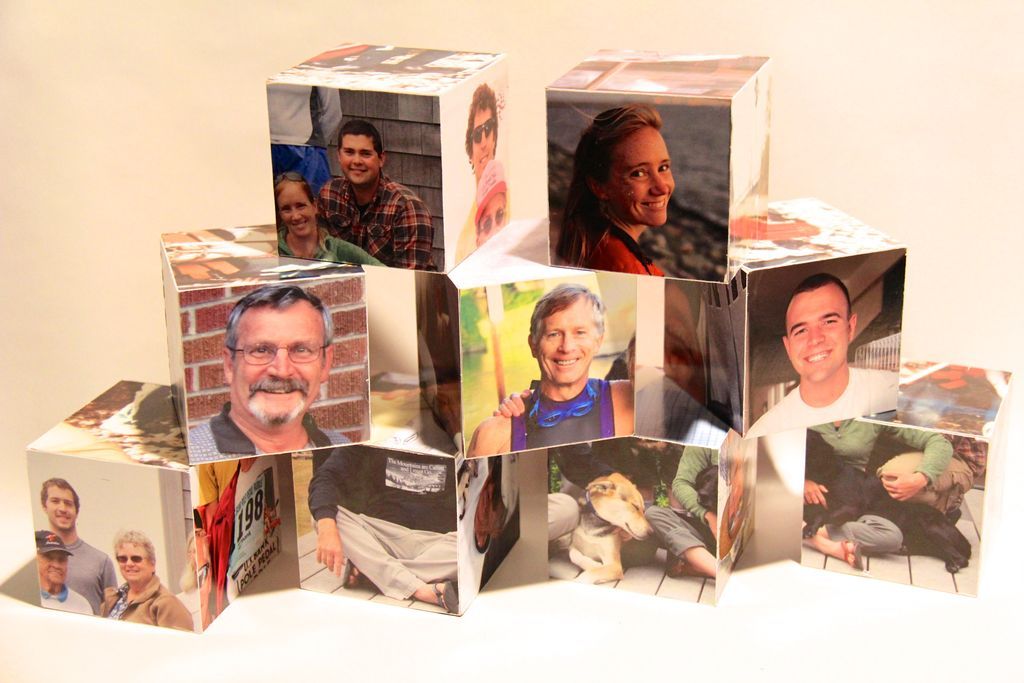

- Once the border is removed, you can now carefully flip the blocks so that the large photo you just pasted is displayed face up.
- Using your Exacto knife or box cutters, carefully cut between each block starting at one end where you can see the distinct spacing between blocks and allowing the knife to follow between the blocks for each cut.
- The grove between the blocks should guide the knife on its path so you have nice clean cuts.
- Repeat steps 10-13 for each of your large images until all sides of the photo block puzzle are covered.
#14: Optional clear coat
- Clear coating is something you may want to consider before using your photo blocks. It will help protect photos from wear and tear. We chose not to coat our photo blocks simply because they are quite light and were given as a gift to a grandmother, rather than a small child.
- Clear coatings should be applied between steps 6 and 7 after printing photos, or on finished blocks as a final step.
- While there are many professional quality clear coats for digital prints, one or two coats will suffice. Flat or shiny, the choice is, of course, yours.
Don't forget to follow us on our social networks for more news!
Popular Content
How to make a rocket stove for outdoors
Cardboard Drawers Lined with Jeans
Ideas and Advantages of Window Grilles for the Home!
Latest Articles
How to make a refrigerator out of insulating material: Practical step-by-step guide
How to make a Kilim for the Home: Complete Step by Step Guide
How to protect ourselves from accidents in our workplace: Complete prevention and safety guide
Related Content
Fashion Illustrations Using Food 2
Decorative Hanging Shelf Ideas
What Colors to Use in the Bathroom Vanity
How to Prepare the House to Receive Guests!
Creative Home Decor Ideas to Transform Every Space
Refreshing your home starts with smart design choices that combine comfort, personality, and functionality. Whether you want to modernize a small apartment, upgrade outdoor areas, or create cozy rustic interiors, these trending ideas can completely change the atmosphere of your space.
Outdoor Spaces That Increase Style and Functionality
Outdoor living continues to dominate modern home trends. Homeowners are increasingly investing in practical entertainment zones inspired by these BBQ shed ideas, which create the perfect setup for gatherings and weekend cooking sessions.
First impressions also matter when designing exteriors. Elegant farm entrance gates design ideas help properties stand out while improving privacy and curb appeal.
Compact living solutions are also gaining popularity. These inspiring 16x40 shed house interior design ideas show how smaller spaces can still feel luxurious and functional.
To enhance patios and entryways, homeowners are adding stylish protection with these creative porch awning exterior DIY ideas that blend aesthetics with practicality.

Rustic and Cozy Interior Design Trends
Warm and natural interiors remain timeless. These charming rustic decor ideas combine wood textures, vintage accents, and earthy tones to create welcoming spaces.
Bedrooms are becoming more personalized with curated wall arrangements. Many homeowners use these stylish picture wall ideas for bedroom spaces to display memories and artwork creatively.
Textured wall treatments are another major trend. Installing a board and batten wall adds architectural character while keeping interiors elegant and modern.
Similarly, bold accent wall ideas can instantly transform plain rooms into eye-catching focal points without requiring a full renovation.
Smart Kitchen and Organization Inspiration
Functional kitchens are essential for modern homes. These practical kitchen wall cabinet ideas maximize storage while maintaining a clean and stylish appearance.
Organization also starts at the entrance. Well-designed mud room ideas help families keep shoes, coats, and daily essentials neatly arranged.
Colorful and Personalized Home Styling
Vibrant interiors are becoming increasingly popular thanks to playful dopamine decor ideas that use bright colors and joyful accessories to improve mood and energy.
Gallery walls also continue to evolve as a major decorative feature. These trendy gallery wall inspiration ideas offer creative ways to combine prints, photos, and statement art.
Young renters and new homeowners are especially embracing these stylish first apartment aesthetic ideas to create sophisticated interiors on a budget.
Finally, selecting the right shades can dramatically influence any room’s atmosphere. These modern trendy color ideas help homeowners choose palettes that feel fresh, elegant, and timeless.
Final Thoughts
From rustic charm and colorful interiors to outdoor entertaining areas and functional storage solutions, today’s home decor trends focus on creating spaces that feel both beautiful and livable. By combining smart layouts, modern textures, and personalized decorative elements, any home can become more stylish, comfortable, and inspiring.


