
Building a Wooden Xylophone Quickly and Easily, unfortunately there will come a time when homemade toys will be less desirable than cheap plastic ones. I get it, these aren't as flashy or loud and as you get older the stimulation you get from these types of toys is kind of important.
But luckily for me they are still young enough where any toy is fun. So I wanted to make something that they could use their imagination to play with. Something that would forgive those cheap plastic toys. My youngest niece loves to hit anything she can get her hands on.

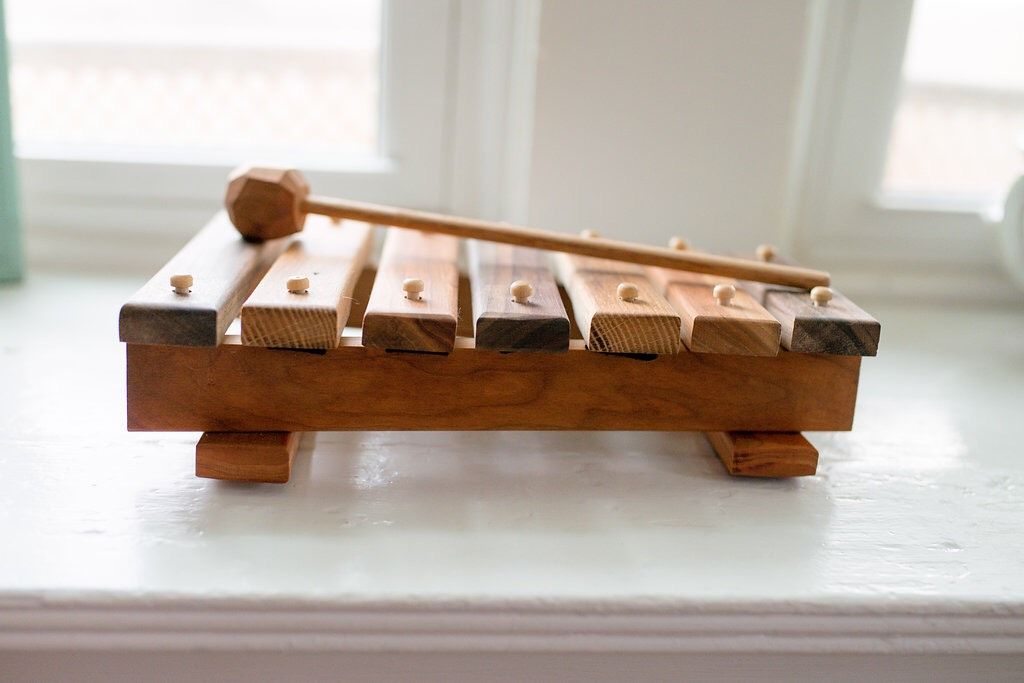
So I thought a xylophone would be perfect. While I know there will be a time when this will go in the toy box or the attic and not be seen for years, when it comes back out it will hopefully look the same, work the same, and be more loved than it was at the beginning.
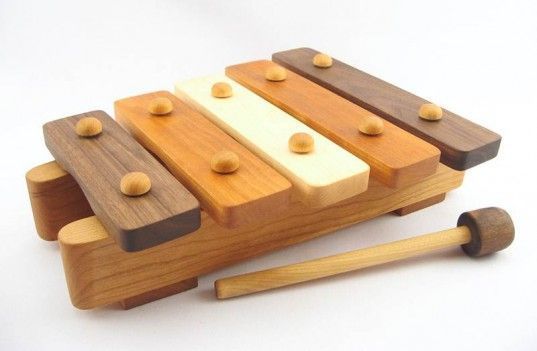
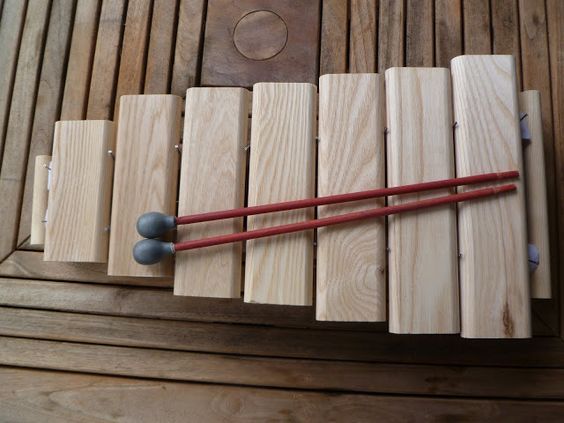
So here it is, my wooden xylophone. I hope you enjoy this article and give it a try. After all, the best gifts don't come from the store... I mean they come from the heart...
Step 1: What you need

Some fine wood remains
I used cherry and walnut
- Miter saw
- Bench sander
- Spindle sander
- Drill
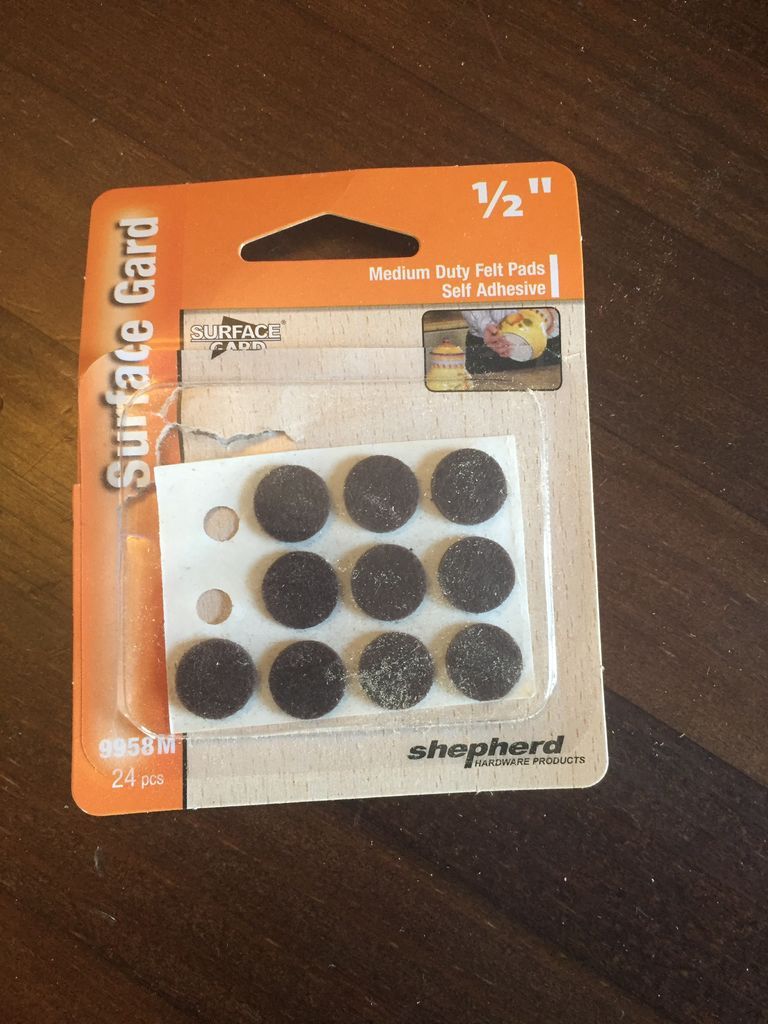
- Felt
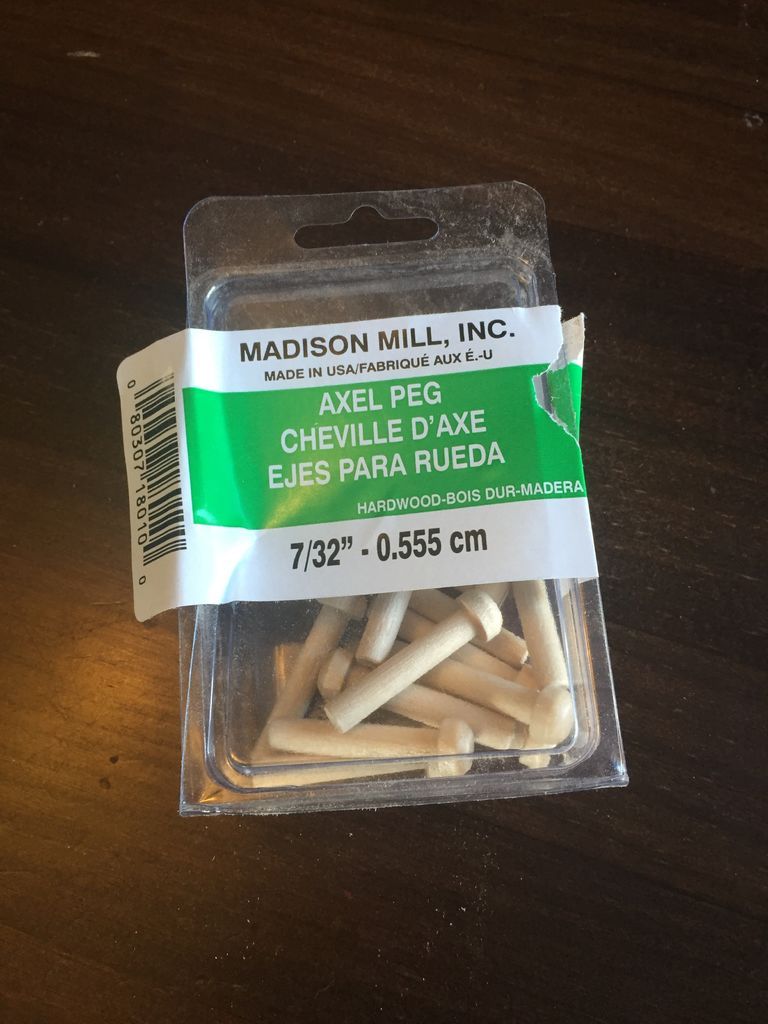
- Small pegs
- Wood glue
Step 2: Cut some wood


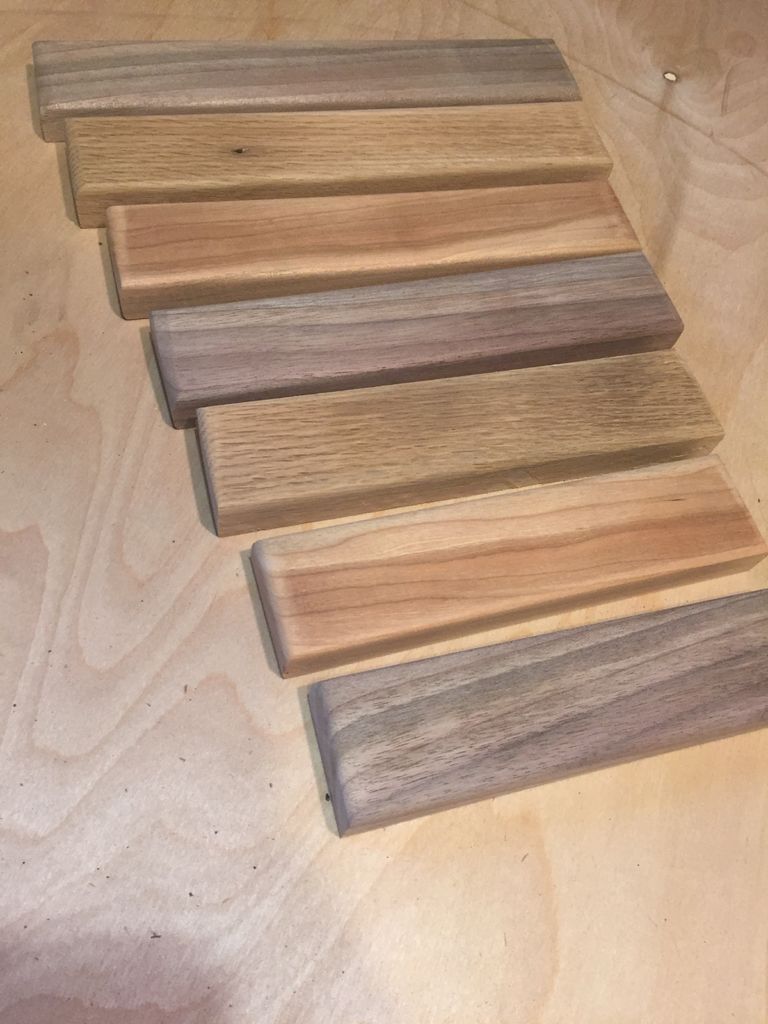
I had a lot of extra wood from my project. I had to cut a bunch of long thin pieces for this and they worked perfectly for the xylophone. I used walnut and cherry oak because I wanted the contrast in the wood to look really cool. In the end, it turned out very well, but the different woods make it difficult to fit the blocks.
I started by cutting my longest piece to 9 inches. I cut a total of seven pieces and cut each one 1/2 inch shorter than the last. When I was done, the longest was 9 and the shortest was 6 inches. I played with different cut lengths but it looked better in the end.
After cutting them all, I rounded the blocks with the bench sander.
Step 3: Adjust the blocks
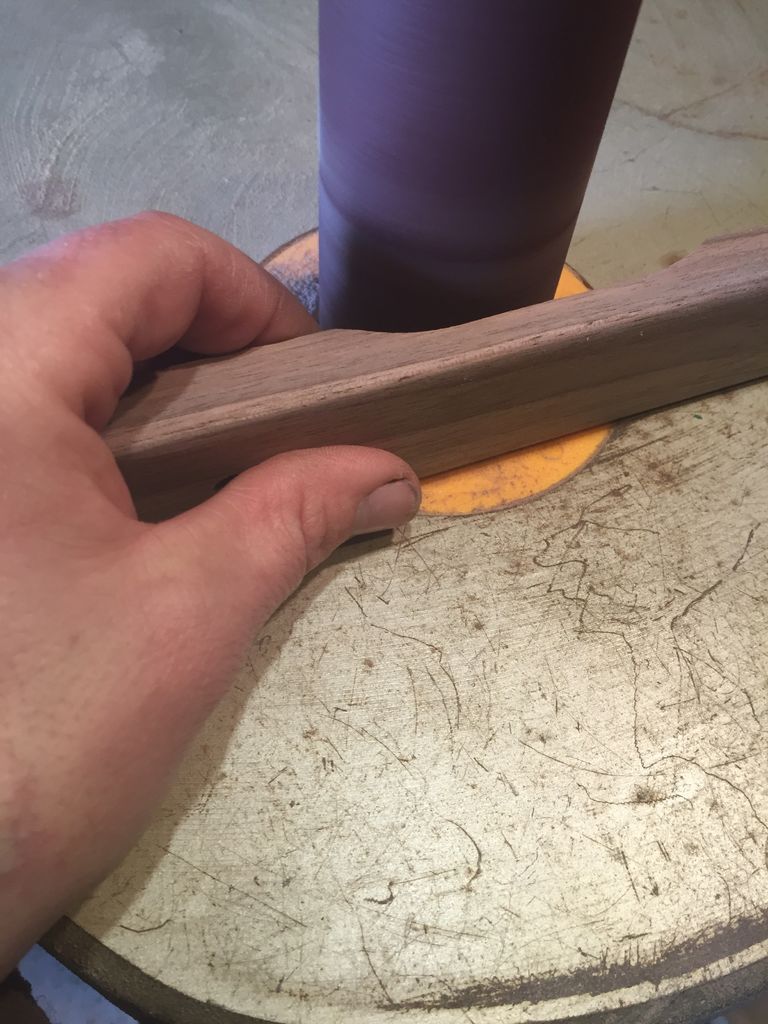
I wasn't aware of this before, but it turns out that fitting the blocks correctly is essential to making a working xylophone. I'm by no means an expert, but I'll explain how I did it as well as I could.
As I said before, each block was cut half an inch shorter than the last. I thought the length of the block would have the biggest effect on the tone it produces, but I was wrong. It turns out that it is the groove at the bottom of the block that determines the pitch. I used my spindle sander to make the grooves in the blocks.
I started sanding everything except the outside inch and a half. This gave each one different tones but not enough to sound pretty.
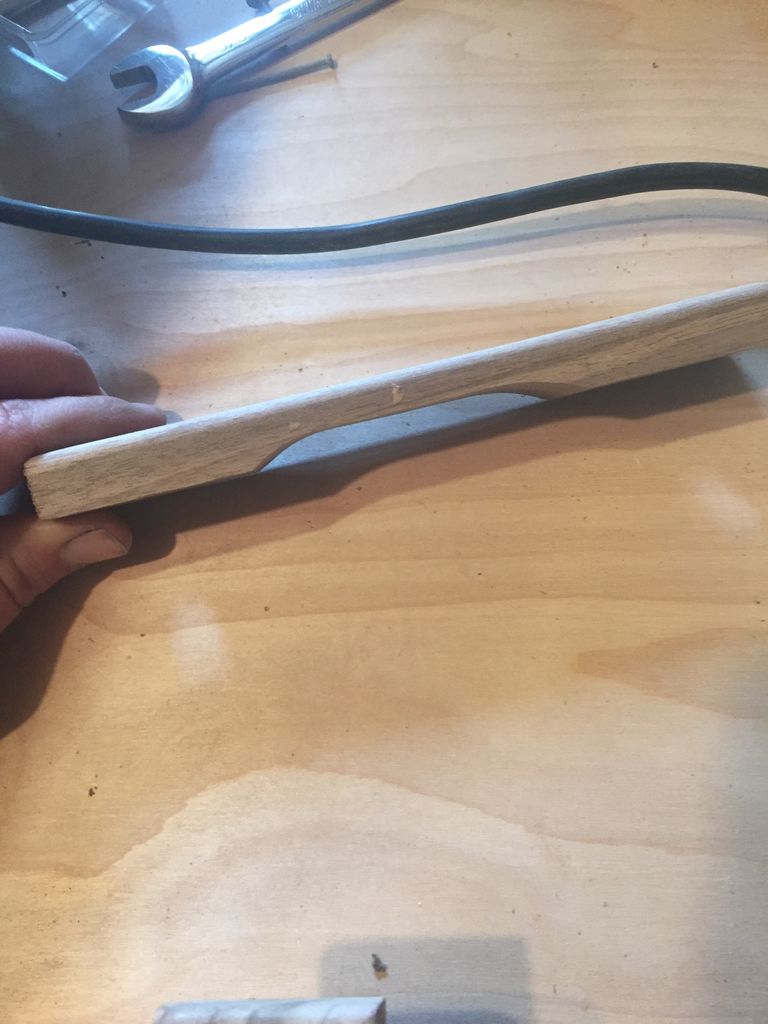
The more you remove the background, the lower the tone. I made a quick stop to check the tone. It was just a piece of wood sticking out with stretched rubber bands. I would place the blocks on the gummies and see how it sounded.
If it sounded a little loud, I'd like to take more of the grove. If it sounded too quiet, I scooted the end of the block a little with my bench sander. Some people actually go all out and use a tuner to make it perfect, but not me. Maybe for my next one. Once you have everything in a descending tone, you can attach them.
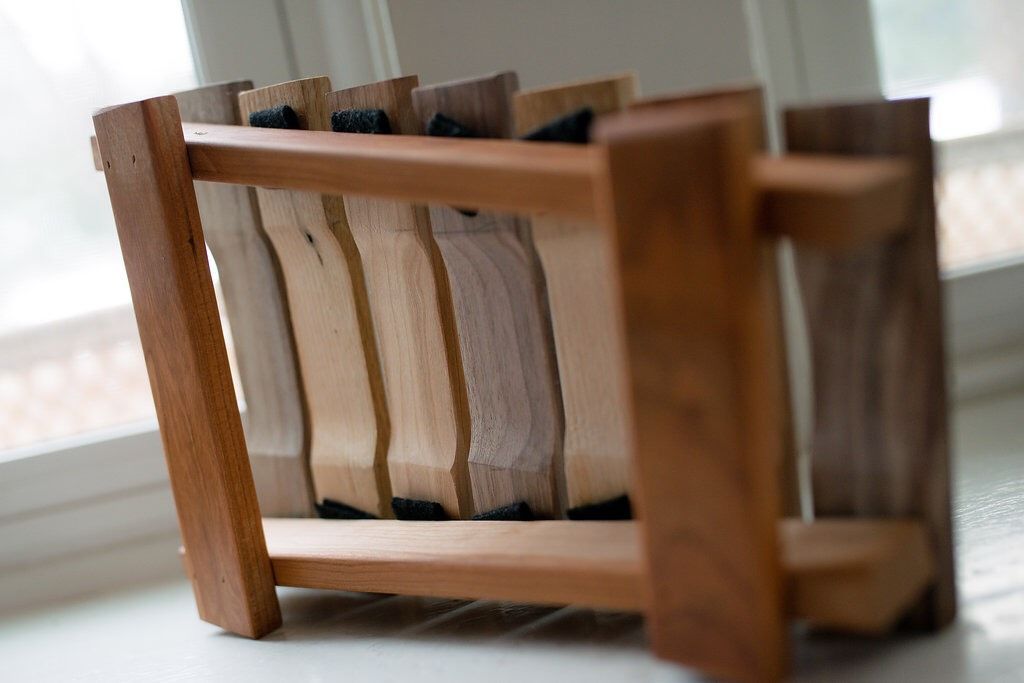
Step 4: The blocks
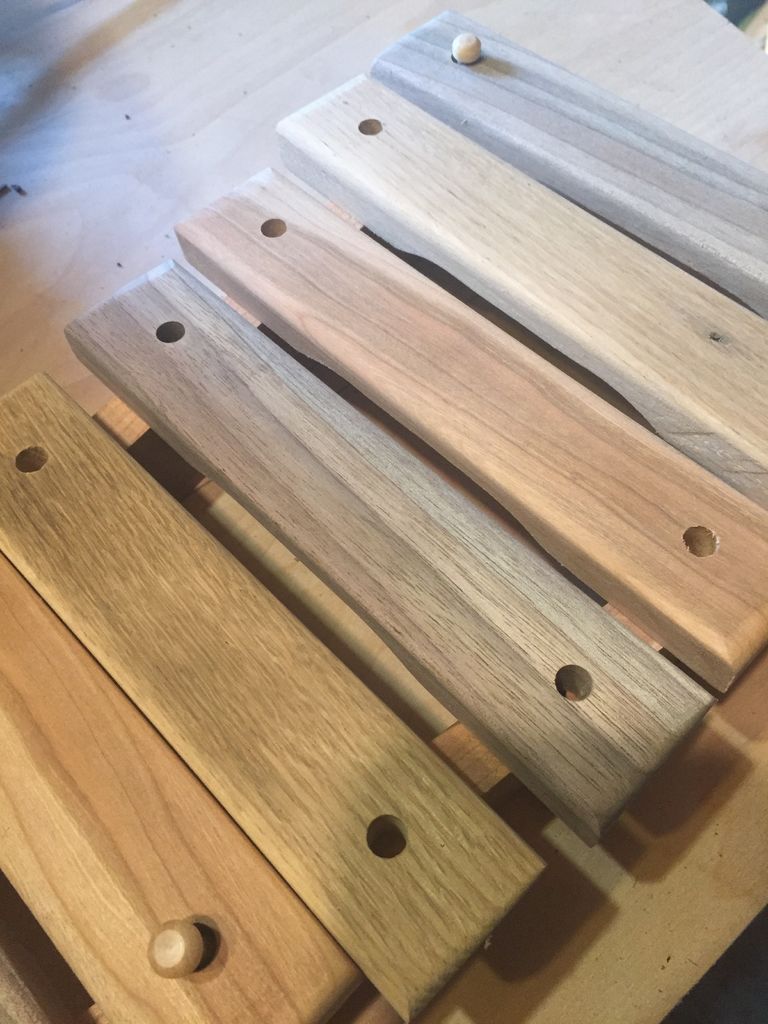

This process is actually quite simple. The main goal here is to not allow the blocks to come into direct contact with the rail. This will ensure that you get the best sound from your blocks. Also, I've been using the word "block" to explain this throughout the article, but I'm not sure if that's really what it's called. I hope you still understand what I mean.
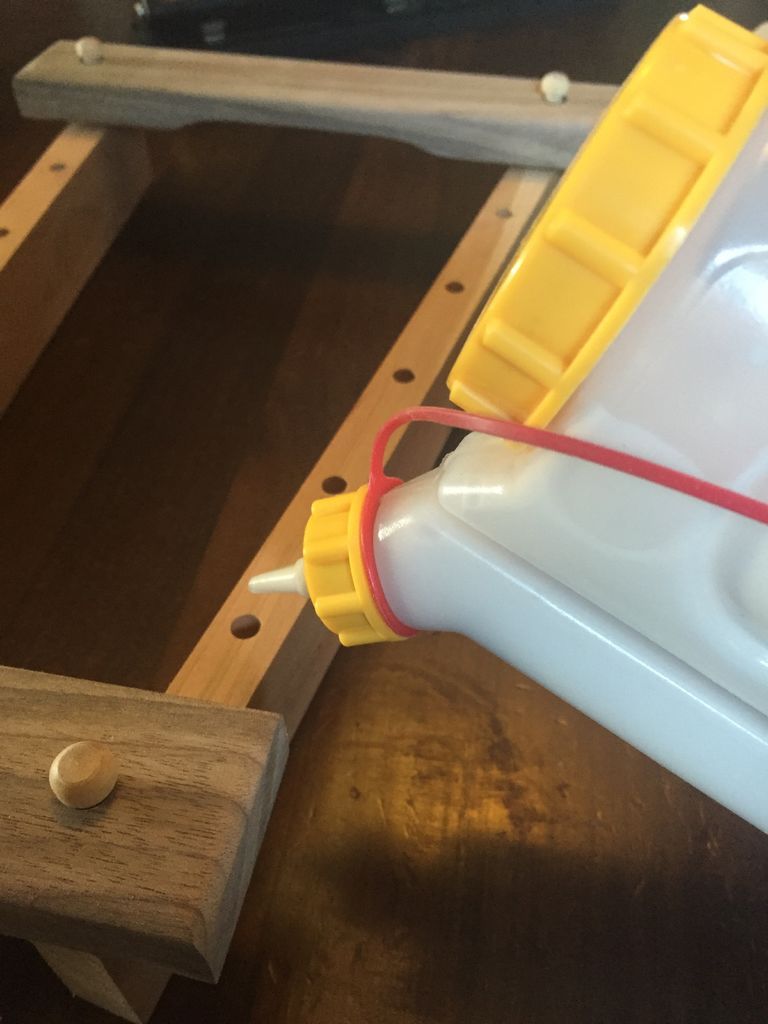
First I drilled 7 holes in the railing the same size as the dowels I planned to use. I made sure not to drill the holes too much. I wanted the blocks to be loose even when the pegs were glued in place. I then drilled holes on each side of the blocks.
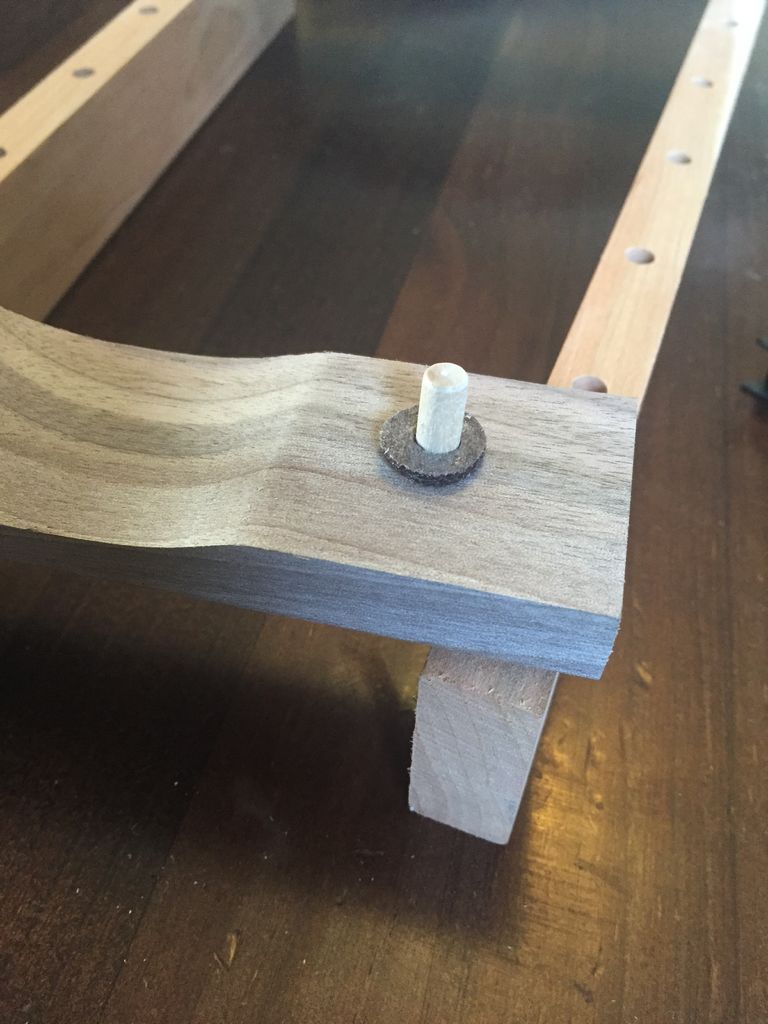
I used some felt with adhesive to make sure the blocks were not in contact with the rails. I made a hole in them and glued them to the railing. I slid the pegs through the blocks and glued them to the rails.
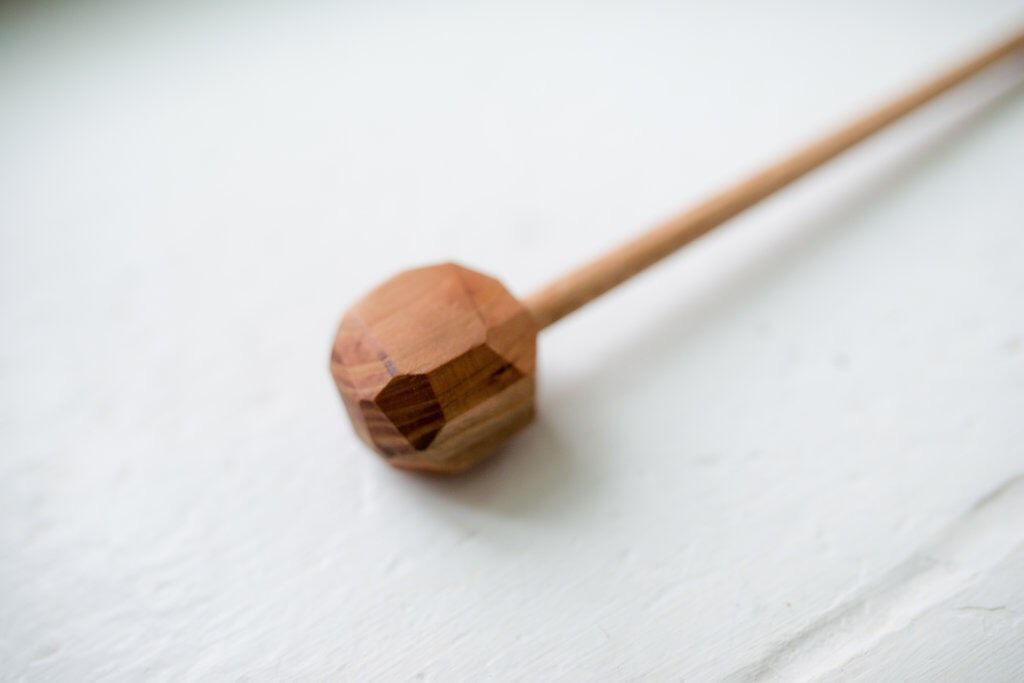
Step 5: The deck
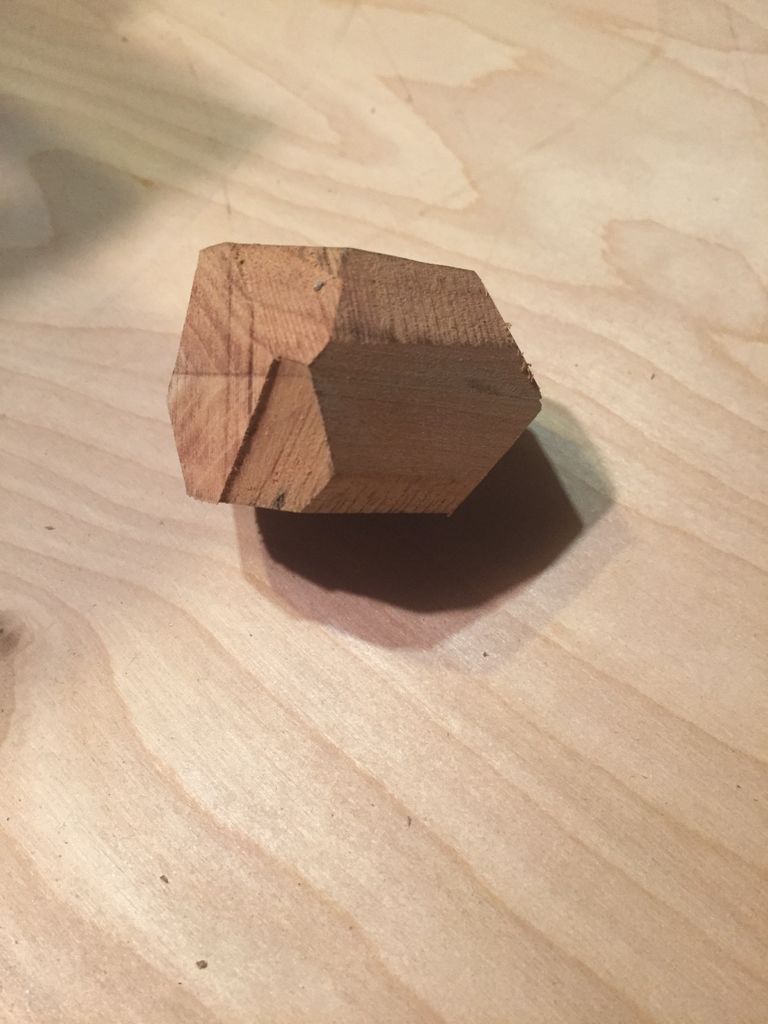
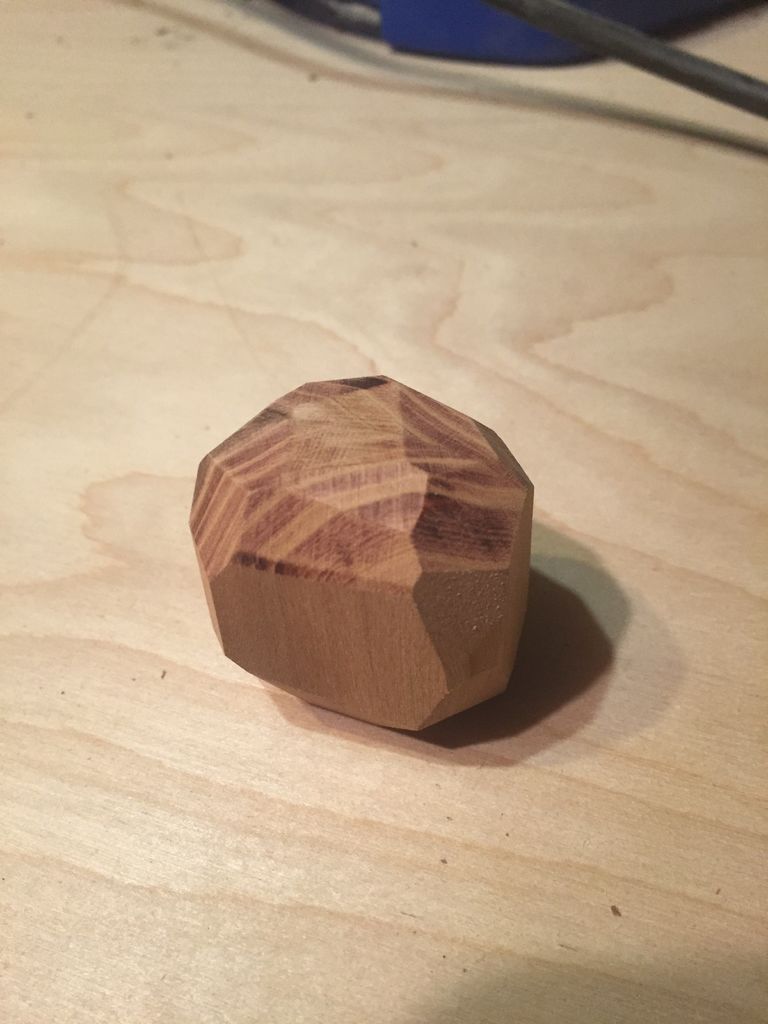

For the deck I didn't just want an old, boring one. I glued two pieces of cherry wood together and let it sit overnight. I drilled a hole for the dowel and then took it to my bench sander and gave it all kinds of weird angles. There was really no rhyme or reason to this. I kept sanding until I saw something I liked.
I glued the pin in and that was it. A custom deck that works well and looks great.
Step 6: Conclusion


If I were to do something different, it would take me longer to adjust the blocks. I was in a bit of a rush. With a small amount of work, you can tune the blocks to sound almost perfect... Next time...
Thank you very much for reading about my xylophone. I hope you try this project. It wasn't a difficult project and it turned out great. I would encourage everyone to give a homemade gift at least once. It's definitely harder than searching for something in the store, but it's also much more rewarding to do.
Similar Ideas:

Get more information at perfectionidea.com and on our Facebook for more Building a Wooden Xylophone Quickly and Easily.
Popular Content
How to make a rocket stove for outdoors
Cardboard Drawers Lined with Jeans
Bedroom furniture with secret compartments!
Latest Articles
How to make a refrigerator out of insulating material: Practical step-by-step guide
How to make a Kilim for the Home: Complete Step by Step Guide
How to protect ourselves from accidents in our workplace: Complete prevention and safety guide
Related Content
Floating Shelf/Hidden LED Lighting
Building an Industrial Style TV Stand!
Manufacturing Seats with Shock Absorbers Reusing Parts of a Disused Car!
The Best Colors to Combine with Red
Creative Home Decor Ideas to Transform Every Space
Refreshing your home starts with smart design choices that combine comfort, personality, and functionality. Whether you want to modernize a small apartment, upgrade outdoor areas, or create cozy rustic interiors, these trending ideas can completely change the atmosphere of your space.
Outdoor Spaces That Increase Style and Functionality
Outdoor living continues to dominate modern home trends. Homeowners are increasingly investing in practical entertainment zones inspired by these BBQ shed ideas, which create the perfect setup for gatherings and weekend cooking sessions.
First impressions also matter when designing exteriors. Elegant farm entrance gates design ideas help properties stand out while improving privacy and curb appeal.
Compact living solutions are also gaining popularity. These inspiring 16x40 shed house interior design ideas show how smaller spaces can still feel luxurious and functional.
To enhance patios and entryways, homeowners are adding stylish protection with these creative porch awning exterior DIY ideas that blend aesthetics with practicality.

Rustic and Cozy Interior Design Trends
Warm and natural interiors remain timeless. These charming rustic decor ideas combine wood textures, vintage accents, and earthy tones to create welcoming spaces.
Bedrooms are becoming more personalized with curated wall arrangements. Many homeowners use these stylish picture wall ideas for bedroom spaces to display memories and artwork creatively.
Textured wall treatments are another major trend. Installing a board and batten wall adds architectural character while keeping interiors elegant and modern.
Similarly, bold accent wall ideas can instantly transform plain rooms into eye-catching focal points without requiring a full renovation.
Smart Kitchen and Organization Inspiration
Functional kitchens are essential for modern homes. These practical kitchen wall cabinet ideas maximize storage while maintaining a clean and stylish appearance.
Organization also starts at the entrance. Well-designed mud room ideas help families keep shoes, coats, and daily essentials neatly arranged.
Colorful and Personalized Home Styling
Vibrant interiors are becoming increasingly popular thanks to playful dopamine decor ideas that use bright colors and joyful accessories to improve mood and energy.
Gallery walls also continue to evolve as a major decorative feature. These trendy gallery wall inspiration ideas offer creative ways to combine prints, photos, and statement art.
Young renters and new homeowners are especially embracing these stylish first apartment aesthetic ideas to create sophisticated interiors on a budget.
Finally, selecting the right shades can dramatically influence any room’s atmosphere. These modern trendy color ideas help homeowners choose palettes that feel fresh, elegant, and timeless.
Final Thoughts
From rustic charm and colorful interiors to outdoor entertaining areas and functional storage solutions, today’s home decor trends focus on creating spaces that feel both beautiful and livable. By combining smart layouts, modern textures, and personalized decorative elements, any home can become more stylish, comfortable, and inspiring.


